Have you ever wondered how to make butter with a churn? Well, let me guide you through the process step by step.
First, we’ll explore how to choose the right churn for your homemade butter adventure.
Then, we’ll gather the necessary ingredients and prepare the cream for churning.
With each meticulous turn of the churn, we’ll witness the transformation from cream to butter.
Finally, we’ll learn how to separate the butter and buttermilk, wash and shape the butter, and store it for future use.
Let’s get churning!
Key Takeaways
- Choosing the right size and type of churn is important for optimal butter production.
- Maintaining the cream at the right temperature and using high-quality cream are crucial for successful churning.
- Proper churning speed and technique are necessary for effective separation of butter and buttermilk.
- Experimenting with flavors and shaping the butter adds variety and enhances the final product.

Cosori 9-in-1 TurboBlaze Air Fryer 6 Qt, Smart Control, 90°–450°F, Shake Reminders, Precise Heating for Even Results, Air Fry, Roast, Bake, Broil, Dry, Frozen, Proof, Reheat, Keep Warm, 120V, Cream
𝘼𝙞𝙧 𝙁𝙧𝙮𝙚𝙧 𝙐𝙥𝙜𝙧𝙖𝙙𝙚: Innovative TurboBlaze Technology delivers a powerful 3600 rpm fan speed and temperatures up to 450℉,...
As an affiliate, we earn on qualifying purchases.
Choosing the Right Churn
When choosing the right churn, it’s important to consider the size and material.
The size of the churn depends on your needs and the amount of butter you want to make. If you’re making butter for personal use, a smaller churn would be sufficient. However, if you’re planning to make butter in larger quantities, a bigger churn would be more suitable.
As for the material, a traditional churn made of wood is often preferred. It not only adds a rustic charm to the process but also helps maintain a consistent temperature during churning. The benefits of using a traditional churn are that it allows for a slower and more controlled churn, resulting in a creamier and tastier butter. Additionally, the wooden material helps to enhance the flavor and aroma of the butter.

Vitamix Ascent X3 Blender with Three Blending Programs, Self-Cleaning Program, Professional-Grade Blender for Smoothies, Soups and More, Stainless-Steel Blades, 48 Oz Container, Shadow Black
Included: Ascent X3 blender motor base, 48-ounce container, S2 low-profile tamper, tamper holder, and digital recipe book; this...
As an affiliate, we earn on qualifying purchases.
Gathering the Ingredients
First, you’ll need to gather all of the necessary ingredients for making butter with a churn. Here’s what you’ll need:
-
Cream: Choose the type of cream you prefer, whether it’s heavy cream, light cream, or even raw cream. Each will result in slightly different flavors and textures in your butter.
-
Salt (optional): If you prefer salted butter, make sure to have some high-quality salt on hand to add during the churning process.
-
Flavorings (optional): Get creative and add your favorite herbs, spices, or even honey to infuse your butter with unique flavors.
-
Churn: Of course, you’ll need a churn to make butter. There are traditional churns available, but if you don’t have one, alternative methods like using a stand mixer with a whisk attachment or a glass jar with a tight lid can also work.
Once you have all these ingredients, you’re ready to start churning and creating your own delicious homemade butter.
BLUBYEES Luxurious 4-in-1 Electric Wine Aerator, Decanter, Dispenser & Vacuum Saver with LED Display - Wine Pourer Gift for Women and Wine Lovers
【Revolutionary Smart Vacuum Preservation Technology】Our innovative wine decanter with aerator employs advanced vacuum preservation technology that automatically detects...
As an affiliate, we earn on qualifying purchases.
Preparing the Cream
Once you’ve gathered all the necessary ingredients, you’ll need to prepare the cream for churning.
The temperature of the cream plays a crucial role in the butter-making process. It is important to ensure that the cream is at the ideal temperature, around 55-60°F (13-15°C). This will allow the fat in the cream to separate more easily and result in a higher quality butter.
To achieve the desired temperature, you can place the cream in the refrigerator for a few hours before churning. It is also important to use high-quality cream for the best results. Look for cream with a high fat content, preferably heavy cream or whipping cream.
Using low-quality cream may result in a lower yield of butter.
Now that the cream is prepared, let’s move on to the next step: churning the cream into butter.

Instant Pot 4QT RIO Mini 7-in-1 Multi-Cooker, Pressure Cooker, Slow cook, Sauté, Steam, Rice Maker, Yogurt, & Warmer, Black, 4 Quarts
7 Cooking Functions: Pressure cook, slow cook, sauté, steam, cook rice, make yogurt, or keep your meals warm,...
As an affiliate, we earn on qualifying purchases.
Churning the Cream
When it comes to churning the cream, there are a few key points to keep in mind.
First, the speed and technique of churning can greatly affect the outcome of your butter. Finding the right balance between too fast and too slow is crucial for achieving the desired results.
Additionally, the ideal cream consistency plays a significant role in the churning process. It should be thick and slightly clumpy, allowing for the separation of butterfat from the buttermilk.
Lastly, the time required for churning can vary depending on factors such as temperature and the type of churn used. It’s important to be patient and keep a close eye on the cream to ensure it churns into butter successfully.
Churn Speed and Technique
To achieve the desired consistency, it’s important to adjust the churn speed and technique while making butter. Here are some key tips to help you get the best results:
-
Start slow: Begin churning at a low speed to allow the cream to thicken gradually and prevent splattering.
-
Increase speed gradually: As the cream thickens, you can gradually increase the churn speed to agitate the butterfat and separate it from the buttermilk.
-
Monitor the temperature: Keep an eye on the temperature of the cream as you churn. If it gets too warm, the butter may become soft and lose its texture.
-
Troubleshoot churn issues: If the cream isn’t thickening or the butter isn’t forming, check for any mechanical issues with the churn, such as worn-out gears or a loose paddle.
By adjusting the churn speed and technique, you can ensure smooth and creamy homemade butter.
Don’t forget to perform regular churn maintenance to keep your equipment in top condition for future batches.
Ideal Cream Consistency
You’ll want the cream to reach the ideal consistency before churning it into butter. The temperature of the cream plays a crucial role in achieving that perfect consistency. Ideally, it should be around 60°F (15°C).
If the cream is too cold, it will take longer to churn, and if it’s too warm, the butter may turn out too soft. To achieve the ideal temperature, you can place the cream in the refrigerator for a few hours or leave it out at room temperature for a short period.
Once the cream is at the right temperature, it’s time to begin churning. The churning time can vary depending on factors such as the type of churn and the freshness of the cream. On average, it takes about 20-30 minutes of continuous churning to transform the cream into butter.
Remember to monitor the consistency and stop churning once the butter separates from the buttermilk and forms solid clumps.
Time Required for Churning
The amount of time it takes to transform cream into butter can vary depending on various factors. Here are some key points to consider:
-
Churning method: Hand churning butter can take anywhere from 15 to 30 minutes, depending on the speed and consistency of your churning. This traditional method allows for a deeper connection with the process and offers several benefits.
-
Temperature: Cream should be at a cool room temperature, around 60-65°F (15-18°C). Warmer cream may result in quicker churning, but it could also lead to softer butter.
-
Cream quality: Using fresh, high-fat cream will yield better results and speed up the churning process. Look for cream with a fat content of at least 35%.
-
Alternative methods: If you don’t have a churn, you can make butter by shaking cream in a jar or using a stand mixer with a whisk attachment. These methods may require more time and effort compared to a churn.
Separating the Butter and Buttermilk
After churning the cream, the mixture will begin to separate into butter and buttermilk. This separating technique is crucial in the butter-making process. The cream is agitated vigorously in a churn until the fat globules clump together, forming butter. The remaining liquid is the buttermilk. The separation occurs due to the difference in density between the fat and the liquid. Once the butter has formed, it is important to drain off the buttermilk completely to prevent spoilage. The flavor of the butter can be varied by incorporating different ingredients during the churning process. For example, adding herbs or spices can create flavored butter. The table below outlines some popular flavor variations of homemade butter:
| Flavor Variation | Ingredients |
|---|---|
| Garlic Butter | Fresh garlic, parsley |
| Honey Butter | Honey |
| Herb Butter | Fresh herbs (e.g. thyme, rosemary) |
| Cinnamon Butter | Ground cinnamon, brown sugar |
Experimenting with different flavors can add a delightful twist to your homemade butter.
Washing and Shaping the Butter
Now that we have separated the butter and buttermilk, it’s time to wash and shape the butter. This is an important step in the butter-making process as it helps remove any remaining buttermilk and gives the butter its final texture and shape.
Here are some shaping techniques and butter molds you can use:
-
Washing the butter: Start by placing the butter in a bowl of ice-cold water. Gently knead and squeeze the butter to remove any remaining buttermilk. Repeat this process until the water runs clear.
-
Shaping by hand: Once the butter is washed, you can shape it into a block or roll by using your hands. Simply press and mold the butter into your desired shape.
-
Butter molds: Alternatively, you can use butter molds to shape the butter. These molds come in various shapes and designs, allowing you to create beautiful patterns on your butter.
-
Refrigerating: Finally, place the shaped butter in the refrigerator to firm up before serving or storing.
Storing and Using Homemade Butter
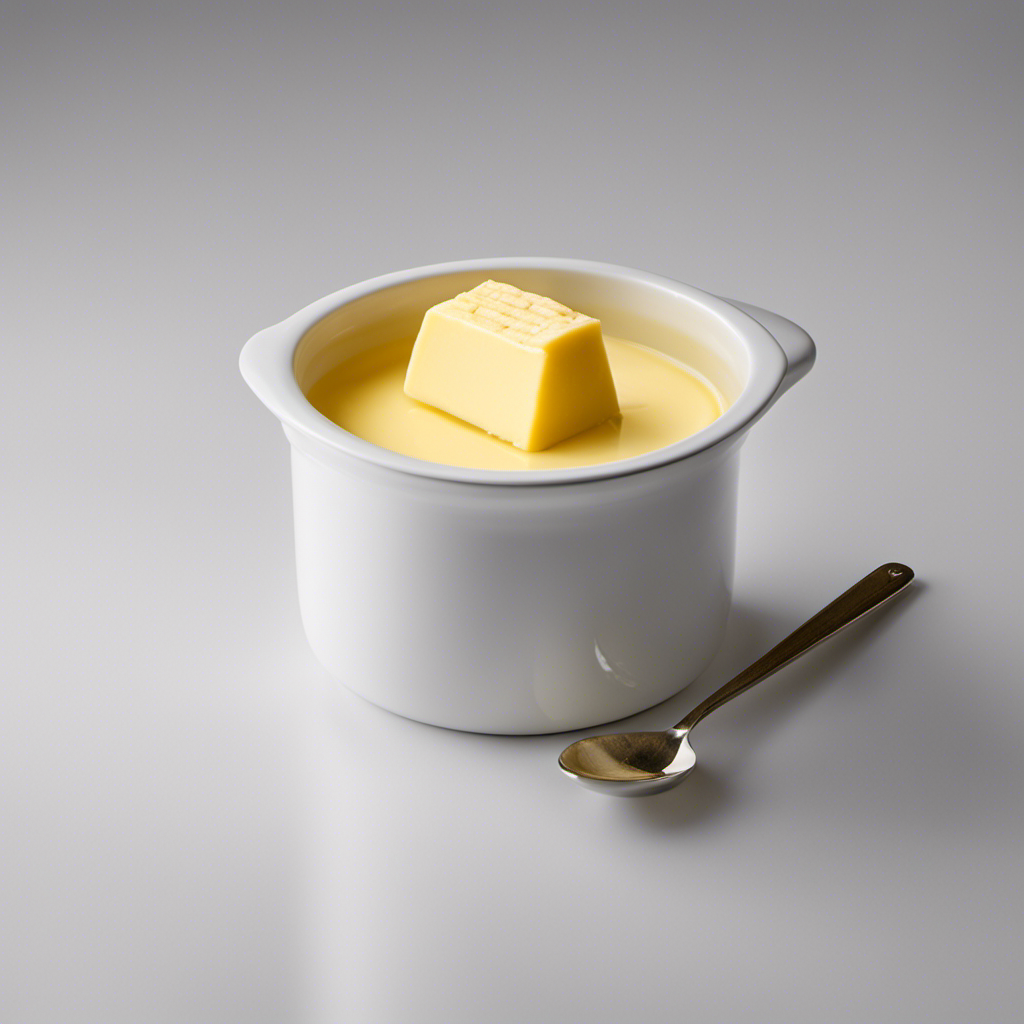
Once you have shaped your homemade butter, store it in an airtight container in the refrigerator to keep it fresh and ready to use. Storing your homemade butter properly is important to maintain its flavor and quality.
The airtight container will help prevent any odors from the refrigerator from seeping into the butter. It is best to use a container specifically designed for storing butter, such as a butter dish or a butter crock. These containers often have a water seal that helps keep the butter fresh for longer.
Additionally, you can also store your homemade butter in individual portions using butter molds or small containers. This will make it easier to use and measure when cooking or baking.
Now that you have stored your homemade butter, let’s explore some creative butter recipes to elevate your dishes.
Frequently Asked Questions
Can I Use Any Type of Cream to Make Butter or Does It Have to Be a Specific Kind?
Any type of cream can be used to make butter, but using heavy cream with a high fat content will yield the best results. It has more butterfat, which means a higher yield and a richer, creamier butter.
How Long Does It Typically Take to Churn Cream Into Butter?
It typically takes about 15-20 minutes to churn cream into butter. However, the time can vary depending on factors like the temperature of the cream and the speed of the churn.
Can I Use a Blender or Mixer Instead of a Churn to Make Butter?
Yes, you can use alternative methods for making butter, such as using a food processor or hand mixer. These tools can help achieve the same result as a churn, saving you time and effort.
What Is the Best Way to Store Homemade Butter to Ensure It Stays Fresh?
To keep homemade butter fresh, store it in an airtight container in the refrigerator. This will help extend its shelf life and maintain its creamy texture. Remember to label the container with the date of preparation for easy reference.
What Can I Do With the Leftover Buttermilk After Separating the Butter?
After separating the butter using a churn, you can use the leftover buttermilk in various ways. It can be used in baking, cooking, or even as a refreshing drink. The churn ensures a smooth and creamy texture for the butter.
Conclusion
In conclusion, making butter with a churn is a rewarding and fulfilling process. It not only allows you to have control over the ingredients and quality of your butter, but it also brings a sense of nostalgia and connection to the past.
Did you know that according to a study conducted by the Food and Agriculture Organization, the production of homemade butter has decreased by 50% in the last decade? This statistic highlights the importance of preserving traditional methods of food preparation and encourages us to embrace the art of churning our own butter.
So why not give it a try and experience the joy of homemade butter for yourself?