Are you prepared to explore the realm of butter slime? Prepare yourself for an exciting and slimy adventure!
In this article, we will guide you through the process of making butter slime with clay.
Gather your materials, prepare the clay, mix in the glue, and add the magical ingredient that brings buttery goodness to your slime.
With our step-by-step instructions, you’ll be kneading and enjoying your very own butter slime in no time.
Let’s get started!
Key Takeaways
- Choose a clear or white glue with polyvinyl acetate (PVA) for the best results.
- Experiment with different mixing techniques to achieve desired consistency.
- Work with the slime in a cool, dry environment to avoid stickiness.
- Store butter slime in an airtight container to prevent drying out.

Bob's Red Mill Cinnamon Swirl Coffee Cake Baking Mix, 18.5oz
- Includes Cinnamon Sugar Topping: Create cinnamon swirls and crunchy topping
- Easy Scratch Baking: Four premium flours for perfect baked goods
- High-Quality Ingredients: Pre-measured, flavorful, and fresh
As an affiliate, we earn on qualifying purchases.
Gathering the Materials
First, you’ll need to gather all of the materials needed to make the butter slime. To ensure a successful slime making experience, it is crucial to choose the right glue. Look for a clear or white glue that contains polyvinyl acetate (PVA) as this will provide the best results. Avoid glues that contain harsh chemicals or additives as they may affect the texture and consistency of the slime.
If you are unable to find the recommended glue, don’t worry! There are alternative ingredients you can use. For instance, you can substitute the traditional glue with liquid starch or laundry detergent. These alternatives work well in creating butter slime and can be easily found at your local supermarket.
Gathering the right materials is the first step towards making the perfect butter slime.
Preparing the Clay
To get started, you’ll need to mix the ingredients for the slime.
When it comes to making butter slime, using air dry clay can be a great option. There are both pros and cons to using air dry clay.
The pros include its availability, ease of use, and the ability to create various shapes and textures.
However, the cons include its tendency to dry out quickly and its limited color options. If you want to add color to the clay, you can do so by using acrylic paints or food coloring. Simply mix a small amount of color into the clay until you achieve the desired shade.
Once you have prepared the clay with color, you can move on to the next step of mixing the clay and glue to create the butter slime.
Mixing the Clay and Glue
When it comes to mixing the clay and glue for your butter slime, there are a few key points to consider.
First, the clay-to-glue ratio is crucial in achieving the right consistency and texture. You’ll want to find the perfect balance that allows the slime to be stretchy and pliable, but not too sticky.
Second, mastering the right mixing techniques is essential. It’s important to thoroughly incorporate the clay and glue together, ensuring that there are no lumps or uneven distribution.
Lastly, paying attention to the consistency and texture of the mixture is vital. The slime should be smooth and easily moldable, without being too runny or stiff.
Clay-To-Glue Ratio
The ideal ratio for clay to glue in butter slime is 1:1. Achieving the perfect consistency for your butter slime depends on finding the right balance between the clay and glue.
Here are some key points to consider when it comes to the clay-to-glue ratio:
-
Clay consistency: Make sure your clay is soft, pliable, and easy to work with. If the clay is too dry or hard, it may not blend well with the glue, resulting in a lumpy slime texture.
-
Glue thickness: The glue should be thick and sticky, but not overly runny. If the glue is too thin, it may not hold the clay particles together properly, leading to a slime that falls apart easily.
By understanding and controlling the clay-to-glue ratio, you can create a butter slime that is smooth, stretchy, and satisfying to play with.
Now that you have the right ratio, let’s move on to the next step: mixing techniques.
Mixing Techniques
Achieving the perfect consistency for your butter slime depends on finding the right balance between how you mix the ingredients. There are various mixing techniques that you can try to achieve the desired result. Here are some tips:
| Mixing Technique | Description | Tips |
|---|---|---|
| Folding | Gently mix the ingredients by folding them together, keeping the mixture light and airy. | Use a spatula or your hands to carefully fold the ingredients, avoiding overmixing. |
| Kneading | Apply pressure and repeatedly fold the slime over itself to thoroughly mix the ingredients. | Use your hands to knead the slime until it becomes smooth and the ingredients are evenly distributed. |
| Stretch and Pull | Stretch and pull the slime apart, then fold it back together. This technique helps to incorporate the clay. | Repeat this process until the clay is fully mixed into the slime. |
Consistency and Texture
To achieve the desired consistency and texture, you can experiment with different mixing techniques and adjust them as needed. Here are three key techniques to consider:
-
Gradual Incorporation: Add the clay to the slime base slowly, in small increments, while kneading and stretching it. This helps to evenly distribute the clay particles throughout the slime, improving its stretchiness.
-
Proper Ratio: Ensure you’re using the correct ratio of clay to slime base. Too much clay can make the slime sticky and difficult to work with, while too little may result in a lack of stretchiness. Adjust the amounts until you achieve the desired consistency.
-
Temperature Control: Work with the slime in a cool, dry environment. High humidity can make the slime sticky, so try to avoid areas with excess moisture. Additionally, chilling the slime in the refrigerator for a few minutes can help prevent stickiness.
Adding the Magical Ingredient
When it comes to making slime, choosing the right clay is crucial. The best options for clay include air-dry clay, polymer clay, and model magic clay. Each clay has its own unique properties, such as air-dry clay being easy to work with and polymer clay providing a vibrant color palette.
To ensure a smooth and well-mixed slime, it is important to use proper mixing techniques. This includes kneading the clay thoroughly into the slime and avoiding overmixing, which can result in a sticky or lumpy texture.
Best Clay Options
You can use either air-dry clay or modeling clay for making butter slime. Both options have their advantages and can give you a great result. Here are three reasons why these clays are the best choice for your butter slime project:
-
Air-dry clay: This type of clay is perfect for beginners because it doesn’t require baking. It dries on its own when exposed to air, making it convenient and easy to work with. Plus, it comes in a variety of colors, allowing you to create unique and vibrant butter slime.
-
Polymer clay: If you want a more professional look and feel to your butter slime, polymer clay is the way to go. It is smooth, soft, and pliable, making it easy to mix and incorporate into your slime. It also comes in endless color options, giving you the freedom to create any shade of butter slime you desire.
Now that you know the best clay options for butter slime, let’s move on to the next step: mixing techniques.
Mixing Techniques
For achieving the perfect consistency, it’s important to thoroughly blend the clay and slime together. Mixing techniques can greatly impact the final result of your butter slime. To create the best texture and stretch, it’s crucial to choose the right type of clay and avoid common mistakes in the mixing process.
There are different types of clay that can be used in butter slime making. The most popular options are air-dry clay, polymer clay, and model magic clay. Each type has its own characteristics and affects the texture of the slime differently. Air-dry clay is lightweight and dries quickly, while polymer clay is more durable and can be baked to harden. Model magic clay is soft and easy to work with.
To ensure a successful mix, avoid these common mistakes:
- Insufficient kneading: Spend enough time kneading the clay and slime together until they are fully incorporated.
- Adding too much clay: Start with a small amount of clay and gradually add more if needed.
- Overmixing: Overmixing can lead to a stiff and crumbly slime. Stop mixing as soon as the clay and slime are blended evenly.
- Inaccurate measurements: Follow the recipe guidelines for clay and slime quantities to achieve the desired consistency.
By understanding the different types of clay and avoiding these common mistakes, you can achieve the perfect butter slime consistency. Refer to the table below for a quick overview of the characteristics of each clay type:
| Clay Type | Characteristics |
|---|---|
| Air-dry clay | Lightweight, quick-drying |
| Polymer clay | Durable, can be baked to harden |
| Model magic | Soft, easy to work with |
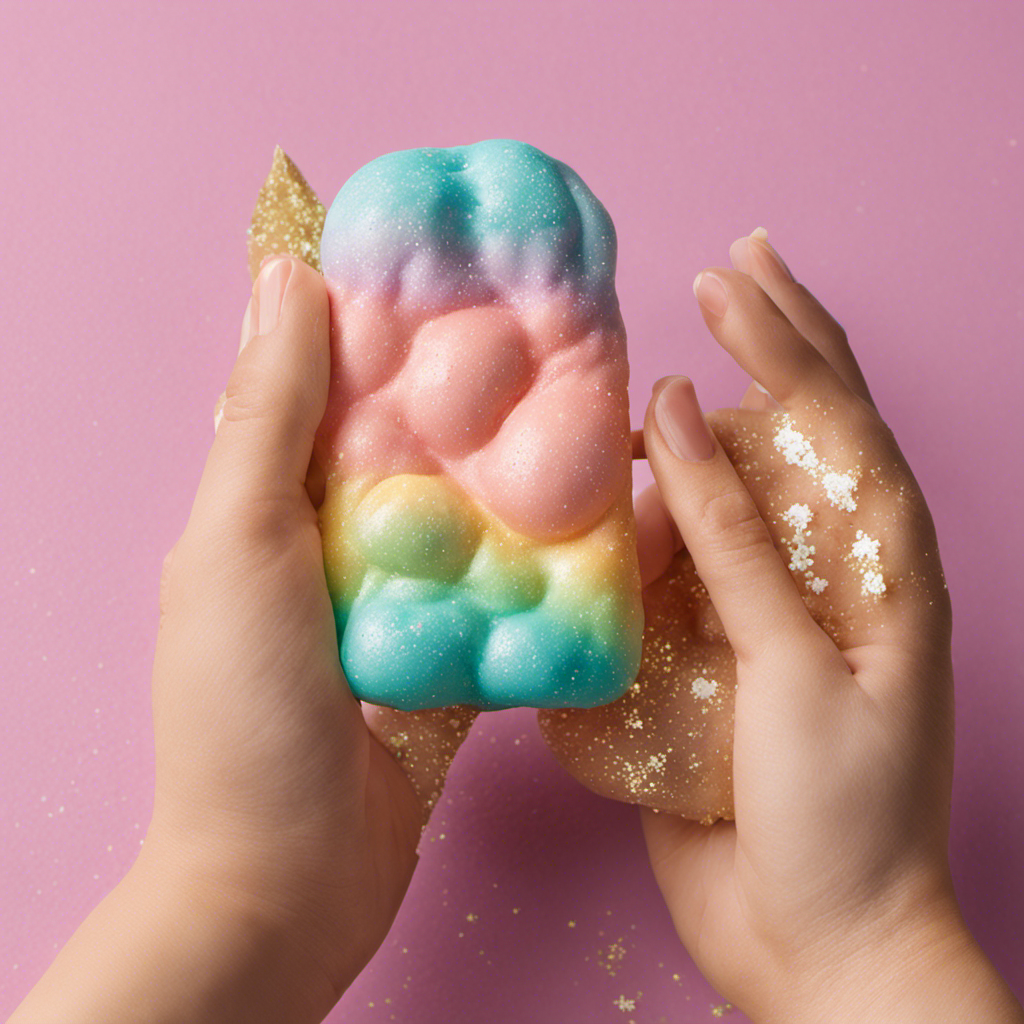
Kneading the Slime
After adding the clay, begin kneading the slime until it becomes smooth and stretchy. Properly kneading the slime is crucial to achieving the perfect consistency. Here are some tips to help you:
-
Apply even pressure: Make sure to apply equal pressure with both hands as you knead the slime. This will help distribute the clay evenly and prevent any lumps or clumps from forming.
-
Keep it clean: Wash your hands thoroughly before kneading the slime to avoid any dirt or debris from getting mixed in. This will ensure a clean and smooth texture.
-
Take your time: Kneading the slime may take some time and patience. Don’t rush the process. Take your time and continue kneading until you achieve the desired smoothness and stretchiness.
Storing and Enjoying Your Butter Slime
To properly store and enjoy your butter slime, keep it in an airtight container to prevent it from drying out. Storing your slime in an airtight container will maintain its soft and stretchy texture, ensuring that you can use it for a long time.
When storing your butter slime, make sure to remove any excess air from the container to minimize the risk of drying. Additionally, it is important to keep your slime away from direct sunlight and extreme temperatures, as these can cause it to become less pliable.
To enjoy your butter slime to the fullest, you can try various fun activities such as stretching it, squeezing it, or even using it as a stress-reliever.
Now that you know how to properly store and enjoy your butter slime, let’s move on to troubleshooting common issues.
Troubleshooting Common Issues
Now that you know how to store and enjoy your butter slime, let’s discuss some common troubleshooting tips.
If you’re experiencing sticky butter slime, don’t worry! Here are some simple steps to fix it:
-
Add more cornstarch: Sprinkle a small amount of cornstarch onto the sticky slime and knead it in. This will help absorb the excess moisture and make the slime less sticky.
-
Use lotion or baby oil: If adding cornstarch doesn’t work, try adding a small amount of lotion or baby oil to the slime. These ingredients can help lubricate the slime and make it more pliable.
-
Refrigerate the slime: Sometimes, sticking the slime in the refrigerator for a few minutes can help firm it up and reduce stickiness.
Conclusion
So there you have it, you’ve successfully made your very own butter slime using clay!
With just a few simple steps, you can have a fun and stretchy slime that resembles the texture of butter.
Remember, just like making slime, sometimes things might not go exactly as planned. But don’t worry, troubleshooting common issues is part of the process.
It’s like when you’re baking a cake and it doesn’t rise properly – you just have to make a few adjustments and try again.
So keep experimenting and enjoying the wonderful world of slime-making!