Hello, everyone!
Ever wondered how to whip up your very own delicious butter using your trusty Kitchenaid mixer? Well, look no further because I’ve got you covered!
In this article, I’m gonna walk you through the step-by-step process of making butter right in the comfort of your own kitchen.
Get ready to churn out some creamy goodness that’ll have your taste buds doing a happy dance.
So, let’s dive in and get our butter-making skills on point!
Key Takeaways
- The KitchenAid mixer with its paddle attachment is a convenient and efficient tool for making butter.
- Heavy cream or whipping cream is recommended for the best results.
- Various flavors like garlic, dill, cinnamon, or honey can be added to the butter for flavor variation.
- The butter mixture should be separated from buttermilk using a fine-mesh strainer, rinsed in ice-cold water, and shaped with added salt, herbs, or sweeteners for different taste profiles.
Equipment Needed
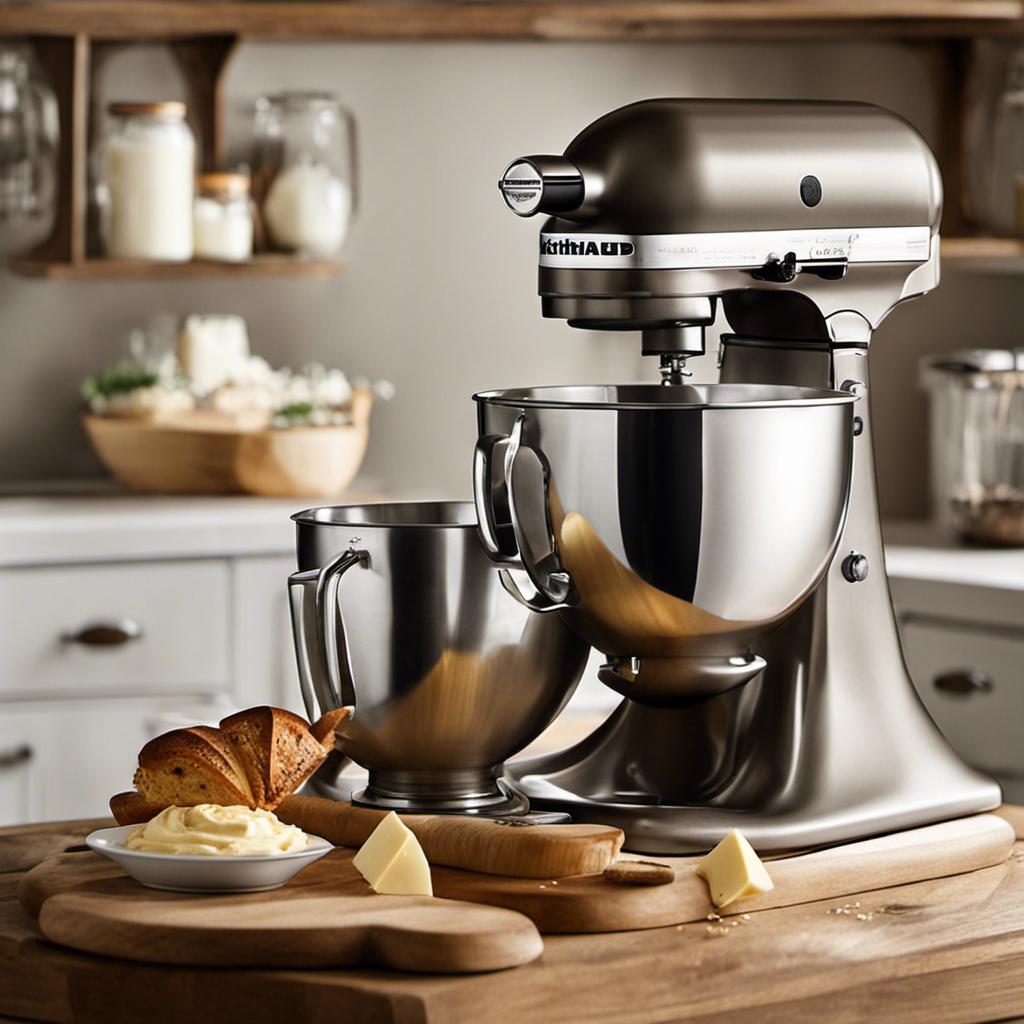
You’ll need a KitchenAid mixer to make butter. There are different types of butter churns, but using a KitchenAid mixer is a convenient and efficient alternative method of making butter. With its powerful motor and attachments, it simplifies the process and saves time.
The mixer’s paddle attachment can be used to churn cream into butter. Simply pour the cream into the mixing bowl and start the mixer on a low speed. As the cream thickens, increase the speed gradually until the butter separates from the buttermilk. This process usually takes around 10-15 minutes.
Once the butter has formed, you can strain off the buttermilk using a fine-mesh sieve or cheesecloth.
Now that you know how to use a KitchenAid mixer to make butter, let’s move on to the ingredients required.
Ingredients Required
To whip up a batch of this delicious spread, all you need are a few simple ingredients. Making flavored butter is a great way to add some extra flavor to your meals. Whether you prefer sweet or savory, there are endless possibilities when it comes to flavoring your butter. Here are some ideas to get you started:
| Type of Butter Churn | Description |
|---|---|
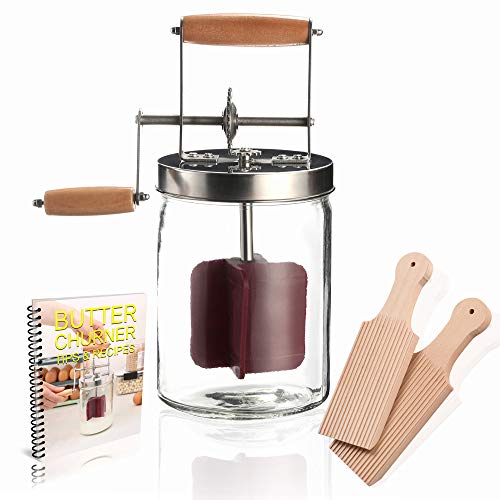
| Hand-crank Churn | A traditional churn that requires manual effort to churn the cream into butter. Great for a rustic feel. |
| Electric Churn | A more modern option that does the churning for you. Simply add the cream, press a button, and wait for the butter to form. |
| Mason Jar Churn | A simple DIY churn made by placing cream in a jar and shaking vigorously until butter forms. Fun for kids and small batches. |
| Food Processor | Not a traditional churn, but it can be used to make butter by blending the cream until the butter separates from the liquid. Quick and easy. |
Once you have your churn, it’s time to gather your ingredients. Here’s what you’ll need:
- Cream: Use heavy cream or whipping cream for the best results.
- Salt: Add a pinch of salt for a savory butter.
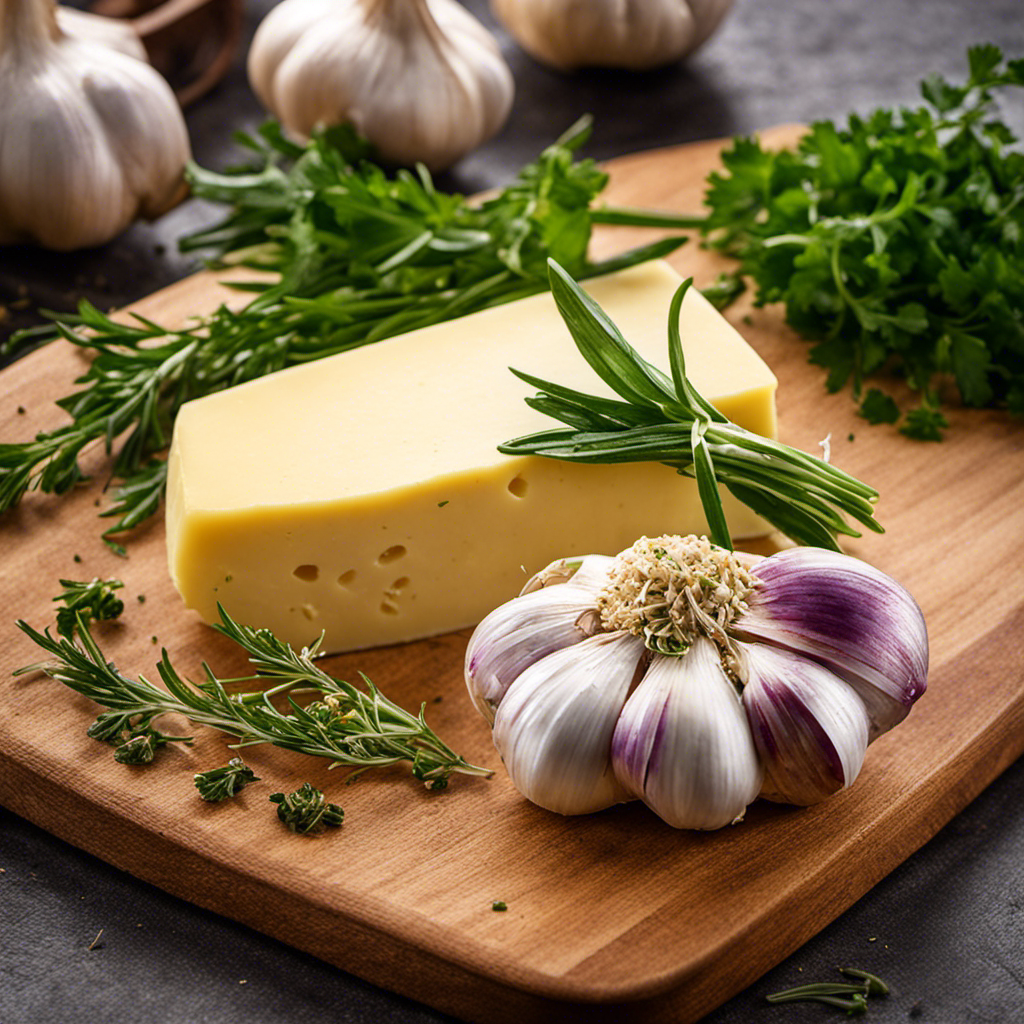
- Herbs and Spices: Get creative with flavors like garlic, dill, cinnamon, or honey.
- Citrus Zest: Add a burst of freshness with lemon or orange zest.
- Sweeteners: Try adding honey, maple syrup, or powdered sugar for a touch of sweetness.
With these ingredients, you can create a variety of flavored butters to enhance your meals. Experiment with different combinations and enjoy the delicious results.
Preparing the Mixer
Once you’ve gathered all your ingredients, it’s time to prepare the mixer for the next step. Here are some tips for mixer maintenance and troubleshooting common mixer issues:
-
Check the power cord: Make sure the power cord is securely plugged into an outlet. If the mixer doesn’t turn on, try plugging it into a different outlet or using a different power cord.
-
Clean the attachments: Before using the mixer, clean the attachments thoroughly. Remove any residue or build-up to ensure smooth operation.
-
Lubricate moving parts: Occasionally, the moving parts of the mixer may need lubrication. Use a food-safe lubricant to keep the gears running smoothly.
-
Adjust the speed settings: If the mixer is not operating at the desired speed, adjust the speed settings. Check the user manual for instructions on how to adjust the speed control.
Adding the Ingredients
When it comes to mixing the ingredients for a recipe, it’s important to follow the proper steps to ensure a successful outcome.
First, make sure to measure your ingredients accurately, using the appropriate tools such as measuring cups and spoons. This will help maintain the right balance of flavors and textures in your dish.
Lastly, don’t be afraid to experiment and incorporate additional flavors to enhance the overall taste of your creation. By carefully mixing, measuring, and adding extra ingredients, you can elevate your dish to new levels of deliciousness.
Mixing the Ingredients
Start by placing the ingredients in the KitchenAid mixer and mixing them together until well combined.
Here are some optimal mixing techniques for achieving the perfect consistency and speed:
- Set the mixer to a low speed initially to avoid splattering the ingredients everywhere.
- Gradually increase the speed to medium and let the mixer do its magic. This will ensure the ingredients are evenly mixed.
- Use the paddle attachment for most butter recipes as it helps incorporate air into the mixture, resulting in a lighter texture.
- Scraping the sides of the bowl occasionally with a spatula will ensure all the ingredients are well combined.
By following these techniques, you’ll achieve a smooth and creamy butter mixture with the perfect consistency. Remember to adjust the mixing time according to the specific recipe you’re following.
Happy mixing!
Proper Ingredient Measurements
Now that we’ve covered the process of mixing the ingredients, let’s talk about the importance of proper ingredient measurements when making butter with a KitchenAid mixer. Accurate measurements are crucial to achieving the desired consistency and taste of your homemade butter.
To help you master the art of measuring, here are some essential measuring techniques and troubleshooting tips:
| Technique | Description | Troubleshooting Tips |
|---|---|---|
| Use measuring cups and spoons | Measure dry ingredients like sugar and salt with cups, while liquids like milk and cream should be measured with a liquid measuring cup. | Level off dry ingredients with a straight edge for accurate measurements. |
| Weighing ingredients | For more precise measurements, use a kitchen scale to weigh ingredients such as butter. | Make sure to place your bowl or container on the scale before turning it on to zero out the weight. |
| Spoon and level flour | When measuring flour, use a spoon to gently scoop it into the measuring cup and level it off with a straight edge. | Avoid packing flour into the measuring cup, as it can lead to dense butter. |
| Follow recipe instructions | Always follow the recipe’s instructions for specific ingredient measurements. | Double-check your measurements before adding them to the mixer to avoid any mishaps. |
Incorporating Additional Flavors
To enhance the flavor of your homemade butter, you can add additional ingredients like herbs, spices, or even citrus zest. This allows you to experiment with different flavor infusion techniques and create unique combinations that will elevate your butter to a whole new level.
Here are four ideas to get you started:
-
Fresh herbs: Finely chop herbs like thyme, rosemary, or basil and mix them into your butter. This will add a fresh and aromatic taste to your spreads or baked goods.
-
Spices: Try adding a pinch of cinnamon, nutmeg, or cardamom to your butter. These warm and comforting flavors are perfect for spreading on toast or incorporating into your favorite recipes.
-
Citrus zest: Grate the zest of lemons, oranges, or limes and mix it into your butter. This will give your butter a bright and zesty kick, perfect for adding a burst of flavor to desserts or savory dishes.
-
Honey or maple syrup: For a touch of sweetness, stir in some honey or maple syrup into your butter. This will add a subtle and delicious flavor, perfect for pancakes or scones.
With these flavor infusion techniques, the possibilities are endless. Don’t be afraid to get creative and try different combinations to find your favorite flavor profile. Happy butter making!
Mixing the Ingredients
When it comes to mixing ingredients, there are several key points to consider: optimal mixing techniques, speed, and consistency.
Finding the right mixing technique is crucial for achieving the desired texture and ensuring all ingredients are evenly incorporated.
The speed at which you mix can also affect the final result, as too fast or too slow can impact the overall consistency of the mixture.
Optimal Mixing Techniques
For the best results, make sure you’re using the correct mixing technique when making butter with your KitchenAid. Here are some tips to help you achieve that perfect batch of butter:
-
Start with softened butter: Make sure your butter is at room temperature before mixing. This ensures smooth and even incorporation.
-
Use the paddle attachment: The paddle attachment is the best option for mixing butter in a KitchenAid. It combines the ingredients thoroughly without overworking the butter.
-
Mix on low speed: Start mixing on low speed to prevent splattering. Gradually increase the speed to medium-high for a smoother consistency.
-
Stop and scrape the sides: Occasionally, stop the mixer and scrape down the sides of the bowl with a spatula. This ensures that all the butter is fully incorporated and prevents lumps or unevenness.
Speed and Consistency
When it comes to making butter in a KitchenAid, speed can be your best friend. The powerful motor of the KitchenAid mixer allows for quick and efficient butter production. By setting the mixer to a high speed, you can churn the cream into butter in a matter of minutes. This is a major advantage over the manual method, which can take much longer and require a lot of physical effort.
However, it’s important to note that speed also comes with a few potential issues. Sometimes, the high speed can cause the cream to splatter or spill out of the mixing bowl. To prevent this, it’s crucial to use the appropriate attachments and ensure that the bowl is securely locked in place.
Additionally, if the butter isn’t forming properly, adjusting the speed or adding a small amount of ice water can help troubleshoot the issue.
Separating the Butter From the Buttermilk
To separate the butter from the buttermilk, you’ll want to place the butter mixture in a fine-mesh strainer. This simple step will help remove any excess liquid and leave you with pure, creamy butter.
Here are four techniques to ensure successful separation and to add a touch of flavor variation to your homemade butter:
-
Cold Water Rinse: After straining the butter, immerse it in ice-cold water and gently knead it. This helps remove any remaining buttermilk and gives the butter a milder taste.
-
Salted Butter: Add a pinch of salt to the butter mixture before straining. This enhances the flavor and also acts as a preservative, extending the butter’s shelf life.
-
Herb-infused Butter: Mix in your favorite herbs, such as rosemary or thyme, before straining. This adds a delightful aroma and a burst of flavor to your butter.
-
Sweet Butter: For a sweeter variation, add a teaspoon of honey or maple syrup to the butter mixture before straining. This creates a luscious spread that pairs perfectly with toast or pancakes.
Washing and Shaping the Butter
Once the butter has been strained and rinsed, it can be shaped into a desired form using your hands or a butter mold.
To ensure the butter is clean and free from any remaining buttermilk, it is important to wash it properly. One effective washing technique is to place the butter in a bowl of cold water and gently knead it with your hands. This helps to remove any residual buttermilk and improve the butter’s texture. Alternatively, you can also rinse the butter under cold running water, squeezing it gently to remove any excess liquid.
Once the butter is thoroughly washed, you can shape it into a block, a stick, or any other form you prefer. Using a butter mold can give your homemade butter a decorative shape.
Now that your butter is ready, it’s time to learn about the proper ways to store and use it.
Storing and Using the Homemade Butter
You can store your homemade butter in an airtight container in the refrigerator to keep it fresh and ready for use. Here are some tips for storing and using your homemade butter:
-
Use salted butter: Salt acts as a natural preservative, helping to extend the shelf life of your butter. It also enhances the flavor, making it even more delicious.
-
Seal it tightly: Make sure your airtight container is properly sealed to prevent any air from getting in. This will help maintain the freshness and prevent any off flavors from developing.
-
Store the buttermilk: When making butter, you’ll also have some leftover buttermilk. Don’t throw it away! Store it separately in a separate container and use it in recipes like pancakes or biscuits for added flavor.
-
Use it in various recipes: Homemade butter can be used in a wide range of recipes, from spreading it on toast to baking cookies and cakes. Get creative and experiment with different dishes to enjoy the rich, creamy goodness of your homemade butter.
Frequently Asked Questions
Can I Use Any Type of Mixer to Make Butter, or Does It Have to Be a Kitchenaid?
Yes, you can use any type of mixer to make butter. While a Kitchenaid is a popular choice, there are alternative methods and mixer options available. Experiment and find what works best for you!
How Long Does It Take to Separate the Butter From the Buttermilk?
Separating butter from buttermilk can take anywhere from 10-20 minutes. To speed up the process, keep the butter and buttermilk chilled before and during separation. Using colder ingredients helps achieve a creamy texture in homemade butter.
Can I Use Salted Butter Instead of Unsalted Butter?
Yes, you can use salted butter instead of unsalted butter to make homemade butter. However, it may impact the taste and texture of the final product. Using unsalted butter allows for better control over the overall flavor profile.
Can I Add Flavorings, Such as Garlic or Herbs, to the Homemade Butter?
Sure, you can absolutely add flavorings like garlic or herbs to homemade butter. It’s a great way to elevate the taste and impress your taste buds. Now, let’s dive into how to make flavored butter!
How Long Can I Store the Homemade Butter Before It Goes Bad?
To properly store homemade butter, it’s important to keep it refrigerated in an airtight container. Factors like temperature fluctuations, exposure to air, and cross-contamination can cause it to spoil quickly.
Conclusion
In conclusion, making butter with a KitchenAid mixer is a simple and rewarding process. By following the steps outlined above, you can transform cream into delicious homemade butter.
It’s like watching a caterpillar turn into a beautiful butterfly, as the cream slowly transforms into creamy, golden butter.
Don’t forget to store it properly in an airtight container and enjoy using your homemade butter in various recipes.
So go ahead, give it a try and experience the joy of making your own butter right in your kitchen!
