
Have you ever thought about how to make butter using an ice cream maker? Look no further because I am here to demonstrate just how simple it can be.
In this article, I will guide you through the step-by-step process of making homemade butter using an ice cream maker. From selecting the right machine to churning the cream and separating the butter, you’ll learn all the tips and tricks for creating delicious, creamy butter right in your own kitchen.
So, let’s get started!
Key Takeaways
- Consider size, price, and ease of use when choosing an ice cream maker.
- Gather essential ingredients including fresh cream and optional salt.
- Properly clean and assemble the ice cream maker before starting.
- Churning the cream is a crucial step in making homemade butter.
Norpro NOR-6841 Ultimate Dessert Maker , Green
Create your own fresh delicious Frozen desserts at home
As an affiliate, we earn on qualifying purchases.
Selecting the Right Ice Cream Maker
To find the perfect ice cream maker for you, you’ll need to consider factors like size, price, and ease of use. When it comes to choosing the right churner for making butter, these factors are just as important.
The size of the ice cream maker will determine how much butter you can make at once, so consider how much butter you plan on making. Price is also a consideration, as ice cream makers can range in price from affordable to quite expensive. Lastly, ease of use is crucial, especially if you’re new to making butter.
Look for an ice cream maker with clear instructions and simple controls. Once you’ve chosen the right churner, you can move on to gathering the ingredients for homemade butter.

Breville Smart Scoop Ice Cream Maker BCI600XL, Brushed Stainless Steel
The Smart Scoop transforms the kitchen into your favorite scoop shop. The first ice cream maker to automatically...
As an affiliate, we earn on qualifying purchases.
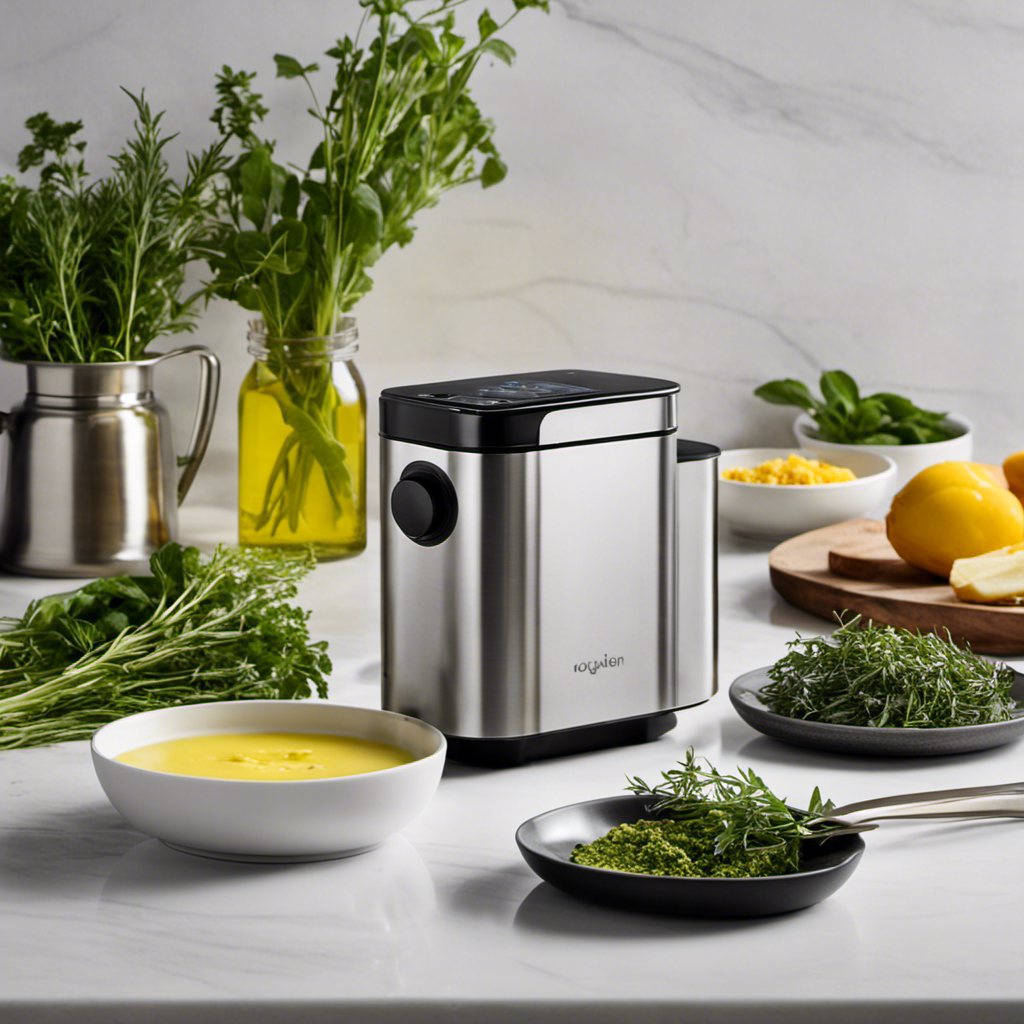
Gathering the Ingredients for Homemade Butter
When it comes to making homemade butter, there are a few essential ingredients that you’ll need to gather. First and foremost, you’ll need fresh cream, preferably from a local dairy. Additionally, a pinch of salt can be added for flavor, although this is optional.
As for the tools needed, you’ll require a mixer or a jar with a tight-fitting lid to churn the cream. You’ll also need a strainer or cheesecloth to separate the butter from the liquid.
Essential Butter Ingredients
You’ll need just a few essential ingredients to make butter in your ice cream maker. Here are the key items you’ll need to get started:
-
Essential Butter Equipment:
-
Ice cream maker: This is the main equipment you’ll need to churn the cream into butter. Make sure it is in good working condition.
-
Mixing bowl: Use a large bowl that will fit comfortably in your ice cream maker to hold the cream.
-
Whisk or hand mixer: These tools will help you whip the cream until it separates into butter and buttermilk.
-
Different Types of Butter Ingredients:
-
Heavy cream: This is the main ingredient for making butter. Make sure to use fresh, high-quality cream for the best results.
-
Salt (optional): Adding a pinch of salt to the cream can enhance the flavor of the butter. It’s a personal preference, so you can choose to add it or not.
With these essential ingredients and equipment, you’ll be ready to make delicious homemade butter in no time.
Gathering Tools Needed
Using a whisk or hand mixer, whip the cream until it separates into butter and buttermilk.
To make butter at home, you’ll need a few tools. First, you’ll need a large bowl to hold the cream and a whisk or hand mixer to whip it. Additionally, a strainer or cheesecloth will be necessary to separate the butter from the buttermilk. To enhance the flavor of the butter, you can also add salt or other seasonings.
The process of making butter involves whipping the cream until the fat solids separate from the liquid. The resulting solid is the butter, while the liquid is the buttermilk.
Now that we have gathered our tools for butter making, let’s move on to preparing the ice cream maker for butter making.

SMEG SMIC01 Ice Cream Maker Attachment for Stand Mixers – Compatible with SMF02 & SMF03, 1.1 L Capacity, Double-Wall Cooling Bowl, Includes Beater, Lid & Spatula
Made for SMEG Stand Mixers – Compatible with SMF02 and SMF03 models.
As an affiliate, we earn on qualifying purchases.
Preparing the Ice Cream Maker for Butter Making
Before starting, make sure the ice cream maker is properly cleaned and assembled. As someone who’s made butter in an ice cream maker countless times, I can assure you that taking the time to properly prepare the machine is crucial for the best results.
Here are some troubleshooting tips and tips for achieving the perfect texture:
-
Troubleshooting common issues:
-
If the butter doesn’t form properly, check if the cream used is fresh and at room temperature.
-
If the butter is too soft, try chilling the cream before churning.
-
Tips for achieving the perfect texture:
-
Use heavy cream with a high fat content for richer and creamier butter.
-
Churn the cream for the recommended time to ensure proper separation of the butterfat.

KitchenAid Stand Mixer Attachment, KSMSIA Shave Ice
Genuine KitchenAid Stand Mixer Attachment - Designed and engineered by the manufacturers of the KitchenAid Stand Mixer, sold...
As an affiliate, we earn on qualifying purchases.
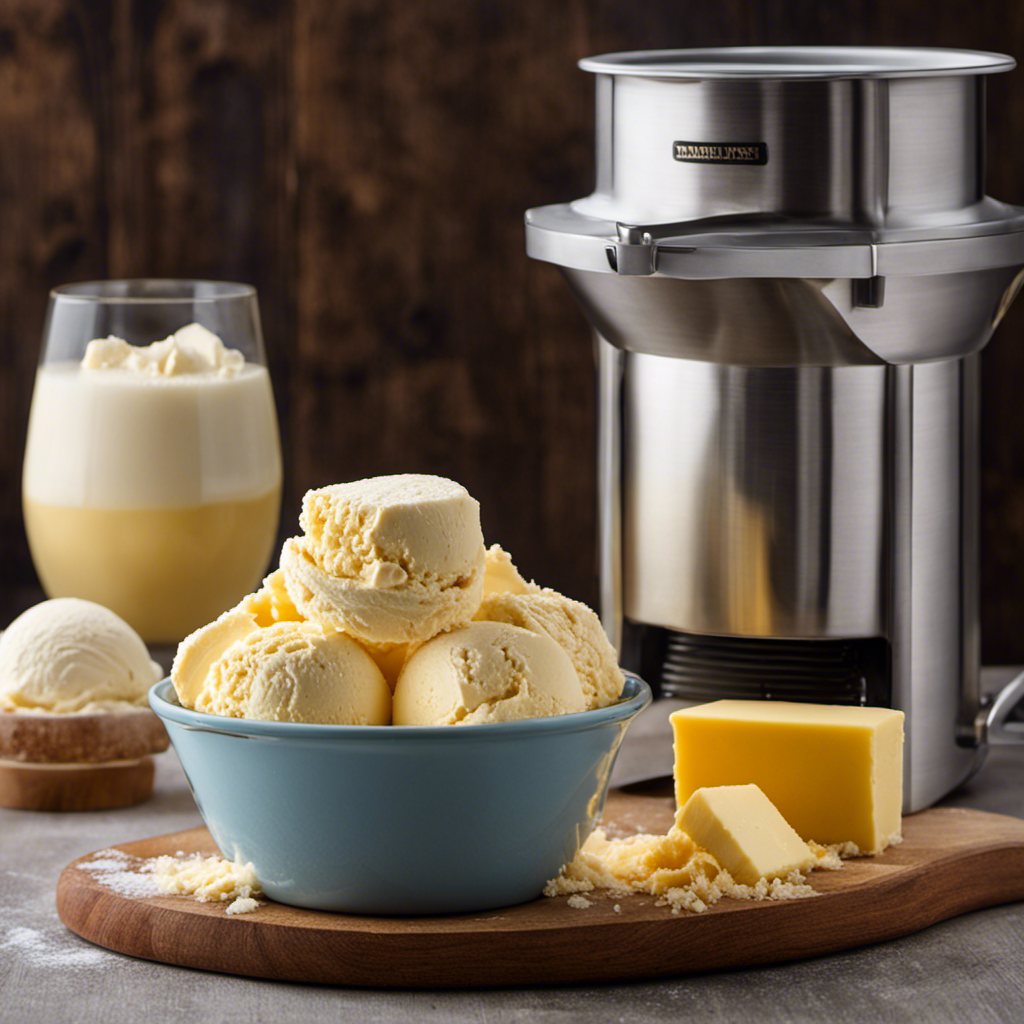
Churning the Cream
Churning the cream in the ice cream maker is a crucial step in the process of making homemade butter. Once the cream has been poured into the ice cream maker, it needs to be churned for a specific amount of time. The churning process helps to separate the butterfat from the buttermilk, resulting in creamy homemade butter.
However, sometimes troubleshooting may be required during the churning process. If the cream is not thickening or separating, it could be due to using cream that has a lower fat content. In this case, adding a bit of heavy cream or increasing the churning time may help. Additionally, you can experiment with different flavors of homemade butter by adding herbs, spices, or even sweet ingredients like honey or maple syrup.
Transitioning into the next section, separating the butter from the buttermilk is the next crucial step in the process.
Separating the Butter From the Buttermilk
When it comes to making butter, understanding the churning process is crucial.
Churning is the method used to separate the butter from the buttermilk, and it involves agitating the cream until the fat molecules clump together.
This process can be achieved in various ways, such as using an ice cream maker or a hand-held churn.
Once the butter has formed, it is important to remove excess liquid efficiently to prevent the butter from becoming too soft or watery.
Churning Process Explained
To get creamy homemade butter, it’s important to let the ice cream mixture churn until it thickens. Churning is the process where the cream is agitated to separate the fat from the liquid.
Here’s how it works:
-
Churning speed: The speed at which the ice cream maker churns affects the texture of the butter. A slower churn will result in a smoother, creamier butter, while a faster churn will produce a firmer texture.
-
Flavor variations: The churning process can also be used to incorporate flavors into the butter. By adding ingredients like herbs, spices, or even fruit puree during the churning process, you can create unique and delicious flavored butters.
Now that the ice cream mixture has thickened through churning, it’s time to move on to the next step: removing excess liquid efficiently. This is crucial to obtaining the perfect consistency and ensuring that your homemade butter is rich and flavorful.
Removing Excess Liquid Efficiently
Once the ice cream mixture has thickened, it’s important to efficiently remove any excess liquid for the perfect consistency of your homemade butter.
There are several efficient butter-making techniques you can use to achieve this. One method is to pour the thickened mixture into a fine-mesh strainer or cheesecloth-lined colander. Allow the liquid to drain out naturally, gently pressing the mixture to release any remaining liquid.
Another alternative is to transfer the mixture to a large jar and refrigerate it overnight. This will cause the liquid to separate from the butter, making it easier to remove.
Once the excess liquid has been removed, you can further enhance the texture of your butter by kneading it under cold water or using a butter paddle.
These techniques ensure that your homemade butter has the perfect consistency and is ready to be enjoyed.
Washing and Kneading the Butter
Before washing and kneading the butter, it’s important to let it soften at room temperature. This allows the butter to become more pliable and easier to work with.
Once it has softened, I begin by washing the butter. This step involves placing the butter in a bowl of cold water and gently kneading it to remove any excess liquid. It’s important to keep the water cold to prevent the butter from melting.
After washing, I move on to kneading the butter. There are various kneading methods, but I prefer using a wooden spoon or my hands to gently press and fold the butter until it becomes smooth and creamy. This not only helps to further remove any remaining liquid, but also helps to evenly distribute the fat throughout the butter.
Adding Salt (Optional
After washing and kneading the butter, it’s time to add some flavor.
One optional ingredient that can enhance the taste of your homemade butter is salt. Adding salt not only adds a savory element but also helps to preserve the butter by inhibiting bacterial growth. It can also balance out the sweetness if you plan to use the butter in sweet dishes like cookies or cakes.
However, if you prefer a salt-free option, there are alternative ingredients you can use to flavor your butter. For a hint of sweetness, you can add honey or maple syrup. Herbs and spices like garlic, thyme, or cinnamon can also be used to infuse unique flavors into your butter.
Don’t be afraid to experiment and find the perfect combination that suits your taste buds.
Storing and Using Homemade Butter
To keep your homemade butter fresh and flavorful, store it in an airtight container in the refrigerator. This will help prevent it from absorbing any unwanted odors and maintain its taste for longer.
Here are some tips for storing and using homemade butter:
-
Storing Homemade Butter:
-
Use an airtight container: This will keep the butter protected from air and moisture, which can cause it to spoil.
-
Label and date the container: This will help you keep track of when the butter was made and ensure you use it before it goes bad.
-
Creative Uses for Homemade Butter:
-
Baking: Add a dollop of homemade butter to your favorite cookie or cake recipes for a rich and flavorful twist.
-
Cooking: Use it to sauté vegetables or melt it over grilled meats for a delicious and indulgent flavor.
Troubleshooting Tips for Butter Making in an Ice Cream Maker
If the consistency of your homemade ice cream is too soft, try adding more ice and rock salt to the ice cream maker.
Troubleshooting common issues when making butter in an ice cream maker can be frustrating, but with a few adjustments, you can achieve the perfect results.
One common issue is when the butter doesn’t separate from the buttermilk. To fix this, make sure the cream you are using has a high enough fat content and that the temperature is correct.
Another issue is when the butter becomes too hard. To prevent this, avoid over-churning the cream and stop once the butter has formed.
Lastly, if the butter has a strange taste, it could be due to the cream being spoiled. Always use fresh, high-quality cream for the best results.
Frequently Asked Questions
Can I Use Any Type of Ice Cream Maker to Make Butter?
Yes, you can use any type of ice cream maker to make butter. However, there are alternative methods for making butter without an ice cream maker.
What Is the Difference Between Store-Bought Butter and Homemade Butter?
Store-bought butter is convenient, but lacks the fresh, creamy taste and texture of homemade butter. Making your own butter allows you to control the ingredients and enjoy the satisfaction of creating something delicious from scratch.
Is It Difficult to Clean the Ice Cream Maker After Making Butter?
Cleaning the ice cream maker after making butter is not difficult. Some maintenance tips include disassembling the machine, washing the parts with warm soapy water, and drying them thoroughly before reassembling.
Can I Use Heavy Cream Instead of Regular Cream to Make Butter?
Using heavy cream for homemade butter is a great idea! However, using whipped cream instead of regular cream may not yield the desired results. Stick to regular cream for the best butter-making experience.
How Long Does Homemade Butter Typically Last in the Refrigerator?
Homemade butter typically lasts about two weeks in the refrigerator. To extend its shelf life, store it in an airtight container and keep it away from strong odors. Freezing is also an option for preserving homemade butter for several months.
Conclusion
In conclusion, making butter in an ice cream maker is a fun and rewarding process. By following the steps outlined in this article, you can create delicious homemade butter with ease.
Did you know that it takes approximately 20 minutes to churn the cream into butter? Imagining the creamy mixture transforming into a solid block of butter is truly fascinating.
So why not give it a try and enjoy the satisfaction of making your own butter from scratch?