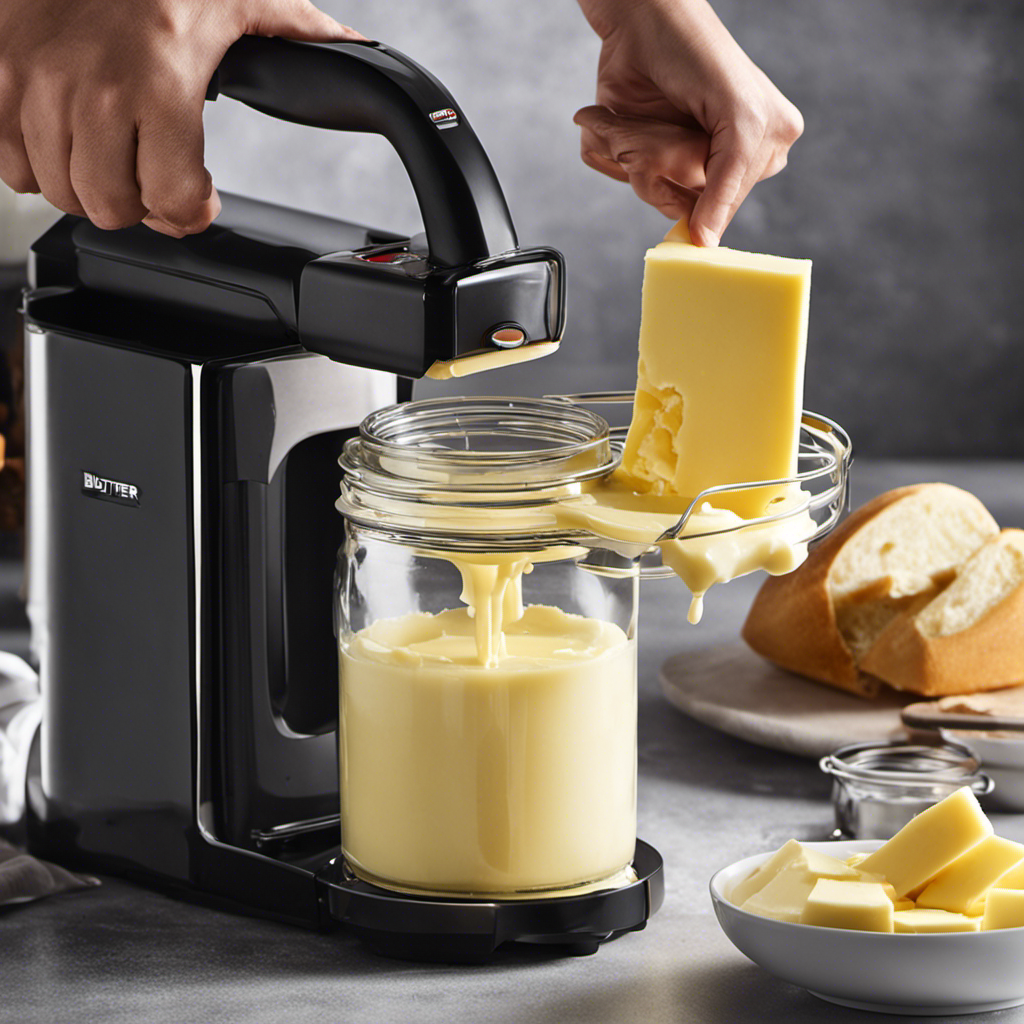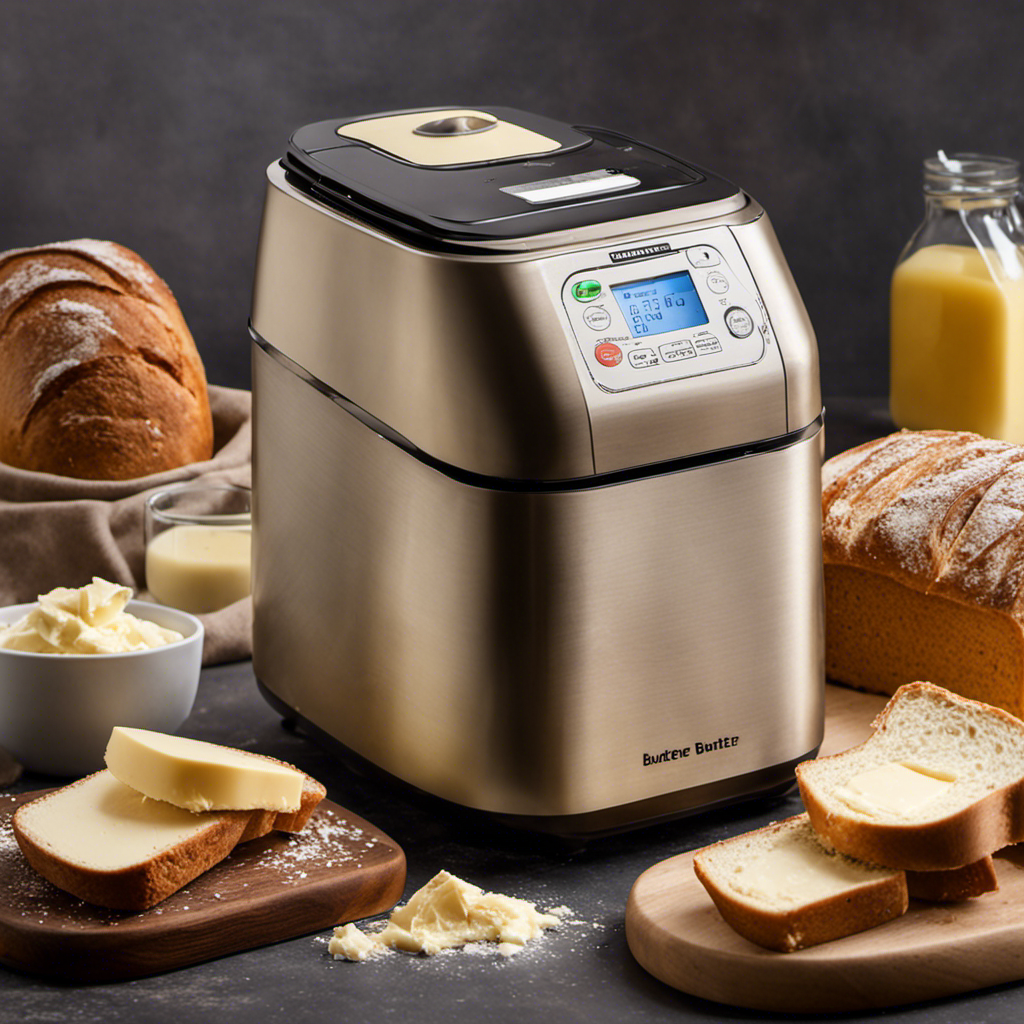
I never imagined that my bread maker had other uses besides making bread, until I learned how to make butter in it. That’s right, butter! It’s truly a game-changer, folks.
Imagine the satisfaction of spreading homemade butter on your morning toast or using it in your favorite recipes. Trust me, once you try this simple and efficient method, store-bought butter will never be the same.
So, let’s dive into the step-by-step process of making creamy, delicious butter right in your bread maker.
Key Takeaways
- Consider the size and settings of the bread maker
- Gather the necessary ingredients and clean the bread maker before starting
- Adjust the mixing time and speed to achieve the desired butter consistency
- Store the butter properly in an airtight container or freezer to maintain freshness
Choosing the Right Bread Maker for Making Butter
When choosing the right bread maker for making butter, it’s important to consider the size and settings that will best suit your needs. Evaluating different bread maker models can help you make an informed decision.
Look for features that will make the butter-making process easier, such as a programmable timer and a removable kneading paddle. A larger capacity bread maker will allow you to make larger batches of butter at once. Consider the type of settings available, such as a butter-specific program or a manual setting that allows you to customize the kneading and resting times.
Additionally, look for a bread maker with a non-stick coating to ensure easy clean-up. By carefully evaluating different bread maker models and their features, you can choose the perfect one for making butter at home.
Gathering the Ingredients for Homemade Butter
When it comes to making homemade butter, it’s important to gather all the essential ingredients.
The two key ingredients you’ll need are heavy cream and a pinch of salt.
However, if you’re looking for ingredient substitutions, you can use alternative dairy-free options such as coconut cream or cashew cream.
Essential Butter Ingredients
To make butter in a bread maker, you’ll need a few essential ingredients.
First, you’ll need heavy cream, preferably at room temperature. This cream will be transformed into butter through the bread maker’s mixing and churning process.
Next, you’ll need a pinch of salt to enhance the butter’s flavor. You can also add some optional ingredients, such as herbs, garlic, or honey, to create flavored butter.
Additionally, you’ll need a bread maker with a specific ‘butter making’ setting. This setting ensures that the cream is churned at the right speed and temperature for optimal butter production. Some bread makers even come with a butter making attachment.
Ingredient Substitutions for Butter
If you’re looking for a healthier alternative to butter in your recipes, you can substitute it with ingredients like avocado, Greek yogurt, coconut oil, or applesauce. These substitutions not only provide a different flavor profile but also offer various health benefits.
Here are four options to consider:
-
Avocado: Rich in healthy fats, avocados can be mashed and used as a spread or in baking to add a creamy texture.
-
Greek Yogurt: Low in fat and high in protein, Greek yogurt can be used in place of butter in recipes like cakes and muffins for added moisture.
-
Coconut Oil: With its natural sweetness and high smoke point, coconut oil is a versatile substitute for butter in both sweet and savory dishes.
-
Applesauce: Perfect for baking, unsweetened applesauce adds moisture and sweetness without the need for butter.
Preparing the Bread Maker for Making Butter
First, make sure you’ve gathered all the necessary ingredients for preparing the bread maker for making butter. To start, you will need fresh cream, which comes in different types such as heavy cream, light cream, and whipping cream. Each cream type will yield a slightly different texture and flavor in the final butter.
Next, consider the different butter flavors you can create by adding herbs, spices, or even sweet ingredients like honey or maple syrup. Once you have chosen your cream and flavors, it’s time to prepare the bread maker.
Begin by thoroughly cleaning the bread maker, removing any residue from previous uses. Then, ensure that the paddle attachment is securely in place. Lastly, plug in the bread maker and position it on a stable surface, ready for the next step of adding the cream to the bread maker.
Adding the Cream to the Bread Maker
When it comes to adding the cream to the bread maker for making butter, there are a few key points to consider.
First, the temperature and consistency of the cream are important factors in achieving the desired outcome. It’s recommended to use chilled cream with a higher fat content for better results.
Next, the mixing time and speed should be adjusted accordingly to ensure proper emulsification and butter formation.
Cream Temperature and Consistency
The cream should be warmed to room temperature before adding it to the bread maker. This is important because the cream temperature affects the outcome of the butter.
Here are some key points to consider:
- Room temperature cream blends better with other ingredients, resulting in a smoother butter texture.
- Cold cream can cause the butter to take longer to form and may not churn evenly.
- Warm cream helps to achieve the desired butter consistency.
- It is recommended to leave the cream at room temperature for about 30 minutes before adding it to the bread maker.
By ensuring that the cream is at the right temperature, you are setting yourself up for success in making butter in the bread maker.
Now, let’s move on to the next step: mixing time and speed.
Mixing Time and Speed
To achieve the desired consistency, you should adjust the mixing time and speed according to your preference.
When making butter in a bread maker, the mixing techniques play a crucial role in determining the final quality of the butter. The mixing time refers to the duration that the ingredients are mixed together, while the speed relates to how fast the ingredients are blended.
For a smoother and creamier butter, it is recommended to mix the ingredients for a longer period at a moderate speed. This allows the butter to develop a rich texture and enhances its overall quality.
However, if you prefer a chunkier butter, you can reduce the mixing time and increase the speed. Experimenting with different mixing techniques will help you find the perfect balance and create butter that suits your taste preferences.
Butter Extraction Process
If you’re looking for a smoother texture in your homemade butter, adjusting the mixing time and speed is crucial. But that’s not the only factor that affects the quality of your butter. The extraction techniques you use can also make a difference.
Here are some techniques that can help you extract the maximum amount of butter from your cream:
-
Churning: This is the traditional method of butter extraction, where you agitate the cream until the butter separates from the liquid.
-
Washing: After churning, washing the butter with cold water helps remove any remaining buttermilk, resulting in a fresher taste.
-
Salting: Adding salt to the butter not only enhances the flavor but also acts as a preservative, extending its shelf life.
-
Mold Shaping: Once the butter is extracted, shaping it into a mold gives it a more professional and appealing appearance.
The benefits of homemade butter are numerous. It allows you to control the ingredients, resulting in a healthier and tastier product. Plus, the satisfaction of making your own butter is hard to beat.
Setting the Bread Maker to the Butter Making Mode
When you’re making butter in a bread maker, it’s important to set it to the butter making mode. This mode ensures that the bread maker operates at the optimal temperature and speed for churning cream into butter. Before starting, make sure the cream is at room temperature to ensure proper mixing. Cold cream will take longer to churn and may not yield the desired results. To ensure a smooth and creamy texture, it’s crucial to mix the cream thoroughly during the butter making process. This can be done by periodically stopping the bread maker and scraping down the sides of the mixing bowl. By following these steps and setting the bread maker to the butter making mode, you can easily make your own delicious homemade butter.
| Cream Temperature | Proper Mixing |
|---|---|
| Room temperature | Thoroughly mix by periodically scraping down the sides of the mixing bowl |
Monitoring the Butter Making Process
As I monitor the progress, I remember to check the consistency and color of the cream as it transforms into butter. This step is crucial to ensure that the butter is properly formed and ready to use.
Here are some important things to keep in mind while monitoring the butter making process:
-
Cream Temperature: Make sure that the cream is at room temperature before starting the process. Cold cream may take longer to churn into butter and affect the final texture.
-
Mixing Time: The mixing time will vary depending on the bread maker model and the amount of cream being used. It is important to follow the instructions provided with your specific bread maker to determine the appropriate mixing time.
-
Consistency: As the cream is being churned, it will go through different stages. Initially, it will thicken and become whipped cream-like. Keep mixing until it separates into solid butter and buttermilk.
-
Color: The color of the butter should be a pale yellow or light cream. If it appears too white, it may not have been mixed long enough. If it is too yellow, it may have been overmixed.
Draining and Separating the Butter From the Buttermilk
To drain and separate the butter from the buttermilk, you’ll need to pour the mixture into a strainer or cheesecloth-lined bowl. This step is crucial to achieve smooth and creamy butter. As the mixture drains, the buttermilk will pass through the strainer or cheesecloth, leaving behind the butter. Once the majority of the buttermilk has drained, you can gently press the butter with a spoon or spatula to remove any remaining liquid. It’s important to note that the buttermilk can be saved and used in various recipes or enjoyed as a refreshing drink.
When it comes to butter preservation techniques, there are a few options to consider. One popular method is to store the butter in an airtight container in the refrigerator. This helps to keep it fresh and prevents it from absorbing any odors from other foods. Another option is to freeze the butter, which can extend its shelf life for several months. However, it’s essential to wrap the butter tightly in plastic wrap or place it in a freezer bag to prevent freezer burn. Lastly, if you want to add a little extra flavor to your butter, you can incorporate butter flavoring extracts such as vanilla or almond. Just a few drops can transform plain butter into a delicious spread for your bread.
| Preservation Method | Benefits |
|---|---|
| Refrigeration | Keeps butter fresh and prevents odors |
| Freezing | Extends shelf life for months |
| Butter flavoring extracts | Adds delicious flavor to butter |
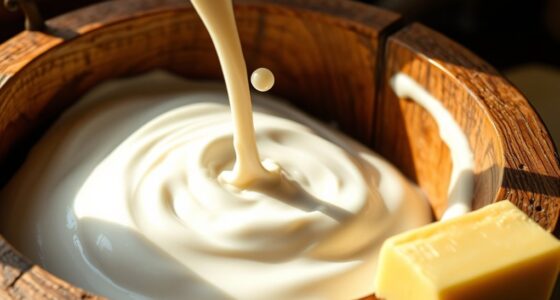
Washing and Working the Butter
When it comes to making butter, understanding the churning process is essential. I’ll explain how the cream transforms into butter through the agitation of churning.
Additionally, I’ll discuss the importance of water temperature in this process and provide tips for achieving consistent results.
Churning Process Explained
You can start the churning process by adding the cream to the bread maker. This is where the magic happens and the cream transforms into delicious butter.
Here’s what you need to know about the churning process:
-
Cream separation: As the bread maker mixes the cream, the fat molecules start to separate from the liquid, resulting in the formation of butter. This separation is key to creating butter.
-
Churning time: The churning process usually takes around 10 to 15 minutes. It’s important to keep an eye on the bread maker and stop it once the butter has formed. Over-churning can lead to a grainy texture.
-
Butter flavoring: If you want to add some extra flavor to your butter, you can incorporate various ingredients during the churning process. For example, you can add herbs, garlic, or even honey to enhance the taste.
-
Butter consistency: The longer you churn the cream, the firmer the butter will become. If you prefer a softer butter, you can reduce the churning time slightly.
Importance of Water Temperature
The temperature of the water is crucial in the churning process as it affects the separation of fat molecules from the cream.
The importance of water quality cannot be overstated when making butter. Using clean, filtered water ensures that any impurities or contaminants do not affect the final texture and taste of the butter.
Additionally, the temperature of the water plays a significant role in achieving the desired butter texture. If the water is too warm, the butter may become soft and lose its shape. On the other hand, if the water is too cold, the churning process may take longer, and the butter may become grainy.
Therefore, it is essential to use water at the right temperature to achieve a smooth and creamy butter consistency.
Tips for Achieving Consistency
When it comes to making butter in a bread maker, achieving consistency can sometimes be a challenge. One crucial factor to consider is the temperature of the cream. Here are some troubleshooting tips to help you achieve the perfect texture every time:
-
Start with chilled cream: Using cream straight from the fridge will help maintain a lower temperature throughout the churning process.
-
Avoid room temperature cream: Cream that is too warm can cause the butter to become soft and greasy, resulting in a less desirable texture.
-
Use the right program: Make sure to select the appropriate program on your bread maker for butter making. This will ensure that the churn and rest periods are accurate for the best results.
-
Monitor the process: Keep an eye on the cream as it churns. If it starts to look grainy or separates into lumps and liquid, it’s time to stop the machine and move on to the next step.
Storing and Preserving Homemade Butter
To maintain freshness, it’s important to properly store and preserve homemade butter.
After making butter at home, it’s crucial to store it correctly to ensure its quality and taste are preserved. The first step is to remove any excess water from the butter by gently pressing it with a spoon or spatula.
Once the water is removed, transfer the butter to an airtight container. This will help prevent any odors or flavors from seeping into the butter. It’s also important to keep the butter refrigerated at all times to maintain its freshness.
If you plan on storing the butter for a longer period, consider wrapping it in wax paper or plastic wrap before placing it in the container.
Troubleshooting Tips for Butter Making in Bread Maker
If you’re experiencing issues, try adjusting the settings on your bread maker for better results with butter making. Here are some troubleshooting tips for butter extraction and common mistakes to avoid:
- Ensure the cream is at room temperature before starting the process.
- Use high-quality cream with a higher fat content for better results.
- Avoid overfilling the bread maker as it can hinder proper churning.
- Check the paddle attachment to make sure it’s securely attached to the bread maker.
If you’re still having trouble, consider the following common mistakes in butter making:
- Not allowing enough time for churning: Be patient and let the bread maker run for the recommended duration.
- Using cold cream: Cold cream takes longer to churn into butter. Allow the cream to warm up before starting.
- Adding salt too early: Wait until the butter has formed before adding salt for flavor.
Frequently Asked Questions
Can I Use Any Type of Bread Maker to Make Butter?
Yes, you can use any type of bread maker to make butter. It’s a convenient and easy way to make homemade butter. Just follow the instructions for making butter in your specific bread maker model.
How Long Does It Take for the Bread Maker to Make Butter?
It doesn’t take long to make butter in a bread maker. Just follow the steps for making butter without cream or using different ingredients, and in no time, you’ll have homemade butter!
Can I Use Any Type of Cream to Make Butter in the Bread Maker?
Yes, you can use different types of cream to make butter in the bread maker. However, it is important to use heavy cream or whipping cream for the best results.
How Much Butter Can I Make in One Batch Using the Bread Maker?
In one batch using the bread maker, you can make a decent amount of butter. The exact quantity will depend on the size of your bread maker and the amount of cream you use in the butter making process.
Can I Add Any Flavorings or Spices to the Butter While It’s Being Made in the Bread Maker?
Sure, you can add various flavorings and spices to your homemade butter while it’s being made in the bread maker. It’s a great way to customize the taste and create unique flavors.
Conclusion
In conclusion, making butter in a bread maker is a simple and convenient process that yields delicious homemade butter. By following the steps outlined in this article, you can easily create your own creamy butter right in your kitchen.
While some may argue that it is easier to buy butter from the store, the satisfaction of making your own butter and the control over ingredients make it a worthwhile endeavor.
So why not give it a try and enjoy the taste of fresh, homemade butter on your next slice of bread?