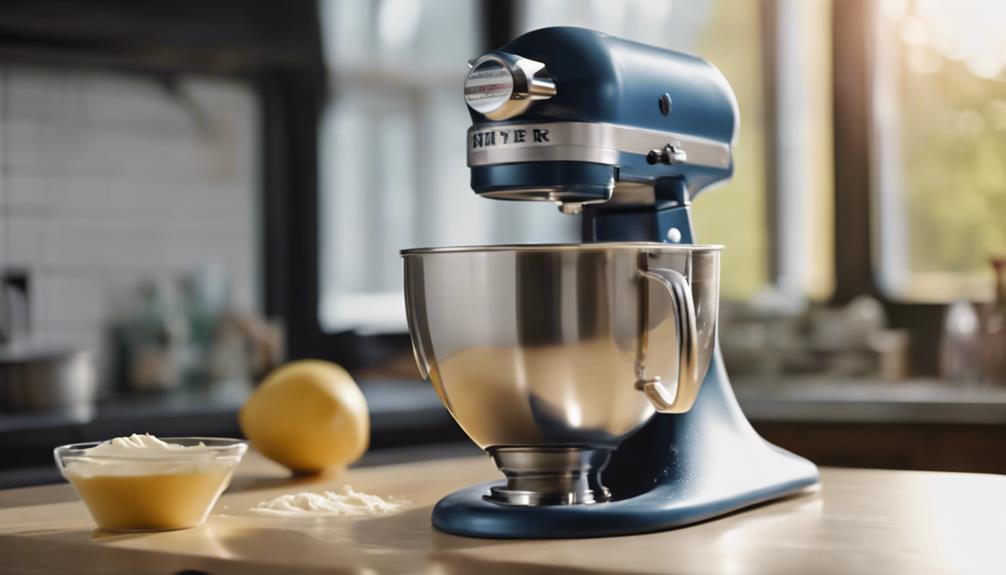
Create creamy, customized butter effortlessly in your stand mixer. Whip heavy cream till it separates into butter and buttermilk. Strain out extra buttermilk, rinse the butter in ice-cold water. Add sea salt or herbs for a personal touch. Store your homemade butter in the fridge for freshness. Make unique flavored butters like chile lime or parmesan garlic for a gourmet twist. Elevate your dishes and impress guests with your homemade butter magic.
Key Takeaways
- Stand mixer simplifies butter-making process, whipping cream to separate butter and buttermilk efficiently.
- Use a fine mesh sieve to strain excess buttermilk from the freshly made butter.
- Rinse the butter under ice-cold water to remove any remaining buttermilk and enhance freshness.
- Customize butter with flavors like sea salt or herbs for a unique and personalized touch.
- Store homemade butter in an airtight container in the fridge at 40°F or below for freshness and quality.
Benefits of Homemade Butter
Discover the perks of crafting your own butter at home for a flavorful and customizable experience. Homemade butter allows you to experiment with a variety of flavors like garlic, herbs, or sea salt, tailoring it to your personal taste preferences.
Imagine the satisfaction of serving your guests freshly made butter with a unique twist, impressing them with the rich and distinctive flavors that store-bought varieties lack.
Besides the delicious aspect, making homemade butter provides an opportunity for thoughtful and unique gift-giving. Whether for a special occasion or a casual gathering, presenting a jar of your homemade butter shows care and attention to detail.
Additionally, the process of creating butter yields buttermilk as a byproduct, which can be utilized in various recipes such as biscuits, pancakes, or marinades, adding depth of flavor to your culinary creations.
Incorporating homemade butter into your cooking and baking routines not only guarantees freshness and quality but also offers convenience and versatility. Store your homemade butter in the fridge for weeks, ready to elevate your dishes with its rich taste and creamy texture.
Stand Mixer Butter Process
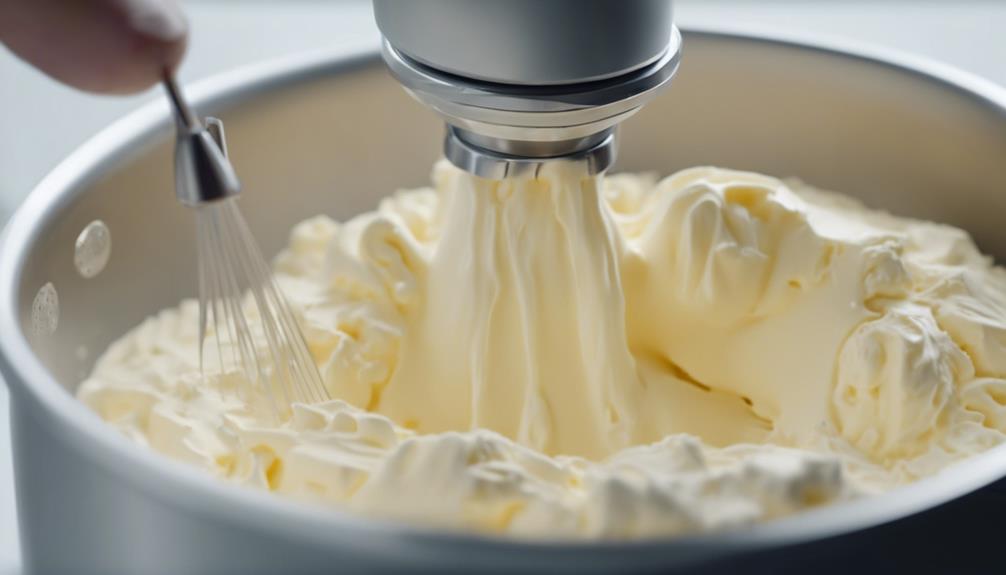
For efficient butter-making at home, employing a stand mixer streamlines the process, making it a convenient choice for crafting your own homemade butter.
To begin, pour the heavy cream into the stand mixer bowl and whip it on medium-high speed. As the cream thickens, it will eventually separate into butter and buttermilk.
Once separated, use a fine mesh sieve to press out any excess buttermilk from the butter. Next, rinse the butter under ice-cold water to remove any remaining buttermilk, which helps improve its shelf life.
At this point, consider adding flavor enhancers like sea salt or herbs to customize your butter. The stand mixer method not only provides a hands-off approach for making butter but also guarantees a consistent result every time.
Enjoy the satisfaction of creating your own delicious butter right in your kitchen using this simple and effective technique.
Homemade Butter Storage Tips
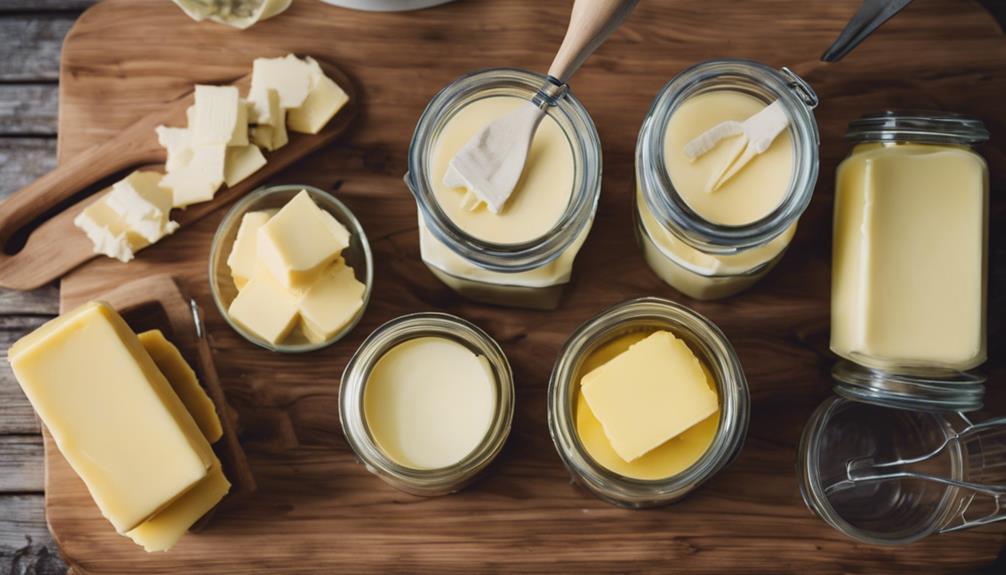
You can extend the shelf life of your homemade butter by storing it in an airtight container in the fridge at 40°F or below.
Remember to give it a sniff to check for freshness before using it in your culinary creations.
If your kitchen is warm, freezing the homemade butter can help maintain its quality and avoid spoilage.
Butter Storage Guidelines
Proper storage of homemade butter is crucial to maintain its freshness and quality. To guarantee your homemade butter stays delicious for as long as possible, follow these simple guidelines:
- Use an airtight container: Store your homemade butter in an airtight container to prevent it from absorbing odors from other foods in the refrigerator.
- Refrigerator storage: Keep your homemade butter in the refrigerator at a temperature of 40°F or below to maintain its freshness and quality.
- Check freshness: Before using your homemade butter, give it a quick sniff to confirm it still smells fresh and hasn't gone rancid.
- Consider freezing: If your kitchen tends to be warm, think about freezing your homemade butter to extend its shelf life and preserve its quality.
- Watch for buttermilk content: Be mindful of the buttermilk content in your homemade butter, as a higher amount may shorten its shelf life.
Maximizing Shelf Life
To extend the shelf life of your homemade butter, store it in an airtight container in the refrigerator. This simple step helps maintain freshness and prevents the butter from absorbing other odors present in the fridge.
Homemade butter can typically last for up to two weeks when refrigerated correctly. Remember to check the butter for any signs of spoilage, such as off smells or discoloration, before using it in your recipes.
Properly rinsing the butter to remove excess buttermilk is another essential tip for maximizing its shelf life. Buttermilk residue can lead to quicker spoilage, so make sure you wash the butter thoroughly.
If you live in a warmer climate or want to store the butter for an extended period, consider freezing it. Freezing homemade butter can significantly extend its shelf life and maintain its quality over time.
Ingredient Substitutions and Usage
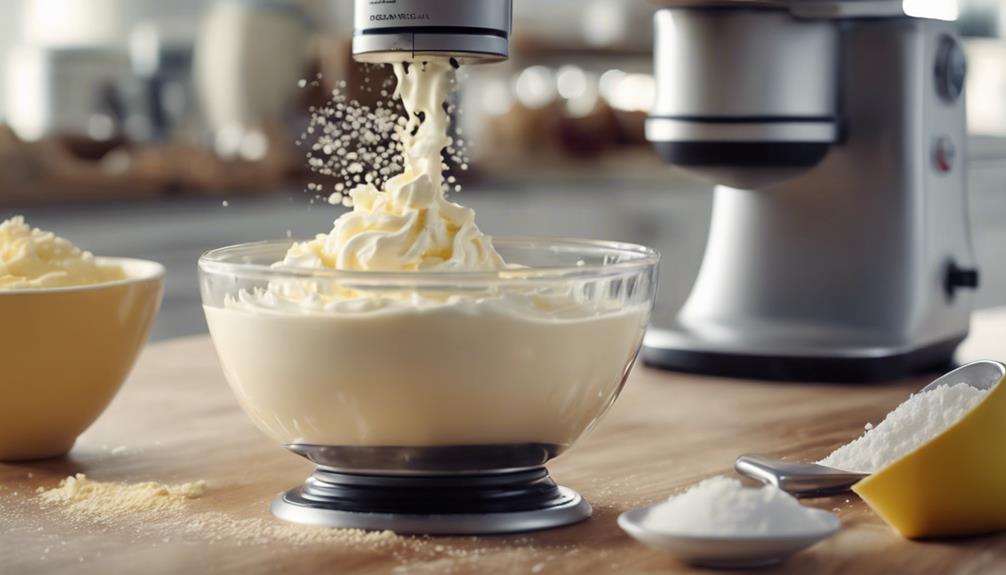
When making butter in a stand mixer, remember that heavy cream is key for its fat content. Substituting milk can alter the texture and fat levels in your butter.
Buttermilk, a butter byproduct, adds moisture and tanginess to dishes.
Ingredient Substitutions
How can you effectively substitute heavy cream when making butter in a stand mixer? Here are some tips to help you make successful ingredient substitutions:
- Milk Fat Percentages: Opt for heavy cream with higher milk fat content (around 36%-40%) to guarantee a better yield of butter.
- Raw Cows Milk: If using unpasteurized cows milk, be mindful of the specific ratios required for successful butter making in a stand mixer.
- Buttermilk: Consider using buttermilk, a byproduct of butter making, in various recipes to improve flavor and moisture.
- Country Variations: Be aware that different countries may have varying milk fat levels, which can impact the butter-making process.
- Freezing Buttermilk: Extend the shelf life of excess buttermilk by freezing it for later use, reducing waste and making sure you always have some on hand.
Buttermilk Usage
Buttermilk, a versatile ingredient, offers a tangy flavor and tender texture when used as a substitute for regular milk in baking recipes. Its acidic properties make it a fantastic choice for tenderizing meat in marinades and adding a subtle tang to dishes.
In classic recipes like pancakes, biscuits, and salad dressings, buttermilk plays an essential role. The leftover buttermilk can be frozen in ice cube trays for easy future use in small portions, ensuring you always have it on hand when needed.
When used in baking, the acidity of buttermilk activates baking soda, resulting in a light and fluffy texture in your favorite baked goods. So, next time a recipe calls for milk, consider using buttermilk instead for a unique twist on flavor and texture.
Experiment with this versatile ingredient in various recipes to elevate your culinary creations.
Storage and Freshness
To maintain the freshness of your homemade butter, ensure proper rinsing to remove excess buttermilk remnants. After making your butter, follow these storage tips to secure its quality and longevity:
- Store homemade butter in airtight containers in the fridge to extend its shelf life for several weeks.
- Avoid leaving homemade butter out at room temperature for more than 4 hours to prevent spoilage.
- Freeze any leftover buttermilk for future use in recipes like biscuits, pancakes, and marinades.
- Always check for any signs of spoilage before using homemade butter to secure its quality and safety.
- Consider using labeled containers or bags to keep track of the date your homemade butter was made to help monitor its freshness.
Rinsing Homemade Butter Methods
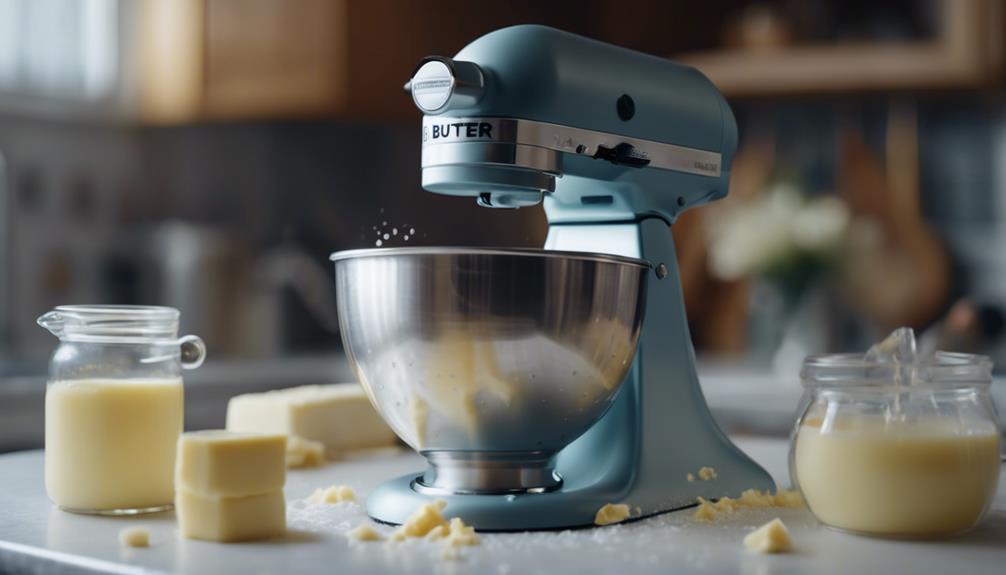
For efficient rinsing of homemade butter to remove excess buttermilk and enhance its shelf life, consider utilizing ice water baths. Ice water baths are a popular method to thoroughly rinse butter, ensuring that any remaining buttermilk is removed effectively. Proper rinsing involves kneading and pressing the butter to expel lingering buttermilk, which can cause rancidity over time.
When rinsing your butter, make sure the water temperature is cool but not freezing, as overly cold water may harden the butter and make it difficult to cleanse. By employing efficient rinsing methods, you can help guarantee that your butter stays fresh and flavorful for a more extended period.
Taking the time to rinse your homemade butter properly won't only improve its taste but also extend its shelf life, allowing you to enjoy it for longer without worrying about spoilage.
Homemade Butter Presentation Ideas
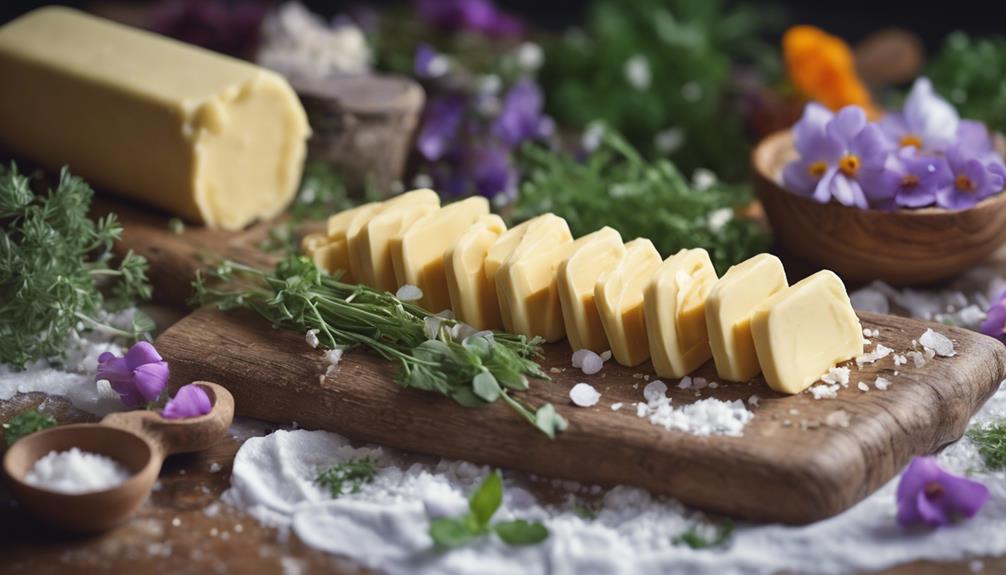
Consider wrapping your homemade butter in parchment paper and tying it with a ribbon for a charming presentation. To elevate the presentation of your homemade butter, here are some creative ideas you can try:
- Attach a small tag with a personalized message to the butter packaging for a thoughtful touch.
- Pair your homemade butter with freshly baked bread or homemade biscuits for a delightful gift.
- Experiment with shaping the butter into different forms using silicone molds for a unique presentation.
- Create themed butter shapes using silicone molds to match the occasion or season.
- Place the butter in a decorative jar or container and add a rustic label for a farmhouse-inspired look.
These simple yet effective presentation ideas won't only make your homemade butter look appealing but also add a personal touch that will impress your friends and family.
Flavored Butter Options
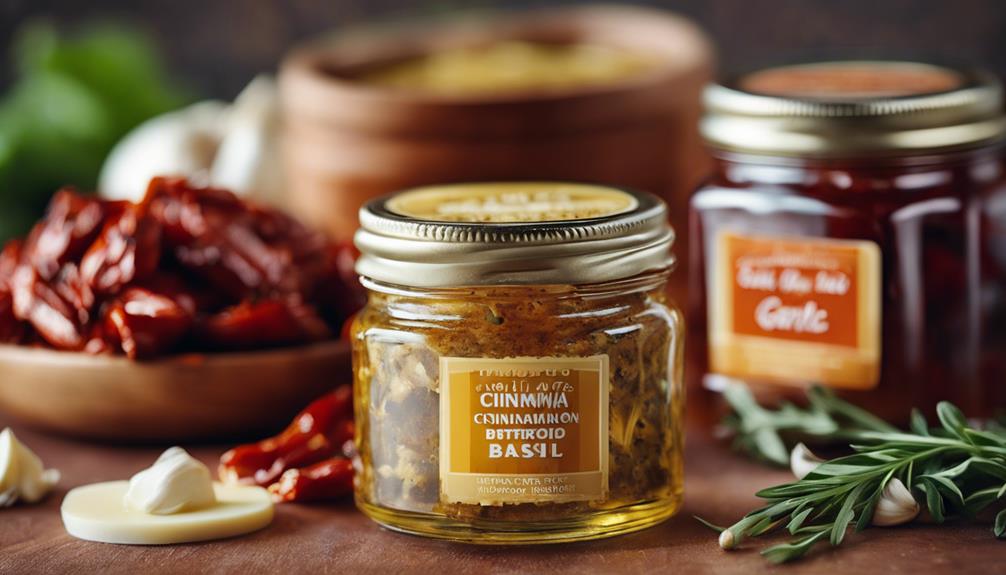
Elevate your homemade butter by infusing it with enticing flavors such as chile lime, parmesan garlic, or smoky barbecue to add a gourmet twist to your culinary creations.
Creating flavored compound butter is a fun and easy way to experiment with different tastes. Try incorporating ingredients like garlic powder for a savory kick or chocolate chips for a sweet indulgence.
After rinsing your butter, use the flat beater attachment on your stand mixer to mix in the additional flavors thoroughly.
Flavored butters can take your dishes to the next level, whether you're spreading them on freshly baked bread or melting them over a sizzling steak.
The possibilities are endless, so don't be afraid to get creative and customize your butter to suit your personal preferences and enhance your cooking repertoire.
With flavored butter options at your fingertips, you can add a special touch to any meal and impress your guests with unique and delicious creations.
Frequently Asked Questions
How to Make Butter Using a Mixer?
To make butter using a mixer, pour heavy cream into the bowl with a whisk attachment. Whip on low until it thickens into whipped cream. Keep mixing until butter forms. Rinse in ice water, shape, flavor, and store for later use.
What Is the Best Stand Mixer Attachment for Butter?
For making butter, the best stand mixer attachment is the wire whisk. It effectively whips cream, aerates it, and separates butterfat from buttermilk. The wire whisk guarantees thorough mixing and churning, facilitating the butter-making process efficiently.
What Speed Do You Cream Butter in a Stand Mixer?
To cream butter in a stand mixer, start on low speed for about 10 minutes until it turns into whipped cream. Gradually increase to high until butter separates from liquid. Once lumps form, you're done!
What Setting Do You Cream Butter on in a Mixer?
When creaming butter in a mixer, start on low speed. Gradually increase it as the cream thickens and transforms. Watch for lumps indicating butter separation. The magic happens as fat molecules clump together through agitation.
Conclusion
So there you have it – making butter in a stand mixer is a piece of cake!
With just a few simple steps, you can enjoy the creamy goodness of homemade butter anytime you want.
Remember, the proof is in the pudding – once you try homemade butter, you'll never want to go back to store-bought again.
Happy mixing!
