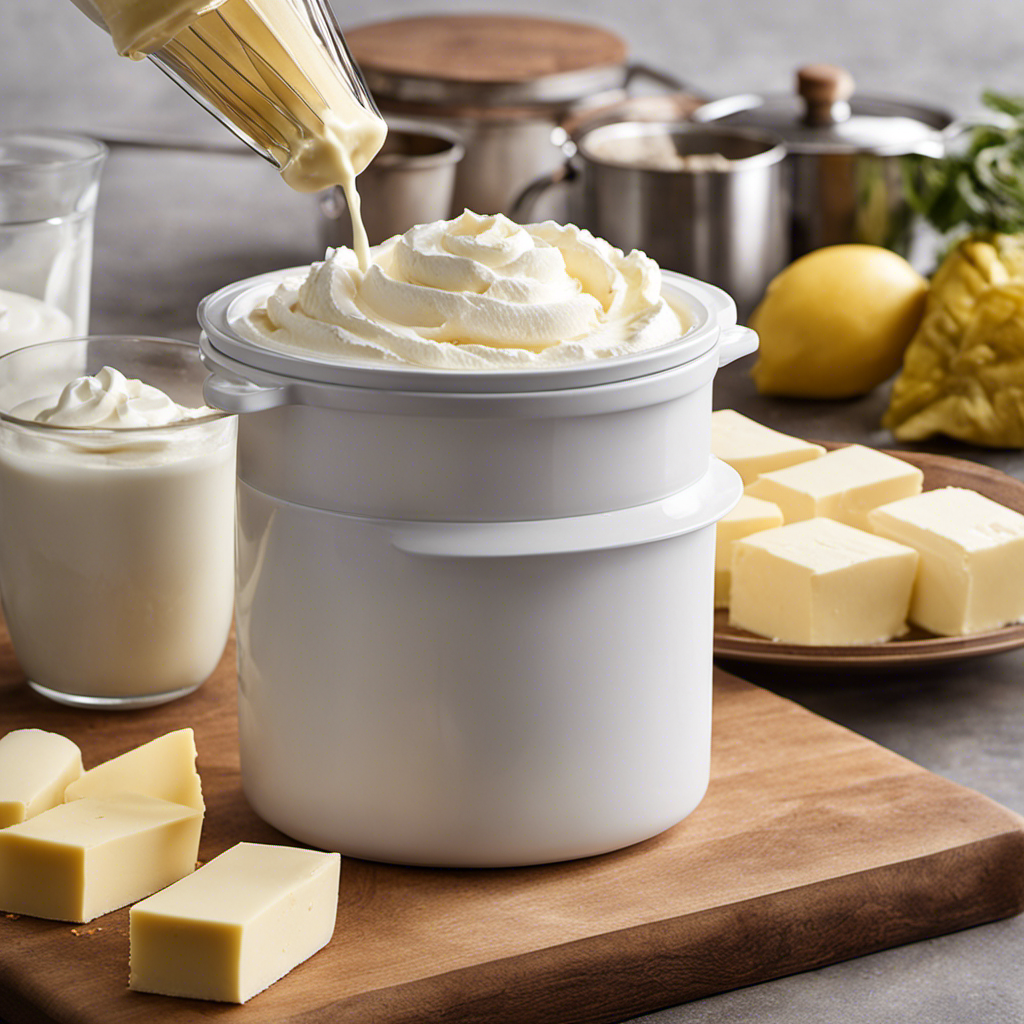
I really enjoy using my Pampered Chef Whipped Cream Maker to make butter! It’s so simple and the outcome is truly impressive.
In this article, I will guide you through the step-by-step process of using this fantastic kitchen tool to create your own homemade butter. From setting up the cream maker to churning the cream and storing the finished butter, I’ll provide you with all the precise instructions you need to achieve butter-making perfection.
Let’s get started!
Key Takeaways
- Attach the whisk to the lid of the Pampered Chef Whipped Cream Maker and secure it in place.
- Use high-quality heavy cream with a fat content of 35-40% for richer butter.
- Chill the cream in the refrigerator for at least 24 hours before churning.
- Start churning at a slow and steady rhythm, gradually increasing the speed as the butter forms.

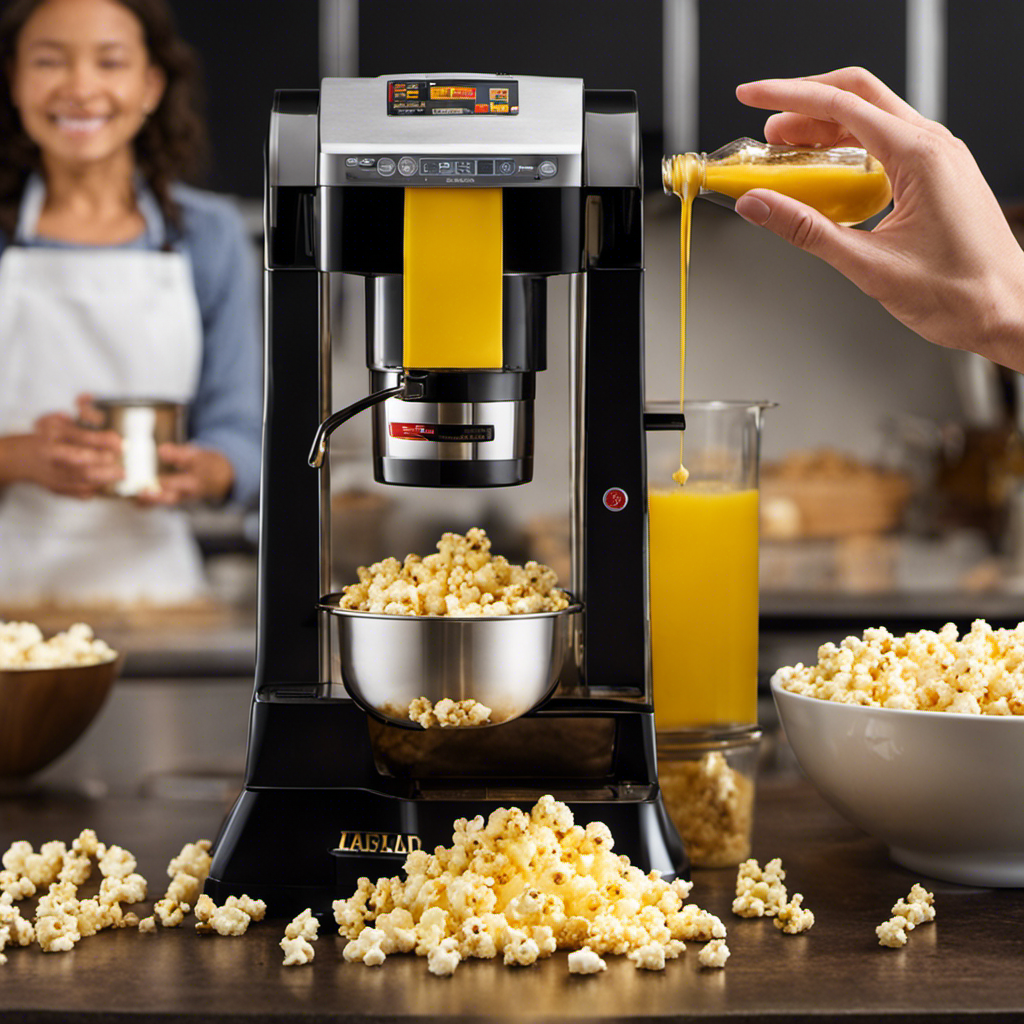
Peanut Butter Maker Machine, Electric Grain Grinder Peanut Butter Maker Sesame Sauce Grinder, Cashew Nut and Sesame 110V 33lb/h 1100W for Groundnut Almond Cashew Nut
- Durable Construction: Stainless steel housing and aluminum bin
- Powerful Grinding: 1100W copper motor for fine grinding
- Low Noise Operation: Quiet grinding for home or commercial use
As an affiliate, we earn on qualifying purchases.
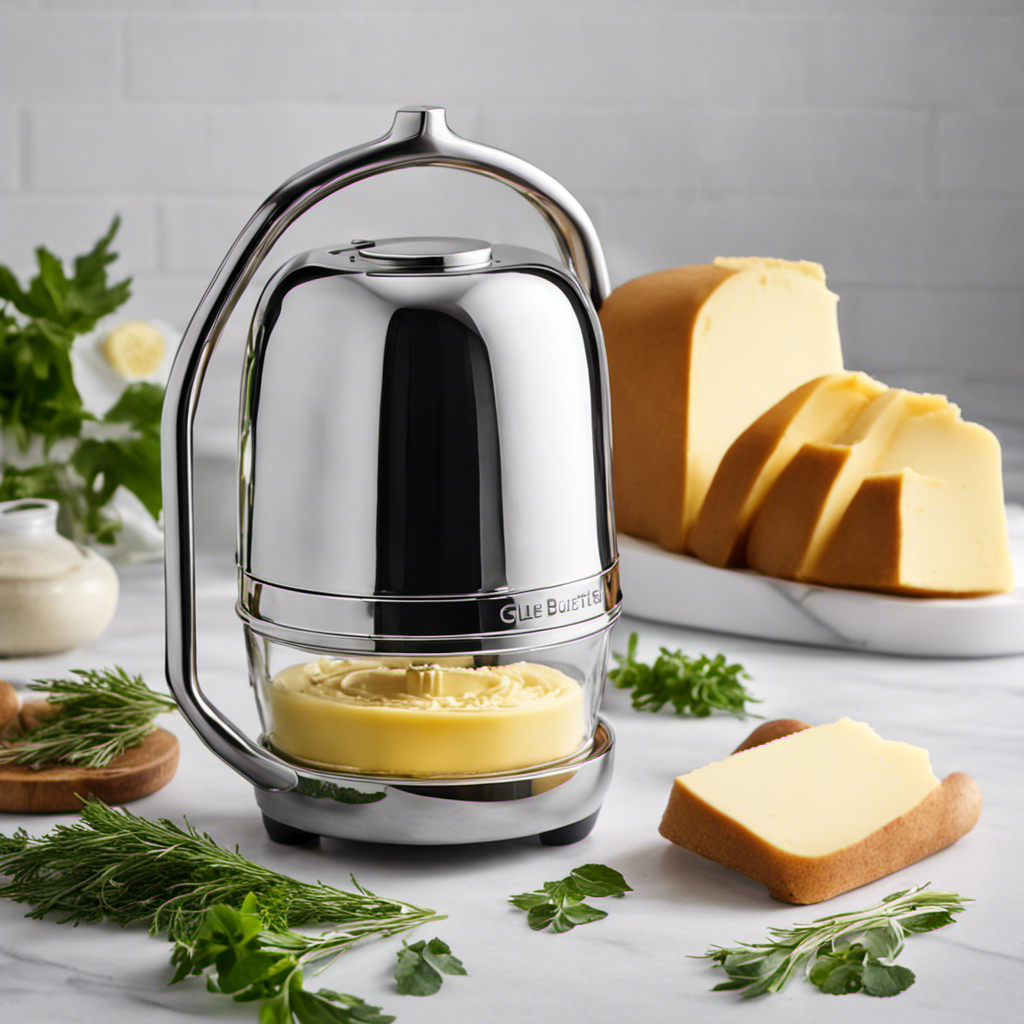
Setting up the Pampered Chef Whipped Cream Maker
First, make sure you’ve properly assembled the Pampered Chef Whipped Cream Maker. Attach the whisk to the lid of the container. Twist the lid onto the base until it locks securely in place.
To clean the whipped cream maker, remove the whisk and rinse it under warm water. Disassemble the lid and container and wash them with mild soap and water. Dry all parts thoroughly before reassembling.
If you encounter any issues while using the whipped cream maker, here are some common troubleshooting tips. If the cream isn’t whipping properly, check that the cream is cold and not overfilled. If the cream is too thick, try adding a little bit of milk. And if the cream is too thin, try chilling the container and whisk before using.
Choosing the Right Ingredients for Butter Making
For the best results, you’ll want to ensure that you have the right ingredients for making homemade butter in your whipped cream maker. Here are some tips for choosing the right ingredients:
-
Use high-quality heavy cream: Look for cream that has a high fat content, preferably around 35-40%. This will result in a richer and creamier butter.
-
Consider the type of churn: There are different types of butter churns available, such as paddle churns or electric churns. Choose one that suits your preference and kitchen setup.
-
Experiment with flavorings: Once you have made the basic butter, you can add flavorings to enhance the taste. Some popular options include herbs, garlic, honey, or even spices like cinnamon.
Preparing the Cream for Churning
To begin preparing the cream for churning, you’ll need to ensure it is chilled in the refrigerator for at least 24 hours. This step is crucial as it helps in achieving the desired consistency and texture for butter making.
Chilling the cream allows the fat molecules to solidify, making it easier for them to separate from the liquid. It is recommended to use a different type of cream for butter making, preferably heavy cream or whipping cream with a high fat content. These creams have a higher butterfat content, which means they will yield a higher amount of butter.
Additionally, using a higher fat cream will result in a richer and creamier butter. So, before you start churning, make sure to chill your cream and choose the right type for optimal butter making results.
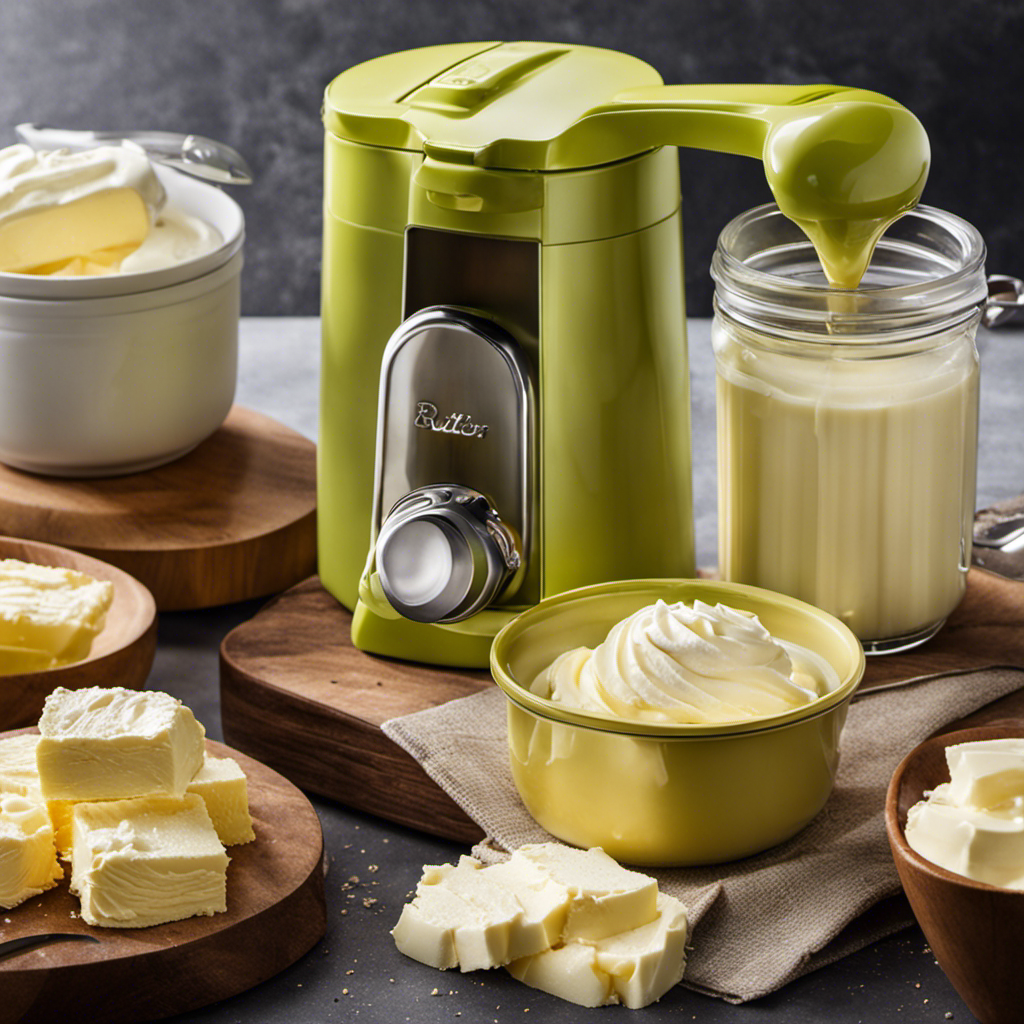
Churning the Cream to Make Butter
Once the cream is properly chilled, you can start churning it to create delicious homemade butter. Churning is the process of agitating the cream until the fat molecules clump together, separating from the liquid buttermilk.
To achieve the best results, follow these churning techniques:
-
Start with a slow and steady rhythm: Begin churning at a slow pace to allow the butterfat to form. Gradually increase the speed as the butter starts to take shape.
-
Monitor the temperature: Keep an eye on the temperature of the cream during churning. If it becomes too warm, the butter may not solidify properly, resulting in a softer texture.
-
Troubleshooting common butter making problems: If the cream doesn’t seem to be churning into butter, try adjusting the temperature or the speed of your churning. Also, make sure the cream hasn’t expired or contains any additives that may interfere with the process.
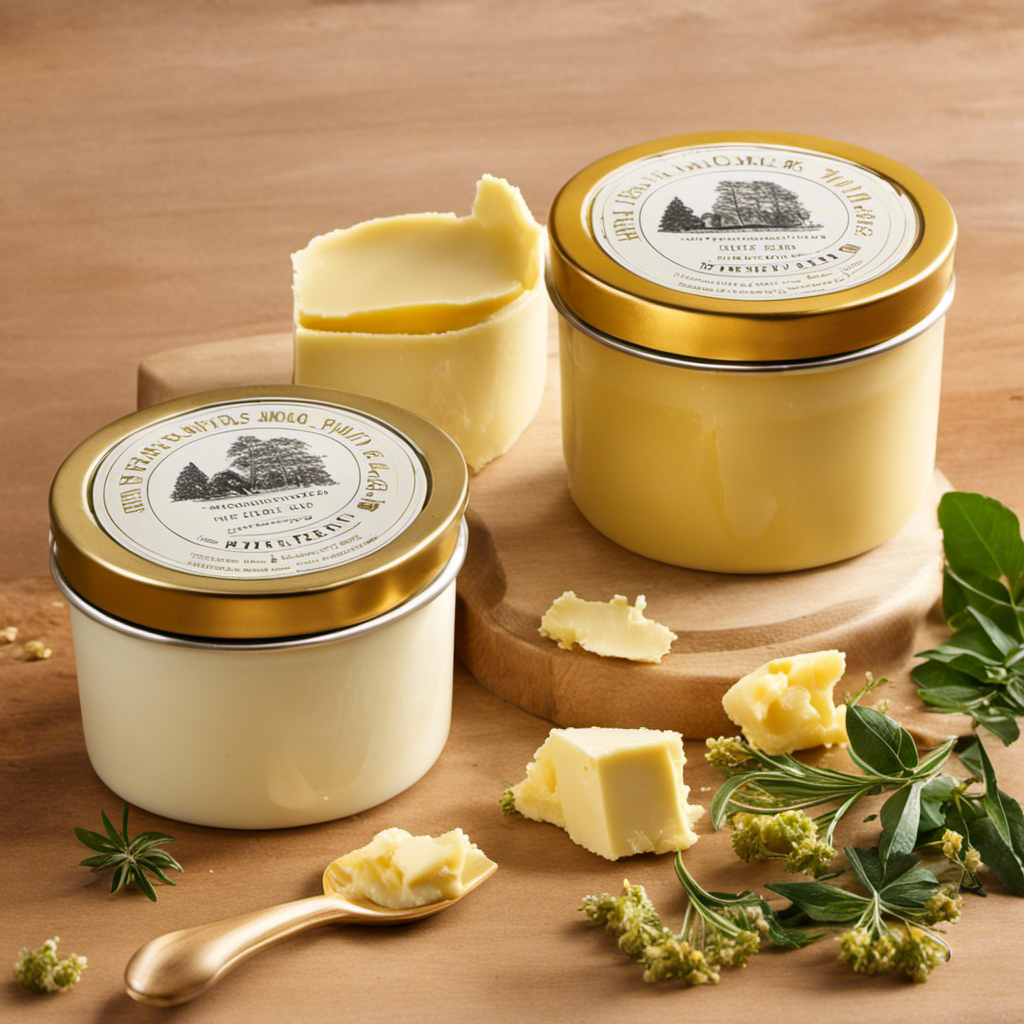
Storing and Using Your Homemade Butter
After churning, store your homemade butter in an airtight container in the refrigerator. This will help preserve its freshness and prevent any unwanted odors from being absorbed.
When choosing a container, opt for one that is specifically designed for food storage and has a tight seal. Glass jars with rubber gaskets or plastic containers with secure lids work well.
It is important to keep the butter away from strong-smelling foods, as it can easily pick up and retain odors.
In terms of cooking applications, homemade butter can be used in a variety of dishes. It adds richness and flavor to baked goods, can be melted for sautéing or frying, and can even be spread on toast or used as a topping for vegetables.
The possibilities are endless!
Frequently Asked Questions
Can I Use Any Type of Cream in the Pampered Chef Whipped Cream Maker?
Yes, you can use different types of cream in the Pampered Chef Whipped Cream Maker. However, it is important to troubleshoot common issues when making butter to ensure successful results.
How Long Does It Take to Churn Cream Into Butter Using the Pampered Chef Whipped Cream Maker?
It typically takes about 10-15 minutes to churn cream into butter using the Pampered Chef whipped cream maker. It’s important to troubleshoot common issues like overfilling or using cream that is too cold. Once made, homemade butter can be used in creative ways in various recipes.
Can I Add Flavorings or Seasonings to the Butter During the Churning Process?
Yes, you can add flavorings or seasonings to the butter during the churning process. It is a great way to customize your homemade butter. Here are some tips for using the Pampered Chef Whipped Cream Maker effectively.
How Long Can I Store Homemade Butter in the Refrigerator?
I store homemade butter in the refrigerator for up to two weeks. However, for optimal long term storage, it is best to keep it in an airtight container in the freezer.
Can I Use the Pampered Chef Whipped Cream Maker to Make Whipped Cream as Well?
Yes, the Pampered Chef whipped cream maker can be used to make whipped cream. To achieve the perfect consistency, ensure the cream is cold, add sugar or flavorings, and pump the handle until desired thickness is reached.
Conclusion
In conclusion, making butter in a Pampered Chef Whipped Cream Maker is a simple and efficient process.
By setting up the machine correctly and choosing the right ingredients, you can easily churn cream into homemade butter.
Remember to store your butter properly and enjoy the satisfaction of using your own creation in cooking and baking.
With this handy kitchen tool, you can create delicious and creamy butter that will elevate your culinary creations.
So why wait? Start making your own butter today and experience the joy of homemade goodness.