Do you also enjoy the delicious flavor of homemade butter? It’s incredible how milk can be turned into a smooth spread that enhances any dish.
In this article, I’ll show you step by step how to make butter from milk right in the comfort of your own home. From choosing the right milk to separating the butter from the buttermilk, I’ll guide you through the process and share some helpful tips along the way.
Get ready to indulge in the delightful world of homemade butter!
Key Takeaways
- Choose milk with a high fat content, such as whole milk, for making butter.
- Use the right equipment, such as a sturdy mixing bowl and a whisk or electric mixer, for churning.
- Select proper storage containers, such as glass jars or airtight containers, to keep the butter fresh.
- Warm the milk to room temperature before churning and ensure it is at the correct temperature for successful churning.
Breville Barista Express Espresso Machine BES870XL, Brushed Stainless Steel
The Breville Barista Express delivers third wave specialty coffee at home using the 4 keys formula and is...
As an affiliate, we earn on qualifying purchases.
Choosing the Right Milk
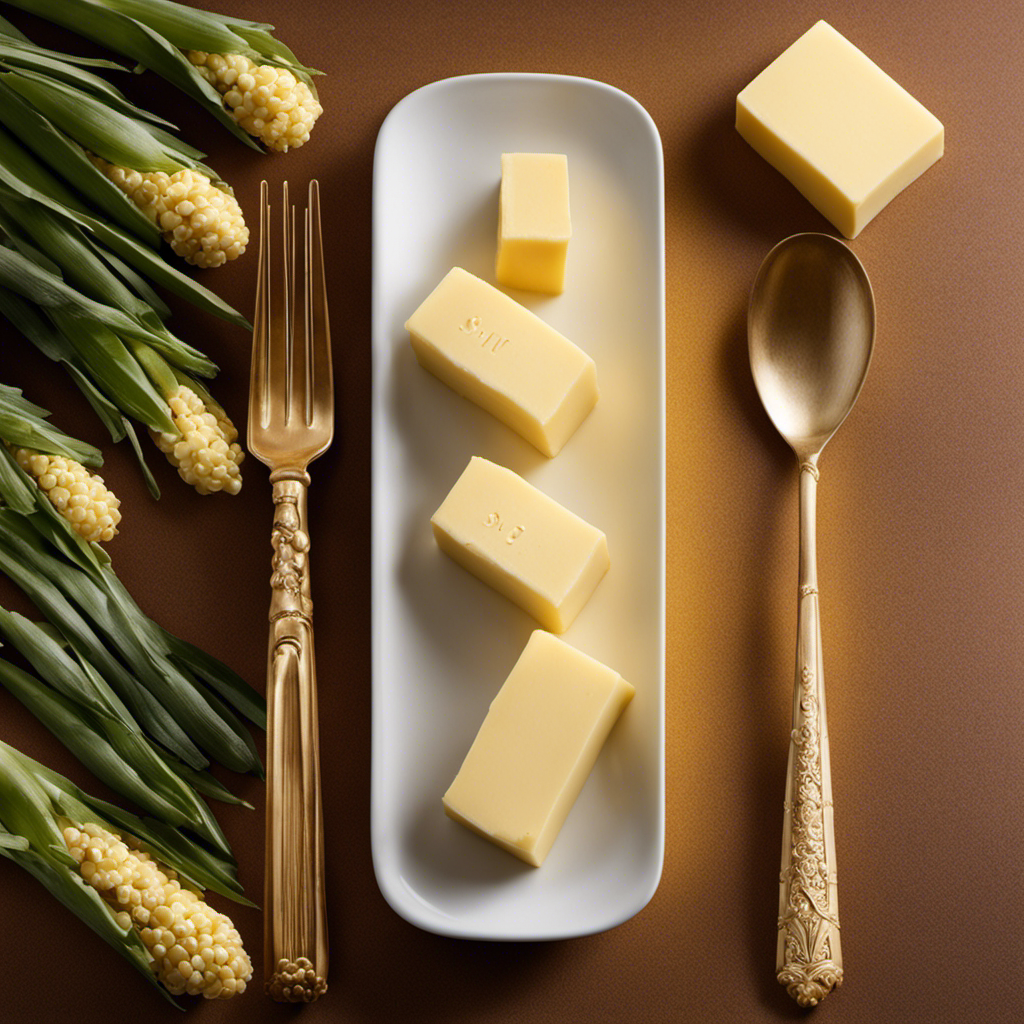
When choosing the right milk for making homemade butter, it’s important to consider the fat content. The higher the fat content, the creamier and richer your butter will be.
There are different types of milk available, such as whole milk, reduced-fat milk, and skim milk. Whole milk has the highest fat content, usually around 3.25%, which makes it ideal for making butter. Reduced-fat milk has a lower fat content, usually around 2%, which can still be used but may result in a less creamy butter. Skim milk, on the other hand, has the lowest fat content, less than 0.5%, and is not recommended for making butter.
To test the freshness of milk, you can check the expiration date printed on the packaging or perform a smell and taste test. Fresh milk should have a subtle, sweet aroma and a slightly sweet taste.

Cosori Food Dehydrator, Bigger Than 7 Trays with Large 6.5 ft² Drying Space, Stainless Steel Trays, 600W Faster Drying, 165°F Dehydrated Dryer for Jerky, Dog Treats, Herbs, Meat, Fruit, Yogurt, Silver
𝗕𝗜𝗚𝗚𝗘𝗥 𝗧𝗛𝗔𝗡 𝟳 𝗧𝗥𝗔𝗬𝗦: With 6 stainless steel trays providing 6.5 ft² of drying space, this dehydrator is...
As an affiliate, we earn on qualifying purchases.
Gathering the Necessary Equipment
When it comes to making butter at home, having the right tools is essential.
First and foremost, you will need a sturdy mixing bowl and a reliable whisk or electric mixer for churning.
Additionally, it is important to have proper storage containers, such as glass jars or airtight containers, to keep your homemade butter fresh and ready to use.
Essential Kitchen Tools
To make butter from milk at home, you’ll need a few essential kitchen tools. Here’s what you’ll need:
-
A large mixing bowl: Choose a bowl that is big enough to hold the milk and allow room for churning.
-
A hand mixer or whisk: This will be used to churn the milk and separate the butterfat from the buttermilk. A hand mixer will make the process quicker and easier, but a whisk can also do the job.
-
Cheesecloth or a fine-mesh strainer: After churning the milk, you’ll need to strain out the buttermilk from the butter. Cheesecloth or a fine-mesh strainer will help you achieve a smooth and creamy texture.
-
A butter mold or container: Once the butter is separated from the buttermilk, you’ll want to shape it into a mold or store it in a container for easy use.
Now that you have the necessary kitchen tools, let’s move on to the next section where we’ll discuss the equipment needed for churning.
Equipment for Churning
Now that you have the necessary kitchen tools, you’ll need a churn to separate the butterfat from the buttermilk. Choosing the right churn is crucial for successful butter-making. There are various types of churns available, but the two most common ones are the hand-crank churn and the jar churn. The hand-crank churn is a traditional option that requires manual effort to churn the cream. On the other hand, the jar churn is a simpler and more convenient option, as you can simply shake it vigorously to separate the butterfat.
Here is a comparison between the hand-crank churn and the jar churn:
| Hand-crank churn | Jar churn |
|---|---|
| Requires manual effort to churn | Can be shaken vigorously to churn |
| Takes longer to separate butterfat | Faster separation of butterfat |
| Requires a larger space | Compact and easy to store |
| Can be a bit messy | Less messy and easier to clean |
| More traditional and nostalgic feel | Modern and convenient option |
Alternative churning methods include using a stand mixer with a whisk attachment or using a blender. These methods can be quicker and require less physical effort. However, it’s important to note that the traditional churns produce better results in terms of texture and flavor.
Now that you have chosen the right churn, let’s move on to discussing the proper storage containers for your freshly made butter.
Proper Storage Containers
Let’s discuss the best containers for storing your freshly made butter. Proper storage techniques are essential for preserving homemade butter and ensuring its freshness and flavor.
Here are four options that I recommend:
-
Glass jars with airtight lids: These are great for storing small batches of butter. The transparent glass allows you to see the beautiful golden color of your homemade butter.
-
Ceramic crocks: These containers are ideal for storing larger quantities of butter. They provide a cool and dark environment, which helps maintain the butter’s quality.
-
Butter dishes with lids: These traditional butter dishes are perfect for keeping your butter at room temperature. The lid helps protect the butter from exposure to air, preventing it from going rancid.
-
Vacuum-sealed bags: If you want to freeze your butter for long-term storage, vacuum-sealed bags are a great option. They prevent freezer burn and help maintain the butter’s texture and flavor.

Magic Mill Pro Food Dehydrator Machine | Powerful 600W Rear Fan Even-Drying System | 7 Full-Size Stainless Steel Trays | 95°-176° Temperature Control, 48H Timer, Keep Warm + Auto Shutoff | ETL Listed
FULL-STAINLESS BUILD, INSIDE & OUT | Built the way a premium dehydrator should be—stainless steel exterior + stainless...
As an affiliate, we earn on qualifying purchases.
Preparing the Milk for Churning
First, you’ll need to warm the milk to room temperature before starting the churning process. This step is crucial for successful butter making. Homemade butter recipes often recommend using fresh, raw milk for the best results. However, if you don’t have access to raw milk, pasteurized milk works just fine.
To warm the milk, simply leave it out on the counter for about an hour or until it reaches room temperature. Avoid using a microwave as it can heat the milk unevenly and affect the churning process.
Troubleshooting butter churning begins with ensuring the milk is at the right temperature. Once the milk is warmed, it’s time to move on to the next step: churning the milk into butter.

Magic Mill Premium Food Dehydrator Machine (15 Extra-Large Stainless Steel Trays) 800W Dryer for Beef Jerky, Fruits, Vegetables, Dog Treats, 48 Hour Digital Timer - 95°-167° Temperature Control
Rear Mounted Fan for Even Drying - Designed with a rear-mounted fan and advanced Precision Airflow circulation, this...
As an affiliate, we earn on qualifying purchases.
Churning the Milk Into Butter
When it comes to churning butter, there are several techniques that can be employed to achieve the desired result. Understanding these techniques is crucial for successful butter-making.
Additionally, having the right tools on hand is essential for the churning process, such as a butter churn or a stand mixer with a whisk attachment.
Churning Techniques Explained
To achieve the desired consistency, you can adjust the speed of churning while making butter from milk at home. Here are four techniques that can help you achieve the perfect homemade butter:
-
Slow and steady: Churn the milk at a slow pace to allow the fat molecules to separate gradually. This technique is ideal for a rich and creamy butter.
-
Fast and furious: Increase the speed of churning for a faster separation of fat and buttermilk. This technique produces a lighter, fluffier butter.
-
Stop and scrape: Pause the churning process occasionally to scrape down the sides of the container. This ensures that all the cream is properly mixed and churned.
-
Gentle shaking: Instead of using a churn, you can place the cream in a tightly sealed container and shake it vigorously. This technique is great for small batches and can be a fun activity with kids.
Making homemade butter allows you to experiment with different types of milk, such as cow’s milk, goat’s milk, or even plant-based milk. Additionally, homemade butter offers health benefits like being free from additives and preservatives, and it can be customized to suit dietary preferences.
Butter-Making Tools Needed
Now that we’ve explored different churning techniques, let’s discuss the tools needed for making butter at home.
To make butter, you’ll need a few essential tools. Firstly, a butter churn or a stand mixer with a whisk attachment can be used for churning the cream. These tools help in agitating the cream, causing the fat to separate from the liquid.
Additionally, a fine-mesh strainer or cheesecloth is necessary for straining the liquid buttermilk from the butter. This ensures that you’re left with pure, creamy butter.
While traditional butter-making techniques involve using cream from cow’s milk, you can also experiment with alternative ingredients. For instance, you can try making butter from goat’s milk or even plant-based milk like coconut milk. These alternatives offer unique flavors and textures, giving you a chance to explore different tastes and dietary preferences.
Tips for Smooth Churning
Using a butter churn or stand mixer with a whisk attachment can help ensure a smooth churning process. Here are some tips for achieving a creamy texture and troubleshooting common churning problems:
-
Keep the temperature in mind: Make sure your cream is at the right temperature, around 60-65°F, for optimal churning.
-
Use high-quality cream: The higher the fat content, the creamier the butter will be. Look for cream with a fat content of at least 35%.
-
Add a pinch of salt: Salt helps enhance the flavor and also acts as a preservative.
-
Be patient: Churning takes time, so don’t rush the process. Keep churning until the butter separates from the buttermilk.
By following these tips, you can achieve a smooth and creamy texture in your homemade butter.
Now, let’s move on to the next step: separating the butter from the buttermilk.
Separating the Butter From the Buttermilk
First, you’ll need to pour the freshly churned milk into a jar.
To separate the butter from the buttermilk, you can use a few different techniques. The most common method is to let the jar of milk sit on the counter for a while. The cream will rise to the top, and you can simply skim it off.
Another option is to use a butter churner or mixer. These devices will separate the butter from the buttermilk more quickly and efficiently.
If you’re having trouble separating the butter, you can try adding a little bit of cold water to the jar and shaking it vigorously. This can help to loosen the butter from the buttermilk.
Once you’ve successfully separated the butter, it’s time to move on to the next step – washing and storing the butter.
Washing and Storing the Butter
After separating the butter from the buttermilk, it’s important to wash and store the butter properly. Here are the best butter storage methods for butter preservation:
-
Washing: Rinse the butter under cold water to remove any remaining buttermilk. Gently knead the butter to remove excess water.
-
Wrapping: Wrap the butter tightly in wax paper or plastic wrap to prevent air and moisture from reaching it. This will help maintain its freshness and prevent it from absorbing odors from the fridge.
-
Refrigeration: Store the wrapped butter in the refrigerator. The cool temperature will slow down the growth of bacteria and keep the butter firm.
-
Freezing: If you want to store butter for a longer period, consider freezing it. Wrap the butter tightly in freezer-safe packaging and place it in the freezer. Frozen butter can be stored for up to six months.
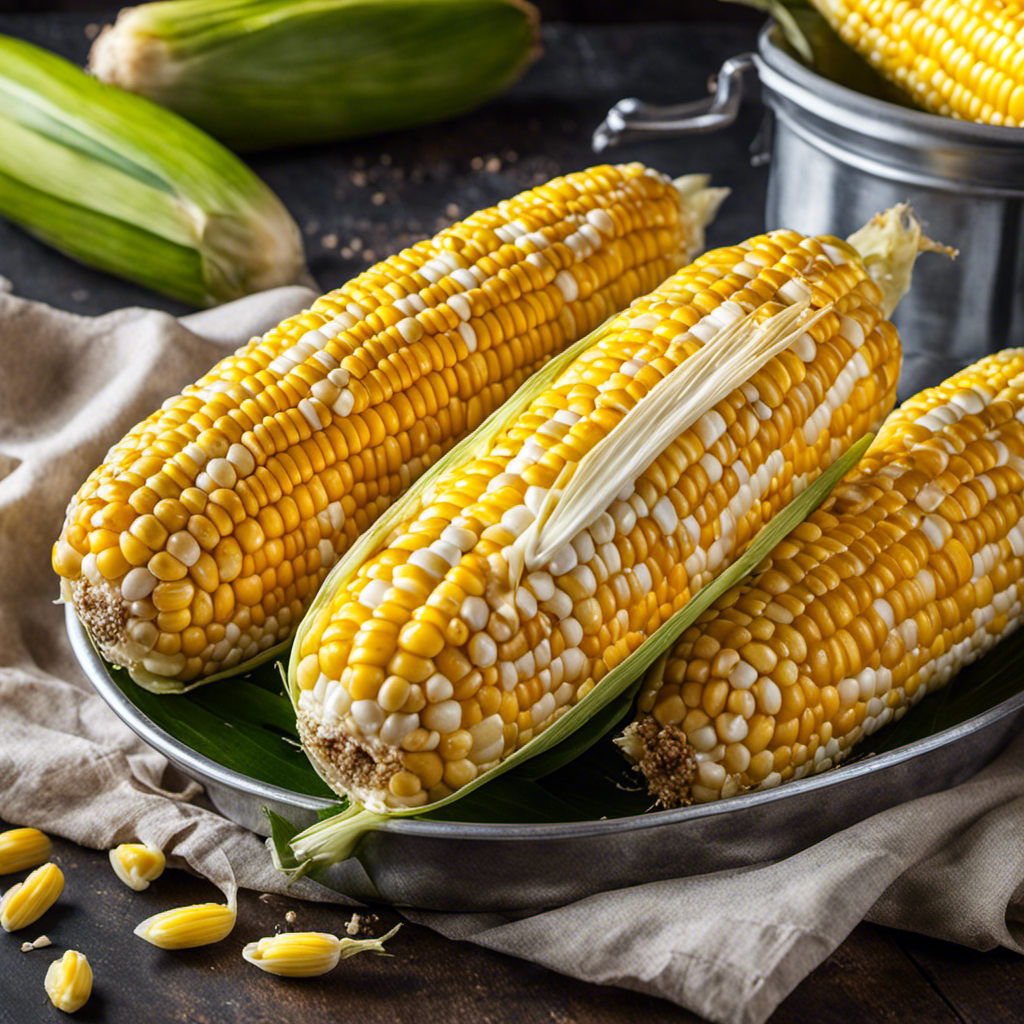
Enjoying Your Homemade Butter
To fully savor the creamy richness of your homemade butter, spread a generous amount on warm, freshly baked bread. Making your own butter is a rewarding process that allows you to customize the flavor to your liking.
There are various butter making techniques, but the most common involves churning cream until it separates into butter and buttermilk. Once you have your freshly made butter, you can enhance its taste by adding different flavors.
For a savory twist, mix in herbs like rosemary or garlic. If you prefer a touch of sweetness, try incorporating honey or cinnamon. Don’t be afraid to experiment and find your own unique combination.
Enjoy the satisfaction of indulging in the fruits of your labor by spreading your flavorful homemade butter on your favorite baked goods.
Frequently Asked Questions
How Long Does It Take to Make Butter From Milk?
Yes, the temperature of the milk can affect the time it takes to make butter. Warmer milk will separate into cream faster. The fat content of the milk can also impact the time it takes to make butter. Higher fat content will result in quicker butter formation.
Can I Use Any Type of Milk to Make Butter?
Sure, any type of milk can be used to make butter. However, using creamier milk like whole milk or heavy cream will yield better results. Homemade butter can also be used in various recipes, adding a rich and creamy flavor.
Do I Need a Special Machine or Can I Make Butter by Hand?
I can make butter by hand or with a machine. Both have pros and cons. By hand, it’s more time-consuming but allows for a personal touch. With a machine, it’s faster but may lack that homemade feel.
Can I Use Store-Bought Buttermilk to Make Butter?
I’ve always wondered if I could use store-bought buttermilk to make butter. Turns out, there are different methods to make butter from milk at home. Let’s explore using buttermilk as an alternative!
How Long Can Homemade Butter Be Stored?
Homemade butter can be stored for up to two weeks in the refrigerator. To ensure a longer shelf life, it’s important to store it properly by placing it in an airtight container or wrapping it tightly in plastic wrap.
Conclusion
I hope this guide has inspired you to embark on your homemade butter-making journey. Imagine the satisfaction of using your own hands to turn fresh milk into creamy, golden butter.
Picture the rich aroma filling your kitchen as you churn the milk, and the satisfaction of seeing it transform into a beautiful, spreadable delight.
With the right milk, equipment, and technique, you can create butter that is far superior to store-bought varieties.
So, get ready to indulge in the pure joy of homemade butter!