
Have you ever thought about how to make your own creamy butter from regular 2 percent milk? I have just the right recipe for you. With just a few easy steps, I will demonstrate how to turn that simple milk into a flavorful spread that will enhance your cooking and baking experiences.
So, put on your apron and grab your whisk, because we’re about to embark on a butter-making adventure together. Let’s get churning!
Key Takeaways
- Cold milk and cold equipment are crucial for achieving the perfect consistency.
- Proper churning techniques ensure a smooth and creamy texture in the final product.
- Straining the mixture helps remove excess buttermilk, resulting in a purer butter.
- Store homemade butter in an airtight container in the coldest part of the refrigerator for optimal freshness.

Cosori 9-in-1 TurboBlaze Air Fryer 6 Qt, Smart Control, 90°–450°F, Shake Reminders, Precise Heating for Even Results, Air Fry, Roast, Bake, Broil, Dry, Frozen, Proof, Reheat, Keep Warm, 120V, Cream
𝘼𝙞𝙧 𝙁𝙧𝙮𝙚𝙧 𝙐𝙥𝙜𝙧𝙖𝙙𝙚: Innovative TurboBlaze Technology delivers a powerful 3600 rpm fan speed and temperatures up to 450℉,...
As an affiliate, we earn on qualifying purchases.
Gathering the Ingredients and Equipment
I need to gather the ingredients and equipment to make butter from 2 percent milk.
When making butter, it’s important to note that alternative milk options can be used, such as almond milk or coconut milk, but they may yield slightly different results.
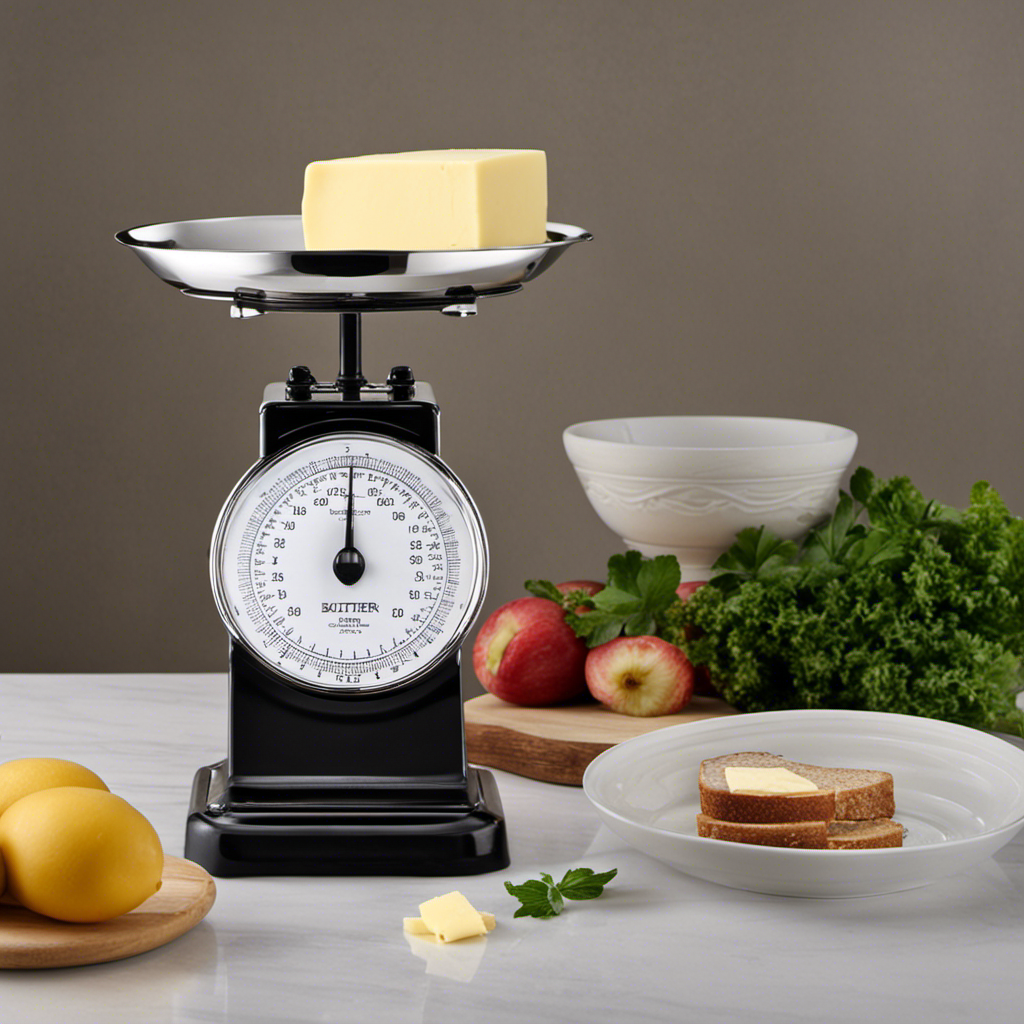
To achieve the perfect consistency in homemade butter, it’s crucial to use cold milk and cold equipment.
For the ingredients, I’ll need 2 cups of 2 percent milk and a pinch of salt (optional).
As for the equipment, I’ll require a mixing bowl, a hand mixer or a stand mixer, a fine-mesh strainer, and a clean cheesecloth for straining.
Now that everything is ready, let’s move on to the next step: churning the milk.

Instant Pot 4QT RIO Mini 7-in-1 Multi-Cooker, Pressure Cooker, Slow cook, Sauté, Steam, Rice Maker, Yogurt, & Warmer, Black, 4 Quarts
7 Cooking Functions: Pressure cook, slow cook, sauté, steam, cook rice, make yogurt, or keep your meals warm,...
As an affiliate, we earn on qualifying purchases.
Churning the Milk
To start churning, I’ll pour the cream into the jar and tightly seal the lid. Churning is a crucial step in the process of making butter from 2 percent milk. It involves agitating the cream vigorously to separate the butterfat from the buttermilk. Proper churning techniques ensure a smooth and creamy texture in the final product.
Here are some tips for successful churning:
-
Use a jar with a secure lid to prevent any cream from splashing out during the process.
-
Shake the jar vigorously in an up and down motion for about 10-15 minutes, or until the cream thickens and separates.
-
If the cream isn’t thickening, check if it’s too cold. Let it sit at room temperature for a while before churning.
-
If the cream isn’t separating into butter and buttermilk, it may need more agitation. Shake the jar with more intensity or for a longer duration.

Vitamix Ascent X3 Blender with Three Blending Programs, Self-Cleaning Program, Professional-Grade Blender for Smoothies, Soups and More, Stainless-Steel Blades, 48 Oz Container, Shadow Black
Included: Ascent X3 blender motor base, 48-ounce container, S2 low-profile tamper, tamper holder, and digital recipe book; this...
As an affiliate, we earn on qualifying purchases.
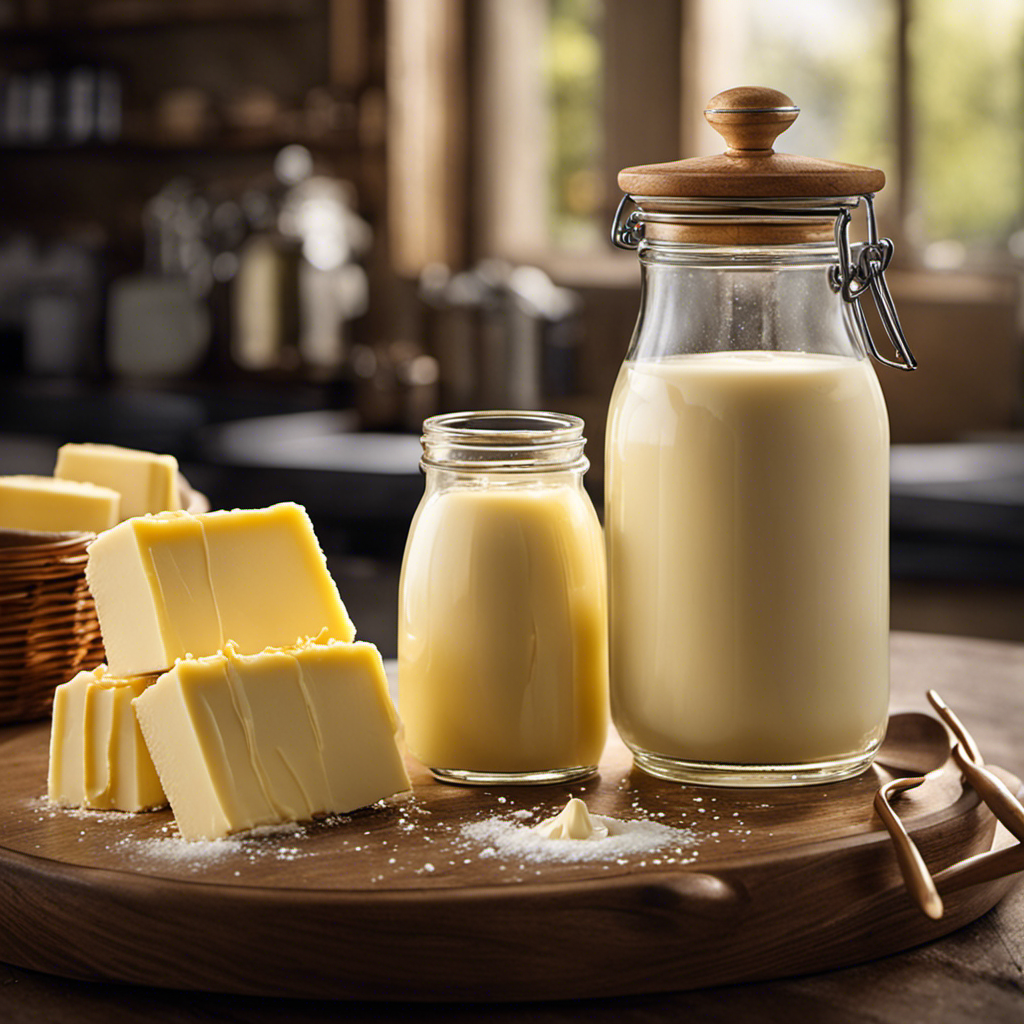
Separating the Butter and Buttermilk
After tightly sealing the lid, I vigorously shake the cream in an up and down motion for about 10-15 minutes to separate the butterfat from the buttermilk. This separating technique ensures that the butterfat molecules clump together, separating from the liquid buttermilk. Once the shaking is complete, I carefully open the lid and observe the separation that has occurred. The butterfat will have solidified into a thick, yellowish mass, while the buttermilk will be left behind.
To further separate the butter from the buttermilk, I pour the contents into a strainer or cheesecloth-lined colander. By gently pressing the butter with a spoon or spatula, any remaining buttermilk is squeezed out. Finally, I rinse the butter under cold water to remove any residual buttermilk.
- Vigorous shaking breaks down the milk emulsion, allowing the butterfat to separate from the buttermilk.
- Straining the mixture helps remove excess buttermilk, resulting in a purer butter.
- Pressing the butter helps remove any trapped buttermilk, enhancing its shelf life.
- Rinsing the butter under cold water removes any remaining buttermilk and improves its texture.
The separated butter can be used in a variety of ways. Its rich flavor and creamy texture make it perfect for spreading on toast or using as a cooking ingredient. Additionally, the leftover buttermilk can be used in various recipes such as pancakes, biscuits, or even as a marinade for meats.
This separating technique not only allows us to make homemade butter from 2 percent milk, but it also provides us with alternative uses for the byproduct of the process.

KitchenAid Artisan Series 5 Quart Tilt Head Stand Mixer with Pouring Shield KSM150PS, Milkshake
Built to take it all on with the durable and built-to-last metal construction, and 59 touchpoints around the...
As an affiliate, we earn on qualifying purchases.
Washing and Shaping the Butter
Once the butter has been separated from the buttermilk, I can proceed to wash and shape it. Washing the butter is an important step to remove any residual buttermilk, which can cause the butter to spoil quickly. To wash the butter, I’ll place it in a bowl of ice-cold water and gently knead it. This will help to remove any remaining buttermilk and make the butter more stable.
After washing, I can shape the butter into a desired form. Shaping techniques can vary, from using butter molds to simply rolling the butter into a log shape. Additionally, flavor variations can be incorporated during this process, such as adding herbs or spices to the butter.
Now that the butter is washed and shaped, it’s ready for storing and using in various recipes.
Storing and Using Your Homemade Butter
Now I can store my homemade butter in an airtight container in the refrigerator. It’s important to properly store homemade butter to maintain its freshness and quality. Here are some tips for storing and using your homemade butter:
-
Keep it in an airtight container: This will prevent the butter from absorbing odors and flavors from other foods in the refrigerator.
-
Store it in the coldest part of the refrigerator: Butter can spoil if exposed to warm temperatures, so it’s best to keep it in the coldest part of the fridge, usually the back.
-
Use it within a month: Homemade butter doesn’t contain any preservatives, so it’s recommended to use it within a month for optimal freshness.
-
Try it in various recipes: Homemade butter adds a rich and creamy flavor to dishes. Use it in baking, cooking, or as a spread on toast.
Frequently Asked Questions
Can I Use Any Type of Milk to Make Butter?
Yes, you can use different types of milk to make butter. Almond milk is one option, but other types such as whole milk, heavy cream, or even coconut milk can also be used.
How Long Does It Take to Churn the Milk Into Butter?
To speed up the butter churning process, I recommend using colder milk and a high-speed mixer. For a smooth and creamy texture, make sure to remove all excess water from the butter.
Is It Necessary to Wash the Butter After Separating It From the Buttermilk?
Yes, it is necessary to wash the butter after separating it from the buttermilk. The washing process removes any remaining buttermilk, which can spoil and affect the preservation of the butter.
Can I Use the Buttermilk for Cooking or Baking?
Yes, buttermilk can be used for cooking and baking. It adds a tangy flavor and helps tenderize baked goods. Use it in pancakes, biscuits, cakes, and marinades for flavorful results.
How Long Can I Store Homemade Butter Before It Goes Bad?
Homemade butter can be stored in the refrigerator for up to two weeks. To maximize the longevity of homemade butter, it should be kept in an airtight container or wrapped tightly in plastic wrap to prevent oxidation and absorption of other flavors.
Conclusion
In conclusion, making butter from 2 percent milk is a simple and rewarding process. By following the steps outlined in this article, you can transform ordinary milk into delicious homemade butter.
Remember, practice makes perfect, so don’t be discouraged if your first attempt isn’t perfect. Just keep churning and soon you’ll have butter that’s as smooth as silk and tastes like a little slice of heaven!