I absolutely adore savoring a flawlessly cooked lobster. However, what really elevates the experience is a luxurious and tasty butter sauce for dipping.
In this article, I’ll guide you through the process of making the most delectable butter for your lobster. We’ll start by selecting the best butter. Then, we’ll gather the necessary ingredients. After that, we’ll melt the butter to perfection. Finally, we’ll add flavors and seasonings for an irresistible taste.
Get ready to elevate your lobster experience with this detailed and knowledgeable guide.
Key Takeaways
- Select high-quality butter for the best flavor and texture.
- Experiment with different butter options like ghee or coconut oil to enhance flavor and nutrition.
- Follow a tried and tested recipe and use fresh ingredients for the perfect texture and flavor.
- Whisk the butter vigorously to achieve a creamy consistency and enhance the taste and texture of the lobster dish.

Kerrygold Butter Sticks, Unsalted, 8 oz
- Brand: Kerrygold Pure Irish Butter
- Quantity: 2 Sticks, 8 oz
- Type: Unsalted
As an affiliate, we earn on qualifying purchases.
As an affiliate, we earn on qualifying purchases.
Selecting the Best Butter for Lobster
When selecting the best butter for lobster, it’s important to consider the flavor and quality. The type of butter you choose can greatly enhance the taste of your lobster dish.
There are various types of butter available, each with its own unique flavor variations. For a rich and indulgent taste, I recommend using unsalted European butter. It has a higher fat content and a creamy texture that pairs perfectly with the sweet and delicate meat of lobster.
Another excellent option is clarified butter, which has a nutty and buttery flavor that complements the natural sweetness of lobster meat. Whichever type of butter you choose, make sure to select a high-quality brand to ensure the best flavor.
Now that we have discussed selecting the best butter, let’s move on to gathering the other ingredients for our delicious lobster dish.
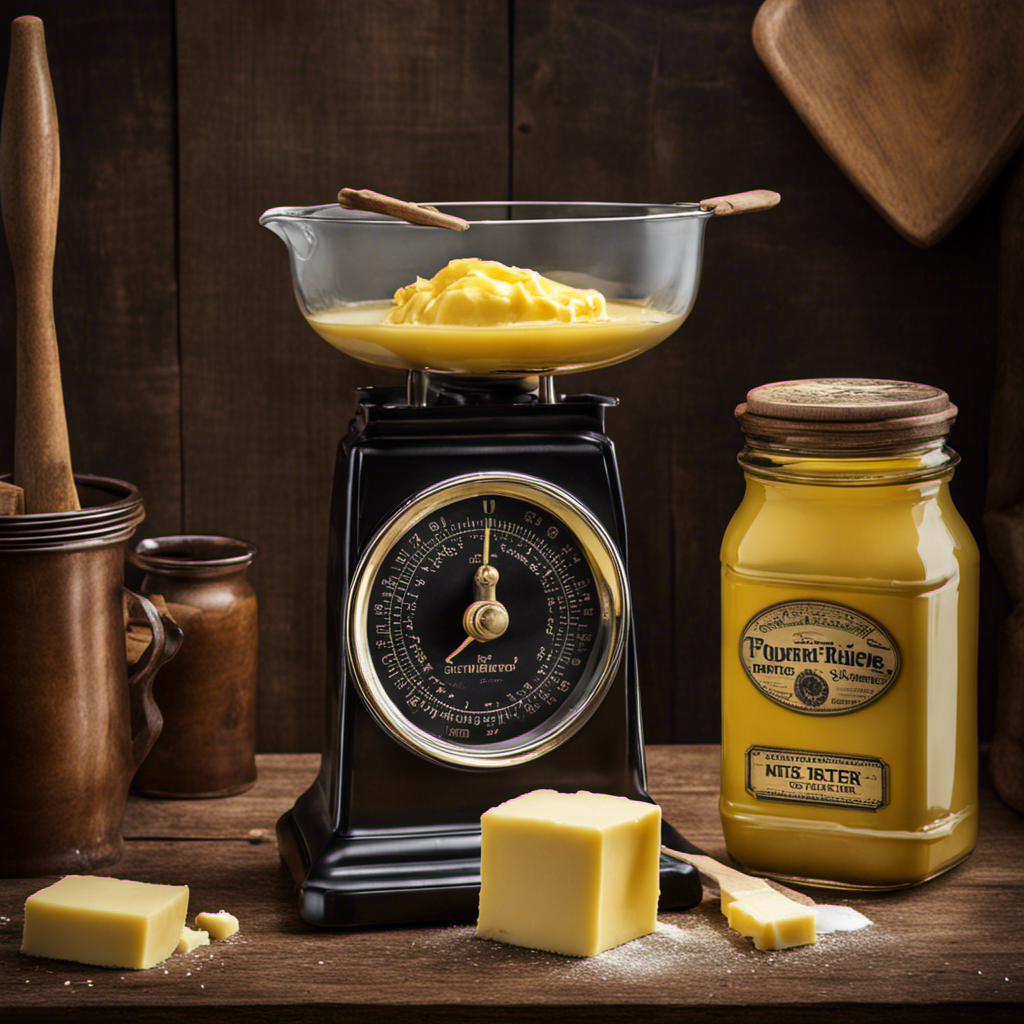
Gathering the Ingredients
When it comes to making butter, having the right recipe and essential ingredients is crucial.
In order to achieve the perfect texture and flavor, it is important to follow a tried and tested recipe.
Additionally, gathering high-quality ingredients such as fresh cream and salted butter will greatly impact the final product.
To ensure success, I will share some tips and tricks for sourcing the best ingredients for your homemade butter.
Recipe for Butter
To make the butter for the lobster, you’ll need to combine softened butter, minced garlic, and freshly chopped parsley. This simple recipe creates a rich and flavorful spread that perfectly complements the sweet and succulent meat of the lobster.
Here are a few variations and alternative spreads you can try:
-
Lemon Herb Butter: Add a squeeze of fresh lemon juice and a teaspoon of lemon zest to the softened butter mixture for a bright and tangy flavor.
-
Spicy Chipotle Butter: Mix in a teaspoon of chipotle powder or a finely chopped chipotle pepper for a smoky and fiery kick.
-
Truffle Butter: For a luxurious twist, substitute some of the softened butter with truffle butter and sprinkle in a pinch of truffle salt for an indulgent and earthy taste.
-
Cilantro Lime Butter: Swap out the parsley for chopped cilantro and add a teaspoon of lime zest for a refreshing and zesty spread.
These recipe variations and alternative spreads offer unique and delicious ways to elevate your lobster dining experience. Remember to adjust the proportions of the ingredients to suit your taste preferences.
Essential Ingredients Needed
The essential ingredients you’ll need include softened butter, minced garlic, and freshly chopped parsley. These ingredients are crucial for enhancing the flavor of the butter used in your lobster recipe.
However, if you are looking to explore alternative butter options, there are a few to consider. Ghee, which is clarified butter, can add a rich and nutty flavor to your lobster dish. Another alternative is coconut oil, which provides a unique tropical twist to the butter.
If you are looking for healthier ingredient substitutions, you can replace the butter with avocado or olive oil. These options not only add a healthier touch but also bring their own distinct flavors to the dish.
Experimenting with different butter options and healthier ingredient substitutions can take your lobster recipe to new heights of flavor and nutrition.
Tips for Ingredient Gathering
While gathering the essential ingredients for your lobster recipe, don’t forget to check your pantry for any possible substitutions or alternatives you might want to try. Being prepared allows you to adapt and experiment, ensuring a delicious outcome. Here are some tips for ingredient substitutions and the best butter alternatives:
-
Olive oil: A healthy choice, olive oil adds a rich flavor to your lobster dish. Its fruity notes complement the delicate taste of the lobster meat.
-
Ghee: Clarified butter with a nutty aroma, ghee is a fantastic substitute. It has a higher smoke point, making it perfect for sautéing or basting your lobster.
-
Avocado butter: Creamy and luscious, avocado butter is a fantastic vegan alternative. Its smooth texture and mild flavor enhance the taste of the lobster without overpowering it.
-
Coconut oil: If you’re looking for a tropical twist, coconut oil is a great option. Its subtle sweetness pairs well with the delicate flavors of lobster.
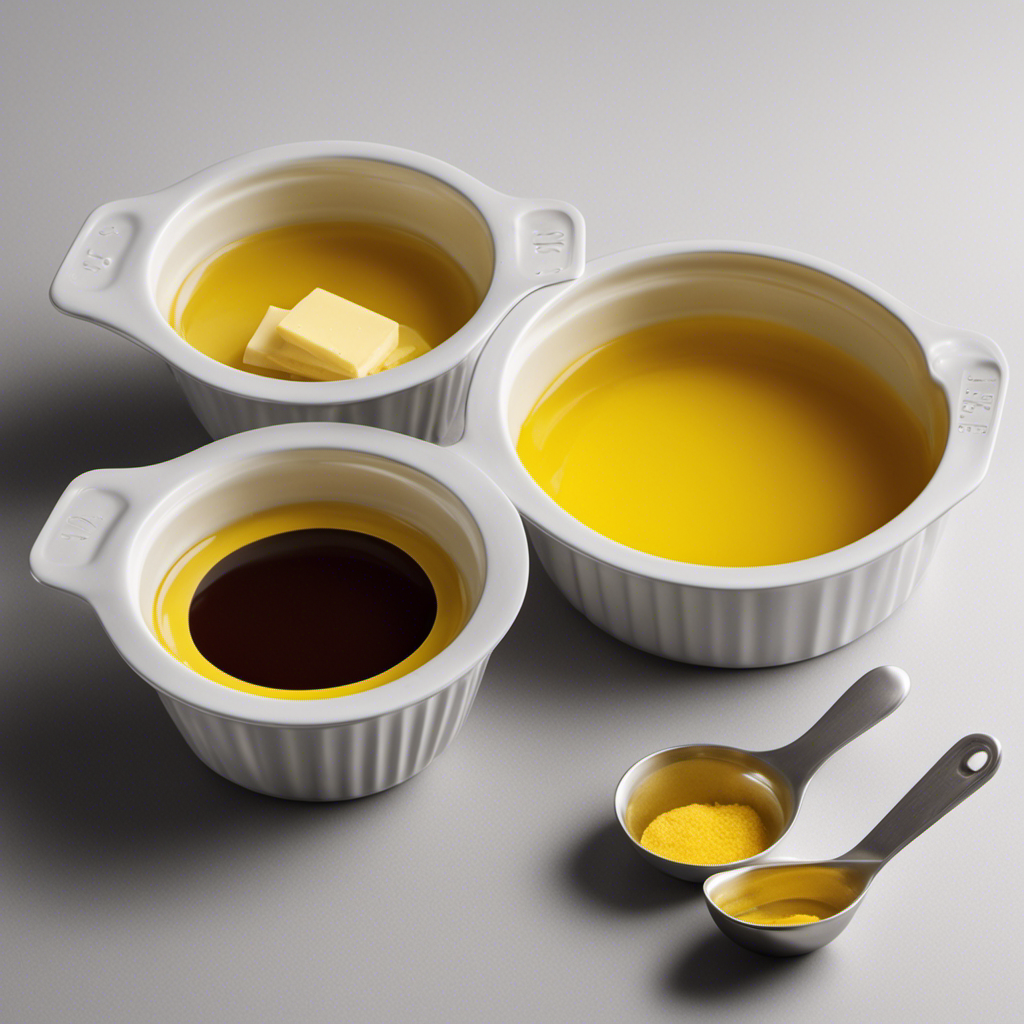
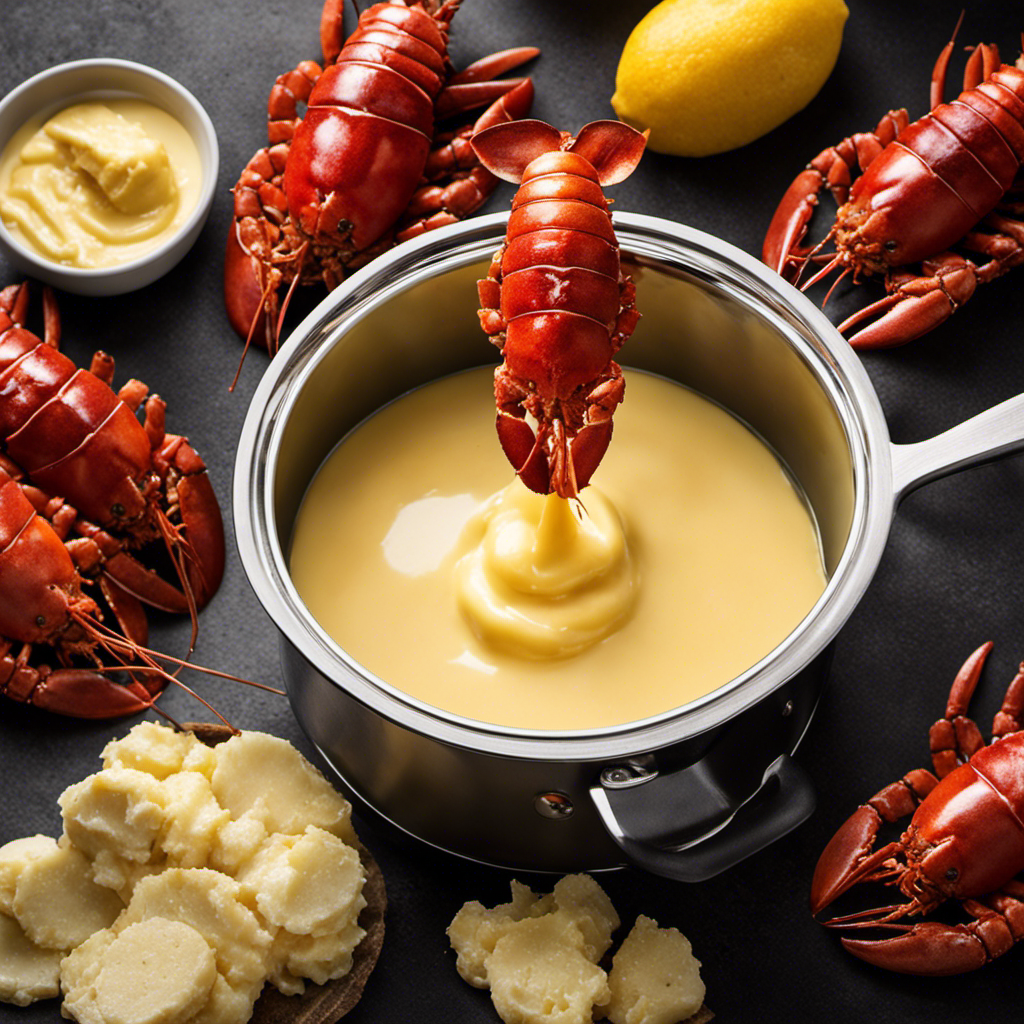
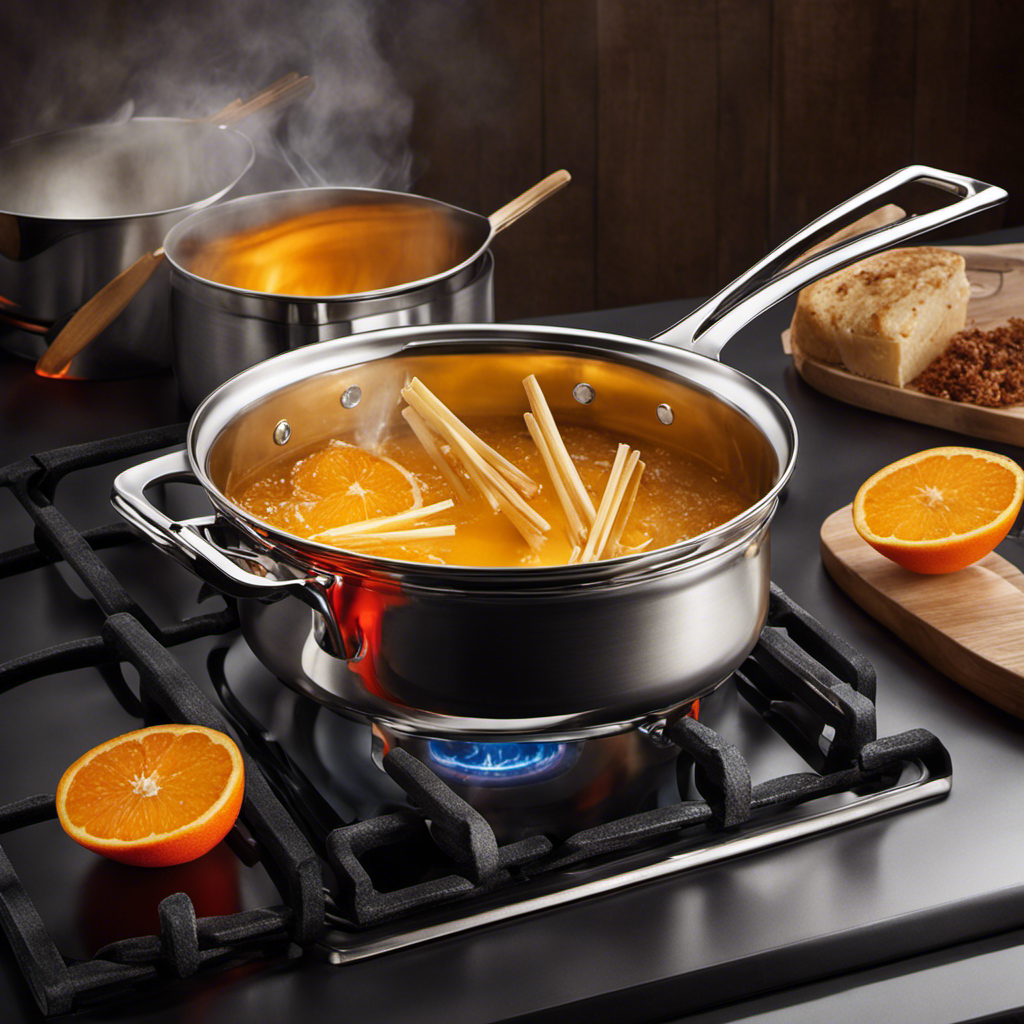
Melting the Butter
Melt the butter in a small saucepan over low heat. This melting technique ensures that the butter melts slowly and evenly, preventing it from burning or becoming too hot.
As the butter begins to melt, it transforms from a solid to a liquid, releasing its rich aroma and golden color.
While traditional butter is commonly used for lobster, there are also alternative options available. Ghee, for example, is clarified butter that has had the milk solids removed, resulting in a pure, golden liquid. This alternative is ideal for those who are lactose intolerant or prefer a slightly nutty flavor.
Another option is coconut oil, which adds a tropical twist to the classic buttery taste. Experimenting with different butter alternatives can enhance the overall flavor profile of your lobster dish.
Adding Flavors and Seasonings
When adding flavors and seasonings, it’s important to consider the desired taste profile of your dish. For enhancing the flavor of lobster, there are several options to choose from:
-
Lemon: Squeezing fresh lemon juice over the lobster adds a tangy brightness that complements the sweet and delicate flavor of the meat.
-
Garlic: Minced garlic can be sautéed in butter and drizzled over the lobster to add a savory depth of flavor.
-
Herbs: Sprinkling chopped herbs like parsley, thyme, or dill on top of the lobster not only adds freshness but also enhances the overall taste.
-
Spices: A pinch of paprika or cayenne pepper can bring a subtle kick to the lobster, balancing its richness with a touch of heat.
Whisking for a Creamy Texture
When it comes to achieving a creamy texture in your dishes, mastering the art of whisking is essential.
As someone who enjoys creating delicious meals, I’ve learned a few tips and techniques along the way.
From the proper grip on the whisk to the speed and motion, every detail plays a role in achieving the perfect consistency.
And let’s not forget the importance of continuous whisking to prevent any lumps from forming and to evenly incorporate all the ingredients.
Whisking Technique Tips
To achieve a smooth and creamy consistency, you’ll want to whisk the butter vigorously using an up-and-down motion. Whisking is a crucial step in making butter for lobster, as it helps incorporate air and emulsify the ingredients.
Here are some benefits of using the right whisking technique:
- Faster emulsification: Whisking vigorously helps the butter and other ingredients blend together quickly and evenly.
- Enhanced texture: Proper whisking creates a light and fluffy texture, making the butter more spreadable and enjoyable.
- Improved flavor distribution: Whisking ensures that all the flavors are evenly distributed throughout the butter, enhancing the taste of your lobster.
- Better mouthfeel: Whisking helps create a silky smooth texture, enhancing the overall dining experience.
However, there are some common whisking mistakes that you should avoid:
- Over-whisking: Whisking for too long can lead to a grainy texture and even separate the butter.
- Insufficient whisking: Not whisking enough can result in a lumpy and uneven consistency.
Achieving Perfect Consistency
By whisking vigorously, you’ll be able to achieve a smooth and creamy consistency for your lobster dish. When making lobster butter, achieving the perfect consistency is key to enhancing the flavor and texture of your meal.
To ensure a smooth result, start by using softened butter at room temperature. This will make it easier to whisk and incorporate other ingredients. Next, add your desired seasonings, such as garlic, lemon juice, and parsley.
Whisk the mixture vigorously in one direction to evenly distribute the flavors and create a creamy texture. Avoid overwhisking, as it can cause the butter to become greasy. Additionally, be cautious not to add too much liquid, as it can result in a runny consistency.
Follow these tips to achieve a velvety smooth lobster butter that will elevate your seafood experience.
Importance of Continuous Whisking
Continuous whisking is essential for creating a creamy and well-blended mixture. The role of temperature in whisking is crucial, as it affects the final texture of the butter.
Whisking at room temperature allows the butter to soften and become easier to work with, resulting in a smoother consistency. On the other hand, whisking cold butter creates a firmer texture, which is ideal for spreading on bread or toast.
The type of whisk used also impacts the final texture. A wire whisk is perfect for incorporating air into the mixture, creating a light and fluffy butter. Alternatively, a flat whisk is great for blending ingredients together without incorporating too much air.
Transitioning into the subsequent section about serving and storing the butter, it is important to note that once the butter is whisked to perfection, it should be immediately served or stored in an airtight container.
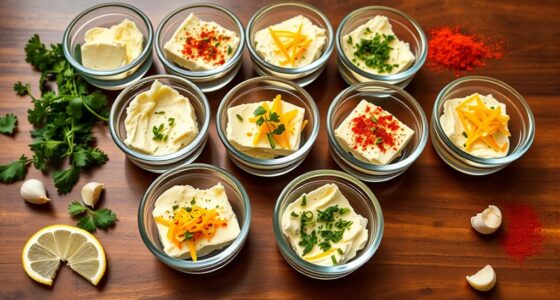
Serving and Storing the Butter
When serving and storing the butter, make sure to refrigerate it in an airtight container. This will help maintain its freshness and prevent any cross-contamination with other foods in the refrigerator. As for serving presentation, a simple and elegant way to present the butter is by shaping it into small individual portions using a butter mold. This adds a touch of sophistication to your table setting and makes it easier for guests to serve themselves. If you’re looking for butter alternatives, there are a few options to consider. One popular alternative is ghee, which is clarified butter that has been simmered to remove the milk solids. It has a rich and nutty flavor, making it a great choice for dipping lobster. Another option is flavored compound butter, which is butter mixed with herbs, spices, or other ingredients to add extra flavor. Here’s a table showcasing different butter alternatives and their unique characteristics:
| Butter Alternative | Description |
|---|---|
| Ghee | Clarified butter with a rich, nutty flavor |
| Compound Butter | Butter mixed with herbs, spices, or other ingredients for added flavor |
| Olive Oil | A healthy alternative with a light, fruity taste |
| Avocado Spread | Creamy spread made from ripe avocados |
| Coconut Oil | A dairy-free option with a subtle coconut flavor |
Experiment with these alternatives to find the perfect accompaniment for your lobster dish.
Tips and Tricks for Perfect Lobster Butter
For the perfect accompaniment to your lobster dish, consider experimenting with different butter alternatives and their unique characteristics.
When it comes to pairing butter with seafood, there are several options that can elevate the flavors of your lobster. Here are some butter alternatives to try:
- Ghee: This clarified butter has a rich, nutty flavor that complements the sweetness of lobster.
- Herb-infused butter: Add a burst of freshness by mixing softened butter with your favorite herbs, such as dill or tarragon.
- Lemon butter: The acidity of lemon cuts through the richness of the lobster, creating a perfect balance of flavors.
- Chili butter: For a spicy twist, mix softened butter with chili flakes or a dash of hot sauce.
Frequently Asked Questions
How Long Can the Lobster Butter Be Stored in the Refrigerator?
I store lobster butter in the refrigerator for up to one week. It’s important to preserve it properly to maintain freshness. After making lobster butter, let it cool, then transfer it to an airtight container before refrigerating.
Can I Use Margarine Instead of Butter?
I prefer using butter over margarine for lobster butter because it adds a richer flavor. Margarine can alter the texture and may not blend as well with other ingredients, affecting the overall taste.
Is It Necessary to Use Unsalted Butter?
Using salted butter for lobster butter is not necessary, but it can add a subtle flavor. There are alternatives to unsalted butter, such as ghee or clarified butter, that work well too.
Can I Use Different Herbs and Spices to Flavor the Butter?
Yes, you can use different herbs and spices to flavor the butter. There are many delicious flavor combinations for lobster butter, and you can also experiment with alternative ingredients to create unique and tasty flavored butter.
Is It Possible to Make Lobster Butter Without Using a Whisk?
Making lobster butter without a whisk is possible. I’ve found using a blender or food processor can create a smooth texture. However, using a whisk allows for better control and incorporation of flavors.
Conclusion
In conclusion, making homemade butter for lobster is a simple yet rewarding process. By carefully selecting the best butter and adding flavors and seasonings, you can create a creamy and delicious accompaniment to your lobster dish.
One interesting statistic that may evoke emotion in the audience is that, according to a study conducted by the Food and Agriculture Organization, the global lobster consumption has been steadily increasing over the past decade. This highlights the popularity and love for this exquisite seafood delicacy.
So why not enhance your lobster experience with a homemade butter that will take it to the next level?