I’m about to share a little secret with you – making homemade butter is like going on a journey to flavor paradise.
In just a few simple steps, you can transform fresh cream into a dreamy, creamy delight that will make your taste buds dance.
From gathering the ingredients to adding your favorite flavors, I’ll guide you through the process of making your very own butter in Dreamlight Valley.
Get ready to experience butter bliss like never before. Let’s dive in!
Key Takeaways
- Gather fresh, high-quality heavy cream and the necessary equipment before starting
- Choose a method to churn the cream, such as using a butter churn, a stand mixer, or shaking vigorously in a sealed jar
- Experiment with different flavor combinations while churning the cream to create unique butters
- Properly store flavored butter in an airtight container in the refrigerator to maintain freshness and prevent spoilage

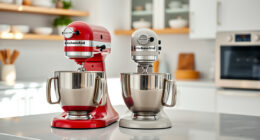
Aucma Stand Mixer,6.5-QT 660W 6-Speed Tilt-Head Food Mixer, Kitchen Electric Mixer with Dough Hook, Wire Whip & Beater (Silver, 6.5QT)
- Powerful Motor: 660W copper motor with 6 speeds
- Large Capacity Bowl: 6.5QT stainless steel bowl with handles
- Easy Access Tilt-Head: Tilt-head design for easy bowl and accessory access
As an affiliate, we earn on qualifying purchases.
As an affiliate, we earn on qualifying purchases.
Gathering Ingredients
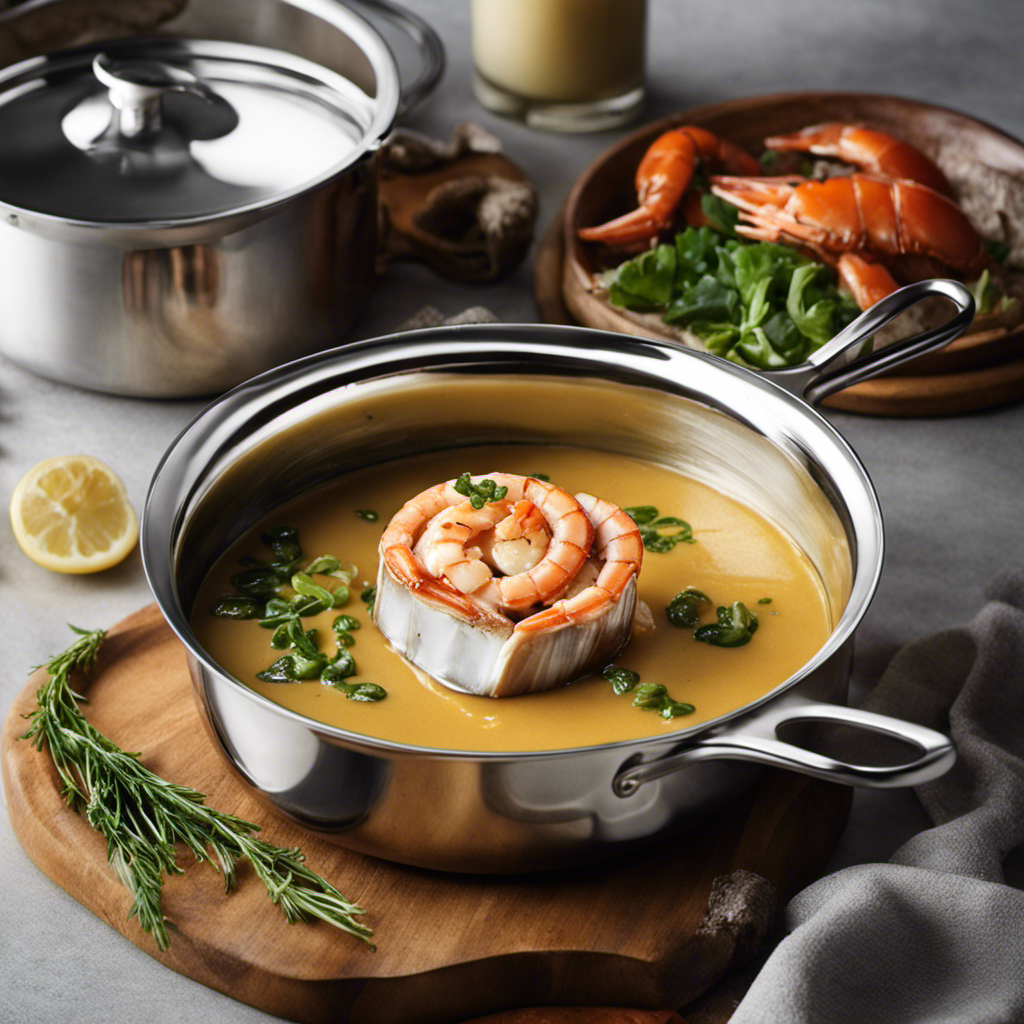
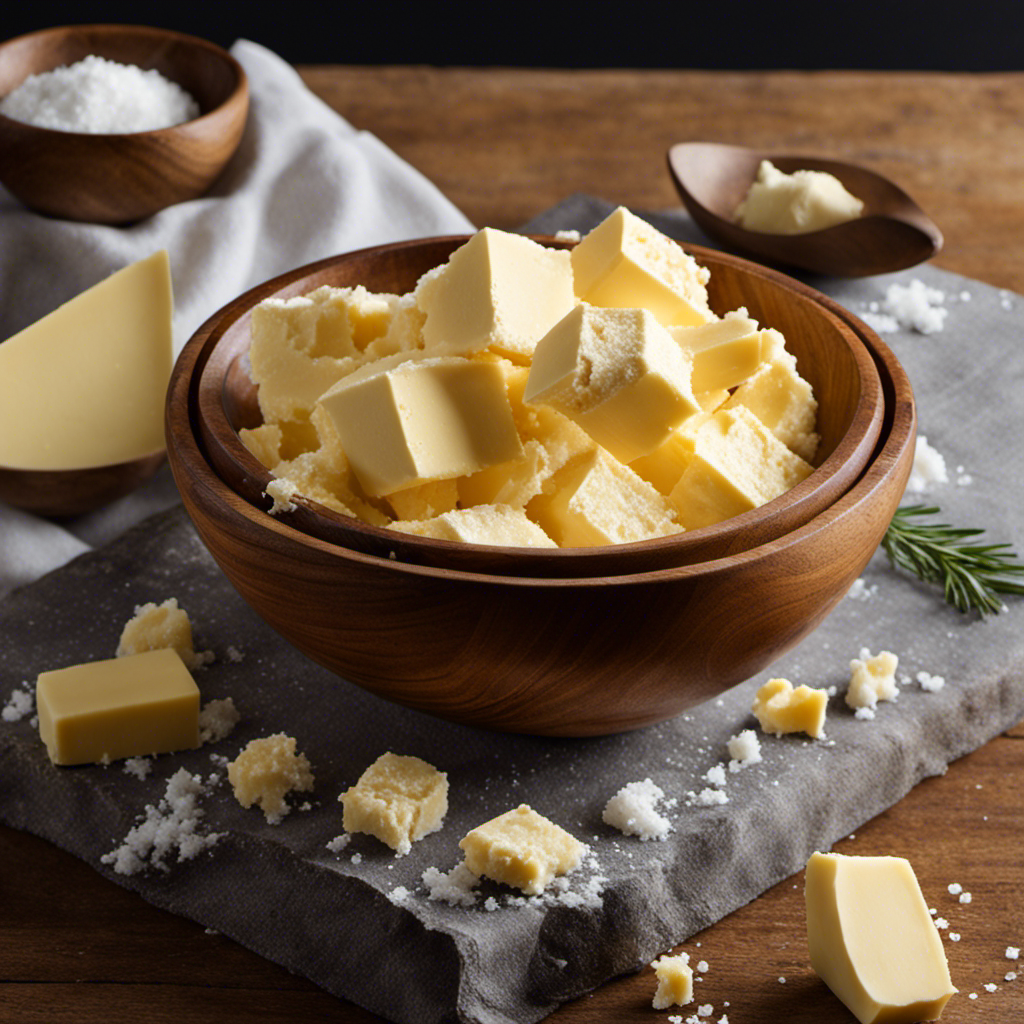
I’ll start by gathering the ingredients I need to make Butter Dreamlight Valley. The first step is to prepare the cream. For this recipe, I’ll need 2 cups of heavy cream. It’s important to ensure that the cream is fresh and of high quality.
Next, I’ll gather the necessary equipment. I’ll need a stand mixer or hand mixer with a whisk attachment, a large mixing bowl, and a fine-mesh strainer. These tools will help me achieve a smooth and creamy texture for the butter. Additionally, I’ll need a clean towel or cheesecloth to strain the butter later on.
Churning the Cream
Once the cream thickens, I’ll start churning it to make the Dreamlight Valley butter. Churning is the crucial step in the butter-making process that helps separate the butterfat from the liquid in the cream.
There are various methods of churning, each yielding slightly different results. The traditional method involves using a butter churn, a cylindrical container with a paddle inside. By manually turning the handle, the paddle agitates the cream, causing the fat globules to come together and form butter.
Alternatively, a stand mixer with a whisk attachment can be used for churning. This method is quicker and requires less physical effort.
For those without access to specialized equipment, a jar can be used as a makeshift butter churn. Simply pour the cream into the jar, seal it tightly, and shake vigorously until butter forms.
Regardless of the method chosen, the end result will be the same – delicious Dreamlight Valley butter.
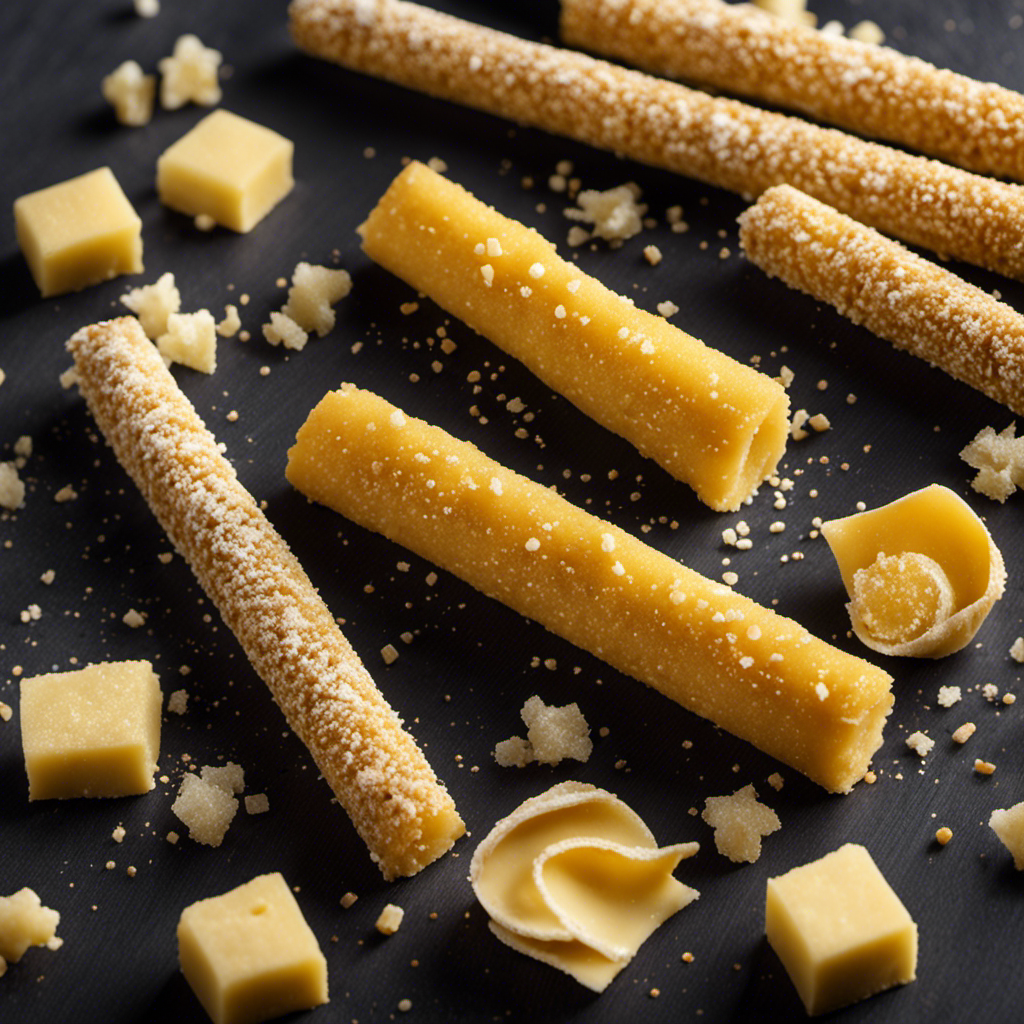
Adding Flavorings
To add flavorings, I simply mix in my favorite herbs and spices while churning the cream. It’s a fun and creative way to explore different flavor combinations and elevate the taste of my butter.
Here are some creative ways to use flavored butter:
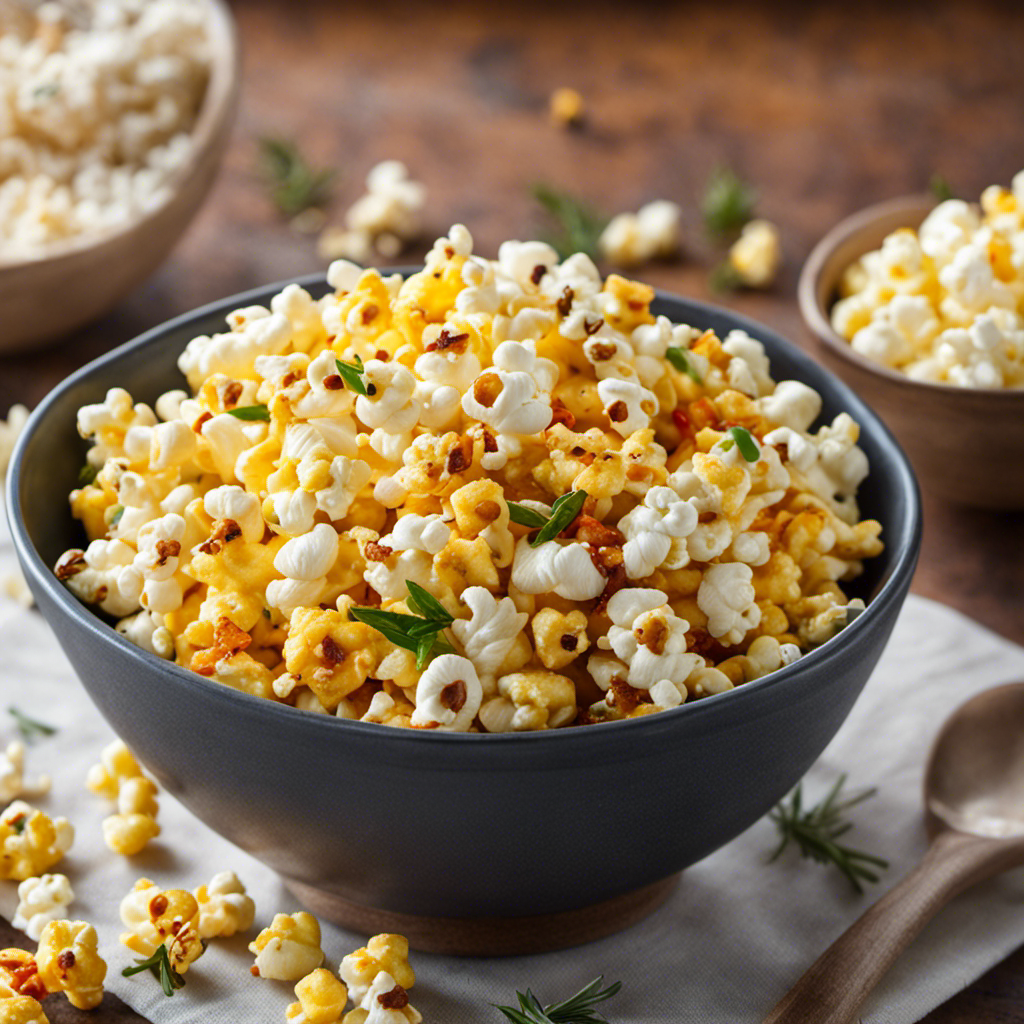
- Spread it on warm bread or toast for a burst of flavor.
- Melt it over steamed vegetables to add a delicious twist.
- Use it as a base for sauces and gravies to enhance the taste.
By experimenting with various herbs and spices, I can create unique and versatile flavored butters that can be used in a variety of dishes. From garlic and herb butter to spicy chili butter, the possibilities are endless.
Flavored butter is a simple yet effective way to elevate the taste of any dish and add a touch of creativity to my cooking.
Proper Storage and Use
Storing flavored butter in an airtight container in the refrigerator keeps it fresh and allows me to enjoy the enhanced flavors for an extended period of time.
Proper storage is crucial for maintaining the quality and shelf life of flavored butter. When stored in an airtight container, it prevents the butter from absorbing odors and flavors from other foods in the refrigerator. This helps preserve the original taste and aroma of the flavored butter.
Additionally, refrigeration slows down the growth of bacteria and other microorganisms that can cause spoilage.
It’s important to note that the shelf life of flavored butter can vary depending on the type of flavorings used. While some flavors may last for several weeks, others may only last for a few days. Therefore, it’s always advisable to check for any signs of spoilage, such as an off smell or unusual texture, before consuming flavored butter.
Tips for Perfect Homemade Butter
When I use fresh cream and a blender, I can easily whip up a batch of creamy homemade butter in just a few minutes. Making butter at home isn’t only fun but also allows you to control the ingredients and customize the flavors.
To ensure perfect homemade butter every time, here are some helpful tips:
- Use chilled cream: Cold cream whips up faster and results in a smoother texture.
- Avoid overwhipping: Stop blending once the cream has turned into butter and buttermilk separates.
- Drain and wash: After separating the butter from buttermilk, rinse it with cold water to remove any remaining liquid.
Troubleshooting common butter making mistakes:
- If the butter is too soft, chill it in the refrigerator for a while.
- If the butter is too hard, let it soften at room temperature before using.
Health benefits of homemade butter:
- Rich in fat-soluble vitamins like A, D, E, and K.
- Contains healthy saturated fats.
- Provides a good source of energy for the body.
Making homemade butter is a rewarding and nutritious process. Enjoy the creamy goodness!
Frequently Asked Questions
Can I Use Any Type of Cream to Make Homemade Butter?
Yes, you can use different types of cream to make homemade butter. However, it is recommended to use heavy cream or whipping cream for best results. Flavored cream may alter the taste of the butter.
How Long Does It Take to Churn the Cream Into Butter?
Churning cream into butter feels like an eternity, but with patience, it takes about 10-15 minutes. To store homemade butter, keep it in an airtight container in the fridge. For a creamy texture, ensure the cream is at room temperature before churning.
Can I Use Artificial Flavorings Instead of Natural Flavorings?
Using artificial flavorings for homemade butter has its pros and cons. The main advantage is the wide variety of flavors available. However, some may prefer natural alternatives like herbs, spices, or citrus zest for a more authentic taste.
What Is the Shelf Life of Homemade Butter When Properly Stored?
When properly stored, homemade butter can last for several weeks. To extend its shelf life, keep it in an airtight container in the refrigerator. Don’t forget to check for any signs of spoilage before using.
How Can I Prevent My Homemade Butter From Becoming Too Soft or Melting Easily?
To prevent homemade butter from becoming too soft or melting easily, I recommend chilling the cream before churning, using an ice bath during the churning process, and storing it in the refrigerator in an airtight container.
Conclusion
In conclusion, making butter at home is a simple and rewarding process. By gathering the ingredients, churning the cream, and adding flavorings, you can create a delicious spread that will elevate your meals.
Proper storage and use will ensure that your homemade butter stays fresh and flavorful. With these tips and techniques, you’ll be able to enjoy the perfect homemade butter that will make your taste buds dance with delight.
So why not give it a try and experience the buttery goodness for yourself?