Hey everyone! Have you ever thought about making your own butter churn? Look no further because I have all the knowledge needed to help you start churning like a pro.
In this article, I’ll walk you through the step-by-step process of:
- Gathering the materials
- Assembling the churn
- Preparing the cream
- Churning the butter
- Separating the buttermilk
- Storing and enjoying your homemade butter.
Get ready to whip up some creamy goodness that’ll leave you feeling oh-so proud. Let’s dive in!
Key Takeaways
- The key materials needed for making butter churn include a sturdy container with a tight-fitting lid, a wooden churn stick or hand mixer with beaters, and a crank handle securely attached to the lid.
- It is important to use fresh, high-quality cream with high fat content and maintain a temperature of around 50-55°F (10-13°C) for the cream.
- Different types of churns include hand-crank, dash churn, and electric churn, each requiring different techniques and maintenance.
- Draining techniques for homemade butter include straining through a fine-mesh sieve or cheesecloth, pressing the butter in a clean cloth, salting, and refrigeration.
Gathering the Materials
Now, you’re going to need a few materials to get started on making your own butter churn. Don’t worry, it’s easier than you might think!
First, you’ll need a sturdy container with a tight-fitting lid. An old glass jar or a plastic food storage container works well.
Next, you’ll need a wooden churn stick or a hand mixer with beaters. These will be used to churn the cream into butter. It’s important to have a smooth and steady churning motion to ensure proper butter formation.
If you’re having trouble getting the cream to turn into butter, try adjusting the speed of your churning or adding a pinch of salt to help with the separation process.
Troubleshooting tip: If the cream is not thickening, make sure it is chilled before churning.
Assembling the Churn
First, gather all the necessary parts to put the churn together. Once you have everything ready, assembling the churn is a straightforward process.
Start by attaching the crank handle to the lid of the churn. Make sure it is securely fastened so it can rotate smoothly.
Then, insert the dasher into the churn body, making sure it fits snugly in the center. The dasher is the component responsible for churning the cream into butter.
Next, place the lid onto the churn body, ensuring a tight seal to prevent any leakage.
Finally, attach the churn base to provide stability during the churning process.
Troubleshooting common issues during assembly may involve checking for loose parts or misalignments.
With the churn fully assembled, you are now ready to move on to preparing the cream.
Preparing the Cream
Once you’ve gathered all the necessary ingredients, it’s time to start preparing the cream. The quality of the cream plays a crucial role in the final outcome of your butter churn. It is important to use fresh, high-quality cream that has a high fat content. This will ensure a rich and creamy butter.
One key factor to consider when preparing the cream is temperature control. The cream should be at a temperature of around 50-55°F (10-13°C) before you begin churning. This allows for better separation of the fat from the liquid, resulting in smoother and more flavorful butter.
To help you understand the importance of temperature control, here is a table illustrating the effects of different cream temperatures on butter churn:
| Cream Temperature (°F) | Result |
|---|---|
| 40-45 | Difficult to churn and may result in grainy butter |
| 50-55 | Ideal temperature for smooth and creamy butter |
| 60-65 | Butter may become too soft and greasy |
Churning the Butter
When it comes to churning butter, the speed at which you churn is crucial. The faster you churn, the quicker the butter will separate from the buttermilk.
There are different types of churns you can use, such as a hand-crank churn or an electric churn, each with its own advantages.
To achieve smoother butter, make sure to use cold cream, as this will help the butter solidify faster and reduce the chances of the butter becoming grainy.
Importance of Churning Speed
Churning speed is crucial for achieving the desired consistency of the butter. The speed at which you churn the cream determines the texture and quality of the final product.
Here are some key churning techniques and troubleshooting tips to help you master the art of butter making:
- Slow and steady: Start churning at a slower speed to allow the cream to break down gradually and prevent splattering.
- Increase speed gradually: As the cream thickens, gradually increase the churning speed to facilitate separation of the butterfat from the buttermilk.
- Watch for signs of butter formation: Look for the formation of small butter granules and a distinct separation of buttermilk.
- Adjust speed if needed: If the butter isn’t forming or the buttermilk isn’t separating, adjust the churning speed accordingly.
- Experiment with different speeds: Different churning speeds can yield different textures, so don’t be afraid to experiment and find your preferred consistency.
Mastering the art of churning speed will ensure that you achieve the perfect butter every time. Happy churning!
Different Types of Churns
There are various types of churns available for making butter, each with its own unique features and benefits. From traditional hand-crank churns to modern electric churns, there is a churn to suit every preference and need. Here is a comparison of three popular churn types:
| Churn Type | Churning Technique | Butter Churn Maintenance |
|---|---|---|
| Hand-Crank | Manual rotation of a handle to agitate cream | Regular cleaning and oiling of gears |
| Dash Churn | Plunging a dasher up and down in a container | Proper cleaning of dasher and container after each use |
| Electric | Automated rotation of a paddle or blade | Regular cleaning of paddle and motor maintenance |
When choosing a churn, consider your preferred churning technique and the level of maintenance required. Hand-crank churns offer a nostalgic experience but require more effort, while electric churns provide convenience but may need occasional maintenance. Regardless of the churn type, proper maintenance is crucial to ensure consistent butter quality and longevity of the churn.
Tips for Smoother Butter
After learning about the different types of churns, let me share some tips to help you achieve smoother butter.
One crucial aspect is the temperature of the cream. Make sure the cream is at room temperature before churning. This will ensure that the butter forms properly.
Additionally, the consistency of the butter is essential. To achieve a smoother texture, consider adding a little bit of salt to the cream before churning. This not only enhances the flavor but also helps in achieving a smoother consistency.
Another tip is to churn the butter for the right amount of time. Over-churning can lead to a grainy texture, while under-churning may result in a greasy consistency.
Lastly, make sure to strain the buttermilk thoroughly to remove any excess liquid.
- Cream at room temperature
- Consistency is key
- A pinch of salt goes a long way
- Churn for the right amount of time
- Strain thoroughly
Separating the Buttermilk
When it comes to separating the buttermilk from freshly churned butter, draining plays a crucial role.
The process of draining helps remove excess liquid and ensures a creamy and spreadable texture.
Traditional methods involve using a muslin cloth or a butter mold with holes, while modern techniques utilize tools like butter separators or centrifuges for a more efficient and precise separation.
Importance of Draining
To ensure smooth and creamy butter, you should drain the liquid from the churned mixture. Draining is a crucial step in the butter-making process as it helps remove excess moisture and buttermilk, resulting in a better texture and flavor.
There are several effective draining techniques and methods of moisture removal that can be employed:
-
Straining: After churning, pour the mixture into a fine-mesh sieve or cheesecloth-lined colander to separate the liquid from the butter.
-
Pressing: Gently press the butter in a clean cloth or butter muslin to remove any remaining liquid.
-
Salting: Sprinkle a small amount of salt over the drained butter to enhance flavor and further aid in moisture removal.
-
Refrigeration: Place the drained butter in a covered container and refrigerate for a few hours to solidify and remove any residual moisture.
-
Repeated draining: If necessary, repeat the draining process until no more liquid is released.
Traditional Vs Modern Methods
When it comes to making butter, there are two main methods: traditional and modern. Traditional methods involve using a churn or a jar to manually agitate cream until it separates into butter and buttermilk. This process requires time, effort, and patience, but it also has its benefits.
| Traditional Methods | Benefits of Homemade Butter |
|---|---|
| Slow, manual process | Rich, creamy texture |
| Hands-on experience | Natural flavor and aroma |
| Connects with history | Control over ingredients |
| Physical activity | No additives or preservatives |
| Satisfaction of creating from scratch | Customizable flavors |
One of the key benefits of homemade butter using traditional methods is the rich, creamy texture that is difficult to achieve with store-bought options. Additionally, the natural flavor and aroma of homemade butter can be far superior to commercially produced varieties. Making butter at home also allows you to have control over the ingredients, ensuring that no additives or preservatives are included. Lastly, the satisfaction of creating something from scratch and the ability to customize flavors make the traditional method worth the time and effort.
Storing and Enjoying Your Homemade Butter
You can store and enjoy your homemade butter by keeping it in an airtight container in the refrigerator. This will help maintain its freshness and prevent it from absorbing any unwanted odors. Here are some tips and techniques to ensure your homemade butter stays delicious:
- Use a clean and dry container to store the butter.
- Make sure to wrap the butter tightly in wax paper or plastic wrap before placing it in the container.
- Label the container with the date of preparation to keep track of its freshness.
- Avoid storing the butter near strong-smelling foods, as it can absorb their flavors.
- To enhance the flavor of your butter, you can add various herbs, spices, or even infused oils during the churning process.
Frequently Asked Questions
How Long Does It Typically Take to Churn Butter?
Typically, churning butter takes around 20-30 minutes. The time can vary depending on factors like temperature and the speed at which you churn. To achieve the best results, it’s important to follow proper techniques and be patient during the process.
Can I Use Store-Bought Cream to Make Butter?
Yes, you can use store-bought cream to make butter. It’s a convenient alternative for homemade butter. Store-bought cream can yield delicious and creamy butter, saving you time and effort in the process.
Is It Possible to Churn Butter Without a Churn?
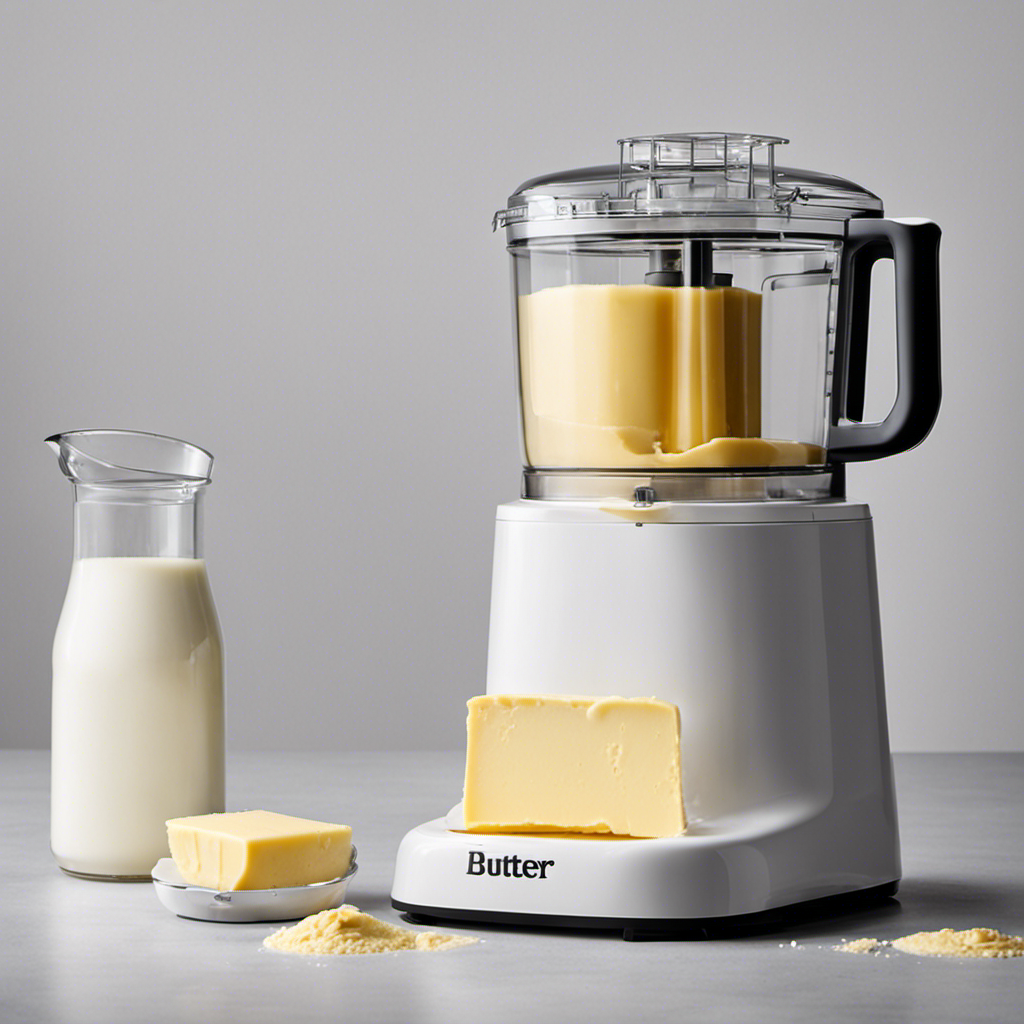
Yes, it is possible to churn butter without a churn. Alternative methods include using a food processor or a mason jar. However, using a churn has its benefits, such as better control over the process and a traditional, authentic experience.
Should the Cream Be at Room Temperature Before Churning?
Yes, the cream should be at room temperature before churning. This allows for better churning and reduces the churning time. It’s important to let the cream sit out for about an hour before starting the process.
Can I Add Any Flavorings or Seasonings to the Butter?
Yes, you can add flavorings or seasonings to the butter. Some popular options include adding sweeteners like honey or maple syrup, and adding herbs and spices such as garlic, rosemary, or cinnamon.
Conclusion
After following these simple steps, you’ll have successfully made your very own butter churn and enjoyed the fruits of your labor.
It’s a satisfying and rewarding process that reconnects us with the traditional methods of butter making.
Did you know that homemade butter can last up to two weeks in the refrigerator? That’s longer than most store-bought butter!
So why not give it a try? With a little time and effort, you’ll have delicious, creamy homemade butter that you can enjoy on toast, in baking, or however you please.
Happy churning!

