Are you a fan of the rich and hydrating qualities of whipped shea butter, but get annoyed when it becomes hard and challenging to apply?
Imagine opening your jar of whipped shea butter, only to find it rock solid and impossible to scoop out. Don’t worry, we’ve got you covered.
In this article, we will share with you expert tips and techniques on how to keep your whipped shea butter soft and smooth, so you can enjoy its benefits without any hassle.
Key Takeaways
- Shea butter hardens at cooler temperatures due to its high stearic acid content.
- Essential oils like lavender, eucalyptus, and citrus offer fragrance and therapeutic benefits.
- Natural preservatives like vitamin E oil, grapefruit seed extract, and rosemary extract help extend shelf life.
- Proper storage techniques, such as using airtight containers and keeping it in a cool, dry place, can prevent whipped shea butter from hardening.
Understanding the Science Behind Shea Butter Hardening
To keep your whipped shea butter from hardening, you’ll want to understand why shea butter hardens in the first place.
Shea butter is a natural fat extracted from the nuts of the shea tree found in Africa. It contains a high concentration of fatty acids, vitamins, and antioxidants, making it a popular choice for moisturizing and nourishing the skin. However, shea butter has a tendency to become solid at cooler temperatures due to its high content of stearic acid. This is why it can be difficult to spread when it hardens.
Compared to other moisturizers, shea butter is unique because it melts on contact with the skin, providing deep hydration and locking in moisture. Understanding the science behind shea butter hardening is crucial in selecting the right ingredients for your whipped shea butter.
Choosing the Right Ingredients for Your Whipped Shea Butter
When it comes to creating the perfect whipped shea butter, there are a few key ingredients you’ll want to consider.
First, essential oils can add a delightful fragrance to your butter, allowing you to customize the scent to your liking.
Second, natural preservatives are essential for ensuring the longevity of your butter, keeping it fresh and preventing the growth of harmful bacteria.
Finally, moisturizing butters can enhance the texture of your whipped shea butter, making it smooth and luxurious to the touch.
Essential Oils for Fragrance
Adding essential oils can help to create a pleasant fragrance in whipped shea butter without causing it to harden. Essential oils are concentrated plant extracts that not only provide fragrance options but also offer various therapeutic benefits. When choosing essential oils for your whipped shea butter, it’s important to consider both the scent and the potential benefits they offer. Some popular options include lavender for relaxation, eucalyptus for respiratory support, and citrus oils for an uplifting effect. To incorporate essential oils into your whipped shea butter, simply add a few drops during the whipping process. This allows the scent to disperse evenly throughout the butter. Remember to start with a small amount and adjust to your preference. Whether you apply the whipped shea butter as a moisturizer, lip balm, or hair treatment, the addition of essential oils can enhance your application methods and provide a delightful fragrance.
| Fragrance Options | Application Methods |
|---|---|
| Lavender | Moisturizer |
| Eucalyptus | Lip Balm |
| Citrus | Hair Treatment |
Natural Preservatives for Longevity
Using natural preservatives can help extend the longevity of your whipped shea butter without causing it to harden. When making homemade skincare products like whipped shea butter, it’s important to consider shelf life preservation.
Natural preservatives are a great option because they not only increase the shelf life of your product, but they also keep it safe to use. Some popular natural preservatives include vitamin E oil, grapefruit seed extract, and rosemary extract. These ingredients not only help prevent the growth of bacteria and fungi, but they also have antioxidant properties that can benefit your skin.
Moisturizing Butters for Texture
Moisturizing butters like cocoa butter and mango butter can contribute to the smooth and creamy texture of your homemade skincare products. These natural alternatives to traditional moisturizers not only enhance the texture of your products but also provide numerous benefits for your skin.
Here are four reasons why adding moisturizing butters to your skincare routine can be a game-changer:
-
Intense Hydration: Cocoa butter and mango butter are rich in fatty acids that deeply moisturize and nourish your skin, leaving it soft and supple.
-
Improved Skin Elasticity: These butters help improve the elasticity of your skin, reducing the appearance of fine lines and wrinkles.
-
Enhanced Skin Tone: Regular use of moisturizing butters can help even out your skin tone, giving you a more radiant complexion.
-
Soothing Properties: Cocoa butter and mango butter have soothing properties that can calm irritated skin and provide relief from dryness and itchiness.
Proper Storage Techniques to Prevent Hardening
Storing whipped shea butter properly will help prevent it from hardening. One of the main factors that contribute to the hardening of shea butter is the crystallization process.
To prevent crystallization, it is important to store your whipped shea butter in an airtight container. This will protect it from exposure to air and moisture, which can lead to the formation of crystals.
Additionally, it is advisable to keep the whipped shea butter in a cool and dry place, away from direct sunlight and heat sources.
If you want to explore alternative storage methods, you can try using glass jars or metal tins instead of plastic containers. These materials provide better insulation and can help maintain the consistency of the whipped shea butter for a longer period of time.
Temperature Control: Keeping Your Whipped Shea Butter Soft
Now that you know the proper storage techniques to prevent your whipped shea butter from hardening, let’s talk about temperature regulation.
Maintaining the right temperature is crucial in keeping your whipped shea butter soft and easy to use. Here are some alternative storage methods that can help you achieve this:
-
Cool dark place: Find a spot in your home that remains cool and away from direct sunlight. Heat can cause the shea butter to melt and then harden again, resulting in a less desirable texture.
-
Refrigerator: If you live in a warm climate or want to extend the shelf life of your whipped shea butter, storing it in the refrigerator can be beneficial. The cool temperature will help maintain its softness.
-
Temperature-controlled containers: Invest in containers that are designed to regulate temperature. These containers can help keep your whipped shea butter at an optimal consistency.
-
Avoid extreme temperatures: Extreme cold or hot environments can affect the texture of your whipped shea butter. Avoid placing it near heaters, radiators, or windows during hot summer months.
Incorporating Natural Preservatives to Extend Shelf Life
Using natural preservatives can help extend the shelf life of your whipped shea butter. When making your own homemade remedies, it’s important to use natural alternatives to keep the product fresh for longer.
Natural preservatives not only help prevent the growth of bacteria and mold, but they also maintain the quality and effectiveness of the whipped shea butter. Some popular natural preservatives include vitamin E oil, rosemary extract, and grapefruit seed extract.
These ingredients not only have antimicrobial properties, but they also provide additional benefits for the skin. Vitamin E oil acts as an antioxidant, protecting the whipped shea butter from oxidation and rancidity. Rosemary extract has anti-inflammatory properties, while grapefruit seed extract helps to preserve the product and extend its shelf life.
Incorporating these natural preservatives will ensure that your whipped shea butter stays fresh and effective for a longer period of time.
DIY Tips and Tricks for Softening Hardened Shea Butter
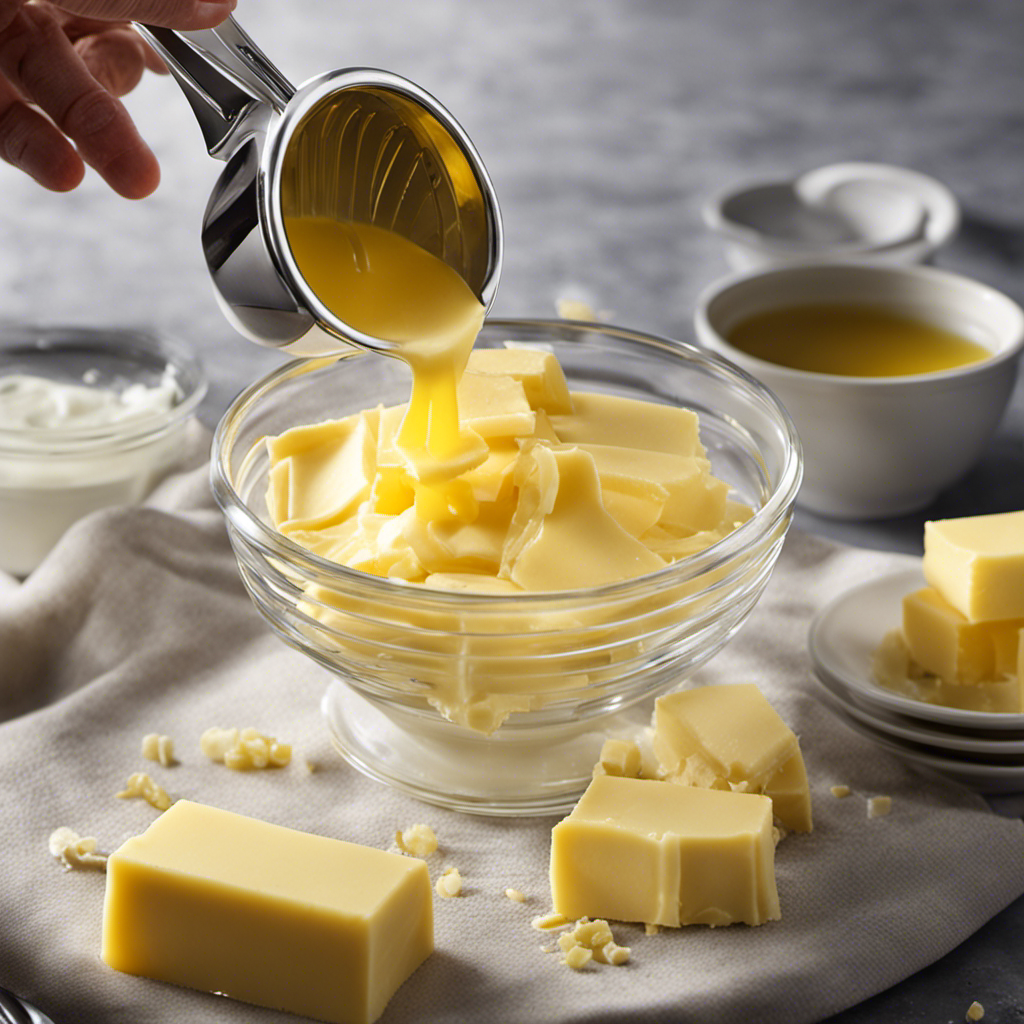
To soften hardened shea butter, you can gently heat it in a double boiler until it melts into a smooth and creamy consistency. This process helps restore the butter’s original texture, making it easier to use and apply. Once softened, the shea butter can be utilized in various alternative ways, providing numerous benefits for your hair.
Here are four exciting ways to incorporate softened shea butter into your hair care routine:
-
Deep conditioning: Massage the softened shea butter onto your scalp and hair, leaving it on for a few hours or overnight. This deep conditioning treatment will nourish and moisturize your hair, promoting healthy growth and preventing breakage.
-
Styling aid: Use a small amount of softened shea butter to tame frizz, define curls, or add shine to your hair. Its natural properties will help keep your hairstyle in place throughout the day.
-
Scalp treatment: Apply the softened shea butter to your scalp, gently massaging it in circular motions. This will help soothe dryness, relieve itchiness, and promote a healthy scalp environment.
-
Hair mask: Mix the softened shea butter with other natural ingredients, such as coconut oil or honey, to create a DIY hair mask. Apply the mixture to your hair, let it sit for 30 minutes, and then rinse thoroughly. This mask will deeply nourish and hydrate your hair, leaving it soft, shiny, and revitalized.
Incorporating softened shea butter into your hair care routine opens up a world of alternative uses and benefits for your hair. Experiment with these tips and enjoy the wonders of this versatile ingredient.
Troubleshooting Common Issues With Whipped Shea Butter Hardening
If your whipped shea butter consistently hardens, try storing it in a cooler area to maintain a smoother consistency. There are several common causes for whipped shea butter to harden, but with a few troubleshooting techniques, you can easily overcome this issue. One common cause is exposure to high temperatures, which can cause the butter to melt and then solidify again, resulting in a harder texture. Another cause could be the presence of water or other liquids in the butter, which can lead to the formation of crystals and hardening. To troubleshoot these issues, consider the following suggestions:
| Common Causes | Troubleshooting Techniques |
|---|---|
| High temperatures | Store whipped shea butter in a cool area or refrigerate it to maintain a smoother consistency. |
| Presence of water or liquids | Ensure all tools and containers used are dry before making whipped shea butter. Avoid adding water or other liquids to the mixture. |
Conclusion
In conclusion, understanding the science behind shea butter hardening and choosing the right ingredients can prevent whipped shea butter from turning into a solid block. Proper storage techniques, such as using airtight containers and maintaining a consistent temperature, also play a crucial role in maintaining its softness.
Incorporating natural preservatives can extend the shelf life of whipped shea butter. If you ever encounter hardened shea butter, don’t worry! There are DIY tips and tricks that can easily soften it back to its creamy texture.
So go ahead and enjoy the benefits of whipped shea butter without worrying about it hardening!


