You could be wondering, ‘Why should I freeze butter beans instead of just purchasing them fresh?’ Let me explain, freezing butter beans can completely transform your cooking experience. It enables you to savor these tasty beans throughout the entire year, no matter if they’re in season or not.
In this article, we’ll guide you through the process of selecting, preparing, blanching, packaging, and storing butter beans for freezing. Get ready to stock up on this versatile and nutritious ingredient!
Key Takeaways
- Select firm and vibrant pods, and avoid discolored or blemished ones
- Soak butter beans in cold water for 4-6 hours to soften them
- Blanch the beans to maintain their color, texture, and nutritional value
- Transfer blanched beans to an airtight container or freezer bag for storage
Selecting Fresh Butter Beans
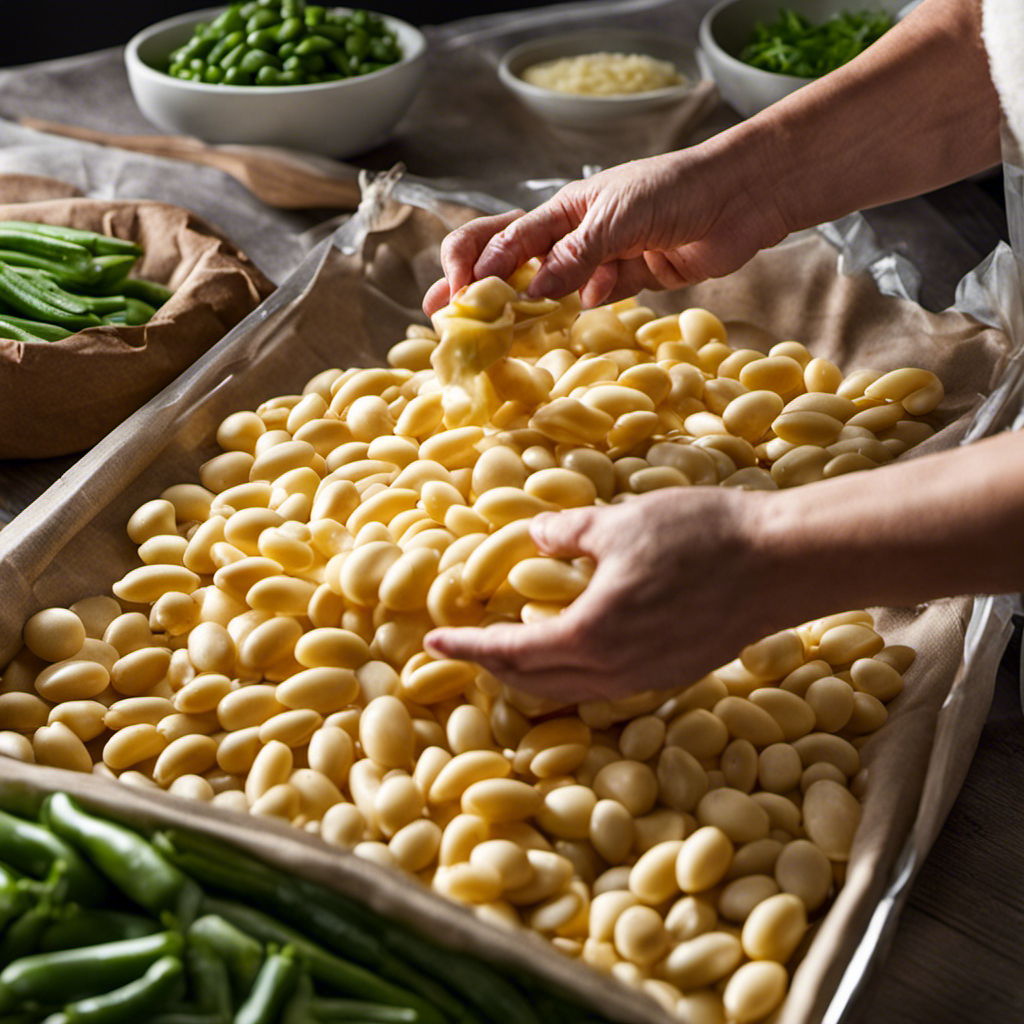
To select fresh butter beans, look for firm and vibrant pods. These beans are versatile and nutritious. They can be cooked in various ways, such as boiling, steaming, or sautéing. Butter beans are packed with nutritional benefits, including fiber, protein, and essential vitamins and minerals. They are low in fat and cholesterol, making them a healthy choice. When choosing butter beans, avoid discolored or blemished pods. Look for plump beans that feel heavy. Fresh butter beans have a slightly sweet and buttery taste, perfect for a wide range of dishes.
Preparing Butter Beans for Freezing
First, you’ll need to wash and remove any dirt or debris from the butter beans before preparing them for freezing. Start by soaking the beans in a bowl of cold water for about 4-6 hours. This helps to soften the beans and reduce cooking time later on.
After soaking, drain and rinse the beans thoroughly. Now, you can choose your preferred cooking method. You can either boil the beans for about 3-5 minutes or steam them for 5-7 minutes. Both methods help retain the beans’ natural flavor and texture.
Once cooked, immediately transfer the beans to an ice bath to cool them down quickly and preserve their vibrant color. Finally, drain the beans and lay them out on a baking sheet lined with parchment paper. Place the sheet in the freezer until the beans are completely frozen.
Now you have perfectly prepared butter beans ready for future dishes!
Blanching Butter Beans
After soaking and rinsing the beans, you can either boil or steam them for a few minutes to blanch them. Blanching is an essential step in preserving butter beans as it helps to maintain their color, texture, and nutritional value.
To blanch the beans, bring a pot of water to a boil and add the beans. Boil them for 2-3 minutes or until they turn bright green. Alternatively, you can steam the beans for 4-5 minutes until they become tender.
Once blanched, it is important to immediately transfer the beans to an ice bath to stop the cooking process and preserve their crispness. Blanching not only helps to retain the taste and texture of butter beans, but it also makes them easier to freeze and store for later use.
Packaging and Storing Butter Beans
Once blanched, you should transfer the beans to an airtight container or freezer bag for storage. This step is crucial to maintain the freshness and quality of your butter beans. But if you want to take it a step further and ensure maximum protection against freezer burn, consider vacuum sealing your beans. Vacuum sealing removes all the air from the packaging, creating a tight seal that prevents oxygen from reaching the beans. Oxygen is the main culprit behind freezer burn, which can lead to dry, discolored, and unappetizing beans. By vacuum sealing, you can extend the shelf life of your butter beans and maintain their delicious taste and texture.
To give you a better understanding of the benefits of vacuum sealing, here’s a comparison between regular storage and vacuum sealing:
| Method | Shelf Life | Freezer Burn Prevention |
|---|---|---|
| Regular Storage | Up to 6 months | Moderate |
| Vacuum Sealing | Up to 1 year | High |
As you can see, vacuum sealing significantly increases the shelf life of your butter beans and provides excellent protection against freezer burn. So, if you have a vacuum sealer at hand, it’s definitely worth considering for long-term storage.
Thawing and Cooking Frozen Butter Beans
To properly prepare frozen butter beans for cooking, it’s important to thaw them first.
Start by taking the desired amount of frozen butter beans and placing them in a colander. Rinse them under cold water to remove any ice crystals or freezer burn.
Then, transfer the beans to a bowl and cover them with cold water. Let them sit at room temperature for about 2 hours, or until fully thawed.
Once thawed, you can cook the butter beans using various cooking techniques. You can simmer them in a pot with water or broth until tender, or you can sauté them in a skillet with some garlic and onions for added flavor.
Don’t be afraid to experiment with different flavor variations, such as adding herbs, spices, or even bacon to enhance the taste of your butter beans.
Happy cooking!
Conclusion
Congratulations! You’ve mastered the art of freezing butter beans.
As you open your freezer and gaze upon those neatly packaged beans, you can almost taste the creamy goodness that awaits. The vibrant green hue, preserved in time, promises a burst of freshness in every bite.
Whether tossed into a hearty stew or sautéed with garlic and herbs, these frozen treasures will transport you to a world of culinary delight.
So go ahead, savor the satisfaction of a job well done and relish in the joy of having nature’s bounty at your fingertips.


