
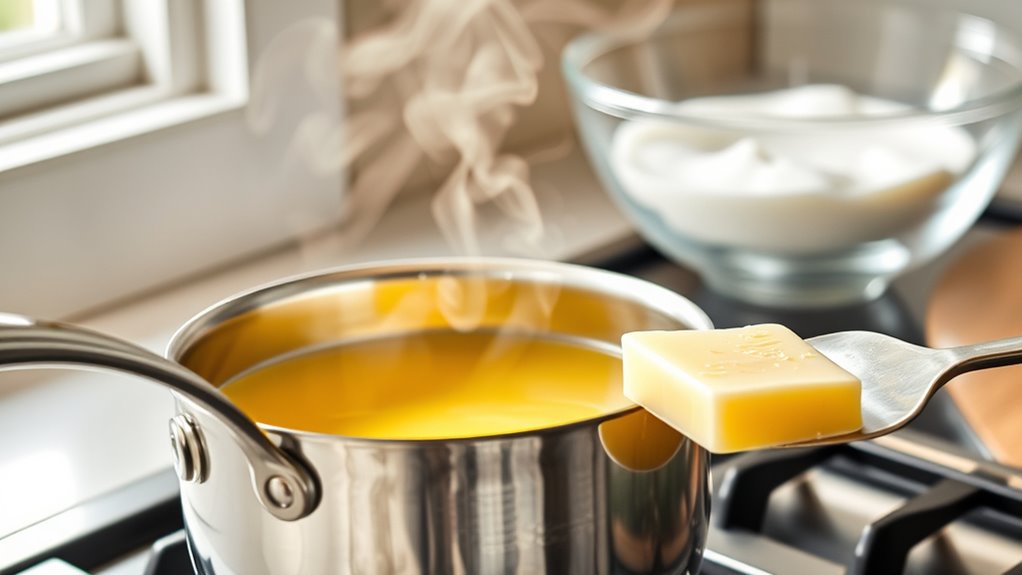
To clarify butter, melt it using either the stovetop or microwave. On the stovetop, heat butter in a saucepan over low until melted. For the microwave, use a microwave-safe bowl and heat in short bursts. Let it simmer gently, skimming off the foam that forms. Once the bubbling slows, pour it through a fine-mesh strainer to collect any impurities. Store the golden butterfat in an airtight container and enjoy its rich flavor in your dishes. Discover more tips to perfect your technique!
Key Takeaways
- Melt butter slowly on the stovetop over low heat or in short bursts in the microwave using a microwave-safe bowl.
- Allow melted butter to simmer gently, watching for bubbles to evaporate water content without browning the milk solids.
- Skim off any foam that forms on the surface during simmering to ensure purity of the clarified butter.
- Strain the melted butter through a fine-mesh strainer or cheesecloth into a heatproof container to remove remaining impurities.
- Cool the clarified butter before transferring it to airtight storage containers and refrigerate for long-lasting freshness.
Have you ever wondered how to transform regular butter into a rich, golden liquid? Clarifying butter is a simple process that enhances its flavor and extends its shelf life. You’ll find that clarified butter, often called ghee, has a higher smoke point than regular butter, making it perfect for frying and sautéing. Plus, it’s a fantastic alternative for those who are lactose intolerant, as the milk solids are removed during the process.
Transform your regular butter into rich, golden clarified butter for enhanced flavor, a higher smoke point, and a lactose-free option!
To clarify butter, you’ll start by melting it. You can do this on the stovetop or in the microwave, depending on your preference. If you’re using the stovetop, place your butter in a saucepan over low heat. As it melts, you’ll notice the butter begins to separate. The milk solids will sink to the bottom, while the clear butterfat rises to the top. This is where the magic of butterfat separation happens. If you choose the microwave method, you’ll want to place your butter in a microwave-safe bowl, cover it loosely with a lid or paper towel, and heat it in short bursts until it’s completely melted.
Once your butter is melted, let it simmer gently. You should see bubbles forming as the water content evaporates. Keep an eye on it; you don’t want the milk solids to brown. This is vital because burnt solids can impart an undesirable flavor to your clarified butter. After a few minutes, you’ll notice the foam forming on the surface. Skim this off with a spoon, and be patient. You want to verify you’ve removed as much of the milk solids as possible.
When the bubbling slows down and the liquid is clear, it’s time to strain it. Grab a fine-mesh strainer or a cheesecloth, and place it over a heatproof container. Carefully pour your melted butter through the strainer. This will remove the milk solids and any impurities, leaving you with pure, golden butterfat. Let it cool before transferring it to an airtight container for storage.
Now you’ve got clarified butter ready to enhance your cooking! Using clarified butter can be a flavorful alternative for sautéing and frying, as it has a higher smoke point than regular butter. Store it in the refrigerator to keep it fresh. With all the milk solids removed, it can last for weeks without spoiling. You can use it in various recipes or even as a delicious topping for popcorn. Enjoy your culinary adventure with clarified butter!
Frequently Asked Questions
Can I Clarify Salted Butter Instead of Unsalted Butter?
Yes, you can clarify salted butter instead of unsalted butter. However, keep in mind that the salt will remain in the butter, which can affect the flavor infusion in your dishes. If you’re using the clarified butter for recipes where you want a pure, rich taste, unsalted butter is often preferred. But if you’re aiming for a salty kick, go ahead and clarify that salted butter! It’s all about your flavor preference.
How Long Does Clarified Butter Stay Fresh?
Clarified butter can stay fresh for about three months if you store it properly in the fridge. If you keep it in an airtight container, it might last even longer. Watch for spoilage signs like off smells, discoloration, or a strange texture. If you notice any of these, it’s best to toss it out. Enjoy your clarified butter, but always check for freshness before using it in your recipes!
Can I Use Clarified Butter for Baking?
Absolutely, you can use clarified butter for baking! As the saying goes, “good things come to those who bake.” Clarified butter enhances flavors and offers a higher smoke point, making it ideal for various cooking techniques. It’s perfect for rich cookies, cakes, and pastries, giving you that delicious buttery taste without the milk solids. So go ahead, incorporate clarified butter into your baking, and enjoy the elevated flavors it brings!
What Are the Health Benefits of Clarified Butter?
Clarified butter offers several health benefits, making it a great addition to your diet. It contains nutritional advantages, like higher concentrations of vitamins A, D, E, and K. Plus, its anti-inflammatory properties can help reduce inflammation in your body. Using clarified butter in cooking allows for a higher smoke point, which means less harmful compounds are formed when you heat it. Overall, it’s a delicious and health-conscious choice for your culinary creations.
Can I Add Flavors to Clarified Butter?
Yes, you can definitely add flavors to clarified butter! To infuse flavor, warm the clarified butter gently and add your choice of herbs, spices, or aromatics. Let it steep for a while, then strain out the solids. This not only enhances the taste but also allows for better butter storage, as the infused flavors can elevate your dishes. Just remember to store it properly to maintain its deliciousness! Enjoy experimenting!
Conclusion
Clarifying butter is as simple as melting ice on a warm day. By removing the milk solids and water, you create a golden, pure fat that enhances your cooking. Whether you choose the stovetop or microwave method, you’re left with a rich, nutty flavor perfect for sautéing or baking. So, next time you need a cooking fat, remember how easy it is to clarify butter, and enjoy the delicious results in your dishes!