Have you ever pondered how life was prior to the ease of purchasing butter from the store? Picture the fulfillment that comes from making your own smooth, homemade butter using traditional methods.
In this article, we will guide you through the step-by-step process of turning simple cream into a delicious spread. From gathering the necessary tools and ingredients to perfecting the final product, we will provide you with all the tips and tricks you need to create the best churned butter imaginable.
Get ready to embark on a butter-making adventure!
Key Takeaways
- The tools and ingredients needed for churning butter include a butter churn, a wooden barrel with a handle, fresh cream (preferably raw and unpasteurized), and heavy whipping cream from the store as an alternative.
- Cream separation techniques can be done through gravity separation, skimming, or centrifugal separation.
- The churning process involves pouring cream into a jar and using a traditional butter churn to agitate the cream and separate fat molecules from the liquid.
- Enhancements and techniques for churning butter include adding salt for flavor, using straining techniques for a smooth texture, and learning about shaping techniques and proper storage for homemade butter.
Gathering the Necessary Tools and Ingredients
Now that you’ve gathered all the necessary tools and ingredients, it’s time to start churning butter the old fashioned way. Traditional butter recipes have been passed down through generations, highlighting the historical significance of butter making.
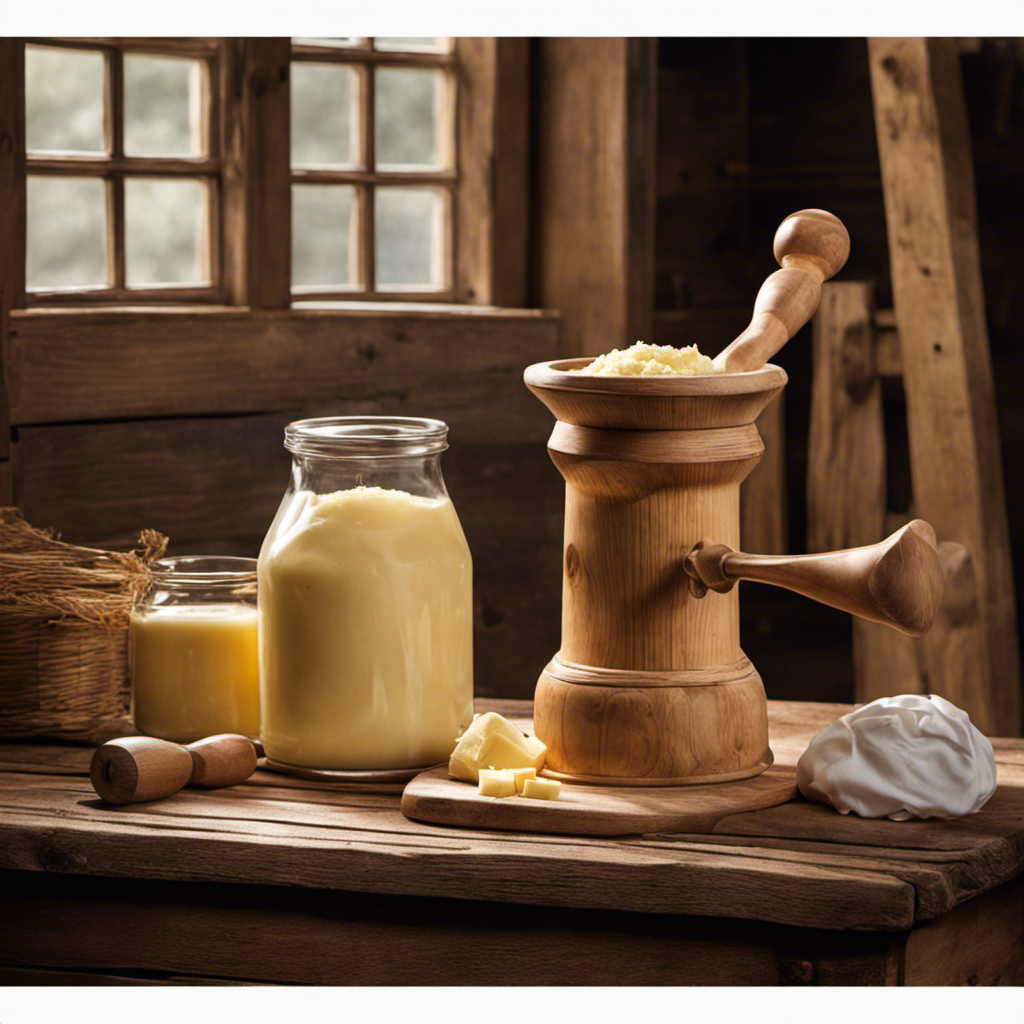
To begin, you’ll need a butter churn, which can be found at antique stores or online. This device consists of a wooden barrel with a handle that you rotate manually. Additionally, you’ll need fresh cream, preferably raw and unpasteurized, as it will yield a richer and more flavorful butter. If raw cream is not available, you can use heavy whipping cream from the store.
Remember to let the cream sit at room temperature for about an hour before churning. This will make it easier for the fat to separate from the liquid. With all the tools and ingredients ready, let’s move on to preparing the cream.
Preparing the Cream
When preparing the cream for butter making, it is important to understand the cream separation process. This process involves separating the fat from the milk to extract the butterfat.
Traditionally, cream separation was done by allowing the milk to sit undisturbed, allowing the cream to rise to the top naturally. However, there are also modern techniques available, such as using a cream separator machine, that can expedite the separation process.
Cream Separation Process
To separate the cream from the milk, you’ll need a separator or a centrifuge. There are various cream separation techniques that have been used throughout history for butter making. These methods include:
- Gravity separation: Allowing the milk to sit undisturbed for a certain period of time, allowing the cream to rise to the top naturally.
- Skimming: Using a ladle or a spoon to skim off the cream that has risen to the surface of the milk.
- Centrifugal separation: Utilizing a centrifuge machine to spin the milk at high speeds, causing the cream to separate from the milk due to the difference in density.
These historical butter making methods were effective in separating the cream from the milk. However, in the subsequent section about traditional cream separation, we will explore more detailed techniques used in the old-fashioned way of churning butter.
Traditional Cream Separation
Gravity separation and skimming are two traditional techniques used to separate cream from milk.
Gravity separation involves allowing the milk to sit undisturbed for a period of time, allowing the cream to rise to the top due to its higher fat content.
Skimming, on the other hand, involves manually removing the cream from the top of the milk using a spoon or a ladle.
Once the cream has been separated, it can be used to make homemade butter using a traditional butter churn.
A butter churn is a device that agitates the cream, causing the fat molecules to clump together and form butter.
There are many homemade butter recipes available online that provide step-by-step instructions on how to churn butter using traditional methods.
These recipes often include variations such as adding salt or herbs to enhance the flavor of the butter.
Churning butter the old fashioned way is not only a fun and educational activity, but it also allows you to enjoy the rich and creamy taste of homemade butter.
Butterfat Extraction Technique
If you want to extract butterfat from milk, one technique you can try is using a centrifuge. This method is commonly used in commercial dairy operations to separate the cream from the milk. Here’s how you can do it at home:
- Pour the milk into a centrifuge container.
- Spin the container at high speed for several minutes.
- The centrifugal force will cause the cream, which is rich in butterfat, to separate from the milk.
Using a centrifuge ensures that the cream is separated efficiently and quickly, resulting in high butterfat purity. This technique has a historical significance as it revolutionized butter production during the industrial era. It allowed for mass production and improved the overall quality of butter.
Now that you have successfully extracted the butterfat, it’s time to move on to the next step: churning the cream.
Churning the Cream
Now that you’ve prepared the cream, it’s time to start churning and turn it into delicious butter.
In this discussion, we will explore the traditional butter-making process, the equipment you’ll need for churning, and the techniques for achieving the perfect consistency.
Traditional Butter-Making Process
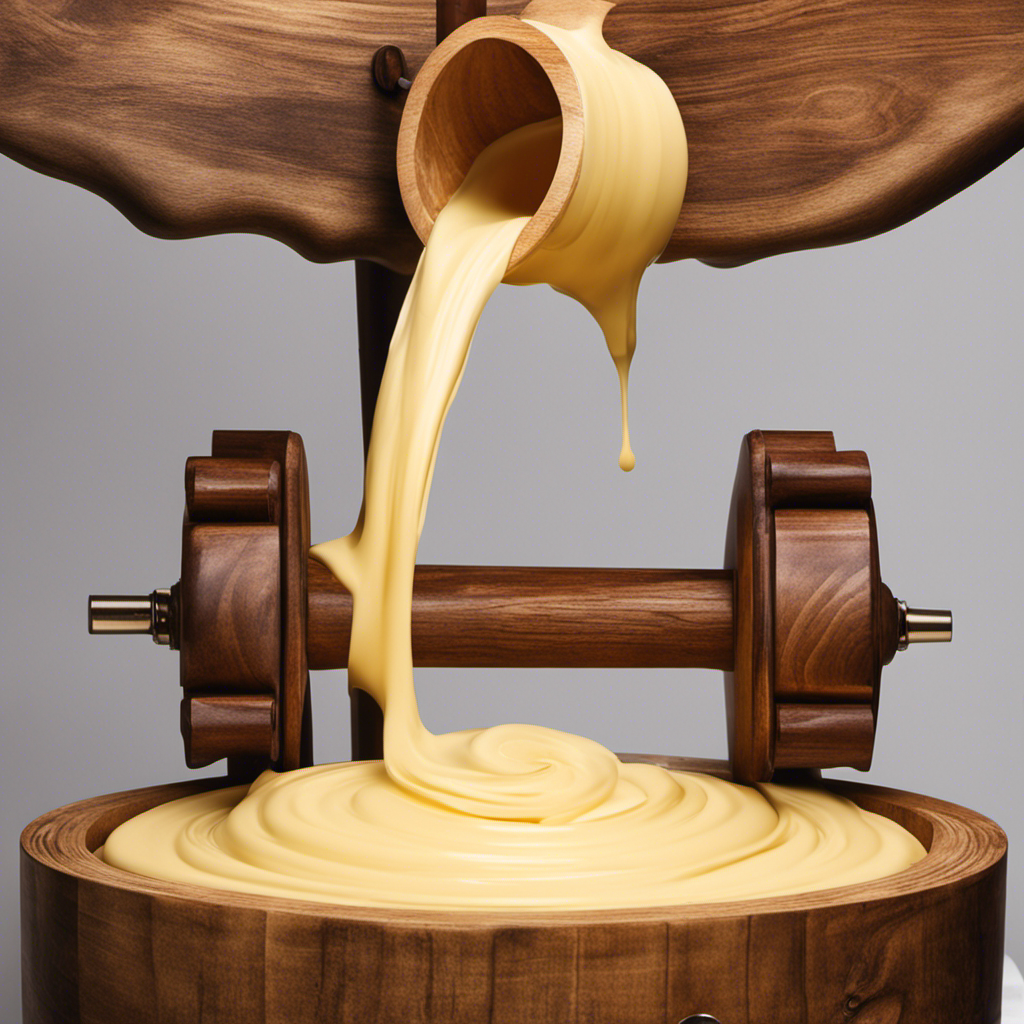
To churn butter the old-fashioned way, you’ll begin by pouring the cream into a jar. Next, you’ll need a traditional butter churn, which consists of a wooden barrel with a handle on top. Here are the steps to follow in order to make butter using this method:
-
Secure the lid tightly on the jar to prevent any cream from leaking out during the churning process.
-
Begin turning the handle of the butter churn in a steady, rhythmic motion. This will agitate the cream and cause the fat molecules to separate from the liquid.
-
Continue churning for about 10 to 15 minutes, or until you notice the butter forming clumps and separating completely from the buttermilk.
-
Once the butter has formed, carefully pour off the buttermilk and place the butter into a bowl of cold water to rinse off any remaining buttermilk.
Equipment Needed for Churning
To make butter using traditional techniques, you’ll need a jar, a wooden barrel with a handle, and a bowl of cold water. These tools have a historical significance as they were commonly used in the past to churn butter before the invention of modern machinery.
The jar will be used to hold the cream, while the wooden barrel with a handle will act as a churn. The cold water in the bowl is essential for cooling the cream and aiding in the separation of butterfat from the buttermilk.
By using these traditional tools, you can experience firsthand the process that our ancestors used to make butter.
Now, let’s explore some techniques for achieving consistency in your homemade butter.
Techniques for Achieving Consistency
If you want your homemade butter to have a consistent texture, try incorporating softened butter into your cream before churning. This technique can help achieve a smooth texture and prevent common problems that may arise during the churning process.
Here are some troubleshooting tips to ensure your butter turns out just right:
- Use cream that has been allowed to sit at room temperature for a few hours. Cold cream can result in uneven churning and lumpy butter.
- Make sure your churning container is clean and free of any residue from previous batches. Any leftover particles can affect the texture of your butter.
- Churn at a consistent speed and temperature. Too fast or too slow can affect the consistency of the butter.
Adding Salt (Optional
Adding salt enhances the flavor of your churned butter. Not only does it bring out the natural richness of the butter, but it also adds a subtle savory note that complements a variety of dishes.
In terms of health benefits, adding salt to churned butter can help balance the sodium-potassium ratio in your body, as well as aid in the absorption of certain nutrients. However, it’s important to note that moderation is key, as excessive salt intake can have negative effects on blood pressure.
If you prefer to avoid salt or are looking for alternatives, consider experimenting with herbs, spices, or even citrus zest to add flavor to your churned butter. These alternatives can provide unique and refreshing taste profiles without the added sodium.
Straining the Butter
Once the butter has been churned, strain it through a cheesecloth to remove any excess liquid. Straining the butter is an important step in the butter-making process, as it helps to achieve a smooth and creamy texture.
Here are some straining techniques and alternative butter churning methods you can try:
-
Use a fine-mesh sieve: Place the sieve over a bowl and pour the churned butter through it. The sieve will catch any unwanted solids, leaving you with pure butter.
-
Use a muslin cloth: Line a sieve or colander with a double layer of muslin cloth. Pour the churned butter into the lined sieve and let it strain naturally. The muslin cloth will separate the liquid from the butter, resulting in a velvety smooth texture.
-
Use a nut milk bag: Similar to a muslin cloth, a nut milk bag can be used to strain the butter. Simply place the bag in a bowl, pour the churned butter into it, and gently squeeze to remove any excess liquid.
Shaping and Storing the Butter
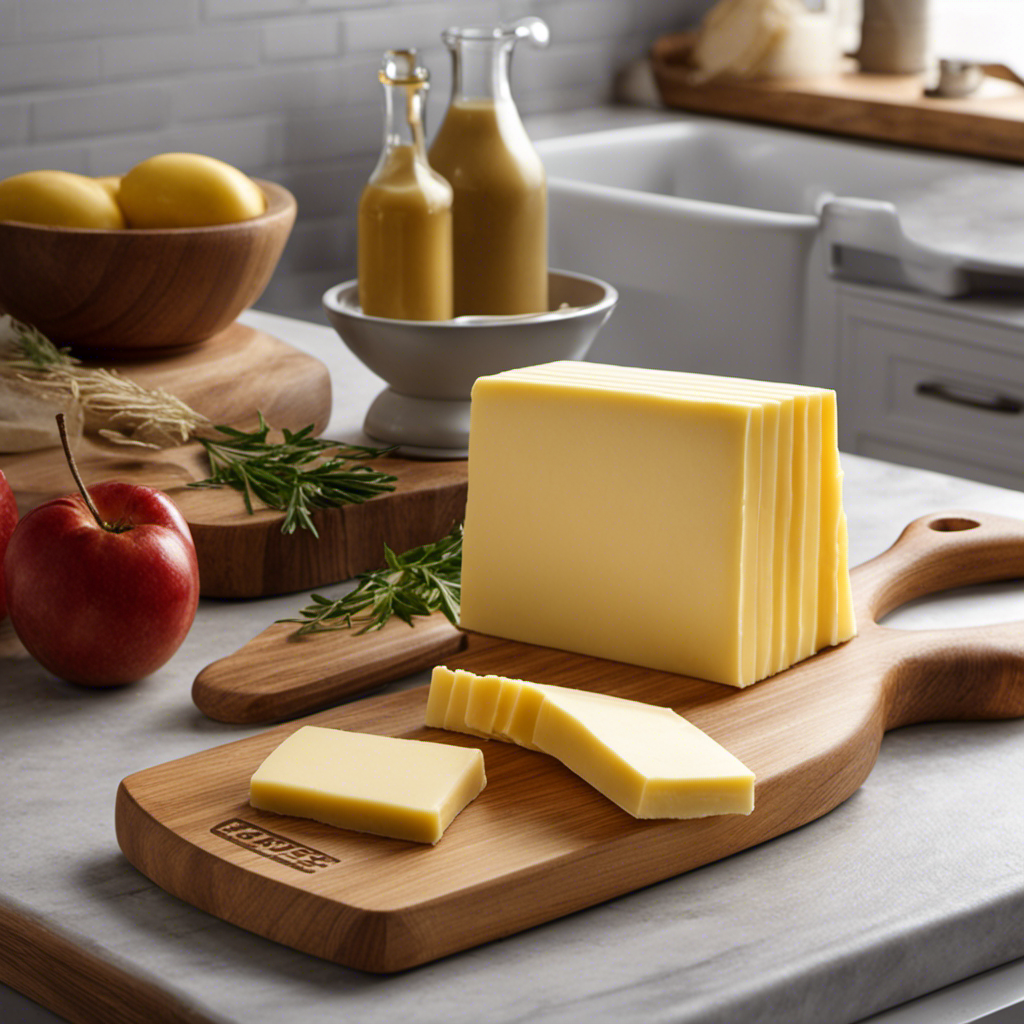
To shape and store your homemade butter, simply use a butter mold or roll it into a log shape before wrapping it tightly in parchment paper. Shaping techniques for homemade butter allow you to create beautiful and uniform butter shapes.
Butter molds are available in various designs, such as flowers or animals, and they can add a decorative touch to your butter. If you don’t have a butter mold, you can shape the butter into a log by rolling it between your hands or on a clean surface.
Once shaped, wrap the butter tightly in parchment paper to prevent it from absorbing odors or drying out. Proper storage methods for freshly churned butter involve keeping it in the refrigerator. This will help maintain its freshness and prevent spoilage.
Now that you know how to shape and store your butter, let’s move on to some tips for perfectly churned butter.
Tips for Perfectly Churned Butter
For a creamy texture and delicious taste, make sure you churn the butter until it reaches a pale yellow color. Achieving smoothness in butter requires proper technique and attention to detail.
Here are some tips to help you achieve perfectly churned butter:
-
Start with fresh cream: Use high-quality, fresh cream to ensure the best flavor and texture in your butter.
-
Keep the temperature consistent: Maintain a consistent temperature throughout the churning process. Too warm and the butter will become greasy, too cold and it will be hard to churn.
-
Time it right: Churning butter takes time, so be patient. It can take anywhere from 15 to 30 minutes to achieve the desired consistency.
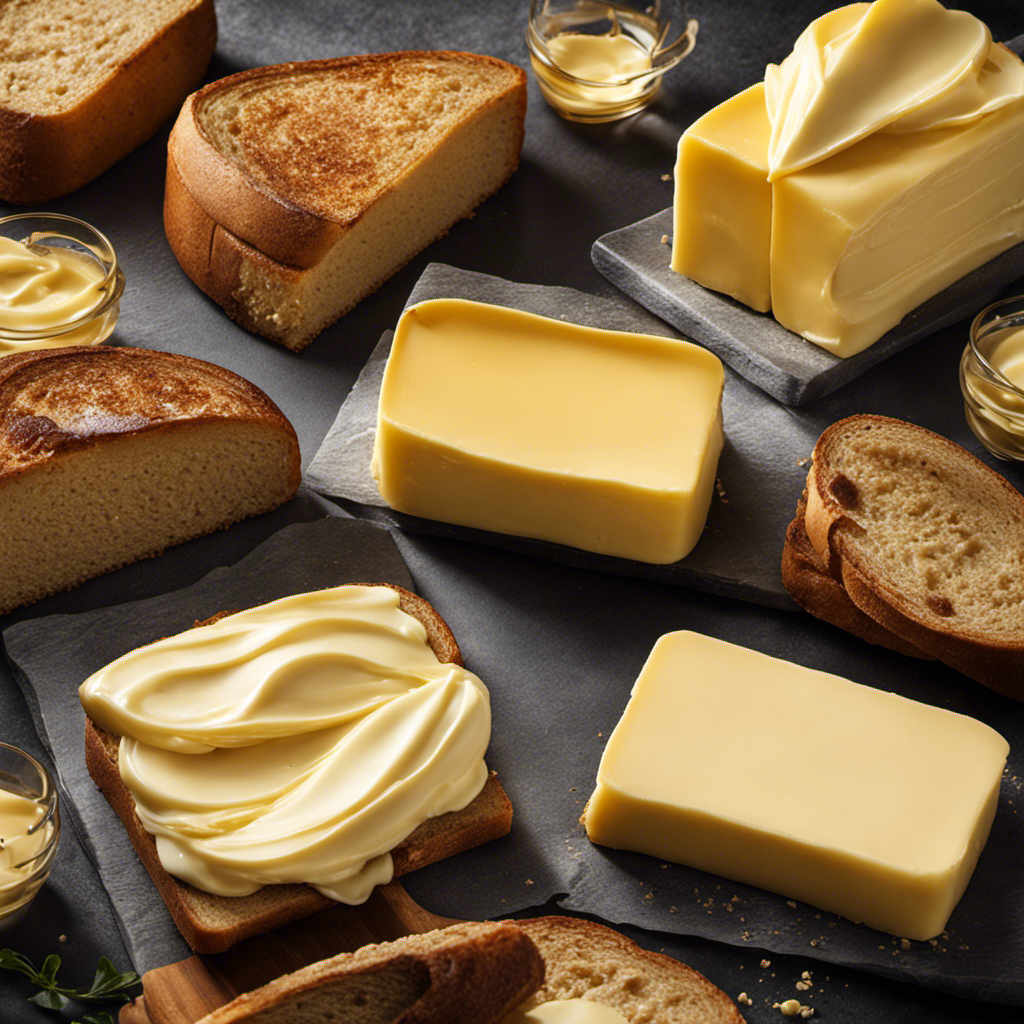
By following these butter churning techniques, you will be able to create smooth and delicious butter that is perfect for spreading on toast or using in your favorite recipes.
Conclusion
Now that you know how to churn butter the old fashioned way, you can enjoy the satisfaction of creating your own delicious and creamy butter at home. Remember to gather all the necessary tools and ingredients, including fresh cream and a churn.
The process of churning involves shaking the cream vigorously until it separates into butter and buttermilk. Adding a pinch of salt can enhance the flavor, but it is optional. Strain the butter to remove any remaining liquid and shape it into a desired form before storing.
Did you know that in the 1800s, the average American consumed around 18 pounds of butter per year? This statistic highlights the importance of butter in our history and culture, and by making your own, you can continue to appreciate this timeless ingredient.
