Have you ever desired to enjoy the basic delight of manually churning butter?
Well, get ready to immerse yourself in a nostalgic journey that will transport you back to a time when life moved at a slower pace.
In this step-by-step guide, we will show you how to transform fresh cream into rich, creamy butter using only your own two hands.
So, roll up your sleeves, because this butter-churning adventure is about to begin.
Key Takeaways
- Butter churning by hand offers a traditional and nostalgic experience.
- Hand churning promotes physical activity and saves energy.
- Traditional equipment enhances the flavor and preserves the natural taste of butter.
- Churning butter by hand builds a sense of community.
History of Butter Churning
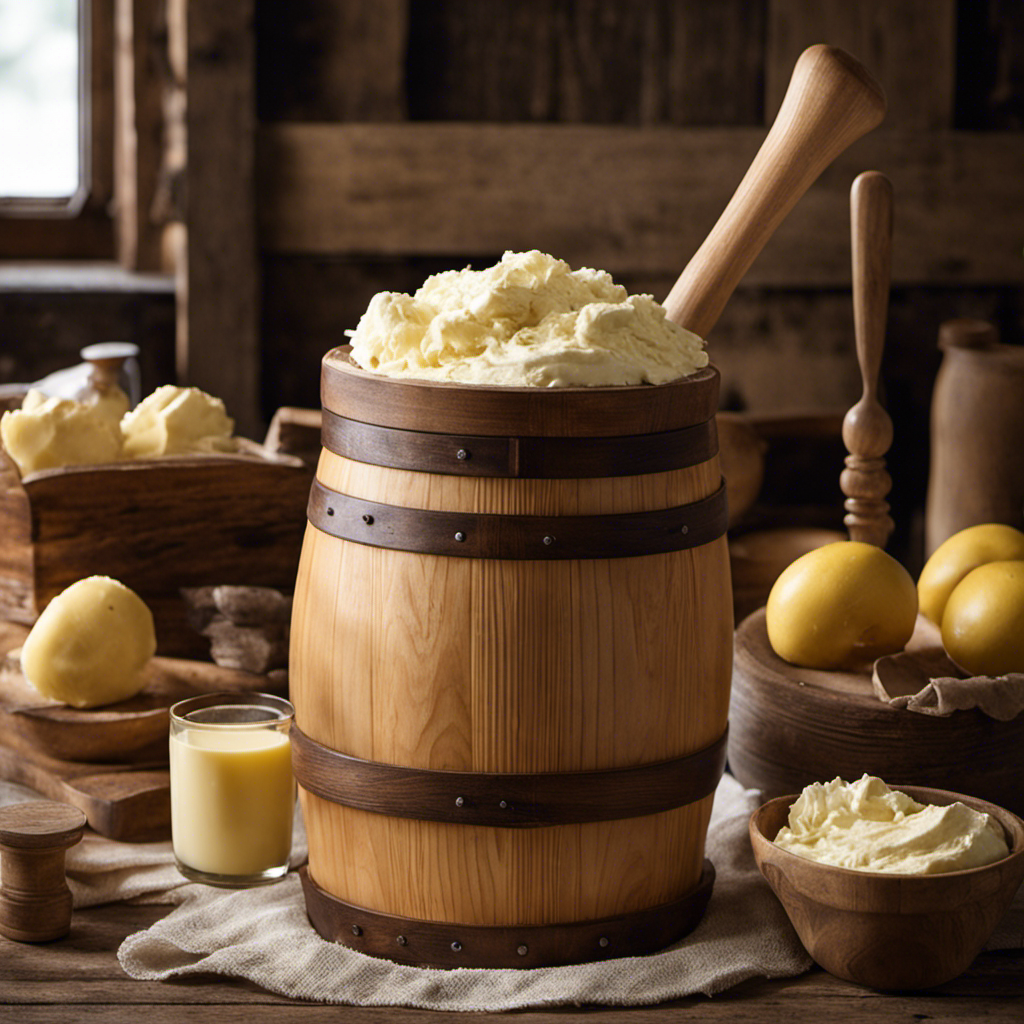
Butter churning has been a staple in households for centuries. The evolution of butter churns is a fascinating journey through time.
In ancient times, butter was made by shaking milk in animal skin bags. As technology advanced, wooden churns with paddles were introduced. These early churns required manual labor, as you would have to vigorously turn the handle to churn the cream into butter.
Over time, churns became more efficient with the invention of mechanical churns, which used gears and cranks to speed up the process. Beyond its practicality, butter churning holds cultural significance. It was not only a means to produce food but also a communal activity that brought families and communities together.
Now that you understand the history and cultural significance of butter churning, let’s move on to choosing the right equipment.
Choosing the Right Equipment
When it comes to churning butter, you have two options: hand churns or machine churns.
Hand churns provide a traditional and nostalgic experience, allowing you to connect with the historical roots of butter making.
On the other hand, machine churns offer convenience and efficiency, making the process quicker and easier.
Whether you choose the traditional or modern route, both methods have their own unique advantages and it ultimately depends on your personal preferences and needs.
Hand Vs. Machine Churns
If you want a creamier texture, you should consider using a machine churn instead of doing it by hand. Using a machine churn can greatly increase the efficiency of the process. It saves time and effort by taking care of the repetitive churning motion for you. This allows you to multitask or focus on other tasks while the machine does the work.
Machine churns are designed to churn butter at a consistent speed and temperature, resulting in a smoother and more consistent texture. They provide a reliable and convenient option for those who prioritize efficiency and consistency.
On the other hand, hand churning has its own advantages. It allows you to have more control over the process, adjust the speed and intensity of churning according to your preference, and connect with the traditional method of butter-making. Hand churning can be a more hands-on and personal experience.
Ultimately, the choice between hand and machine churns depends on your personal preferences and the level of convenience you desire. Each method has its own unique benefits, so it’s important to consider what matters most to you when deciding which one to use.
Traditional Vs. Modern Equipment
To achieve a more authentic and nostalgic experience, you may want to consider using traditional equipment instead of modern machines for making your own butter. While modern equipment offers convenience and efficiency, there are several benefits to using traditional methods:
-
Enhances the experience: Churning butter by hand allows you to connect with the past and experience the satisfaction of creating a staple food item from scratch.
-
Preserves the natural flavor: Traditional equipment, such as a hand-crank churn, allows the cream to be churned slowly, resulting in a richer and creamier butter with a distinct flavor.
-
Promotes physical activity: Churning butter by hand is a fantastic workout for your arms and upper body, providing a fun way to stay active while making your own butter.
-
Saves energy: Traditional equipment doesn’t require electricity, making it a sustainable option and reducing your carbon footprint.
-
Builds a sense of community: Using traditional equipment can be a great opportunity to involve family and friends in the process, fostering a sense of togetherness and shared experiences.
Preparing Your Cream
First, make sure you have gathered all the necessary ingredients and equipment for preparing your cream. To start, you will need fresh cream, preferably from a local dairy or farm. There are different cream options available, such as heavy cream or whipping cream, but make sure to choose one with a high fat content for the best results.
Next, you will need a large bowl or container to hold the cream. It’s important to clarify the cream by allowing it to sit undisturbed for a few hours, so that the cream rises to the top and any impurities settle at the bottom. This will ensure a smoother and creamier butter.
Once your cream is clarified, you are ready to move on to the churning process, where the magic happens.
The Churning Process
Once the cream has been clarified, it’s time for the fun part – let’s get churning! Churning butter by hand can be a rewarding and nostalgic experience.
To ensure success, here are some churning techniques and troubleshooting tips to keep in mind:
-
Use a sturdy churn: Opt for a churn with a tight-fitting lid and a comfortable handle for easy churning.
-
Start slow: Begin churning at a slow, steady pace to allow the cream to break down into butter granules.
-
Increase speed gradually: As the cream thickens, increase your churning speed to help separate the butterfat from the buttermilk.
-
Monitor temperature: Keep an eye on the temperature of the cream and the room. If it’s too warm, the butter may become soft and difficult to handle.
-
Troubleshoot texture issues: If the butter is too soft, place it in a cool area or refrigerate briefly before continuing to churn.
By following these churning techniques and troubleshooting common issues, you’ll be well on your way to creating delicious homemade butter.
Enjoy the process and savor the satisfaction of your handcrafted creation!
Separating Butter From Buttermilk
As the cream thickens, it’s important to increase your churning speed to separate the butterfat from the buttermilk.
At this stage, you will notice the cream transforming into small, yellow clumps. These clumps are the butterfat, while the liquid that remains is the buttermilk.
To make sure you extract as much buttermilk as possible, continue churning vigorously. Once the butterfat has fully separated, pour off the buttermilk and save it for later use.
Buttermilk can be used in various recipes such as pancakes, biscuits, and marinades.
Now that you have successfully separated the butter from the buttermilk, it’s time to move on to the next step: storing and enjoying your homemade butter.
Storing and Enjoying Your Homemade Butter
To keep your homemade butter fresh and flavorful, store it in an airtight container in the refrigerator. This will help maintain its rich taste and prevent it from absorbing any unwanted odors.
Here are some additional tips for storing and enjoying your homemade butter:
-
Keep it away from strong-smelling foods: Butter easily absorbs odors, so make sure to store it away from pungent ingredients like garlic or onions.
-
Use wax paper or parchment: If you prefer to store your butter outside the refrigerator, wrap it in wax paper or parchment to protect it from air and light.
-
Freeze it for long-term storage: If you’ve made a large batch of butter, consider freezing it in smaller portions for future use. Just make sure to wrap it tightly in plastic wrap or place it in an airtight container before freezing.
-
Experiment with flavor variations: Add a dash of sea salt, herbs, or spices to your butter to create different flavor profiles. This can elevate your dishes and add a unique twist to your meals.
-
Enjoy it on fresh bread or toast: Spread your homemade butter on warm bread or toast to fully savor its creamy goodness.
Conclusion
Congratulations on successfully embarking on a butter-churning adventure! By following the steps outlined in this article, you’ve learned how to churn butter by hand like a pro.
You’ve explored the fascinating history of butter churning and gained valuable insights into selecting the perfect equipment. With a little patience and effort, you’ve transformed cream into delicious, homemade butter.
Now, it’s time to savor the fruits of your labor. That rich, creamy goodness will transport your taste buds to buttery bliss, making you feel like you’ve conquered the culinary world!
