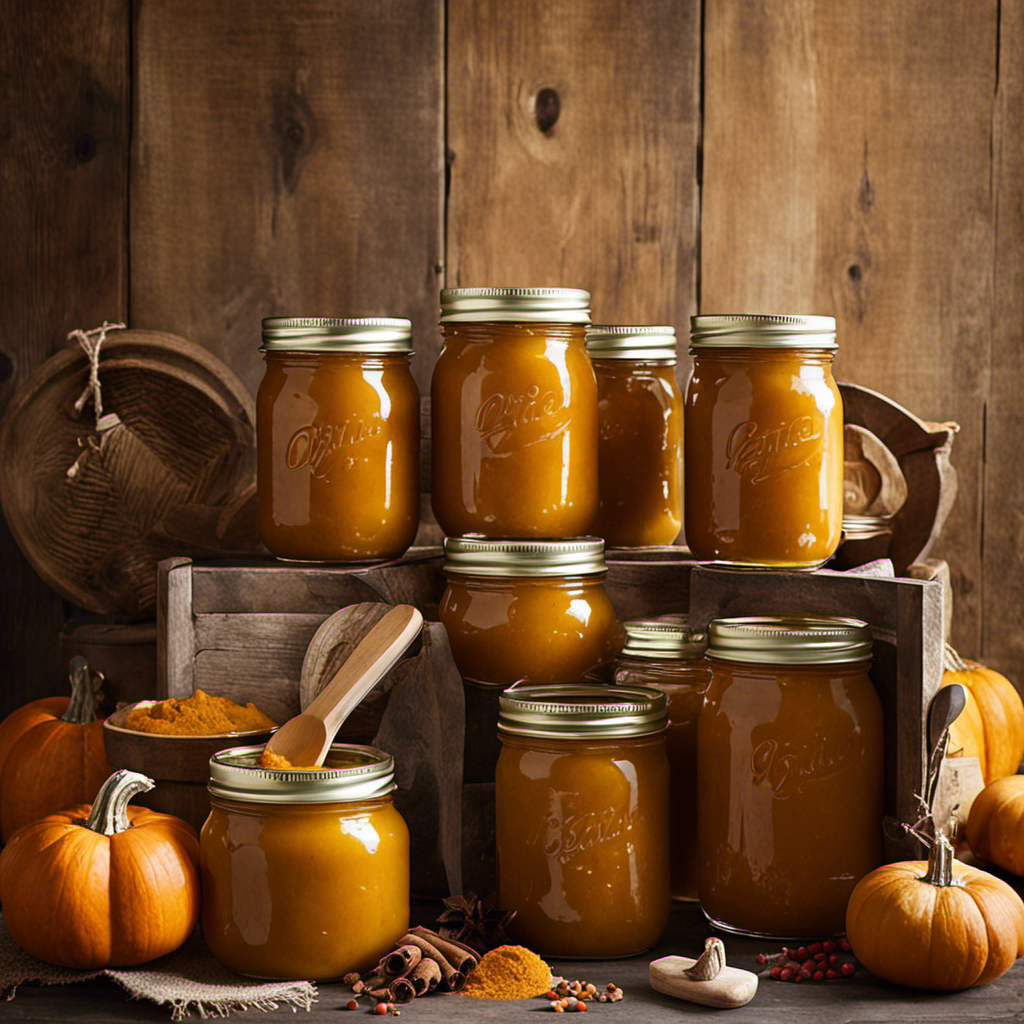
Imagine the delicious smell of pumpkin pie, just baked, wafting through your home. Now consider capturing that enticing aroma in a bottle. That is exactly what I intend to show you how to do.
In this article, I will guide you through the process of canning your very own pumpkin butter. From selecting the perfect pumpkins to sterilizing the canning jars, I’ll provide step-by-step instructions to ensure your pumpkin butter is not only preserved but bursting with flavor.
Get ready to savor the taste of fall all year round!
Key Takeaways
- Choose small, sugar pumpkins that are around 6 to 8 inches in diameter and have a deep orange color.
- Decide whether to use fresh or canned pumpkin for the pumpkin puree.
- Roasting the pumpkin brings out its natural sweetness and adds a depth of flavor.
- Experiment with different spice combinations to find your personal favorite.
Selecting and Preparing the Pumpkins
You’ll want to choose small, sugar pumpkins for making pumpkin butter, as they have a sweeter flavor and smoother texture.
There are many pumpkin varieties to choose from, but for pumpkin butter, it’s best to stick with the smaller ones. These pumpkins are typically around 6 to 8 inches in diameter and have a deep orange color.
When preparing the pumpkins, start by washing them thoroughly and removing the stems. Then, cut the pumpkins in half and scoop out the seeds and stringy pulp. You can save the seeds for roasting later if you like.
Once the pumpkins are cleaned out, they are ready to be cooked down into a smooth and velvety pumpkin puree, which is the base for making delicious pumpkin butter.
Making the Pumpkin Puree
When it comes to making pumpkin puree, the first decision to make is whether to use fresh or canned pumpkin. Both options have their pros and cons.
Fresh pumpkin can be a bit more time-consuming to prepare, but it offers a more authentic and natural flavor. On the other hand, canned pumpkin is convenient and readily available, making it a great option for those short on time.
Another important consideration is the method of cooking – roasting or boiling. Roasting the pumpkin brings out its natural sweetness and adds a depth of flavor, while boiling is a quicker option that still yields a smooth and creamy puree.
Ultimately, the choice between fresh or canned pumpkin and roasting or boiling will depend on your personal preferences and the time you have available.
Fresh or Canned Pumpkin
If you’re short on time, opt for canned pumpkin instead of fresh for your pumpkin butter. While homemade pumpkin puree is delicious and adds a fresh flavor to your dishes, sometimes convenience is key. Canned pumpkin is a great alternative and can save you a lot of time and effort.
Here are a few reasons why canned pumpkin is a good choice for your pumpkin butter:
-
Convenience:
-
Canned pumpkin is readily available in most grocery stores, making it easy to find whenever you need it.
-
It eliminates the need to roast and puree fresh pumpkin, saving you time and energy.
-
Consistency:
-
Canned pumpkin has a consistent texture, ensuring that your pumpkin butter will turn out smooth and velvety every time.
-
It also has a consistent flavor profile, guaranteeing that your pumpkin butter will have a delicious pumpkin taste.
Roasting Vs Boiling?
Roasting the pumpkin tends to result in a richer flavor compared to boiling it for making pumpkin butter. The roasting method allows the pumpkin to caramelize, bringing out its natural sweetness and intensifying its flavor.
To roast the pumpkin, simply cut it in half, scoop out the seeds, and place it cut-side down on a baking sheet. Roast it in a preheated oven at 375°F for about 45 minutes to an hour, or until the flesh is soft and easily scoopable.
On the other hand, boiling the pumpkin can lead to a slightly watered-down taste as some of the flavors may get lost in the cooking liquid. However, boiling can be a quicker method if you’re short on time.
Adding the Perfect Blend of Spices
To achieve the perfect blend of spices, you’ll want to start by adding a pinch of cinnamon to your pumpkin butter. This warm and aromatic spice adds a delightful depth of flavor to the sweet pumpkin base. But don’t stop there! Experimenting with different spice combinations is the key to finding your personal favorite.
Here are a few suggestions to get you started:
- Nutmeg: This classic fall spice pairs beautifully with cinnamon and adds a subtly sweet and nutty flavor.
- Ginger: Add a touch of ginger for a hint of warmth and a slightly spicy kick.
- Allspice: With its warm and complex flavor, allspice complements the pumpkin perfectly.
When taste testing your pumpkin butter, be sure to start with small amounts of each spice and adjust to your liking. Remember, the goal is to enhance the pumpkin’s natural sweetness, not overpower it.
Happy spice blending!
Cooking the Pumpkin Butter
When it comes to cooking pumpkin butter, two key factors that can greatly affect the final result are the cooking time and temperature. Finding the perfect balance is crucial to achieving a smooth and creamy texture.
Additionally, exploring different flavor variations can take your pumpkin butter to a whole new level, allowing you to customize it to your taste preferences.
Cooking Time and Temperature
The recommended cooking time and temperature for making pumpkin butter are 45 minutes at 350 degrees Fahrenheit. This ensures that the pumpkin puree cooks down and thickens to the perfect consistency. Cooking the pumpkin butter at a lower temperature for a longer time allows the flavors to meld together, resulting in a rich and delicious spread.
To enhance the flavor of your pumpkin butter, you can try the following cooking techniques and flavor enhancements:
-
Cooking Techniques:
-
Roasting the pumpkin beforehand adds a caramelized depth of flavor.
-
Simmering the pumpkin butter on low heat allows the spices to infuse and develop.
-
Flavor Enhancements:
-
Adding a splash of vanilla extract enhances the natural sweetness of the pumpkin.
-
Incorporating a touch of cinnamon, nutmeg, and cloves adds warm and comforting fall flavors.
Flavor Variations
For a unique twist, you could experiment with different spices and flavorings to create your own personalized pumpkin butter recipe. It’s amazing how a simple change in ingredients can completely transform the taste of this delicious spread. Whether you prefer a classic cinnamon and nutmeg combination or want to get adventurous with cardamom and ginger, the possibilities are endless. Here are some flavor variations to inspire your creativity:
| Flavor | Spices | Additional Ingredients |
|---|---|---|
| Classic | Cinnamon, nutmeg | Vanilla extract |
| Spicy | Cayenne pepper | Maple syrup |
| Gingerbread | Ginger, cloves | Molasses |
| Pumpkin Spice | Allspice, cloves | Brown sugar |
Once you’ve created your own unique pumpkin butter recipe, you’ll want to store it properly for future enjoyment. You can choose between canning or refrigeration. Canning allows for longer storage, while refrigeration keeps the pumpkin butter fresh for up to a month. Whichever method you choose, make sure to use airtight containers to maintain the flavors and prevent spoilage. Happy experimenting and happy pumpkin butter making!
Sterilizing the Canning Jars
Before starting, it’s important to sterilize the canning jars for preserving the pumpkin butter. Proper sterilization ensures that the jars are free from any harmful bacteria or contaminants, which could spoil the pumpkin butter and make it unsafe to consume.
There are different methods you can use to sterilize your canning jars:
-
Boiling Method:
-
Place the jars and their lids in a large pot filled with water.
-
Bring the water to a rolling boil and let the jars boil for 10 minutes.
-
Carefully remove the jars from the boiling water using tongs.
-
Oven Method:
-
Preheat your oven to 225°F (107°C).
-
Place the jars and their lids on a baking sheet and place it in the oven.
-
Let the jars bake for 20 minutes.
Remember to always follow proper sterilization methods to ensure the safety and longevity of your homemade pumpkin butter.
Canning and Preserving the Pumpkin Butter
To can and preserve your homemade pumpkin butter, make sure you follow these steps carefully.
Canning techniques are essential for ensuring that your pumpkin butter stays fresh and delicious for months to come.
Begin by ladling the hot pumpkin butter into sterilized canning jars, leaving about 1/4 inch of headspace.
Wipe the rims clean and place the lids on top, securing them with the screw bands.
Process the jars in a boiling water bath for the recommended time, depending on your altitude.
Once the processing time is complete, carefully remove the jars from the water bath and let them cool completely.
Store the sealed jars in a cool, dark place for optimal shelf life.
Following these canning techniques and storage recommendations will guarantee that your homemade pumpkin butter will be enjoyed long after pumpkin season is over.
Frequently Asked Questions
How Long Can I Store Canned Pumpkin Butter?
Canned pumpkin butter can be stored for up to 1 year if kept in proper storage conditions. Its shelf life depends on factors like temperature and sealing. Ensure airtight jars and store in a cool, dark place for best results.
Can I Use Any Type of Pumpkin to Make Pumpkin Butter?
Using different pumpkin varieties for pumpkin butter not only adds unique flavors but also provides a visual feast of colors. Homemade pumpkin puree enhances the taste and texture, making the butter even more delightful.
Can I Substitute the Spices in the Recipe With My Own Blend?
Yes, you can definitely substitute the spices in the recipe with your own blend. It’s a great way to personalize the flavor and adjust the recipe to your taste preferences. Experiment and have fun with it!
Can I Use Frozen Pumpkin Puree Instead of Making My Own?
Can I use frozen pumpkin puree instead of making my own? Using frozen puree for convenience is a great option. To adjust the sweetness of pumpkin butter, you can add more or less sugar or try using natural sweeteners like maple syrup or honey.
Can I Double the Recipe to Make More Pumpkin Butter at Once?
Yes, you can definitely double the recipe to make more pumpkin butter at once. Just make sure to adjust the cooking time accordingly to ensure that it is cooked thoroughly.
Conclusion
In conclusion, making pumpkin butter is a rewarding and delicious process that anyone can enjoy. By following these simple steps, you can create a flavorful spread that will elevate your favorite dishes.
Did you know that in the United States, over 1.5 billion pounds of pumpkin are produced each year? That’s a staggering amount, and it’s a testament to the popularity of this versatile vegetable.
So next time you’re looking for a tasty treat, why not try making your own pumpkin butter? You won’t be disappointed!
