I have always wondered why we go to the trouble of canning fruits and vegetables, but it never occurred to me to think about preserving butter.
It turns out, canning butter not only extends its shelf life, but also locks in its rich flavor.
In this article, I will guide you through the process of canning butter step by step, ensuring that you have delicious, homemade butter at your fingertips for months to come.
So, let’s dive in and learn how to can butter with ease!
Key Takeaways
- Gathering the necessary supplies is essential for canning butter, including canning jars, a canning pot, a jar lifter, a butter churn, and a thermometer.
- The process of preparing butter involves mixing softened butter with salt and desired herbs or spices, churning the butter to separate fat molecules from buttermilk, rinsing the butter with cold water, and shaping or storing it in an airtight container.
- Sterilizing jars and lids is crucial to ensure the safety and quality of the canned butter. This involves boiling the jars and lids in hot water, ensuring they are clean and free from debris, and properly sealing the jars to prevent air or moisture entry.
- Proper filling technique, including choosing the appropriate jar size, leaving enough headspace, and using the necessary tools, is important for successful canning. Additionally, following recommended processing times and allowing the jars to cool before storing are crucial steps to ensure safe preservation of the butter.

Cuisinart 5.5 Quart Sauté Pan w/ Cover, Stainless Steel Pan with Lid, Large Kitchen Pan, Dishwasher Safe, Compatible with Induction, Electric, Gas Cooktops, Oven Safe Saucepan, Cool Grip Handles
EXCEPTIONAL DESIGN: The 5.5-Quart Saute Pan with Helper Handle and Flavor Lock Lid has straight high sides and...
As an affiliate, we earn on qualifying purchases.
Gathering Supplies
We’re going to need some jars for canning the butter. When it comes to canning equipment, safety precautions are essential.
The first step is to gather all the necessary supplies for canning butter. You will need canning jars with lids and bands, a canning pot with a rack, a jar lifter, a butter churn, and a thermometer. It is crucial to ensure that all the equipment is clean and in good condition.
Before starting the canning process, it is important to take safety precautions. This includes washing your hands thoroughly, sterilizing the jars, lids, and bands, and following proper food safety guidelines. It is also recommended to wear heat-resistant gloves and use a ladle or funnel to pour the hot butter into the jars to avoid burns.

Ciwete 11-Piece Tri-Ply Stainless Steel Pots and Pans Set, 18/10 Stainless Steel Cookware Set with Steamer Insert, Induction Kitchen Cookware Sets with Cool Ergonomic Handles, Dishwasher, Oven Safe
【11-Piece Cookware Set】 Complete kitchen set, you can simmer, sauté, fry, boil or braise, show your cooking skills....
As an affiliate, we earn on qualifying purchases.
Preparing the Butter
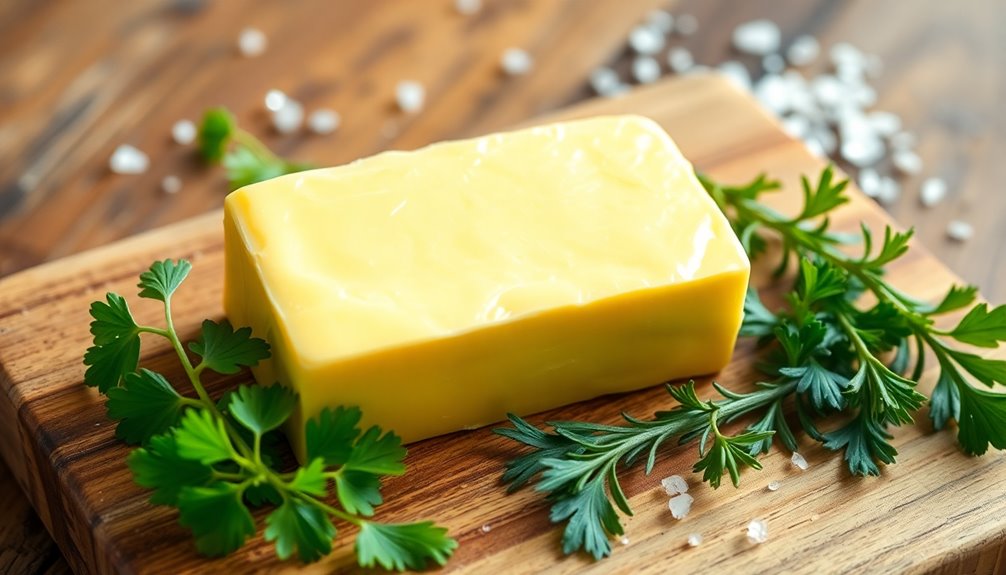
Mix together softened butter, salt, and any desired herbs or spices to add flavor to your homemade spread.
The churning process is crucial in preparing the butter. It involves agitating cream until the fat molecules stick together, separating from the liquid buttermilk. This can be done using a hand-cranked churn or an electric mixer.
Once the butter is churned, it is important to remove as much buttermilk as possible, as it can lead to spoilage. To do this, rinse the butter with cold water and press it against the sides of a bowl. This process removes excess liquid and helps preserve the butter.
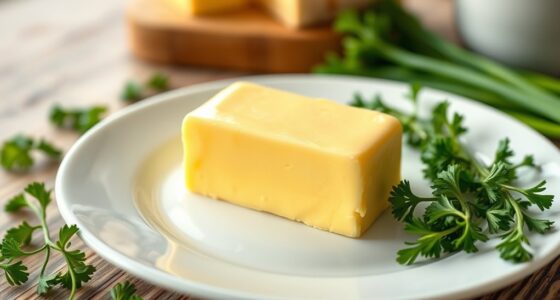
After rinsing, you can shape the butter into a desired form or store it in an airtight container.
The flavor variations are endless, and you can experiment with different herbs, spices, or even sweet additions like honey or maple syrup.

All-Clad D3® Stainless Steel 7 Piece Cookware Set- Made in USA- Includes Frying Pans, Saucepan, Sautépan, Stockpot - Professional Grade -Oven Safe & Induction Compatible
Complete 7 piece stainless steel set includes a 10 inch fry pan, 3-quart saucepan with lid, 3-quart sauté...
As an affiliate, we earn on qualifying purchases.
Sterilizing Jars and Lids
To sterilize the jars and lids, you’ll need to boil them in hot water for a few minutes. This step is crucial for ensuring the safety and longevity of your canned butter. Sterilizing the jars and lids helps to eliminate any bacteria or microorganisms that could potentially spoil the butter.
Before placing the jars and lids in the boiling water, make sure they are clean and free from any dirt or debris. Once the jars and lids have been sterilized, they should be carefully removed from the hot water and placed on a clean, dry towel to cool.
Proper storage of the jars is also important for maintaining the quality of the canned butter. Store the jars in a cool, dark place to prevent exposure to light and heat. Additionally, ensure that the jars are properly sealed to prevent any air or moisture from entering and spoiling the butter.

Sur La Table Kitchen Essentials Chef's Deck 10 Piece Stainless Steel Non Toxic Pots and Pans Kitchen Cookware Set w/Triply Encapsulated Base - Induction Safe
WHAT'S IN THE BOX: two frying pans (8 inches and 11 inches), two saucepans with lids (1.6 quarts...
As an affiliate, we earn on qualifying purchases.
Filling the Jars
When it comes to filling jars for canning, there are several key points to consider.
First, jar size selection is crucial to ensure proper preservation and storage.
Second, mastering the proper filling technique is essential for achieving a safe and successful canning process.
Lastly, leaving the correct amount of headspace in the jar is important to allow for expansion and seal formation.
Understanding these factors will contribute to a successful and long-lasting canned product.
Jar Size Selection
Choosing the right jar size for canning butter is crucial for proper preservation. When it comes to selecting jar sizes, there are a few factors to consider.
Firstly, the size of the jar should match the amount of butter you plan to can. It’s important to leave enough headspace in the jar to allow for expansion during the canning process. A general rule of thumb is to leave about 1/2 inch of headspace.
Secondly, it’s important to choose jars that are made specifically for canning. These jars are designed to withstand the high temperatures and pressure involved in the canning process.
Lastly, consider the shelf life of canned butter. Canned butter can last for up to 2 years when stored in a cool, dark place. Therefore, it’s essential to choose jar sizes that can accommodate this lengthy shelf life.
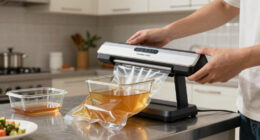
Proper Filling Technique
For proper filling technique, make sure you leave enough headspace in the jar to allow for expansion during the canning process. This is crucial for butter canning safety. When filling the jars with melted butter, leave approximately 1/2 inch of headspace to accommodate the expansion that occurs as the butter cools and solidifies. Failure to leave enough headspace can lead to jars breaking or lids popping off during the canning process. To ensure accurate headspace measurement, it is recommended to use a jar funnel and a headspace tool. The jar funnel helps to guide the butter into the jar without creating a mess, while the headspace tool ensures the correct amount of headspace. By using the proper butter canning equipment and following the filling technique, you can ensure safe and successful butter canning.
| Equipment | Purpose |
|---|---|
| Jar funnel | Guides butter into the jar without spills |
| Headspace tool | Measures the correct headspace in the jar |
Leaving Headspace Correctly
To ensure safe and successful canning, it’s important to leave the correct amount of headspace in the jars. Headspace refers to the empty space between the top of the food or liquid and the rim of the jar.
This empty space is crucial for several reasons. First, it allows for expansion during processing, preventing the jars from breaking or leaking. Second, it creates a vacuum seal, which is essential for preserving the food and preventing spoilage.
To determine the correct headspace measurement, refer to your specific canning recipe or guidelines. Typically, for high-acid foods like fruits and tomatoes, a 1/2 inch headspace is recommended. For low-acid foods like vegetables and meats, a 1-inch headspace is advised.
It’s important to measure and leave the correct headspace to ensure the safety and quality of your canned goods.
Processing the Jars
After removing the jars from the canner, it’s important to let them cool before storing. This allows the contents to settle and ensures the jars won’t crack from sudden temperature changes. Proper cooling is essential for successful canning.
Here are some tips to help you with the process:
-
Use the appropriate batch size: It’s important to follow the recipe and use the recommended batch size. Overfilling the jars can lead to improper sealing, while underfilling can cause excess air in the jar, leading to spoilage.
-
Use proper canning equipment: Invest in high-quality canning equipment, including jars, lids, and a canner. Using subpar equipment can result in failed seals or compromised food safety.
-
Follow the recommended processing time: Each recipe will have a specified processing time, which is the amount of time the jars need to be processed in the canner. This ensures that harmful bacteria are destroyed and the food remains safe to consume.
By following these guidelines, you can ensure that your canned goods will be safely preserved and ready to enjoy.
Now, let’s move on to the next step: cooling and storing the jars.
Cooling and Storing
After processing the jars of canned butter, the next step is to cool them properly and store them to prevent spoilage. Proper storage techniques are crucial in ensuring that the canned butter remains safe for consumption over an extended period.
Once the jars have completed processing, they should be left undisturbed for at least 24 hours to cool completely. This allows for any remaining heat within the jars to dissipate slowly, reducing the risk of spoilage.
After cooling, it is important to check the jars for any signs of spoilage, such as leaking or bulging lids. Any jars that show signs of spoilage should be discarded immediately.
The properly cooled and inspected jars can then be stored in a cool, dark place, away from direct sunlight and heat sources. This helps to maintain the quality and shelf life of the canned butter.
Troubleshooting Tips
If you encounter any issues with the canning process, here are some troubleshooting tips to help you out.
-
Common mistakes:
-
Overfilling the jars: Make sure to leave the recommended headspace to allow for proper sealing and expansion during processing.
-
Improper sealing: Check that the lids are clean and undamaged before canning, and ensure that the jars are processed for the correct amount of time.
-
Insufficient processing time: Follow the recommended processing time to ensure that harmful bacteria are destroyed and the butter is safely preserved.
-
Recommended equipment:
-
High-quality canning jars: Opt for jars specifically designed for canning, with reliable seals and durability.
-
Pressure canner: Use a pressure canner to safely process low-acid foods like butter, as it reaches higher temperatures than a water bath canner.
-
Jar lifter and canning funnel: These tools make the canning process easier and help prevent accidents or spills.
Frequently Asked Questions
Can I Use Any Type of Butter to Can?
Yes, you can use any type of butter to can. However, it’s important to note that different types may have varying levels of fat content and can affect the shelf life. There are also alternative methods for canning butter.
How Long Does Canned Butter Last?
The shelf life of canned butter varies depending on storage conditions. Properly canned butter can last up to 3 years, but it’s important to follow recommended storage guidelines to ensure its quality and safety.
Can I Reuse Jars and Lids for Canning Butter?
Yes, you can reuse jars and lids for canning butter. However, it’s important to ensure they are in good condition and properly sanitized. Additionally, canned butter has a shelf life of approximately 1-2 years when stored in a cool, dark place.
Can I Add Any Flavorings or Seasonings to the Canned Butter?
Yes, you can add various flavorings and seasonings to canned butter to create flavored butter variations. This allows for creative ways to use the canned butter in different recipes and dishes.
Is It Safe to Can Butter Without Using a Pressure Canner?
Using a water bath canner for canning butter may seem risky, but it can be done safely. However, there are pros and cons to consider. It’s important to thoroughly research and understand the process before attempting it.
Conclusion
In conclusion, canning butter is a simple and effective way to preserve this delicious spread for long-term storage. By following the steps outlined in this article, you can ensure that your homemade butter remains fresh and flavorful for months to come.
Remember to gather all the necessary supplies, properly prepare the butter, sterilize the jars and lids, fill the jars with care, and process them correctly. With a little patience and attention to detail, you can enjoy the convenience of having homemade canned butter at your fingertips.
So, don’t delay, start canning your butter today!