Visualize the wonderful aroma of fresh apple butter filling your kitchen, no canning necessary.
In this article, I will guide you through the process of canning apple butter using simple equipment and easy steps.
From selecting the right equipment to sterilizing and filling the jars, you’ll learn how to preserve this delicious treat for months to come.
Get ready to embark on a culinary adventure and savor the taste of homemade apple butter, straight from your pantry.
Key Takeaways
- Choose a large stockpot with a tight-fitting lid as an alternative to a canner.
- Simmer the sliced apples with water to extract sweetness and flavor.
- Sterilize the jars by boiling them in hot water for a few minutes.
- Store the jars in a cool, dark place to maintain quality and shelf life.
Selecting the Right Equipment
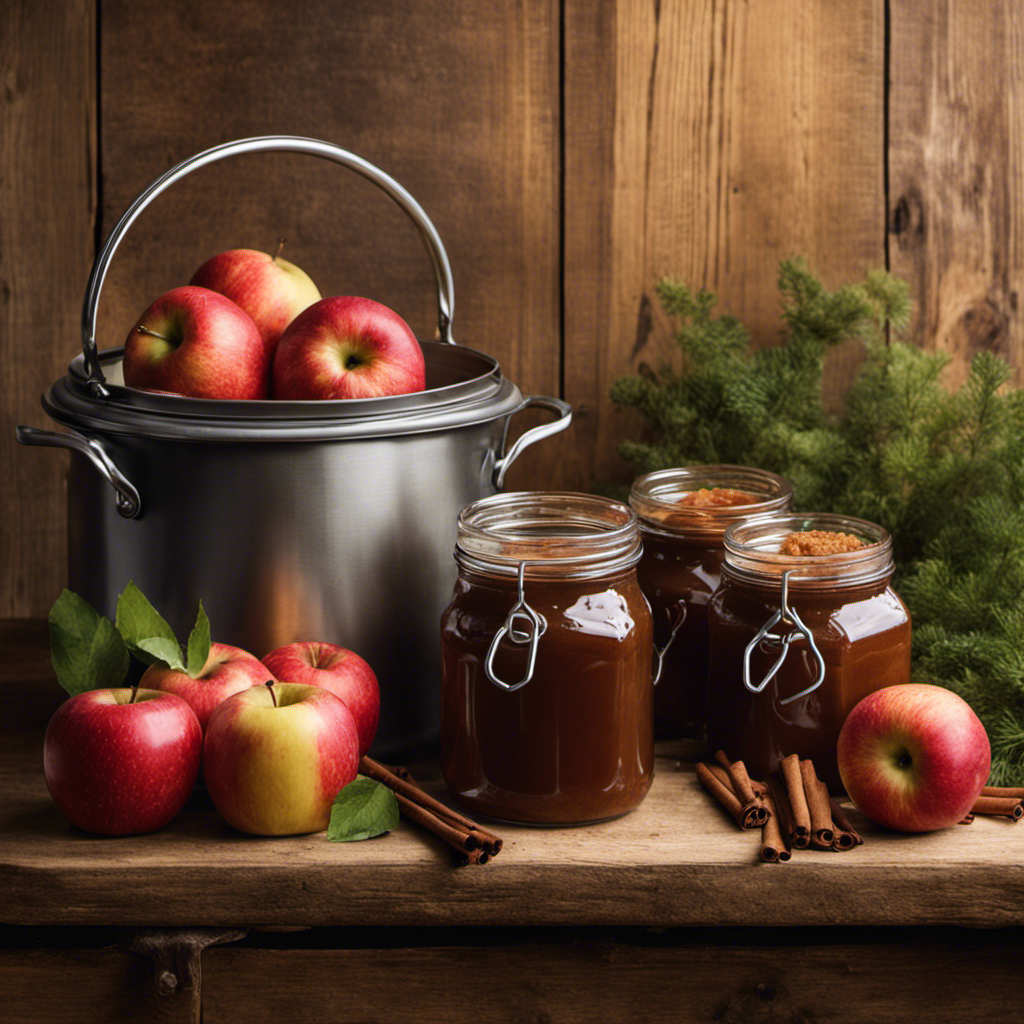
To properly can apple butter without a canner, you’ll need to make sure you have the right equipment on hand. Choosing the right tools is essential for successful canning. While a canner is typically used for canning, there are alternative methods that can be just as effective. One option is to use a large stockpot with a tight-fitting lid. Make sure it is deep enough to submerge the jars completely in water.
Additionally, you’ll need a jar lifter to safely remove the hot jars from the boiling water. A canning funnel is also helpful for filling the jars without making a mess. Lastly, don’t forget to have a kitchen timer to keep track of the processing time.
Now that we have the necessary equipment, let’s move on to preparing the apples.
Preparing the Apples
First, make sure you’ve washed and peeled the apples before moving on to the next step.
Peeling apples is a crucial part of preparing them for canning apple butter. To peel the apples, I find it easiest to use a vegetable peeler. Start by holding the apple firmly in one hand and using the peeler to remove the skin in long, downward strokes. Take care to remove all the skin, as it can affect the texture of the apple butter.
Once the apples are peeled, it’s time to slice them. I prefer to use a sharp knife to slice the apples into thin, even slices. This ensures that they cook evenly and blend well when making the apple butter.
Cooking and Seasoning the Apple Butter
Once the apples are sliced, it’s time to start cooking and seasoning the apple butter. Cooking techniques and flavor variations are essential in creating a delicious and unique apple butter. Here’s how I do it:
-
Cooking Techniques:
- Simmering: I place the sliced apples in a large pot with a little water and simmer them until they are soft and mushy. This helps to extract the natural sweetness and flavor from the apples.
- Pureeing: Once the apples are cooked, I use an immersion blender or a food processor to puree them until smooth. This gives the apple butter a creamy and spreadable consistency.
- Reduction: After pureeing, I continue to cook the apple butter on low heat to reduce the moisture and thicken the consistency. This intensifies the flavors and helps preserve the apple butter.
-
Flavor Variations:
- Cinnamon and Spice: Adding cinnamon, nutmeg, and cloves gives the apple butter a warm and cozy flavor.
- Vanilla and Maple: Adding vanilla extract and maple syrup adds a sweet and aromatic twist to the apple butter.
- Citrus Zest: Adding lemon or orange zest adds a refreshing and tangy element to the apple butter.
Sterilizing and Filling the Jars
Before filling the jars, make sure to sterilize them by boiling them in hot water for a few minutes. This sterilizing process is crucial to ensure the safety and longevity of your homemade apple butter. To help you visualize the steps involved in sterilizing and filling the jars, I’ve created a table below:
| Step | Sterilizing Process | Filling Techniques |
|---|---|---|
| 1 | Place jars in a large pot filled with water. | Carefully ladle the hot apple butter into the sterilized jars, leaving a 1/4 inch headspace. |
| 2 | Boil the jars for 10 minutes to kill any bacteria. | Use a clean, damp cloth to wipe the rims of the jars to remove any spills or residue. |
| 3 | Remove the jars from the pot and let them cool. | Place the lids and rings on the jars, tightening them just until they are snug. |
Following these sterilizing and filling techniques will ensure that your apple butter is safely preserved and ready to be enjoyed for months to come.
Processing and Storing the Apple Butter
To safely process and store your homemade apple butter, you’ll need to ensure that the jars are properly sealed with the lids and rings. Here are three important steps to follow for storing apple butter using alternative canning methods:
-
Cool and check: After processing your apple butter jars, let them cool at room temperature for 24 hours. Once cooled, check the lids for a proper seal. Press down on the center of the lid, and if it doesn’t flex or make a popping sound, it’s sealed correctly.
-
Store in a cool, dark place: Find a cool, dark area in your pantry or basement to store your apple butter jars. Avoid places that are exposed to direct sunlight or temperature fluctuations, as they can affect the quality and shelf life of the product.
-
Rotate and use within a year: To ensure the best flavor and quality, it’s recommended to consume your homemade apple butter within a year. As you use the jars, remember to rotate the older ones to the front for easy access.
Frequently Asked Questions
How Long Does Homemade Apple Butter Typically Last Before It Spoils?
Homemade apple butter typically lasts for about 2-3 months when stored properly in the refrigerator. To extend its shelf life, apple butter can be frozen for long-term storage, lasting up to a year.
Can I Use Different Types of Apples for Making Apple Butter, or Is There a Specific Variety That Works Best?
I’ve found that using a mix of apple varieties adds depth of flavor to apple butter. While some may prefer a specific variety, experimenting with different types can lead to surprising and delicious results.
Can I Use a Slow Cooker or Instant Pot Instead of a Regular Pot for Cooking the Apple Butter?
I prefer using a slow cooker or instant pot instead of a regular pot when making apple butter. Both options provide a convenient and efficient way to cook the apples to perfection.
Is It Necessary to Remove the Apple Peels Before Cooking the Apples for Apple Butter?
It is not necessary to remove the apple peels before cooking the apples for apple butter. Leaving the peels on can enhance the flavor and provide added nutrients. To achieve a smooth texture, blend the cooked apples thoroughly.
Can I Use Apple Butter as a Substitute for Other Ingredients in Baking Recipes?
I love using apple butter as a substitute in baking recipes! It adds a sweet and tangy flavor that’s hard to resist. Plus, it can also be used in savory dishes for a unique twist.
Conclusion
In conclusion, canning apple butter without a canner is not only possible but also easy and convenient. By using simple equipment like a large pot and a few basic kitchen tools, you can preserve and enjoy the delicious flavors of homemade apple butter.
Whether you are a beginner or an experienced canner, this method is accessible to everyone. For example, Sarah, a busy working mom, was able to successfully can apple butter using this technique and now enjoys it with her family throughout the year.
With a little patience and some basic steps, you can create and store your own delicious apple butter without the need for a canner.
