I’ve always been captivated by the magic of converting a basic ingredient such as whipping cream into rich, golden butter. It’s like turning liquid gold into a delectable spread.
But how much whipping cream does it really take to create this culinary wonder? In this article, we’ll dive into the science behind making butter and explore the factors that affect the amount of whipping cream needed.
With a touch of experimentation and a dash of know-how, you’ll soon be churning out perfect batches of homemade butter.
Key Takeaways
- The fat content of the whipping cream affects the amount of butter that can be produced.
- Adjusting the temperature and churning time can alter the consistency and texture of the butter.
- Different types of butter can be made using different creams and churning methods.
- Understanding the process and adjusting for personal preferences are key to producing high-quality butter.
The Science Behind Making Butter
To understand the science behind making butter, you’ll need to know how the fat molecules in whipping cream separate during the churning process. When cream is agitated, the fat globules collide and stick together, forming larger clumps. This process is known as coalescence.
As the churning continues, the fat molecules begin to separate from the liquid portion of the cream, called buttermilk. The fat molecules bind together, forming a solid mass of butter. The size of the fat globules and the speed and intensity of the churning process can affect the texture and consistency of the butter.
Different types of butter can be made depending on the cream used and the churning method employed. For example, cultured butter is made from cream that has been fermented with bacteria, resulting in a tangy flavor profile. Clarified butter is made by separating the milk solids from the butterfat, creating a butter with a higher smoke point.
Understanding the Butter-making Process
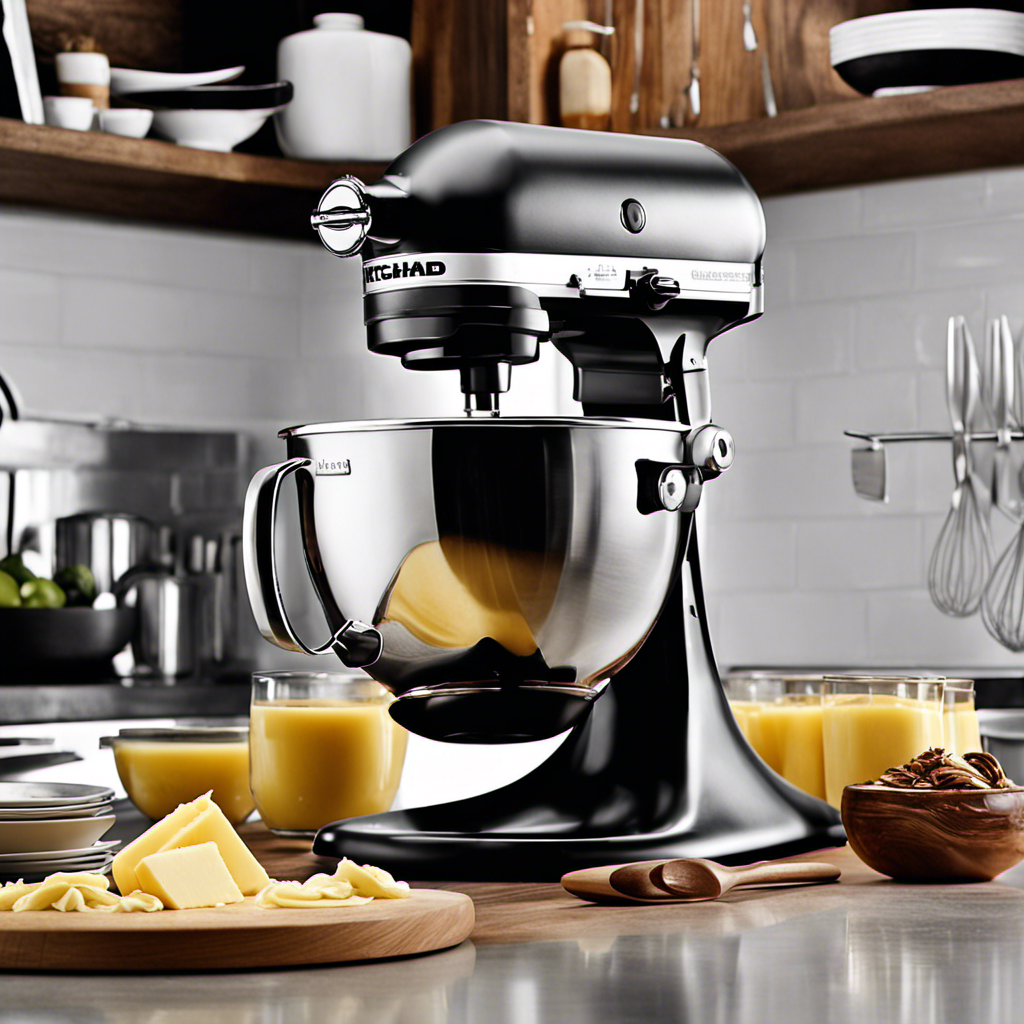
You need to understand how the process of making butter works. The cream churning process is crucial in transforming cream into butter. It involves agitating the cream to separate the fat globules from the liquid. This can be done using various butter making techniques, such as a churn or a mixer.
To emphasize the importance of the cream churning process, let’s take a look at the table below:
| Cream Churning Process | Butter Making Techniques |
|---|---|
| Agitate cream | Churn |
| Separate fat globules | Mixer |
Agitating the cream causes the fat globules to clump together, forming butter. The separation of the fat globules from the liquid allows us to obtain pure, creamy butter. The churning process is essential in achieving this transformation.
Understanding the butter-making process is key to producing high-quality butter. By knowing the cream churning process and the different butter making techniques, you can create delicious homemade butter with ease.
Calculating the Ratio of Whipping Cream to Butter
When it comes to making butter, understanding the cream-to-butter conversion ratio is essential. This ratio refers to the amount of whipping cream needed to produce a specific quantity of butter.
It is important to be able to adjust for different quantities, as the ratio may vary depending on the recipe or desired yield.
Cream-To-Butter Conversion Ratio
The cream-to-butter conversion ratio can vary depending on the fat content of the whipping cream. Cream quality plays a significant role in the final butter flavor. Higher fat content creams tend to yield more butter, while lower fat content creams may result in a smaller yield. To illustrate this, consider the following table:
| Cream Fat Content | Cream Quantity (cups) | Butter Quantity (cups) |
|---|---|---|
| 30% | 2 | 0.6 |
| 35% | 2 | 0.7 |
| 40% | 2 | 0.8 |
| 45% | 2 | 0.9 |
As you can see, the higher the fat content, the greater the yield of butter. However, it’s important to note that cream quality not only affects the quantity but also the flavor of the resulting butter. Creams with a higher fat content generally produce butter with a richer and more pronounced butter flavor. Now, let’s explore how to adjust the quantities for different amounts of cream.
Adjusting for Different Quantities?
To adjust for different quantities, simply increase or decrease the fat content of the cream you use. This will ensure that you maintain the optimal consistency for making butter.
Here are four key points to consider when adjusting ratios:
-
Fat content: The higher the fat content of the cream, the easier it will be to achieve a creamy and smooth butter consistency. If you want a richer butter, opt for cream with a higher fat content.
-
Temperature: Adjusting the temperature of the cream can also affect the butter-making process. Warmer cream will churn faster, while colder cream will take longer. Experiment with different temperatures to find the perfect balance.
-
Churning time: The longer you churn the cream, the firmer the butter will become. If you prefer a softer butter, reduce the churning time. For a firmer texture, extend the churning process.
-
Salt: Adding salt to the cream can enhance the flavor of the butter. Adjust the amount of salt based on personal preference, keeping in mind that a little goes a long way.
Factors Affecting the Amount of Whipping Cream Needed
When it comes to whipping cream, the fat content plays a crucial role in achieving the desired results. Understanding the importance of cream fat content allows for better control over the texture and stability of whipped cream.
Additionally, the efficiency of the whipping method employed can greatly impact the final outcome, whether it be light and fluffy peaks or over-whipped, grainy cream. Therefore, it is essential to consider both the fat content and the whipping method to achieve optimal results when whipping cream.
Cream Fat Content Importance
If you want to make butter, you need to pay attention to the fat content of the cream. The fat content plays a crucial role in achieving the desired consistency and texture of the butter. Here are four reasons why the cream fat content is important:
-
Fat Percentage: Different types of cream have varying fat percentages. Heavy cream typically contains around 36-40% fat, while light cream has about 18-30% fat. The higher the fat content, the richer and creamier the resulting butter will be.
-
Churning Efficiency: Cream with a higher fat content churns more easily and quickly, resulting in faster butter formation. This is because fat globules in the cream are responsible for the formation of butter.
-
Yield: The fat content affects the yield of butter. Cream with higher fat content produces more butter. So, if you want to make a larger batch of butter, using cream with a higher fat content is essential.
-
Flavor and Texture: Cream with higher fat content adds richness and smoothness to the butter. It enhances the flavor and texture, making it more enjoyable to use in cooking and baking.
Therefore, understanding and selecting the appropriate cream fat content is crucial in achieving consistent and delicious homemade butter.
Whipping Method Efficiency
Now that we understand the importance of the fat content in cream for making butter, let’s delve into the efficiency of the whipping method.
Whipping cream to make butter requires a specific whipping time and churning technique to achieve the desired result. The whipping time plays a crucial role in butter production. Over-whipping can result in a grainy texture, while under-whipping may not yield butter at all. It is essential to monitor the whipping process closely to ensure the cream reaches the right consistency.
The churning technique also impacts the efficiency of butter production. Traditional methods involve using a churn or jar, vigorously shaking or beating the cream until the fat separates from the liquid. Modern methods use electric mixers or food processors to speed up the process.
Experimenting With Different Cream-To-Butter Ratios
I’ll try different cream-to-butter ratios to see which one yields the best results. Experimenting with various ratios is essential to achieve the desired cream consistency and flavor variations in homemade butter.
Here are four key factors to consider when testing different ratios:
- Cream fat content: Higher fat content in the cream will result in a richer and creamier butter.
- Churning time: The length of time you churn the cream affects the texture and consistency of the butter.
- Temperature: The temperature of the cream can impact the ease of churning and the final texture of the butter.
- Salt: Adding salt to the cream before churning can enhance the flavor profile of the butter.
By carefully adjusting these variables, you can fine-tune the cream-to-butter ratio and create butter with the perfect consistency and flavor.
Now, let’s move on to some tips for achieving the perfect butter consistency.
Tips for Achieving the Perfect Butter Consistency
To achieve the perfect consistency for your butter, you can adjust the churning time and the salt content.
Achieving a smooth consistency is crucial for a quality butter product. When churning, it is important to monitor the process closely. If the butter is not churning long enough, it may not separate completely from the buttermilk, resulting in a softer consistency. On the other hand, if the churning time is too long, the butter may become too firm and difficult to spread.
Additionally, the amount of salt added can affect the consistency. Too much salt can make the butter grainy, while too little salt may result in a bland taste.
Adjusting the Amount of Whipping Cream for Different Batch Sizes
When adjusting batch sizes, you’ll want to consider using different amounts of whipping cream. This is crucial to ensure the measuring accuracy and achieve the desired consistency in your homemade butter. Here are four key factors to keep in mind when adjusting the batch size:
-
Proportions: As you increase or decrease the batch size, the ratio of whipping cream to butter will change. It’s important to maintain the right balance to achieve the desired texture and flavor.
-
Mixing Time: Larger batches may require longer mixing times to fully separate the butterfat from the buttermilk. On the other hand, smaller batches could require less time. It’s essential to monitor the process closely to prevent over-mixing.
-
Churning Equipment: The size of your churn or mixer should also be taken into account when adjusting the batch size. Ensure that it can accommodate the volume of whipping cream and provide enough space for the butter to form.
-
Storage Considerations: It’s important to consider the available storage space for your homemade butter. Larger batch sizes may require more storage containers or freezer space.
Overcoming Common Challenges in Butter Making
Overcoming common challenges in butter making can be achieved by following these helpful tips and tricks. One of the biggest challenges in butter making is achieving consistency in the final product. To address this, it is important to ensure that the cream used is of high quality and has a high fat content. Additionally, maintaining the proper temperature throughout the process is crucial to prevent the butter from becoming too soft or too hard. Another challenge is getting the right texture and flavor. This can be achieved by properly churning the cream and adding a pinch of salt for enhanced taste. By implementing these strategies, butter makers can overcome these challenges and achieve a consistently delicious and high-quality butter product.
| Challenge | Solution | Emotion |
|---|---|---|
| Inconsistent product | Use high-quality cream with high fat content | Frustration |
| Incorrect texture | Properly churn the cream | Satisfaction |
| Lack of flavor | Add a pinch of salt | Delight |
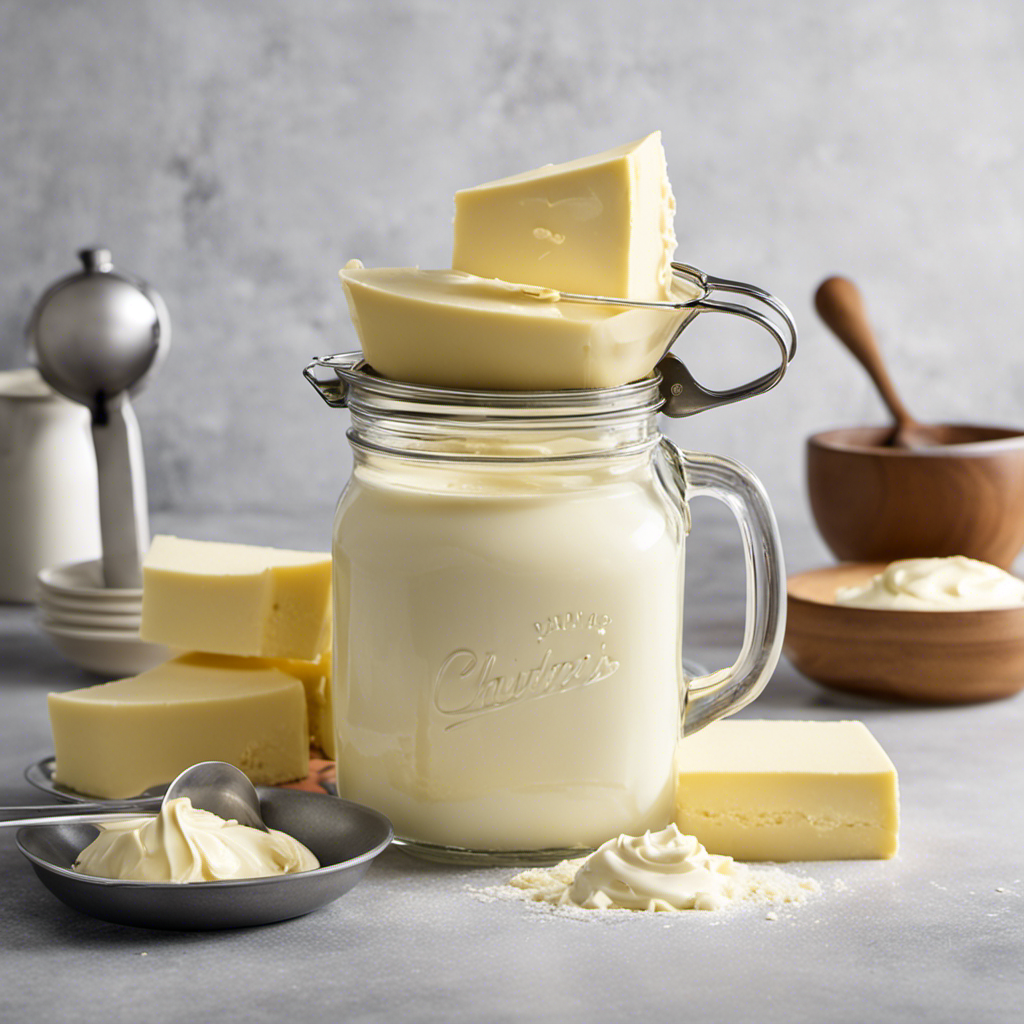
Storing and Preserving Homemade Butter
Storing and preserving homemade butter can be done by keeping it in an airtight container in the refrigerator. This will help maintain its freshness and prevent it from absorbing any odors from other foods.
Here are four key tips for storing and preserving your homemade butter:
-
Choose the right container: Opt for a container that is airtight and opaque to protect the butter from light exposure, which can cause it to spoil faster.
-
Keep it cold: Butter should always be stored in the refrigerator to maintain its quality and prevent it from melting. Avoid storing it in the door of the fridge, as the temperature can fluctuate there.
-
Wrap it properly: If you prefer to store your butter in individual portions, wrap each piece tightly in wax paper or plastic wrap before placing them in the container.
-
Freeze for long-term storage: If you’re not planning to use your homemade butter within a few weeks, it can be frozen for up to six months. Be sure to wrap it tightly in freezer-safe packaging to prevent freezer burn.
Frequently Asked Questions
Can I Use Any Type of Whipping Cream to Make Butter?
Yes, you can use different types of whipping cream to make butter. However, the fat content and consistency may vary, affecting the final result. Heavy cream with higher fat content is ideal for butter making.
How Long Does It Take to Make Butter From Whipping Cream?
To make butter from whipping cream, it takes about 15-20 minutes of continuous shaking or whisking. However, the time can vary depending on the cream’s fat content and temperature.
Can I Use a Blender or Food Processor to Make Butter?
Using a blender or food processor for making butter has its pros and cons. While it can be convenient and quick, it may also result in overheating the cream. It’s important to monitor the process closely to avoid any mishaps.
Does the Temperature of the Whipping Cream Affect the Outcome of the Butter?
The temperature of the whipping cream can greatly affect the outcome of the butter. It’s important to use cream that is slightly chilled, around 55-60°F, for the best results when making butter.
How Long Can Homemade Butter Be Stored and How Should It Be Preserved?
Homemade butter can be stored for up to two weeks in the refrigerator or frozen for several months. To prevent spoiling, store it in an airtight container or wrap it tightly in wax paper.
Conclusion
After extensively researching the science behind making butter and understanding the butter-making process, it is clear that the amount of whipping cream needed to make butter depends on various factors.
By experimenting with different cream-to-butter ratios, one can achieve the perfect consistency. It is important to adjust the amount of whipping cream for different batch sizes and overcome common challenges in butter making.
Storing and preserving homemade butter is crucial for maintaining its freshness. In conclusion, making butter is not just a walk in the park; it requires precision and attention to detail, but the end result is worth its weight in gold.