I have to admit, butter is a kitchen essential for me. Whether I’m spreading it on toast or using it in cooking, it’s a must-have ingredient.
But have you ever wondered just how much one pound of butter really is? Well, my friend, you’re in luck. In this article, we’re going to dive deep into the world of butter measurements and find out exactly how much butter you’re getting when you buy a pound.
Key Takeaways
- One pound of butter weighs approximately 454 grams or 16 ounces.
- Common butter weight conversions include 1 stick (0.25 pounds or 4 ounces or 113.4 grams), 1 cup (0.5 pounds or 8 ounces or 226.8 grams), and 1 kilogram (2.2046 pounds or 35.27 ounces or 1000 grams).
- Clear labeling requirements for butter packaging are necessary for accurate measurements, including information about ingredients, nutritional values, and potential allergens.
- Vegan butter options, margarine, coconut oil, and olive oil can be used as substitutes for butter in various ratios.

VEVOR Chamber Vacuum Sealer, 320W Sealing Power, Vacuum Packing Machine for Wet Foods, Meats, Marinades and More, Compact Size with 12.6 in Sealing Length, Applied in Home Kitchen and Commercial Use
-100KPa Vacuum Power: This vacuum sealer nearly removes all air to block oxidation and slow spoilage. Meat and...
As an affiliate, we earn on qualifying purchases.
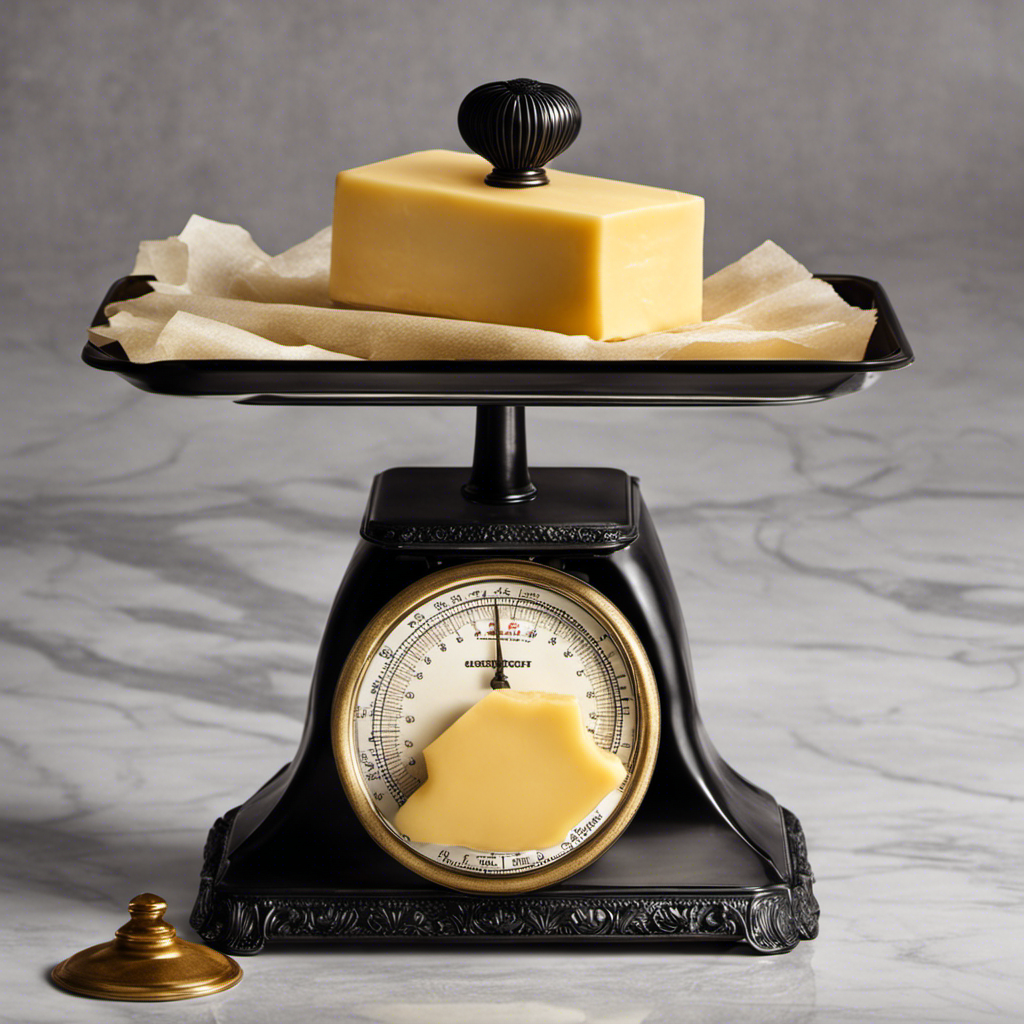
The Weight of One Pound of Butter
Do you know how much one pound of butter weighs?
As a baker, understanding the composition of butter and measuring it accurately is crucial for successful baking.
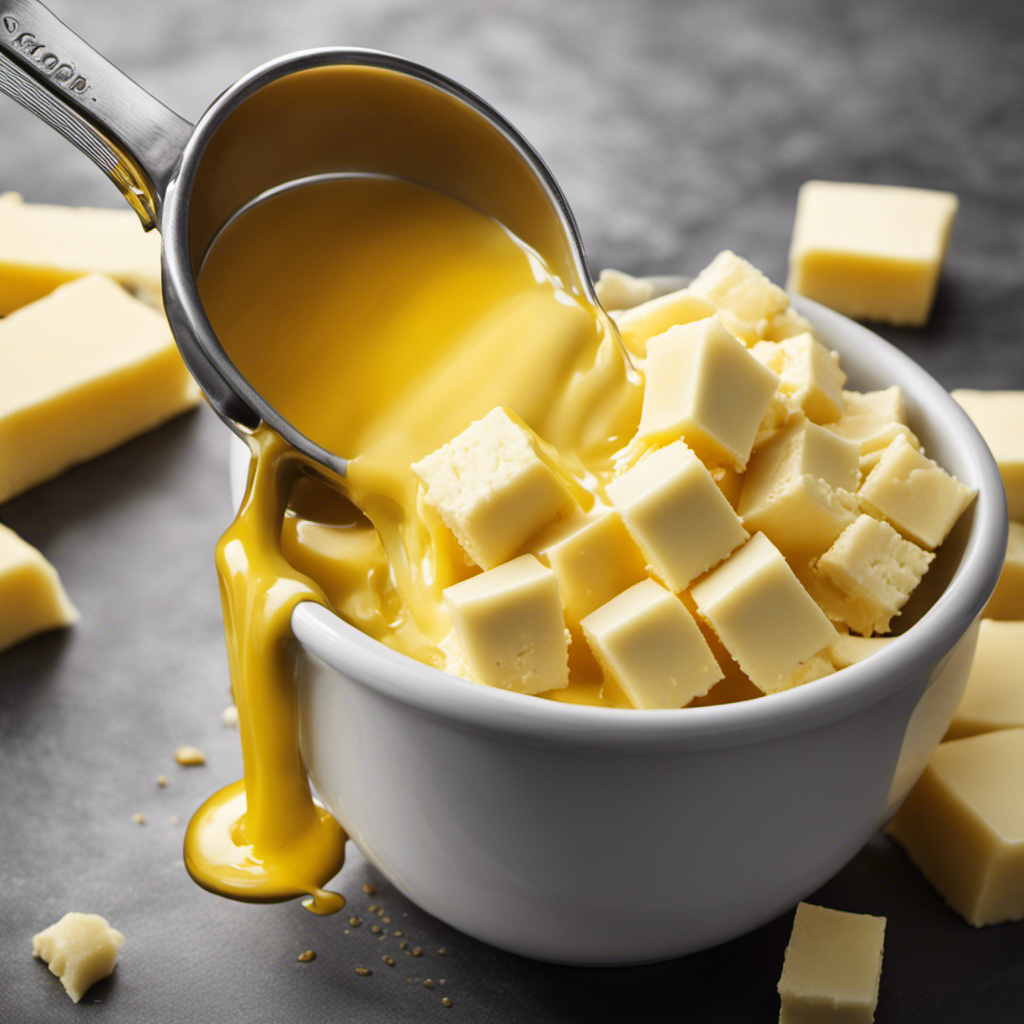
One pound of butter weighs approximately 454 grams or 16 ounces.
It is important to note that butter is composed of approximately 80% fat and 20% water, which affects its texture and performance in baking.
When measuring butter for baking, it is best to use a kitchen scale rather than relying on volume measurements. This ensures precision and consistency in your recipes.
To measure one pound of butter, simply place a container on the scale, zero it out, and add butter until the weight reads 16 ounces.
This knowledge will help you achieve the perfect balance of fat and moisture in your baked goods.

Avid Armor USV32 Chamber Vacuum Sealer Machine – 11.5" Sealing Bar, Glass Lid, Seal Meats, Soups, Sauces & Liquids, Marinate in Minutes, Sous Vide Ready, Accessory Hose Included, Stainless Steel
SEALS LIQUIDS WITHOUT PULLING THEM OUT — Unlike suction sealers that draw liquid straight into the machine, the...
As an affiliate, we earn on qualifying purchases.
Understanding Butter Measurements
When it comes to baking, understanding butter measurements is essential. In this discussion, I will explore the topic of butter weight conversions and the differences between metric and imperial measurements.
Whether you prefer grams or ounces, knowing how to convert and measure butter accurately will ensure your recipes turn out perfectly every time.
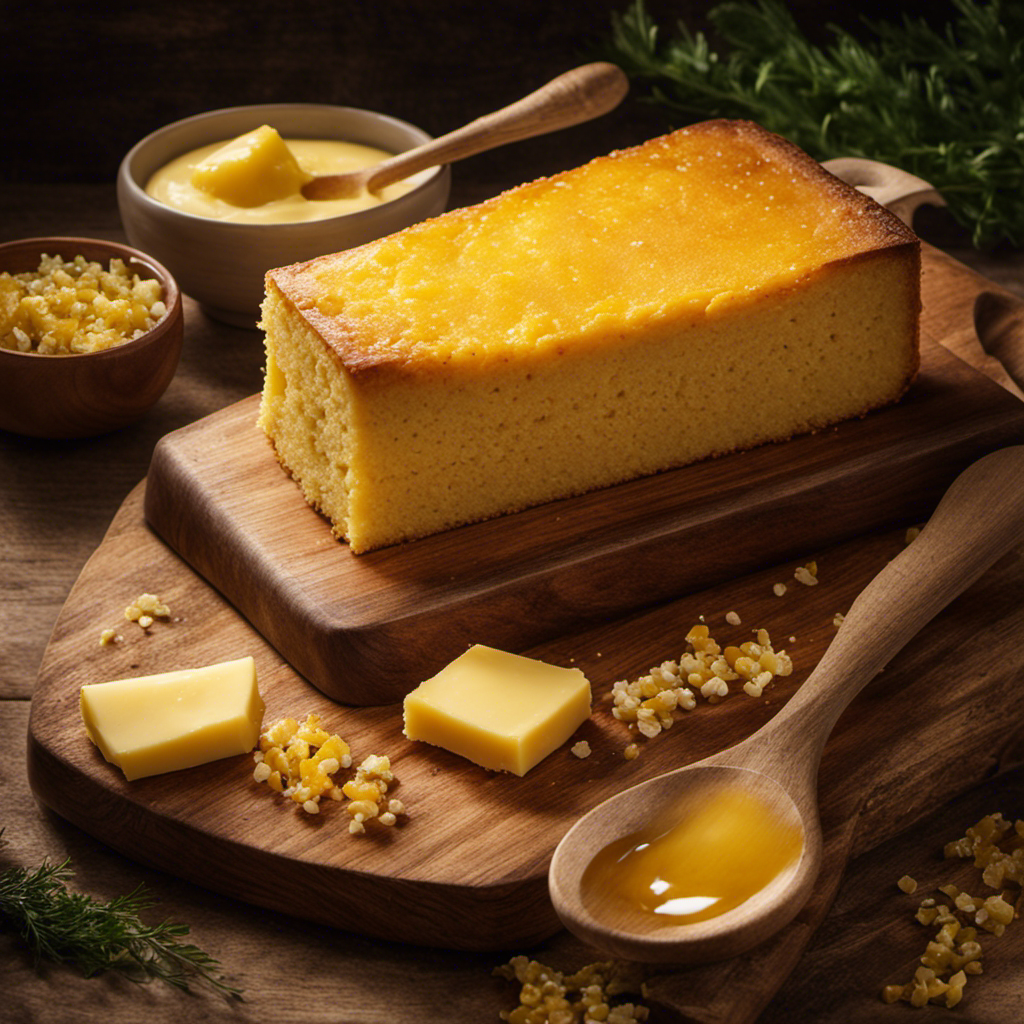
Butter Weight Conversions
To figure out how much one pound of butter weighs, you can use butter weight conversions. These conversions allow you to accurately determine the weight of butter in different measurements. Here is a table that showcases common butter weight conversions:
| Measurement | Pounds | Ounces | Grams |
|---|---|---|---|
| 1 stick | 0.25 | 4 | 113.4 |
| 1 cup | 0.5 | 8 | 226.8 |
| 1 pound | 1 | 16 | 453.6 |
| 1 kilogram | 2.2046 | 35.27 | 1000 |
| 1 tablespoon | 0.0625 | 1 | 28.35 |
These conversions ensure butter weight accuracy and precision in your recipes. By using the appropriate conversion, you can confidently measure the right amount of butter for your culinary creations. Now that we understand how to convert butter weight, let’s explore the differences between metric and imperial measurements.
Metric Vs. Imperial Measurements
Understanding the differences between metric and imperial measurements can help you accurately convert ingredients in your recipes. Metric conversions are based on units of 10, making them easier to work with in calculations.
In the metric system, butter packaging standards are typically in grams or kilograms. This is different from imperial measurements, where butter is commonly sold in pounds or ounces.
When converting butter from ounces to pounds, remember that there are 16 ounces in a pound. So, if a recipe calls for 8 ounces of butter, that would be equivalent to half a pound.
By familiarizing yourself with these conversions, you can ensure that your recipes turn out just right.
Now, let’s dive into the details of converting butter from ounces to pounds.
Breville Barista Express Espresso Machine BES870XL, Brushed Stainless Steel
The Breville Barista Express delivers third wave specialty coffee at home using the 4 keys formula and is...
As an affiliate, we earn on qualifying purchases.
Converting Butter From Ounces to Pounds
One pound of butter is equal to 16 ounces. Understanding butter measurements is essential for accurate baking and cooking.
When a recipe calls for a specific amount of butter in pounds, it’s important to convert the measurement to ounces if necessary. To convert from ounces to pounds, simply divide the number of ounces by 16. For example, if a recipe calls for 32 ounces of butter, you would divide 32 by 16 to get 2 pounds.
This conversion ensures that you are using the correct amount of butter in your recipe, resulting in delicious and consistent results.

ROCKPOINT Stainless Steel Table for Prep & Work 24x48 Inches, NSF Metal Commercial Kitchen Heavy Duty Table with Adjustable Under Shelf and Table Foot for Restaurant, Home and Hotel
【Durable 2 Layer Design】 -This heavy duty table desktop load capacity is 480 lbs, and the undershelf can...
As an affiliate, we earn on qualifying purchases.
Butter Packaging and Labeling Standards
When it comes to baking, accurate butter measurements are crucial for achieving the perfect texture and taste. It can be frustrating to find a recipe that calls for a specific amount of butter, only to realize that your butter packaging is not labeled accurately.
That’s why clear labeling requirements for butter packaging are necessary to ensure that consumers have the information they need to make the right measurements and create delicious baked goods.
Accurate Butter Measurements
To accurately measure butter, it’s important to know how much one pound weighs. Understanding butter weight comparisons and butter measurement conversions can be helpful in various cooking and baking recipes. Here are some key points to consider:
-
1 pound of butter weighs approximately 454 grams or 16 ounces.
-
Converting butter measurements can be tricky, as different countries may use different packaging sizes. It’s essential to refer to a reliable conversion chart or use a digital kitchen scale for precise measurements.
-
When a recipe calls for a specific amount of butter, such as tablespoons or cups, it’s crucial to convert accurately to ensure the desired outcome of your dish.
Having a clear understanding of butter weight comparisons and measurement conversions will help you achieve consistent and delicious results in your culinary endeavors.
Clear Labeling Requirements
After learning about accurate butter measurements, let’s delve into the importance of clear labeling regulations and consumer awareness.
When it comes to purchasing butter, it is crucial for consumers to have access to information that allows them to make informed choices. Clear labeling regulations ensure that vital details such as the weight of the product are accurately displayed on the packaging. This enables consumers to understand exactly how much butter they are buying, avoiding any confusion or misleading information.
Additionally, clear labeling regulations can also include important information about the ingredients used, nutritional values, and potential allergens. By having access to this information, consumers can make choices that align with their dietary needs and preferences.
Ultimately, clear labeling regulations and consumer awareness play a vital role in promoting transparency, trust, and informed decision-making.
How Much Butter to Buy for Recipes
Figure out how much butter you’ll need for your recipes. It’s important to know the right measurements and substitutions to ensure your dishes turn out perfectly. Here are some helpful tips:
-
Butter Measurement Equivalents:
-
1 pound of butter = 4 sticks or 2 cups
-
1 stick of butter = 1/2 cup or 8 tablespoons
-
1 tablespoon of butter = 1/8 cup or 2 tablespoons
-
Butter Substitution Options:
-
Margarine can be used as a 1:1 replacement for butter in most recipes.
-
Coconut oil is a great dairy-free alternative to butter.
-
Applesauce or mashed bananas can be used to replace butter in baking for a healthier option.
Knowing these measurements and substitution options will make your cooking and baking adventures a breeze. Now, let’s explore some other butter substitutes and equivalents that you can use in your recipes.
Butter Substitutes and Equivalents
Using margarine as a 1:1 replacement for butter is a common and easy option. When it comes to butter alternatives, there are several choices available for those who follow a vegan or dairy-free lifestyle. Vegan butter options, made from plant-based oils, offer a similar taste and texture to traditional butter. They can be used in baking, cooking, and spreading on toast. Here is a comparison table of some popular butter substitutes:
| Butter Substitute | Equivalency |
|---|---|
| Margarine | 1:1 |
| Coconut oil | 1:1 |
| Olive oil | 3/4 cup |
| Applesauce | 1/2 cup |
These alternatives can be easily incorporated into your recipes, providing a suitable replacement for butter. Now that you know about the different butter substitutes, let’s move on to the next section where we will discuss storing and preserving one pound of butter.
Storing and Preserving One Pound of Butter
To properly store and preserve a pound of butter, you’ll want to keep it in an airtight container in the refrigerator. This will help maintain its freshness and prevent it from absorbing any unwanted odors from other foods in the fridge.
Here are some tips for storing and preserving butter:
-
Use an airtight container: This will keep the butter protected from air, moisture, and other contaminants, ensuring it stays fresh for longer.
-
Keep it in the coldest part of the fridge: Placing the butter in the coldest part, such as the back of the refrigerator, will help maintain its texture and prevent it from melting or becoming too soft.
-
Avoid exposure to light: Light can cause the butter to spoil faster, so it’s best to store it in a container that blocks out any light.
Butter Prices and Cost Comparisons
Did you know that butter prices can vary significantly between different brands and stores? It’s fascinating how something as simple as butter can have such a wide range of prices.
The butter pricing trends are influenced by various factors, including the brand reputation, quality standards, and market demand. Some brands may charge a premium for their organic or artisanal butter, while others may offer more affordable options.
It’s essential to consider not only the price but also the quality of the butter when making a purchase. Look for butter that meets the industry’s quality standards and has a rich, creamy texture and a delicious flavor.
Frequently Asked Questions
Can I Use Margarine as a Substitute for Butter in Recipes?
Yes, you can use margarine as a substitute for butter in recipes. However, keep in mind that there might be differences in taste and nutrition. Margarine is often lower in saturated fat but may lack the same rich flavor as butter.
How Long Can I Store an Opened Package of Butter Before It Goes Bad?
When it comes to the shelf life of an opened package of butter, it’s important to consider storage conditions. Properly stored, butter can last for several weeks before it goes bad.
Are There Any Health Benefits to Consuming Butter?
Consuming butter has its benefits, like providing essential vitamins and fatty acids. However, it’s important to note the potential risks, such as high saturated fat content. Moderation is key for a balanced diet.
What Is the Average Cost of a Pound of Butter in Different Regions of the United States?
In different regions of the United States, the cost of a pound of butter can vary. When comparing butter prices, it is interesting to observe the trends in butter consumption across these regions.
Can I Freeze Butter to Extend Its Shelf Life?
Yes, you can freeze butter to extend its shelf life. Freezing butter is a great way to preserve it for a longer period. Just make sure to wrap it tightly to prevent freezer burn.
Conclusion
Well, butter lovers, we’ve reached the end of our buttery journey.
We’ve delved into the weight of one pound of this creamy goodness, learned how to convert butter measurements, and even explored butter substitutes.
And let’s not forget about the important topic of storing and preserving our precious pound of butter.
But now, let’s talk about the cold hard truth: butter prices.
Brace yourselves, folks, because the cost of this golden delight can vary.
So, next time you’re at the grocery store, remember to savor every pat of butter and appreciate its worth, both in taste and in your wallet.