The process of making butter has always captivated me, so discovering that it could require between 30 minutes to an hour piqued my interest.
In this article, we’ll delve into the historical methods of butter churning, explore traditional hand-churning techniques, and discuss the time-saving wonders of electric butter churns.
Along the way, we’ll also uncover the various factors that can affect churn time and provide tips for achieving that perfect butter consistency.
And if you’re not keen on churning your own butter, we’ll even explore some modern alternatives.
So, let’s dive in and discover just how long it takes to churn butter!
Key Takeaways
- Butter was traditionally churned using wooden churns or hand-held devices.
- Churning could take anywhere from 30 minutes to several hours.
- Technology has revolutionized butter production in the food industry.
- Electric churns significantly reduce churning time and effort.
BIG HORN 12" Multi-Fuel Outdoor Pizza Oven Reach up to 1110℉– 3-in-1 Wood,Gas&Electric Compatible(Burners Sold Separately),Pellet Pizza Oven Portable Pizza Maker for Backyard,Camping&Tailgating,Silver
【Premium & Safe Stainless Steel】Outdoor pizza oven is constructed with high-quality stainless steel. This sturdy and compact oven...
As an affiliate, we earn on qualifying purchases.
Historical Methods of Butter Churning
If you want to learn about historical methods of butter churning, you should try researching online or visiting a local museum. Traditional techniques and historical processes of butter churning offer a glimpse into the past and the ways in which people produced this essential food item.
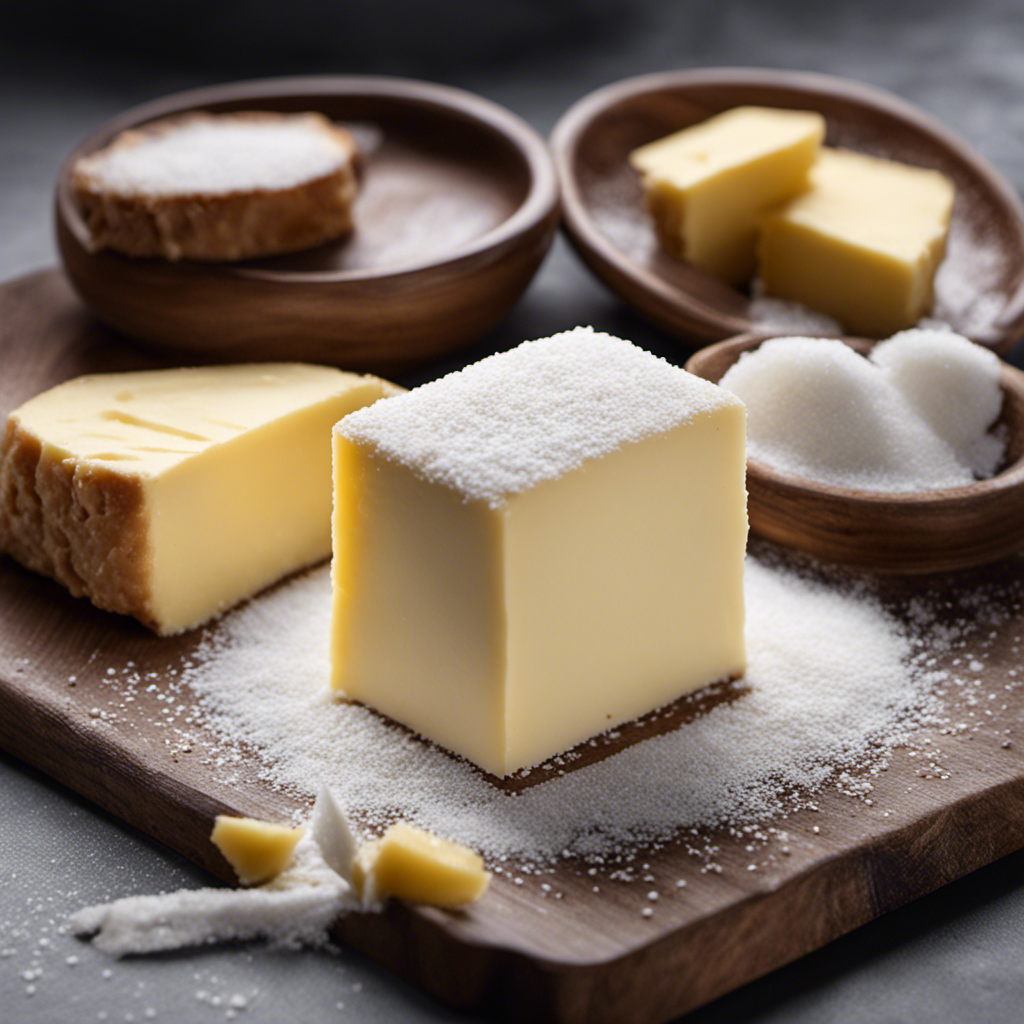
Before the advent of modern machinery, butter was typically churned using a wooden churn or a simple hand-held device. The process involved filling the churn with cream and then agitating it vigorously until the fat globules joined together to form butter. This required patience and physical effort, as the churning process could take anywhere from 30 minutes to several hours.
Understanding the traditional methods of butter churning allows us to appreciate the labor-intensive nature of butter production in the past and the evolution of technology in the food industry.

Iceman by Chefman Slush-Ease 68oz Slushie Machine, 48oz Liquid Capacity Frozen Drink Maker & Slushy Machine with 5 Presets and LED Display, Perfect for Frozen Margaritas, Frappes, Smoothies & Shakes
FREEZES WITHOUT ICE: Make slushies out of any beverage you can think of right at home on your...
As an affiliate, we earn on qualifying purchases.
Traditional Hand-Churning Techniques
When it comes to churning butter, there are various methods that can be used. In this discussion, I will compare different churning methods to help you find the one that suits your needs.
Additionally, I will provide tips on achieving the perfect consistency, as well as common troubleshooting tips to overcome any challenges you may encounter during the churning process.
Churning Methods Comparison
To compare churning methods, you can use different techniques and see which one yields the best results.
When it comes to churning speed, the type of equipment you use plays a crucial role. I have conducted a thorough research on various equipment options and their impact on churning speed.
The first method I tried was using a hand-cranked churn. It required a significant amount of physical effort and took a considerable amount of time to achieve the desired results.
Next, I used an electric churn. This method significantly reduced the churning time and required less physical exertion.
Lastly, I experimented with a stand mixer fitted with a paddle attachment. This method proved to be the fastest, producing butter in a fraction of the time compared to the other methods.
Overall, the equipment comparison showed that using a stand mixer with a paddle attachment yields the best results in terms of churning speed.
Achieving the Perfect Consistency
Using a stand mixer with a paddle attachment can help you achieve the perfect consistency for your churned product. When it comes to butter churn equipment, there are various options available, each with its own advantages and disadvantages. Traditional butter making techniques often involve using a hand-cranked churn or a wooden churn. However, these methods require a lot of physical effort and can be time-consuming. With a stand mixer, you can easily control the speed and duration of the churning process, resulting in a smooth and creamy butter. To give you a better understanding, here is a comparison table showcasing the pros and cons of different butter churn equipment:
| Churn Equipment | Pros | Cons |
|---|---|---|
| Hand-cranked churn | Authentic and traditional method | Labor-intensive and time-consuming |
| Wooden churn | Natural and rustic appeal | Requires regular maintenance |
| Stand mixer with paddle attachment | Easy to use and control | Requires electricity and may not give the same rustic texture |
Common Troubleshooting Tips
If you’re experiencing issues during the churning process, here are some common troubleshooting tips that can help you overcome them.
Troubleshooting difficulties can arise when churning butter, but with the right solutions, you can achieve the perfect consistency.
First, make sure your cream is at the right temperature. If it’s too cold, it will take longer to churn, and if it’s too warm, it may not churn at all. Adjust the temperature accordingly.
Another common issue is over-churning. If your butter starts to separate into buttermilk and solids, you’ve churned for too long. Stop churning as soon as the butter has formed.
Lastly, if your butter is too soft or too hard, you may need to adjust the temperature during the shaping process.
Troubleshooting these difficulties will ensure that you have delicious homemade butter every time.

Ninja SLUSHi Max XXL Smart Frozen Drink Maker, Top Performance and Smart Technology, Party Size 150 Ounces Capacity, No Ice Needed, 6 Programs, Ideal Temp and Texture up to 12 Hours, Peach, FS605
#1 SMART FROZEN DRINK MAKER: Ninja pioneered the smart frozen drink maker category and SLUSHI MAX XXL is...
As an affiliate, we earn on qualifying purchases.
Using a Manual Butter Churn
A manual butter churn is a simple and effective way to make homemade butter. It has historical origins dating back to ancient civilizations, where pottery jars with paddle attachments were used to churn cream into butter. This method of churning has cultural significance in many societies, representing the traditional way of making butter before modern technology took over.
To help you enjoy the process of using a manual butter churn, here are some tips:
-
Use fresh cream: The quality of your butter depends on the freshness of the cream you use. Opt for high-quality cream from a trusted source.
-
Chill the cream: Before churning, it’s important to chill the cream to around 50°F (10°C). This helps the butterfat separate more easily.
-
Churn in batches: Avoid overfilling the churn, as it can hinder the churning process. It’s better to churn in smaller batches for better results.

Ninja SLUSHi Frozen Drink & Slushie Machine with RapidChill Technology | 88 oz. Easy Fill Vessel | 5 Preset Programs | Make Margaritas, Frappés, & More | With Dishwasher Safe Parts | Black | FS301
NO ICE NEEDED: RapidChill Technology is our innovative two-part system that spins an auger around a cooling cylinder...
As an affiliate, we earn on qualifying purchases.
Time-Saving Electric Butter Churns
When it comes to churning butter, one of the most significant time-saving innovations is the electric butter churn. These efficient machines are designed to speed up the churning process and make it more convenient for home butter makers.
Compared to manual churns, electric churns can significantly reduce the time it takes to churn butter, allowing for a faster and more efficient production process.
In this discussion, we will explore the efficiency of electric churns, the time-saving benefits they offer, and compare the churning process between manual and electric churns.
Efficiency of Electric Churns
The efficiency of electric churns is much higher compared to manual ones. Electric churns are designed to churn butter quickly and effectively, saving both time and effort. Here are a few reasons why electric churns are more efficient:
-
Speed: Electric churns have powerful motors that can churn butter at a much faster rate than manual churns. This means that you can produce larger quantities of butter in less time.
-
Consistency: Electric churns provide a consistent and uniform churn, resulting in a smoother and creamier butter. Manual churns, on the other hand, require constant physical effort and may result in uneven churning.
-
Ease of use: Electric churns are user-friendly and require minimal effort. Simply pour in the cream, turn on the machine, and let it do the work for you.
Overall, electric churns offer a significant improvement in efficiency compared to manual churns, making them a popular choice for those who value their time and want to churn butter quickly and effortlessly.
Time-Saving Benefits
After discussing the efficiency of electric churns, it’s time to delve into the time-saving benefits they offer.
When it comes to churning butter, time is of the essence, especially for those who have busy schedules or large quantities to churn. Electric churns provide several advantages in terms of quick churn.
Firstly, they have a higher churn rate compared to traditional methods, allowing butter to be produced faster.
Secondly, they require less physical effort, as the motor does most of the work. This saves time and energy, making the process more efficient.
Additionally, electric churns often have built-in timers and controls, allowing users to set specific churn times, further saving time and ensuring consistent results.
Overall, these time-saving techniques make electric churns a valuable tool for those seeking efficiency in their butter-making process.
Churning Process Comparison
Compared to traditional methods, electric churns offer a faster and more efficient way to produce butter. With historical techniques, churning butter was a labor-intensive process that could take hours. But with the invention of electric churns, the churning time has been significantly reduced.
Here are some troubleshooting tips to help you get the most out of your electric churn:
-
Keep the temperature consistent: Butter churns work best at room temperature, so make sure your cream is not too cold or too warm.
-
Use fresh cream: Fresh cream produces better results and ensures a smooth churn.
-
Monitor the speed: Adjust the churn speed according to the cream’s consistency to avoid over-churning or under-churning.
Factors Affecting Churn Time
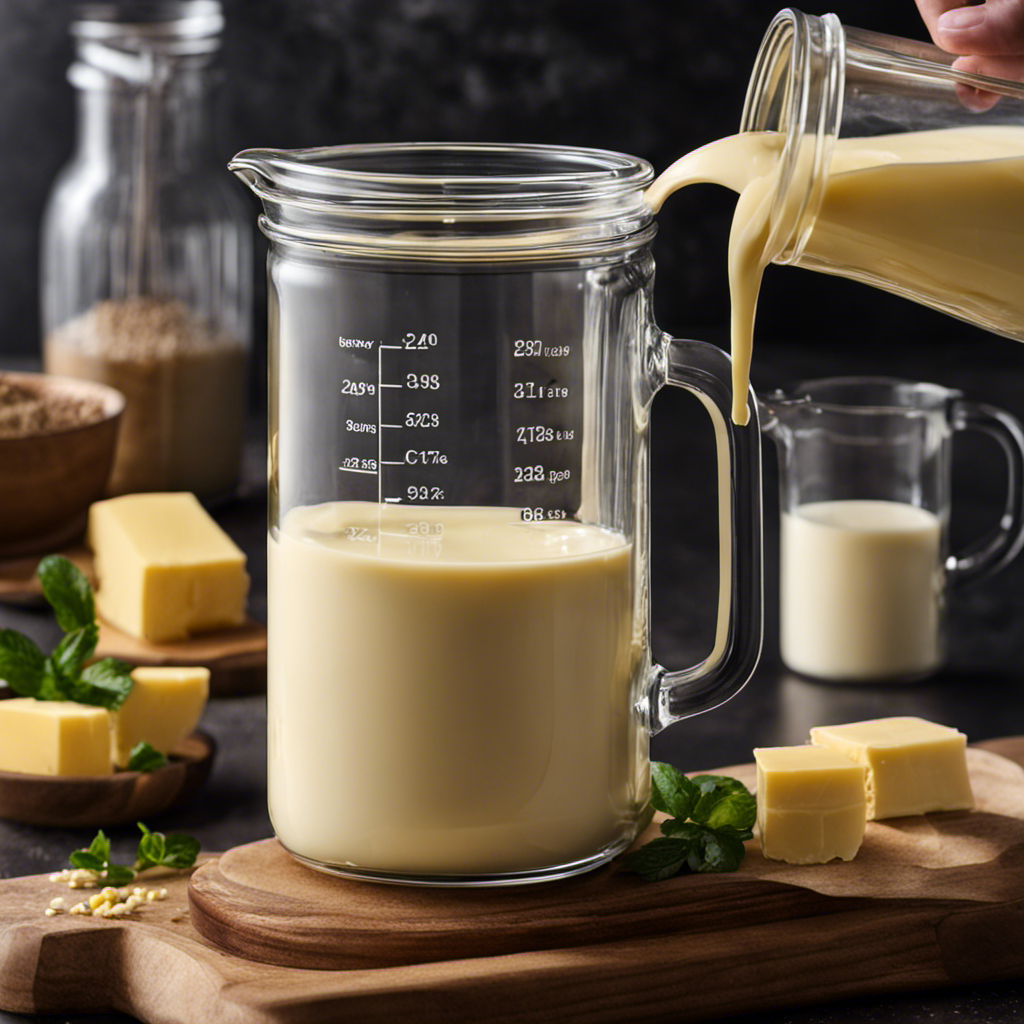
To decrease churn time, you’ll want to adjust the temperature of the cream. The temperature of the cream plays a crucial role in butter formation. If the cream is too cold, it will take longer to churn, while if it’s too warm, the butter may become too soft.
Several factors can impact the churn time, including the temperature of the cream, the fat content, and the agitation method. The fat content of the cream also affects churn time. Cream with a higher fat content will churn faster compared to cream with a lower fat content.
The agitation method, whether by hand or using a churn machine, can also impact churn time. Hand-churning requires more time and effort compared to using a churn machine.
Tips for Achieving the Perfect Butter Consistency
For achieving the perfect consistency, make sure you adjust the cream temperature and fat content accordingly. This will ensure a smooth and creamy texture for your butter. Here are some tips to help you achieve that:
-
Use high-quality cream: Start with fresh, high-fat cream for the best results. Look for cream with a fat content of at least 35%.
-
Choose the right equipment: Invest in a good butter churn or use a stand mixer with a paddle attachment. These tools will help you churn the cream more efficiently.
-
Follow the right technique: Begin churning at a low speed to avoid splashing. Gradually increase the speed until the butter separates from the buttermilk.
-
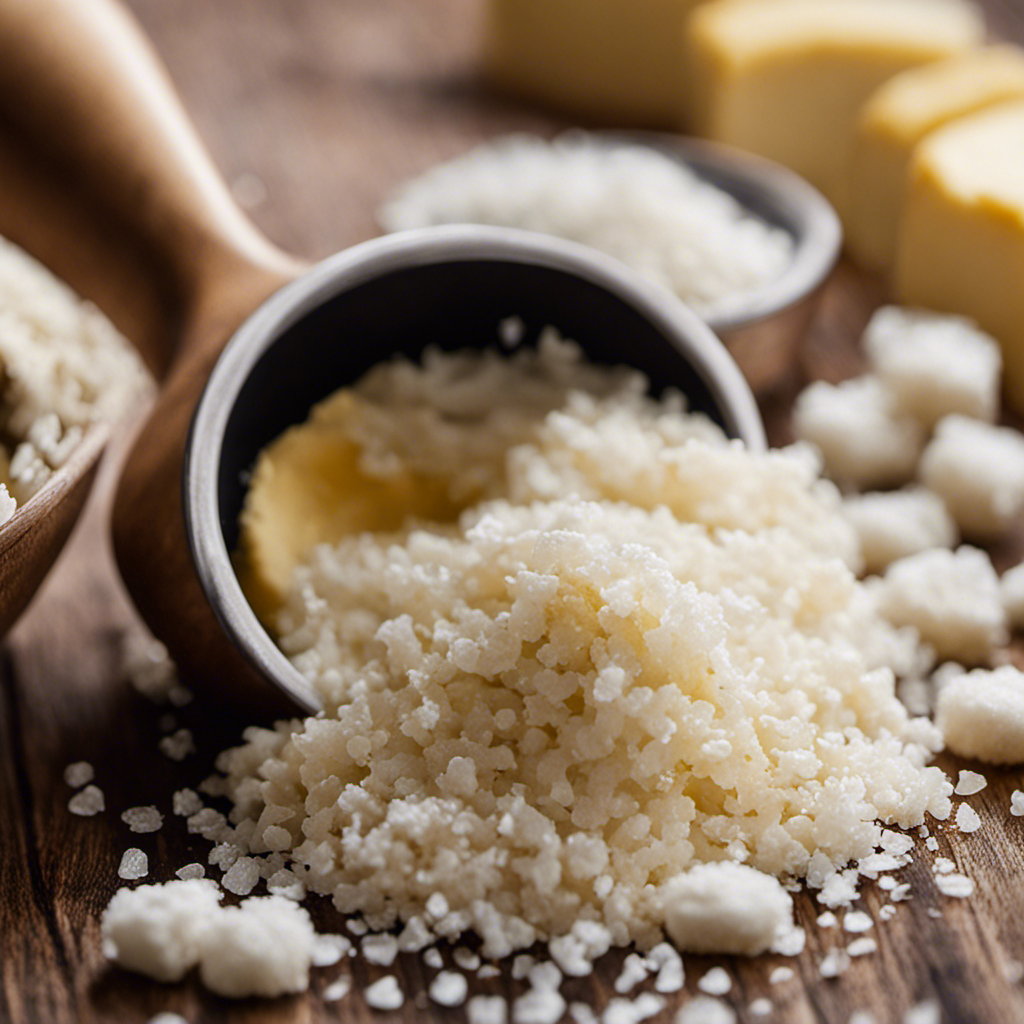
Wash and knead the butter: After churning, wash the butter in cold water to remove any remaining buttermilk. Knead it to remove excess moisture and shape it into a desired form.
Modern Alternatives to Butter Churning
If you’re looking for a quicker and easier way to make your own spreadable toppings, try using modern alternatives to churned butter.
In recent years, there has been a rise in popularity of butter substitutes that can be used in various recipes and as spreads. One such alternative is plant-based butter, made from oils like coconut or avocado. These substitutes mimic the creamy texture and rich flavor of traditional churned butter, making them a great option for those who are lactose intolerant or following a vegan diet.
Another modern alternative is whipped butter, which is made by incorporating air into the butter to create a lighter and fluffier texture. Whipped butter spreads easily and melts quickly, making it a convenient choice for toast or bagels.
Overall, these modern alternatives offer a convenient and delicious option for those looking for an alternative to traditional churned butter.
Frequently Asked Questions
Can I Use a Blender or Food Processor to Churn Butter?
Using alternative methods for churning butter, I’ve found pros and cons to using a blender or food processor. The blender can yield a creamy texture in just a few minutes, but the processor may take longer and result in a slightly grainier consistency.
Is It Possible to Churn Butter Using Non-Dairy Milk or Cream?
It is possible to make homemade non-dairy butter using alternative methods like using non-dairy milk or cream. However, the taste and texture of butter made from non-dairy milk may differ from traditional dairy cream.
How Long Does It Take to Churn Butter Using a Traditional Hand-Churning Technique?
Churning butter can be a time-consuming task, but several factors affect churn time. To churn butter efficiently, use fresh cream, a clean churn, and maintain a consistent rhythmic motion.
Are There Any Specific Factors That Can Affect the Churn Time of Butter?
Factors affecting churn time include temperature, cream quality, and churning method. Different types of churns, such as hand or electric, may have varying churn times. It is important to consider these factors for successful butter making.
Can I Use Store-Bought Cream to Churn Butter at Home?
I can use store-bought cream to churn butter at home. It has pros and cons. On one hand, it’s convenient, but on the other hand, it may not produce the same quality as homemade cream.
Conclusion
In conclusion, after delving into the historical methods of butter churning and exploring traditional hand-churning techniques, it is clear that the art of churning butter is not for the faint-hearted. The amount of time it takes to churn butter may vary depending on factors such as temperature, cream quality, and the method used.
While modern alternatives have made our lives easier, there is something nostalgic and satisfying about going back to our roots and churning butter the old-fashioned way. So, grab your churn and get ready to embark on a butter-churning adventure that will surely leave you with a newfound appreciation for this age-old process.
Happy churning!