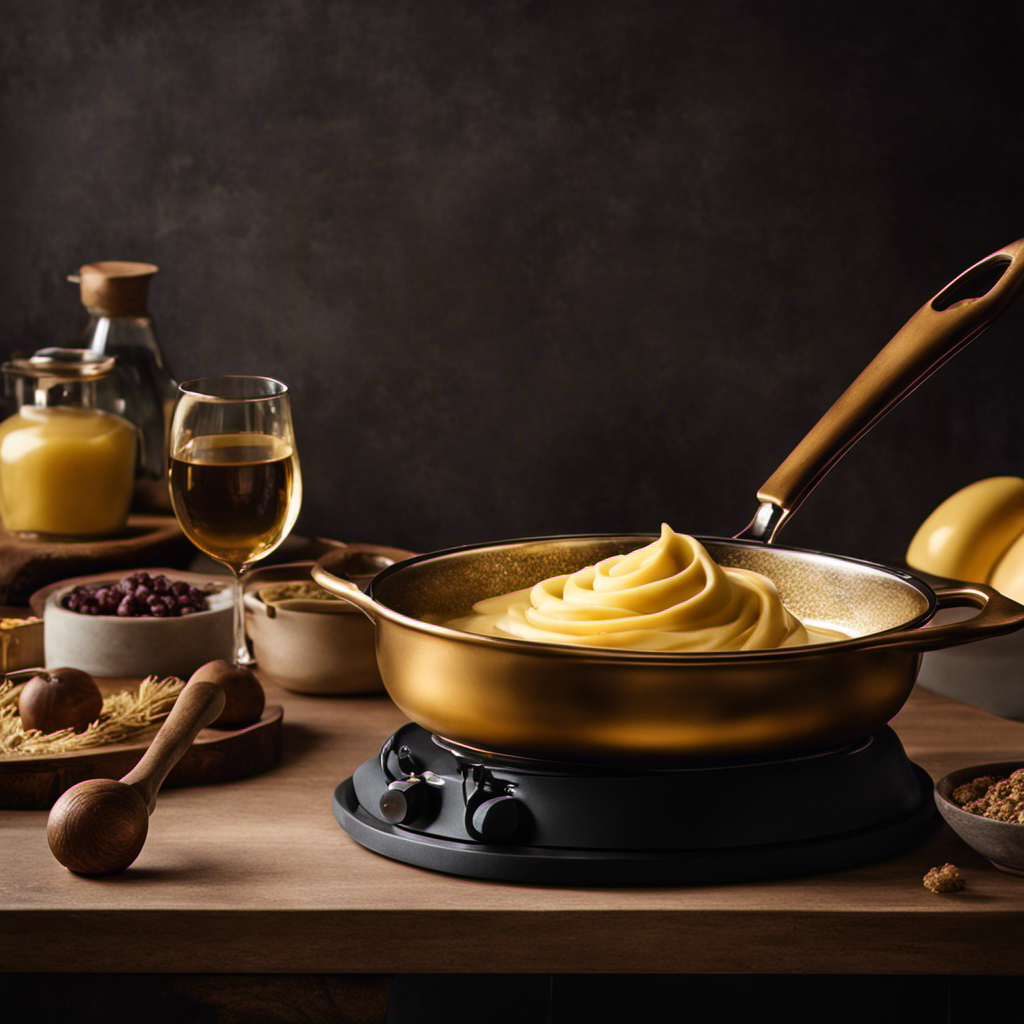
As someone who loves butter, I have always been fascinated by the way it changes when it turns a golden brown color, releasing its nutty scent and decadent taste.
But how long does this magical process actually take?
In this article, we’ll explore the factors that influence brown butter cooking time and discover the ideal duration for achieving that delectable consistency.
With helpful tips and expert advice, you’ll soon master the art of browning butter to perfection.
Get ready to embark on a flavorful journey that will elevate your culinary creations to new heights.
Key Takeaways
- The ideal cooking temperature for brown butter is medium-low to low heat.
- Browning butter at around 300 degrees Fahrenheit allows for slow melting and caramelization.
- Butter color indicators such as pale yellow, golden hue, and deep amber can help determine the desired consistency and flavor.
- To avoid burnt butter, monitor color indicators, heat butter over low heat, and remove it from heat when it reaches a rich, nutty aroma and deep golden color.

Nuwave Pro Chef Induction Cooktop, NSF-Certified, Commercial-Grade, Portable, Powerful 1800W, Large 8” Heating Coil, 94 Temp Settings 100°F - 575°F in 5°F, Shatter-Proof Ceramic Glass Surface
MAKE ADJUSTMENTS ON-THE-FLY – Want hotter temperature or need to cook it longer? No problem. Simply adjust on-the-fly...
As an affiliate, we earn on qualifying purchases.
Factors Affecting Brown Butter Cooking Time
Depending on the temperature of your stove and the amount of butter you’re using, the cooking time for brown butter can vary. The ideal cooking temperature for brown butter is medium-low to low heat. This allows the butter to melt slowly and evenly, preventing it from burning.
It usually takes about 5 to 8 minutes to brown butter, but it’s important to keep an eye on it as it can quickly go from golden brown to burnt. If you notice that the butter is browning too quickly, you can lower the heat or remove the pan from the stove temporarily to cool it down. On the other hand, if the butter is taking too long to brown, you can increase the heat slightly.
Troubleshooting common issues with brown butter cooking time will ensure that you achieve the perfect golden brown color and nutty aroma.

Cuisinart 5.5 Quart Sauté Pan w/ Cover, Stainless Steel Pan with Lid, Large Kitchen Pan, Dishwasher Safe, Compatible with Induction, Electric, Gas Cooktops, Oven Safe Saucepan, Cool Grip Handles
EXCEPTIONAL DESIGN: The 5.5-Quart Saute Pan with Helper Handle and Flavor Lock Lid has straight high sides and...
As an affiliate, we earn on qualifying purchases.
Ideal Cooking Time for Brown Butter
When it comes to achieving the perfect brown butter, there are a few key points to keep in mind.
First, understanding the optimal browning temperature is crucial. This will ensure that you achieve the desired nutty flavor without burning the butter.
Additionally, paying attention to butter color indicators can help you gauge when the butter is perfectly browned.
Lastly, I’ll share some tips on how to avoid burnt butter altogether, so you can enjoy the rich, caramelized flavors without any unpleasant bitterness.
Optimal Browning Temperature
The optimal temperature for browning butter is around 300 degrees Fahrenheit. Temperature plays a crucial role in achieving the perfect brown butter. Browning butter too low can result in a pale and greasy outcome, while browning it too high can lead to a burnt and bitter taste. Finding the sweet spot at 300 degrees allows the butter to slowly melt and separate, while the milk solids begin to caramelize, releasing a rich and nutty aroma.
This temperature range ensures that the butter achieves a beautiful golden brown color and imparts a deep, toasty flavor to your dishes. Now that we know the optimal temperature for browning butter, let’s explore the various color indicators that can help us determine when it’s perfectly done.
Butter Color Indicators
Achieving the perfect brown butter involves finding the sweet spot at around 300 degrees Fahrenheit, where the butter slowly melts and separates, while the milk solids caramelize, releasing a rich and nutty aroma.
As the butter heats up, it undergoes a transformation that can be observed through its color. Initially, the butter will turn a pale yellow, indicating that it is melting and the milk solids are beginning to separate.
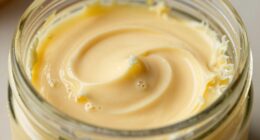
As the temperature rises, the butter will start to take on a golden hue, signaling that the milk solids are caramelizing and releasing their flavor.
Finally, it will develop a deep amber color, indicating that it has reached the perfect consistency and flavor.
Achieving the perfect brown butter requires careful monitoring of these color indicators to ensure that it doesn’t burn and ruin the desired taste.
Avoiding Burnt Butter?
To prevent burnt butter, it’s important to closely monitor the color indicators throughout the melting and caramelization process. Achieving the perfect consistency for brown butter requires a delicate balance of heat and time. If the butter is heated too quickly or for too long, it can easily burn, resulting in a bitter and unpleasant taste.
When melting the butter, it should be done over low heat to ensure even and gradual melting. As the butter begins to melt, it will go through different stages of caramelization, starting with a pale yellow color and gradually turning golden brown. The key is to remove the butter from the heat as soon as it reaches a rich, nutty aroma and a deep golden color. This will ensure that you have perfectly browned butter without any burnt flavors.
Transitioning into the next section, let’s explore some tips for achieving the perfect brown butter consistency.

Nuwave Flex Precision Induction Cooktop, 10.25” Shatter-Proof Ceramic Glass, 6.5” Heating Coil, 45 Temps from 100°F to 500°F, 3 Wattage Settings 600, 900 & 1300 Watts, Black
MAKE ADJUSTMENTS ON-THE-FLY – Want hotter temperature or need to cook it longer? No problem. Simply adjust on-the-fly...
As an affiliate, we earn on qualifying purchases.
Tips for Achieving the Perfect Brown Butter Consistency
For best results, it’s important to keep an eye on the butter while it’s browning. Achieving browning consistency and preventing the butter from burning can be a delicate process, but with these tips, you’ll be able to master the art of brown butter every time:
-
Choose the right pan: A heavy-bottomed stainless steel or cast iron skillet will distribute heat evenly and prevent hot spots.
-
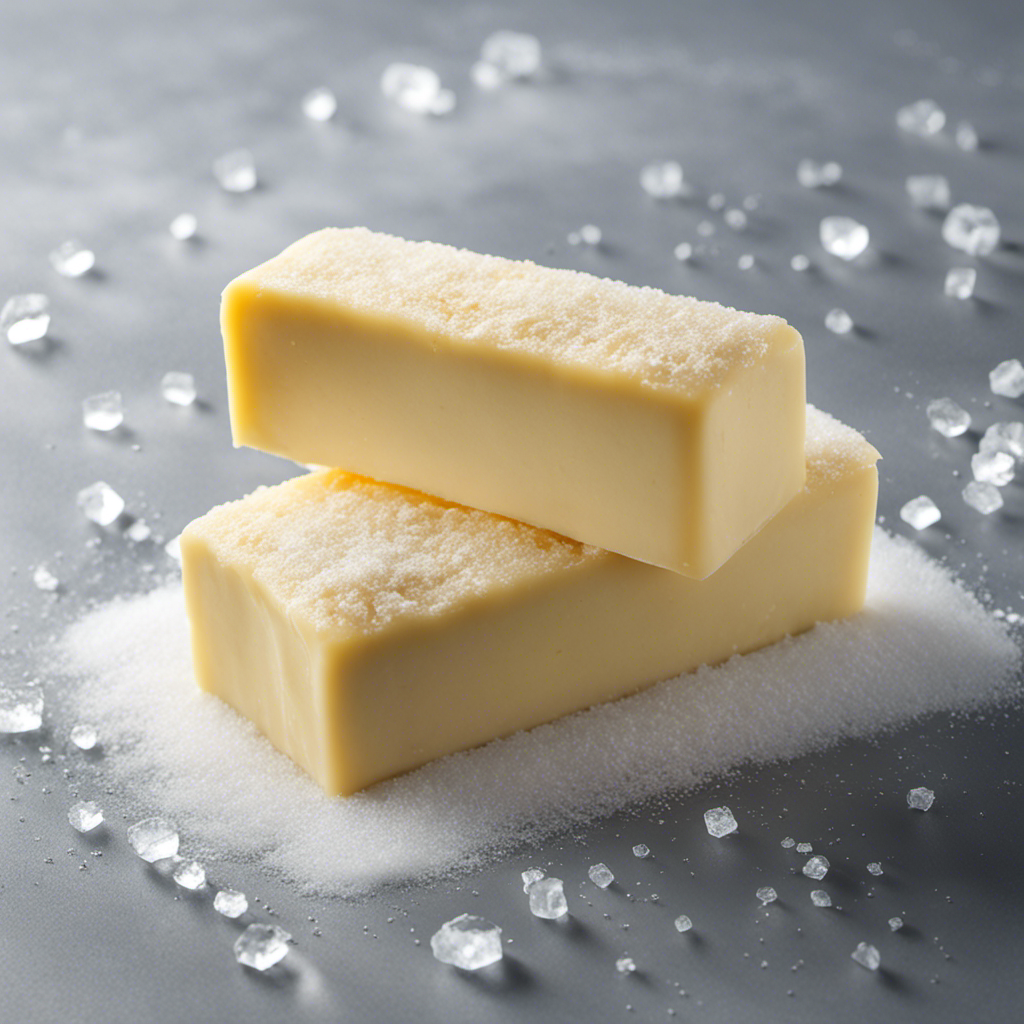
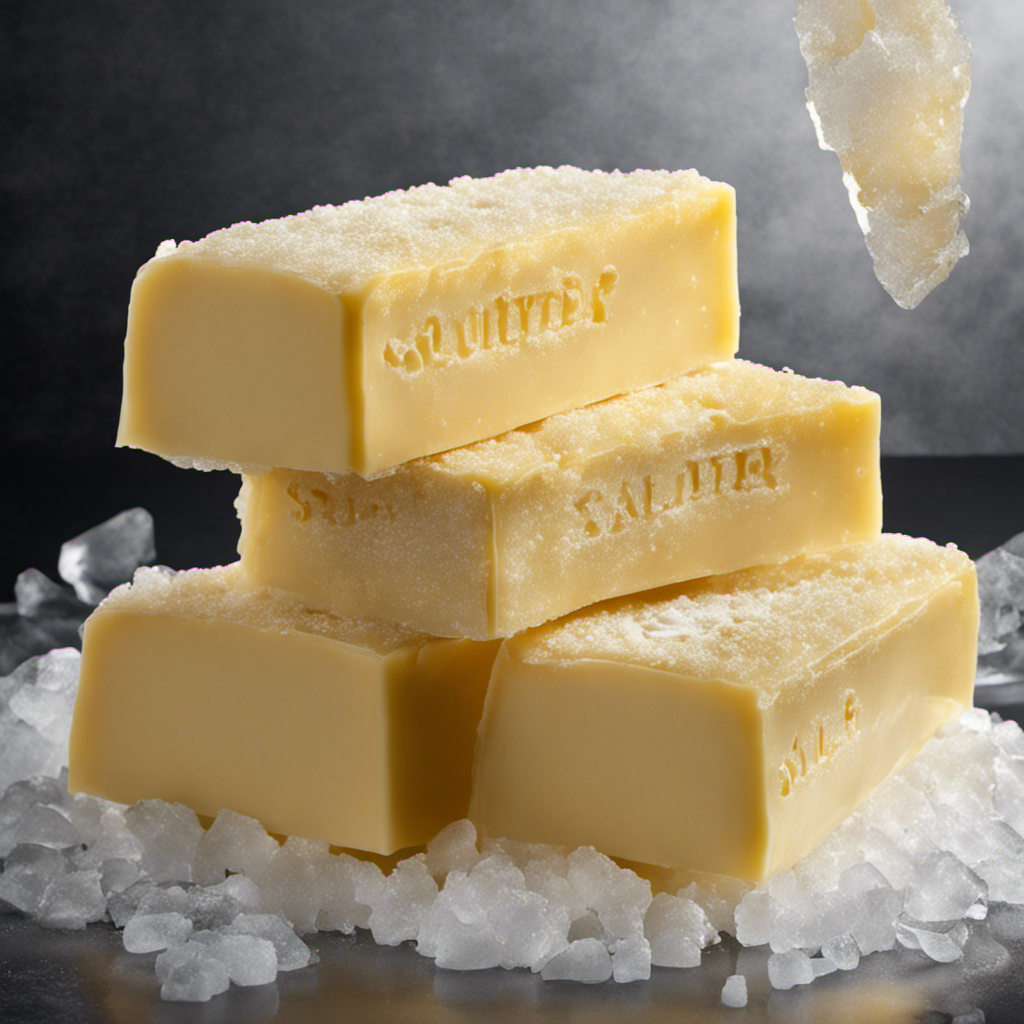
Use unsalted butter: This allows you to control the saltiness of the final product.
-
Cut the butter into cubes: Smaller pieces melt more evenly and quickly.
-
Stir constantly: This ensures even browning and prevents the butter from burning.
By following these tips, you’ll be able to achieve a perfect brown butter consistency every time.
Now let’s dive into the common mistakes and how they can impact the cooking time of brown butter.
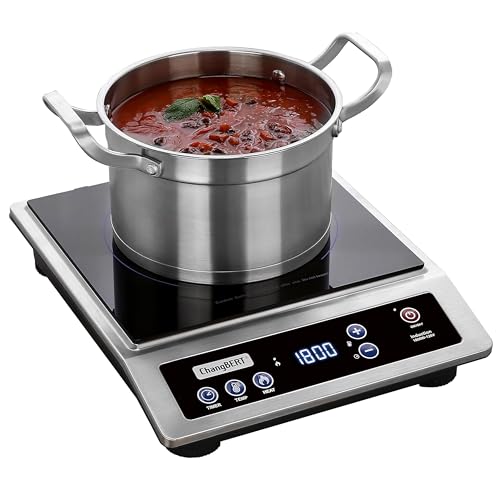
ChangBERT Induction Cooktop, Commercial Grade Portable Cooker, Large 8” Heating Coil, Premium Stainless Steel Countertop Burner with NSF Certified, 10 Hours Timer Powerful 1800W Professional Hot Plate
HIGH EFFICIENCY - ChangBERT Induction cooktop offers 9 preset power levels (200-1800W) and 18 preset temperature settings (120-460℉,...
As an affiliate, we earn on qualifying purchases.
Common Mistakes and How They Impact Brown Butter Cooking Time
If you rush the browning process, you might end up with burnt butter and an unpleasant taste. Achieving perfection when browning butter requires patience and careful attention.
One common mistake people make is using too high of a heat. While it may seem like a quick way to speed up the process, it can easily lead to burnt butter.
Another mistake is not stirring the butter consistently. This can cause uneven browning and result in a less desirable flavor.
Additionally, using a dark-colored pan can make it difficult to gauge the butter’s color accurately. It’s important to use a light-colored pan to ensure you can see the changes in color as the butter browns.
Adjusting Cooking Time for Different Quantities of Butter
When adjusting the cooking time for different quantities of butter, it’s important to consider the size of the batch. Here are four key factors to keep in mind when adjusting quantities and using browning techniques:
-
Batch size: The larger the batch, the longer it will take for the butter to brown evenly. This is because a larger quantity of butter needs more time to heat up and reach the desired temperature for browning.
-
Pan size: The size of the pan also affects the cooking time. A smaller pan will heat up faster and may require less time for browning, while a larger pan will distribute heat more evenly and may require slightly longer cooking time.
-
Heat source: The type of heat source you’re using, whether it’s gas, electric, or induction, can impact the cooking time. Gas stoves tend to provide more even heat distribution, while electric stoves may take longer to heat up and brown the butter.
-
Butter temperature: The starting temperature of the butter can influence the cooking time as well. Cold butter will take longer to melt and brown, while room temperature butter will brown more quickly.
Expert Advice on Determining When Brown Butter Is Ready
When it comes to browning butter, there are a few key indicators to look out for. The color and aroma of the butter can provide important clues about its readiness.
As the butter solids brown, the color will darken and the aroma will become nutty and fragrant.
Additionally, the cooking time can vary depending on the quantity of butter being browned, so it’s important to keep a close eye on the process.
Color and Aroma Indicators
The color and aroma indicators are key factors in determining when brown butter is ready. Here’s what to look for:
-
Color: As the butter melts and begins to brown, it will transition from a pale yellow to a golden brown hue. The ideal browning time is around 5-7 minutes, but keep a close eye as it can quickly go from perfectly browned to burnt.
-
Aroma: As the butter browns, a nutty and toasty aroma will fill the air. This is a great indicator that the butter is reaching its desired flavor profile.
-
Foam: Initially, the butter will produce a white foam on top. As it continues to brown, the foam will subside, and the butter will become clear.
-
Sediment: Towards the end of the browning process, you may notice brown sediment at the bottom of the pan. This is a sign that the butter is almost ready.
Butter Solids Browning
To achieve the desired flavor profile, keep an eye on the browning butter as it transitions from a pale yellow to a golden brown hue.
Browning butter is a delicate process, and there are several factors that can affect the speed and consistency of the browning.
One important factor is the temperature of the butter. If the butter is too cold, it will take longer to brown. On the other hand, if the butter is too hot, it can easily burn.
Another factor is the type of pan used. A stainless steel or copper pan conducts heat more efficiently, resulting in faster and more even browning.
Lastly, the amount of moisture in the butter can also affect the browning process. Butter with a higher water content will take longer to brown compared to butter with a lower water content.
Cooking Time Variations
Cooking time can vary depending on factors such as the thickness of the meat and the desired level of doneness. When it comes to browning butter, the cooking time can also be influenced by various factors.
Here are four things that can affect the cooking time for browning butter:
-
Butter temperature: Starting with room temperature butter will result in faster browning compared to using cold butter.
-
Heat intensity: Higher heat will speed up the browning process, while lower heat will slow it down.
-
Pan size and material: A smaller pan will allow the butter to heat up faster, while a larger pan may require more time for even browning. Different materials, such as stainless steel or cast iron, can also affect the cooking time.
-
Amount of butter: Browning a larger amount of butter will take longer compared to browning a small quantity.
Frequently Asked Questions
Can I Use Any Type of Butter to Make Brown Butter, or Does It Have to Be a Specific Kind?
I can use any type of butter to make brown butter, but unsalted butter is recommended. Browning butter in the oven is an easy method that yields rich, nutty flavors. It adds depth to both sweet and savory dishes.
Can I Make Brown Butter in the Microwave, or Does It Have to Be Done on the Stovetop?
I’ve always wondered if I could cheat and make brown butter in the microwave instead of the stovetop. But alas, it seems the microwave is not the way to go. Stick to the stovetop for that perfect browned butter goodness. And as for the oven? Well, that’s a whole other story.
Can I Use Brown Butter in Any Recipe, or Are There Specific Dishes That It Works Best In?
Brown butter is incredibly versatile in different cuisines. It adds a rich, nutty flavor to both sweet and savory dishes. I’ve found that incorporating it into recipes like cookies, roasted vegetables, or pasta elevates the flavors to a whole new level. Here are some tips and tricks for using brown butter in various recipes.
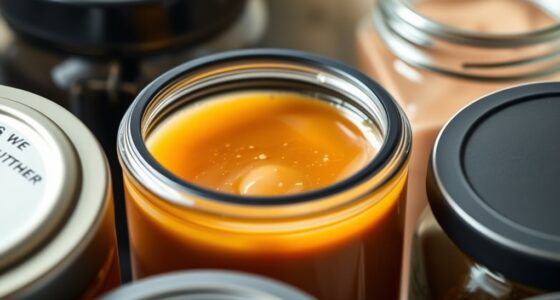
What Is the Best Way to Store Leftover Brown Butter, and How Long Will It Keep?
The best way to store leftover brown butter is in an airtight container in the refrigerator. It will last for about 1-2 weeks. Tips for using brown butter in baking and desserts include adding it to cookies, cakes, and pie crusts for a rich and nutty flavor.
Is There a Way to Speed up the Process of Browning Butter, or Does It Always Take a Certain Amount of Time?
There are alternative methods for browning butter quickly, depending on factors like heat and the amount of butter. It doesn’t always take a set amount of time, but can be done faster with the right techniques.
Conclusion
After exploring the factors that affect brown butter cooking time and learning about the ideal cooking time, it is clear that patience and precision are key. By following the tips for achieving the perfect consistency and avoiding common mistakes, one can ensure a delectably nutty flavor.
Remember, adjusting cooking time for different quantities of butter is crucial for success. So, trust your senses and listen for that sizzling symphony, because when it comes to determining when brown butter is ready, the experts know best!