
Spreading peanut butter on a sandwich may seem like a straightforward job, but there are actually several techniques that can greatly impact the final outcome.
From choosing the right peanut butter to mastering the spreading technique, there are several factors to consider when creating the perfect peanut butter sandwich.
Whether you're a peanut butter aficionado or just looking to up your sandwich game, we've got some tips that might surprise you.
So, let's dive into the world of peanut butter spreading and discover how a few simple tricks can elevate your sandwich to a whole new level.
Key Takeaways
- Consider the texture, ingredients, and taste when selecting peanut butter.
- Soften the butter at room temperature for easy spreading.
- Use a butter knife to evenly spread the butter across the entire surface of the bread.
- Use a butter knife or spatula to spread peanut butter in a thin, even layer across the bread.

PB-JIFE! The Ultimate PB knife. Stir, scrape, and clean the BIG Jars (Red, 1)
- Extra-long 7-inch blade: Reaches bottom of large jars
- Ergonomic extended handle: Cleans entire jar including sides and rim
- Durable stainless steel: Stirs and blends natural peanut butter effectively
As an affiliate, we earn on qualifying purchases.
As an affiliate, we earn on qualifying purchases.
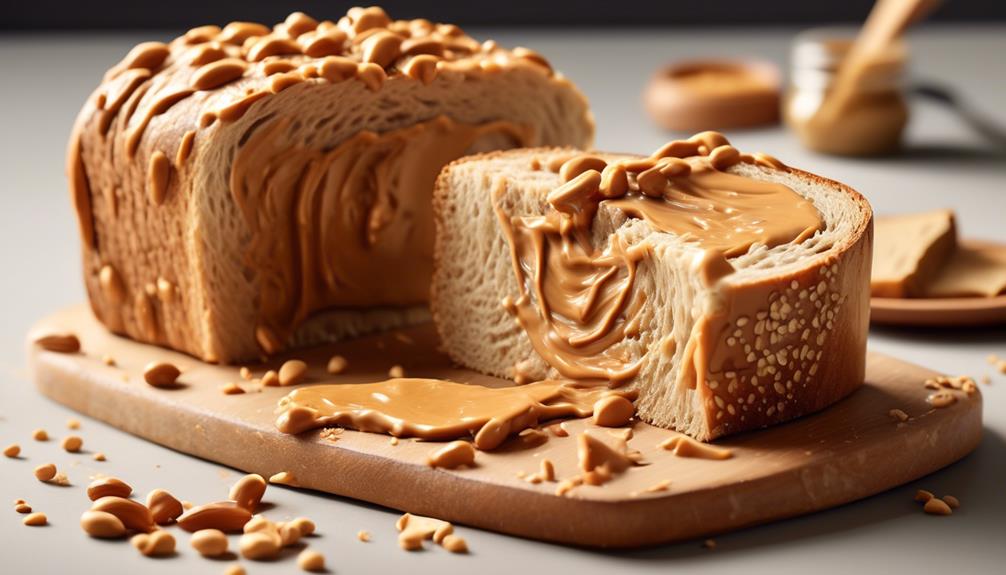
Choosing the Right Peanut Butter
When selecting peanut butter for your sandwich, it's important to consider the texture, ingredients, and taste to find the perfect fit for your preferences. The spread of choice can truly make or break the sandwich experience.
If you're like us, you might appreciate a creamy peanut butter that effortlessly glides across the bread, creating a smooth and luscious layer. On the other hand, perhaps you crave a bit of texture, a satisfying crunch that only crunchy peanut butter can provide.
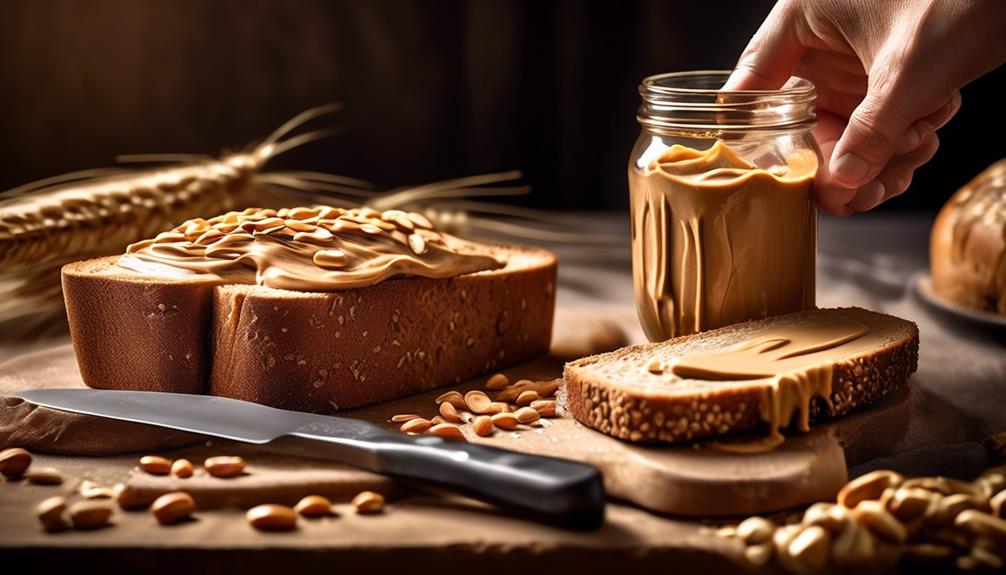
When choosing the right peanut butter, we prioritize checking the ingredients. We seek out options with minimal added sugars, oils, and preservatives for a healthier and more wholesome choice. Natural peanut butter, made solely from peanuts and salt, often wins our hearts for its pure simplicity. Additionally, we're drawn to organic varieties, appreciating the potential absence of pesticides and other chemicals.
Lastly, the taste test is crucial. We delight in exploring different brands, searching for that ideal balance of flavor and consistency that aligns perfectly with our unique preferences.
Room Temperature Butter for Easy Spreading

We found that softening the butter at room temperature is crucial for easy spreading. By allowing the butter to sit out or using methods such as cutting it into small cubes or grating it, we can achieve the perfect consistency for spreading.
Once the butter is soft, using a spreader and applying an even layer will ensure a smooth and enjoyable peanut butter experience.
Softening the Butter
Gradually allow the butter to sit at room temperature until it softens, making it easier to spread on your sandwich. Here are a few tips for softening butter effectively:
- Take the butter out of the refrigerator and let it sit at room temperature.
- Consider cutting the butter into small pieces to speed up the softening process.
- Softened butter should be easily spreadable, ensuring a smooth and even layer when you spread the peanut butter onto your bread.
Avoid microwaving the butter to soften it, as this may result in uneven melting and affect the spreading consistency.
- Store any leftover softened butter in an airtight container in the refrigerator to maintain its softness for the next time you need to spread the peanut butter using a butter knife.
Using a Spreader
Using a wide, flat butter spreader makes it easier to evenly coat bread slices with room temperature butter for smooth and effortless spreading.
When we spread room temperature butter using a spreader, it ensures that the peanut butter or other toppings will adhere evenly to the bread, preventing any clumping or tearing.
Gently applying pressure while using the spreader helps to create a consistent layer of butter, making the entire process a breeze.
Starting from the center and working our way to the edges with the spreader ensures that the butter is evenly distributed without causing any damage to the bread.
After each use, cleaning the butter spreader is essential for maintaining its effectiveness and preventing any cross-contamination.
Using a spreader truly elevates the sandwich-making experience, ensuring a perfectly spread layer of butter for our delightful peanut butter sandwich.
Applying Even Layer
After mastering the art of using a spreader for applying room temperature butter, we can now focus on achieving an even layer for easy spreading. To ensure a perfectly even layer of peanut butter or jelly on your bread, follow these steps:
- Allow the room temperature butter to soften for easier spreading.
- Use a butter knife to evenly spread the room temperature butter across the entire surface of the bread.
- Apply gentle, even pressure with the butter knife while spreading to create an even layer.
- Start from the center and work towards the edges to ensure an even spread of butter.
- Be mindful of the amount of pressure applied to prevent tearing the bread when spreading the room temperature butter.
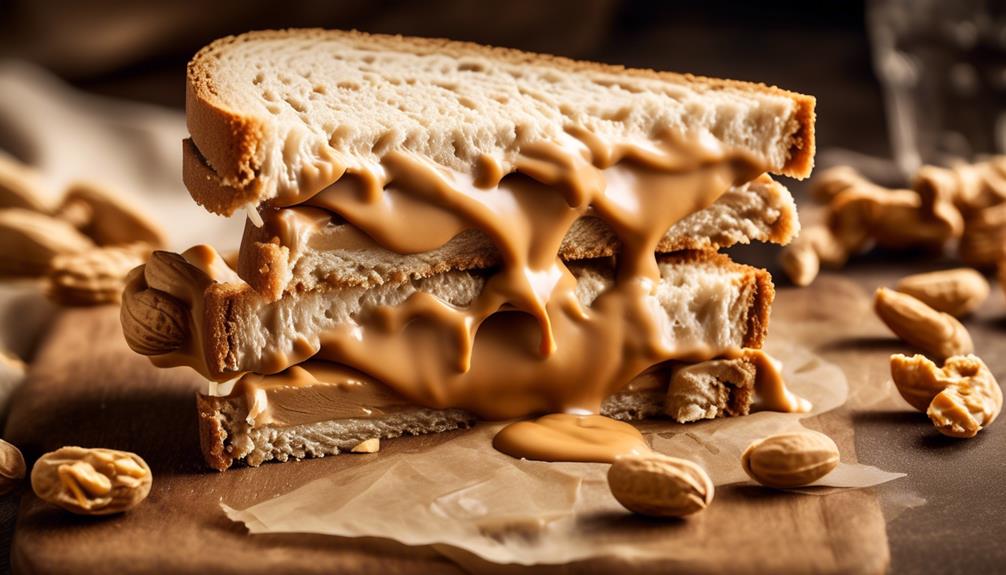
Spreading Techniques for Even Coverage

To achieve an even coverage of peanut butter on a sandwich, use a butter knife to spread the peanut butter in a thin, even layer across the entire slice of bread. Applying gentle and consistent pressure while spreading the peanut butter ensures an even coverage without tearing the bread.
It's important to start from the center and work outwards to the edges to evenly distribute the peanut butter on the bread. If you want an even smoother spread, consider warming the peanut butter slightly to make it easier to work with and spread more evenly.
Another technique to achieve a perfectly even layer of peanut butter on the bread slice is to use a spatula or offset spatula. These tools allow for more control and precision, ensuring that the peanut butter is spread evenly and consistently.
Knife Vs. Spoon: Which Is Better?

When it comes to spreading peanut butter on a sandwich, the choice between using a knife or a spoon can significantly impact the outcome of the spread.
We've found that using a knife offers precise control over the thickness of the spread, making it perfect for those who like their peanut butter just so.
On the other hand, a spoon provides a simpler, mess-free alternative, making the process quick and convenient, especially for a classic PB & J sandwich.
If you're whipping up a grilled peanut butter and cheese sandwich, a knife ensures even distribution and coverage, while a spoon offers a speedy solution.
Ultimately, the best method depends on personal preference and the specific sandwich being prepared, so we encourage you to experiment with both to find what works best for you.
Peanut butter spread is an art, and the choice between knife and spoon is a personal one, so go ahead and find your perfect spread!
Avoiding Torn Bread

Gently spreading peanut butter on a soft, fresh loaf of bread is key to avoiding torn bread when making a peanut butter sandwich. We want to ensure that our sandwich is a delightful experience from the first bite to the last, and torn bread can really put a damper on that. So, when it comes to spreading the peanut butter, we need to do so with a light touch, using a gentle, spreading motion with the knife. This helps to evenly distribute the peanut butter without pressing too hard and potentially tearing the bread.
It's also important to select the right kind of bread. A soft and fresh loaf will make spreading the peanut butter much easier and reduce the risk of tearing. If the bread tears easily, consider toasting it lightly before spreading the peanut butter. This will provide a sturdier surface for spreading, making the process smoother and less likely to result in torn bread.
Layering Peanut Butter With Other Ingredients

When it comes to layering peanut butter with other ingredients, we love adding a dollop of jelly for a burst of fruity flavor.
Sliced bananas also bring a creamy texture and natural sweetness to the mix.
And for a hint of warmth and spice, try sprinkling a dash of cinnamon on top before sealing the sandwich.
Adding Jelly for Flavor
To enhance the flavor of the peanut butter, consider layering it with a complementary jelly or jam to create a delicious and satisfying sandwich. When adding jelly for flavor, follow these simple steps for a perfect combination:
- Layer the peanut butter evenly on one slice of bread.
- Spread jelly or jam evenly on the other slice of bread.
- Carefully join the two slices together with the peanut butter and jelly facing inwards.
- Gently press the slices together to ensure the layers are secure.
- No cooking or baking is required for this method.
Using Sliced Bananas
How do sliced bananas enhance the flavor profile when layered with peanut butter in a sandwich? When combined with peanut butter, sliced bananas add a delightful sweetness and creamy texture to every bite. The bananas complement the nutty richness of the peanut butter, creating a harmonious blend of flavors. Here's a simple guide to layering peanut butter and bananas in a sandwich:
| Step | Instructions |
|---|---|
| 1. | Slice the bananas thinly and evenly. |
| 2. | Spread peanut butter evenly on one slice of bread. |
| 3. | Layer the banana slices on top of the peanut butter. |
| 4. | Add a second layer of peanut butter on top of the bananas. |
Sprinkling With Cinnamon
Layering peanut butter with other ingredients, such as sprinkling with cinnamon, allows for a creative exploration of flavor combinations and textures, adding depth and complexity to the sandwich experience.
When we make a peanut butter sandwich, we can spread a generous layer of creamy peanut butter on one slice of bread and then sprinkle it with a dash of aromatic cinnamon. The warm, earthy notes of cinnamon complement the nuttiness of the peanut butter, creating a comforting and indulgent flavor profile.
The subtle spiciness of the cinnamon adds an intriguing twist to the classic peanut butter sandwich. This unconventional combination tantalizes the taste buds and transforms a simple sandwich into a delightful treat.
Fun Variations for Peanut Butter Sandwiches

For a delightful twist on the classic peanut butter sandwich, consider adding melted cheese and sweet peanut butter for a gooey and savory treat. It's a unique combination that brings out the rich flavors of the cheese and the sweetness of the peanut butter. Another fun variation is customizing your sandwich with optional ingredients like crispy bacon or slices of ripe banana. The addition of these ingredients creates a flavor experience that is both unexpected and delicious.
Here are some fun variations to try with your peanut butter sandwiches:
| Fun Variations | Description |
|---|---|
| Almond Butter Twist | Substitute traditional peanut butter with almond butter for a different taste. |
| Nutella Surprise | Swap out jelly for Nutella to create a sweet and chocolatey sandwich. |
| Crispy Fried Option | Spread butter on the outer sides and fry the sandwich in a skillet for a crispy and gooey delight. |
| Creative Shapes | Cut your sandwich into small triangles or use a pastry press for a fun presentation. |
These variations offer a delightful way to elevate your Peanut Butter and Jelly Sandwich experience, allowing you to experiment and enjoy new flavors and textures.
Alternative Spreads for Peanut Allergies

When dealing with peanut allergies, exploring alternative spreads such as almond butter, sunflower seed butter, or soy nut butter can provide a peanut-free option for creating delicious and safe sandwiches. These spreads offer a variety of flavors and textures, allowing for a unique and allergen-friendly Peanut Butter and Jelly Sandwich.
Consider trying spreads made from pumpkin seeds, sesame seeds, or other seeds to create a one-of-a-kind sandwich experience. Additionally, experimenting with hummus or avocado spread can provide a savory and nutritious substitute for peanut butter, adding a delightful twist to your sandwich.
For an innovative alternative to traditional nut butters, look for spreads made from coconut, oats, or pea protein. These options not only cater to those with peanut allergies but also offer a fresh and exciting take on sandwich spreads.
Lastly, consider using apple or pumpkin butter for a sweet and flavorful alternative to peanut butter that adds a delightful taste to your sandwich.
Storing and Preserving Peanut Butter Sandwiches

To maintain the freshness of peanut butter sandwiches, tightly wrap them in plastic or aluminum foil before storing. It's essential to prevent air exposure, so store the wrapped sandwiches in an airtight container or resealable bag. If you're making sandwiches in advance, adding a layer of jelly or jam between the peanut butter and bread can prevent sogginess. For longer preservation, consider freezing the wrapped sandwiches and thawing them as needed for a convenient grab-and-go option. It's also important to refrigerate the sandwiches if they contain perishable ingredients such as cheese or bacon to prevent spoilage. Here's a helpful table summarizing the best practices for storing and preserving peanut butter sandwiches:
| Storing and Preserving Peanut Butter Sandwiches |
|---|
| Tightly wrap sandwiches in plastic or aluminum foil |
| Store in an airtight container or resealable bag |
| Consider using jelly or jam to prevent sogginess |
| Freeze wrapped sandwiches for longer preservation |
| Refrigerate sandwiches with perishable ingredients |
These tips will ensure that your Peanut Butter and Jelly Sandwiches stay fresh and delicious for whenever you're ready to enjoy them.
Frequently Asked Questions
How Do You Spread Peanut Butter on Bread Easily?
Spreading peanut butter on bread easily is a game-changer. We've found that warming the peanut butter slightly makes it smoother for spreading.
Also, using a butter knife with a slightly serrated edge can help in spreading it evenly.
And if the peanut butter is too thick, mixing in a bit of oil can make it easier to spread.
These little tricks make the process a breeze!
How Do You Spread Peanut Butter on One Slice of Bread?
When spreading peanut butter on one slice of bread, we've found that it's all about using a gentle touch. You want to approach it like painting a delicate masterpiece, smoothly gliding the knife across the bread to achieve an even spread.
It's important to be patient and take your time, focusing on creating a perfectly smooth layer of peanut butter for the ultimate sandwich experience.
How Can I Make Peanut Butter Easier to Spread?
To make peanut butter easier to spread, we warm it in the microwave for a few seconds. This softens it up and makes it more spreadable.
We also suggest stirring the peanut butter beforehand to make it smoother and easier to spread.
Using a butter knife or the back of a spoon helps to spread it evenly on the bread.
This method ensures a more enjoyable and mess-free peanut butter sandwich experience.
Do You Spread the Peanut Butter or the Jelly First?
We usually spread the peanut butter first, then the jelly. It's like painting a masterpiece, with the creamy peanut butter as our canvas and the sweet jelly as the finishing touch. It just feels right to have that smooth, nutty base before adding the fruity sweetness.
Plus, it helps prevent the jelly from making the bread soggy. But hey, there's no one-size-fits-all approach to sandwich making – it's all about personal preference!
Conclusion
So, next time you're craving a delicious peanut butter sandwich, just remember to choose the right spread, use room temperature butter for easy spreading, and layer it with your favorite ingredients.
Whether you're a knife or spoon person, there's no wrong way to enjoy this classic treat.
And if you have a peanut allergy, don't worry – there are plenty of alternative spreads to try.
Happy sandwich making!