I love making clarified butter; it pairs perfectly with many different dishes. In this article, I will show you how to make this rich and tasty condiment that will enhance your dining experience.
We’ll explore the benefits of drawn butter, the ingredients you’ll need, and a step-by-step guide to making it.
Plus, I’ll share some tips for a perfect batch and ideas for variations and flavors.
Get ready to elevate your culinary game with homemade drawn butter!
Key Takeaways
- Drawn butter is easier to digest than regular butter and has a smoother texture and more refined taste.
- It has a higher smoke point, making it suitable for cooking at higher temperatures.
- Drawn butter is a lactose-free alternative for individuals with lactose intolerance and is also known as clarified butter.
- Ghee and coconut oil can be used as alternatives to unsalted butter, offering health benefits and a rich flavor.
Benefits of Drawn Butter
One of the benefits of drawn butter is that it is easier to digest than regular butter. When butter is clarified, it undergoes a process that removes impurities and solids, leaving behind pure butterfat. This results in a smoother texture and a more refined taste.
Drawn butter also has a higher smoke point, making it ideal for cooking at higher temperatures without burning. Additionally, clarified butter contains a higher concentration of healthy fats compared to regular butter. These fats are essential for the body’s energy production and nutrient absorption.
Furthermore, drawn butter is lactose-free, making it a suitable alternative for individuals with lactose intolerance. Its rich flavor and versatility make it a favorite among chefs and home cooks alike.
Ingredients Needed for Drawn Butter
When it comes to melting butter, there’s more to it than just throwing a stick in a pan. In this discussion, I’ll walk you through the butter melting process, from the perfect temperature to achieve that smooth, velvety consistency, to the clarification of ingredients that can affect the final result.
But if you’re looking for some alternative options to traditional butter, fear not – I’ll also be exploring some delicious alternatives that can be used in your cooking and baking endeavors.
Butter Melting Process
To melt the butter, you’ll want to start by heating a small saucepan on low heat. Here are some techniques for melting butter and alternative uses for it:
-
Stovetop method: Place the butter in the saucepan and let it slowly melt over low heat. Stir occasionally to ensure even melting.
-
Microwave method: Cut the butter into small pieces and place them in a microwave-safe bowl. Heat in short intervals, stirring in between, until the butter is completely melted.
-
Double boiler method: Fill a saucepan with water and bring it to a simmer. Place a heatproof bowl on top, ensuring it doesn’t touch the water. Add the butter to the bowl and let it melt slowly.
-
Alternative uses: Melted butter can be used for various purposes, such as making sauces, drizzling over popcorn, or adding richness to baked goods.
Now that we know how to melt butter, let’s move on to clarifying the ingredients for drawn butter.
Clarification of Ingredients
Now that you’ve learned about melting butter, let’s clarify the ingredients needed for drawn butter.
Drawn butter, also known as clarified butter, has numerous benefits that make it a popular choice for many dishes. The first and most obvious benefit is its rich and nutty flavor, which adds a delightful taste to seafood, vegetables, and even popcorn.
Another advantage of drawn butter is its higher smoke point compared to regular butter, making it ideal for high-heat cooking methods like sautéing or frying.
As for the ingredients, you only need unsalted butter. However, if you’re looking for alternative options, ghee and coconut oil can be used as substitutes. These alternatives offer their own unique flavors and health benefits, making them excellent choices for those with dietary restrictions or preferences.
Alternative Butter Options
If you’re looking for different options, ghee and coconut oil are both great alternatives to regular butter. Here are four reasons why they make a fantastic choice:
-
Vegan Butter Alternatives: Both ghee and coconut oil are plant-based and free from animal products, making them suitable for those following a vegan lifestyle.
-
Health Benefits of Ghee: Ghee, a clarified butter commonly used in Indian cuisine, offers several health benefits. It is rich in healthy fats, vitamins A, E, and K, and has anti-inflammatory properties.
-
Versatility: Ghee and coconut oil can be used in various recipes, from sautéing vegetables to baking cookies. They add a delicious flavor and creamy texture to your dishes.
-
Dairy Intolerance: If you have a dairy intolerance or are lactose intolerant, ghee and coconut oil are excellent alternatives as they do not contain lactose or milk solids.
Now that you know the benefits of these butter alternatives, let’s move on to a step-by-step guide to making drawn butter.
Step-by-Step Guide to Making Drawn Butter
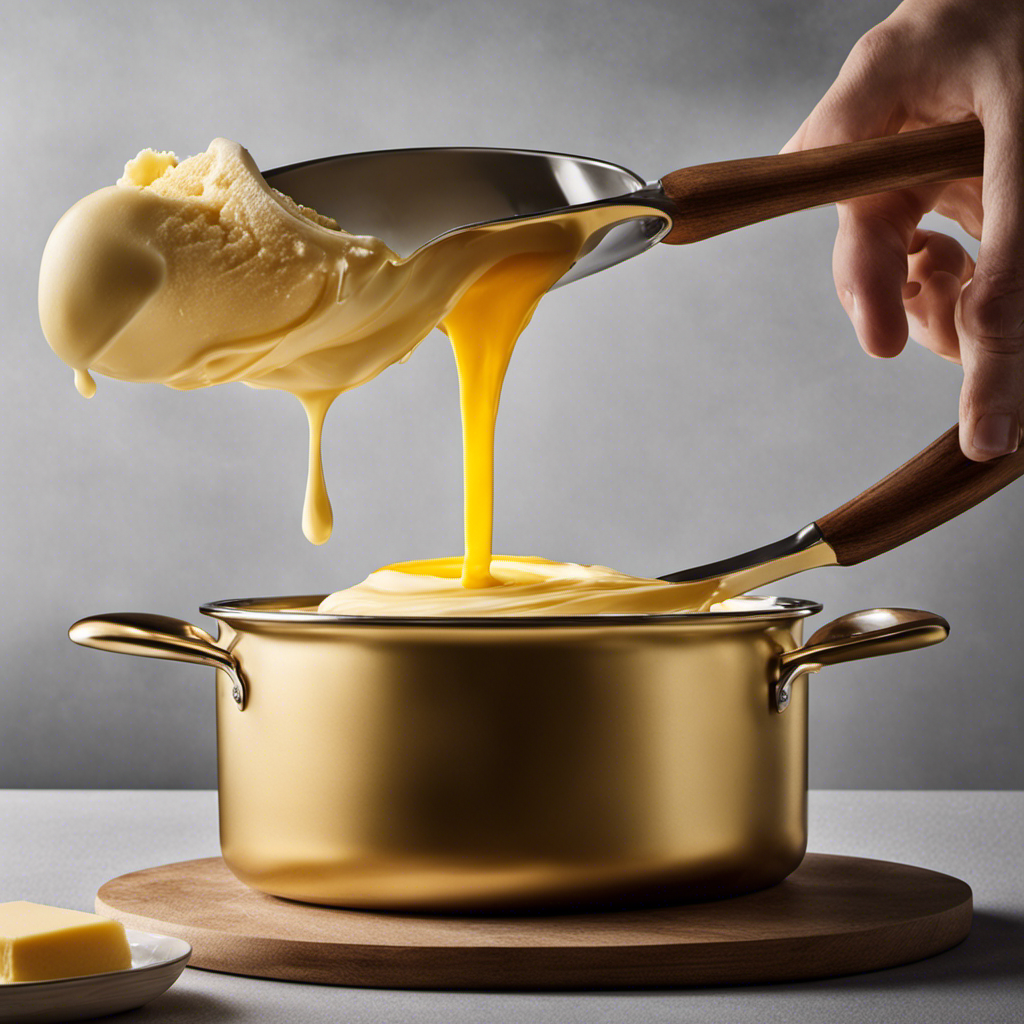
Start by melting the butter slowly over low heat. As the butter begins to melt, you’ll notice a layer of foam forming on the top. This is the impurities and water separating from the butterfat.
Let the butter continue to melt until the foam subsides and you can see a clear, golden liquid underneath. This process is known as clarifying butter. Once the butter is clarified, you have drawn butter, which can be used in a variety of ways.
Some popular uses for drawn butter include drizzling it over seafood dishes like lobster or crab, using it as a dip for steamed artichokes, or even as a base for sauces and dressings. The rich, nutty flavor of drawn butter adds a delightful touch to any dish.
Tips for a Perfect Batch of Drawn Butter
To ensure a perfect batch of drawn butter, it’s important to melt the butter slowly over low heat. Here are some tips to help you achieve buttery perfection:
-
Different types of butter suitable for drawing: Choose unsalted butter for a clean, pure flavor. European-style butter with a higher fat content also works well.
-
Common mistakes to avoid when making drawn butter: Don’t rush the melting process – low and slow is key. Avoid using salted butter, as it can result in a salty and overpowering taste. Be careful not to burn the butter by maintaining a low heat.
-
Use a heavy-bottomed saucepan to distribute heat evenly and prevent scorching.
-
Stir occasionally to ensure even melting and prevent the butter from sticking to the pan.
Variations and Flavors for Drawn Butter
Now let’s delve into the different ways to add flavor and variety to your batch of drawn butter.
While plain drawn butter is delicious on its own, there are several variations and flavors that you can experiment with to elevate your buttery creation.
One option is to add herbs such as dill, thyme, or parsley to infuse the butter with a fresh and aromatic taste. For a hint of spice, you can incorporate crushed red pepper flakes or minced garlic. If you’re feeling adventurous, try mixing in a splash of lemon juice or a dash of Worcestershire sauce for a tangy twist. These variations will not only enhance the flavor of your drawn butter but also provide a unique and exciting dining experience.
Now, let’s move on to explore some serving suggestions for your delectable drawn butter.
Serving Suggestions for Drawn Butter
For a delightful twist, try drizzling your flavorful drawn butter over grilled lobster tails or steamed crab legs. Here are some serving ideas and pairing suggestions to make the most of your delicious drawn butter:
-
Grilled Shrimp: Dip succulent grilled shrimp into the warm, velvety drawn butter for a taste explosion.
-
Roasted Vegetables: Drizzle the rich butter over roasted asparagus, Brussels sprouts, or sweet potatoes for an indulgent side dish.
-
Garlic Bread: Brush slices of crusty bread with melted drawn butter and toast until golden brown for a mouthwatering accompaniment to any meal.
-
Grilled Steak: Add a dollop of drawn butter to a perfectly cooked steak to elevate its flavors and create a luxurious dining experience.
Now that you know how to serve your drawn butter, let’s move on to the next topic: storing and reheating this delectable condiment.
Storing and Reheating Drawn Butter
When it comes to storing butter, there are a few options to consider. From keeping it in the fridge to freezing it for long-term storage, each method has its own advantages and disadvantages.
Additionally, reheating butter can be a tricky task, as you want to avoid burning or overheating it.
In this discussion, I will explore the various storage options for butter, the best methods for reheating it, and the overall best practices for preserving its freshness and flavor.
Storage Options for Butter
You can store drawn butter in a sealed container in the refrigerator. Proper butter storage is important to maintain its freshness and flavor. Here are some useful tips for storing butter:
-
Use an airtight container: To prevent the butter from absorbing odors and flavors from other foods in the fridge, store it in a sealed container.
-
Keep it away from strong-smelling foods: Butter easily absorbs odors, so it’s best to keep it away from strong-smelling foods like onions or garlic.
-
Store in the coldest part of the fridge: Butter should be stored in the coldest part of the refrigerator, typically the back of the top shelf or the dairy compartment.
-
Check the expiration date: Make sure to regularly check the expiration date on the butter packaging and use it before it goes bad.
Reheating Methods for Butter
To reheat butter, simply microwave it in short intervals, stirring in between, until it reaches the desired consistency. This is one of the easiest reheating techniques for butter, as it allows for precise temperature control.
Start by placing the desired amount of butter in a microwave-safe bowl. Set the microwave to low or medium heat, and heat the butter in 15-second intervals. After each interval, take the bowl out and stir the butter to distribute the heat evenly.
Continue this process until the butter has melted and reached the desired consistency. Be careful not to overheat the butter, as it can easily burn and become unusable.
With this simple method, you can easily reheat butter without losing its rich flavor and smooth texture.
Best Practices for Preservation
When it comes to preserving butter and preventing spoilage, there are a few key techniques that I’ve found to be highly effective. Here are some best practices for preserving your butter:
-
Store it properly: Keep your butter in an airtight container or wrap it tightly in plastic wrap to prevent exposure to air and moisture.
-
Keep it cool: Butter is best stored in the refrigerator to maintain its freshness and prevent spoilage. Avoid keeping it at room temperature for extended periods.
-
Use salted butter: Salt acts as a natural preservative, helping to prolong the shelf life of your butter.
-
Freeze it: If you have excess butter that you won’t be using in the near future, consider freezing it. Just make sure to wrap it tightly to prevent freezer burn.
Frequently Asked Questions
Can You Use Margarine Instead of Butter to Make Drawn Butter?
Sure, you can use margarine instead of butter to make drawn butter. However, keep in mind that butter has more flavor and richness. Drawn butter, regardless of the fat used, can provide a good source of healthy fats when consumed in moderation.
Can You Use Salted Butter to Make Drawn Butter?
Using unsalted butter for drawn butter is ideal as it allows for better control of the saltiness. Clarified butter, made by removing the milk solids, is perfect for cooking as it has a higher smoke point and imparts a rich flavor.
How Long Can Drawn Butter Be Stored in the Refrigerator?
Drawn butter can be stored in the refrigerator for up to two weeks. To extend its shelf life, you can also freeze it in an airtight container. Thaw it in the fridge before using.
Can You Freeze Drawn Butter for Later Use?
Yes, you can freeze drawn butter for later use. Freezing helps extend its shelf life and maintain its flavor. When storing drawn butter, make sure to use airtight containers or freezer bags to prevent freezer burn.
Can You Reheat Drawn Butter in the Microwave?
Yes, you can reheat drawn butter in the microwave. To do so, place it in a microwave-safe dish and heat it in short intervals, stirring in between, until warm and melted. Remember to follow microwave safety guidelines.
Conclusion
In conclusion, making drawn butter is a simple yet delicious way to enhance your dining experience.
By slowly melting butter and removing the milk solids, you are left with a smooth and flavorful sauce that can elevate any dish.
Whether you’re enjoying it with lobster, crab, or simply drizzling it over vegetables, drawn butter adds a rich and indulgent touch.
So why not give it a try? Your taste buds will thank you for this happy coincidence of buttery goodness.


