As someone who loves butter, I’ve always been curious about how to determine if my favorite spread has expired.
Did you know that according to the United States Department of Agriculture, Americans consume an average of 5.6 pounds of butter per year? With such a high demand for this creamy delight, it’s essential to know the signs of spoiled butter.
In this article, I will explore the various indicators, such as appearance, smell, texture, taste, expiration date, storage conditions, and the presence of mold or discoloration, to help you determine when your butter has gone bad.
Key Takeaways
- Signs of spoilage in butter include discolored appearance, greasy or oily texture, foul or unpleasant odor, and mold or discoloration.
- Consuming spoiled or rancid butter can pose health risks, including food poisoning and gastrointestinal issues.
- Proper storage in an airtight container or tightly wrapped in its original packaging, refrigeration at a temperature below 40°F (4°C), and avoiding fluctuating temperatures can help prevent spoilage.
- Checking the expiration date is important to ensure optimal taste and quality, and consuming butter before the expiration date is recommended.
Beurre D’Isigny AOP Unsalted French Butter - 8.8 oz / 250 g - GUARANTEED OVERNIGHT
- Origin: Made in Isigny, France since 16th century
- Type: Unsalted cow's milk butter
- Production: Made from traditional slow-matured creams
As an affiliate, we earn on qualifying purchases.
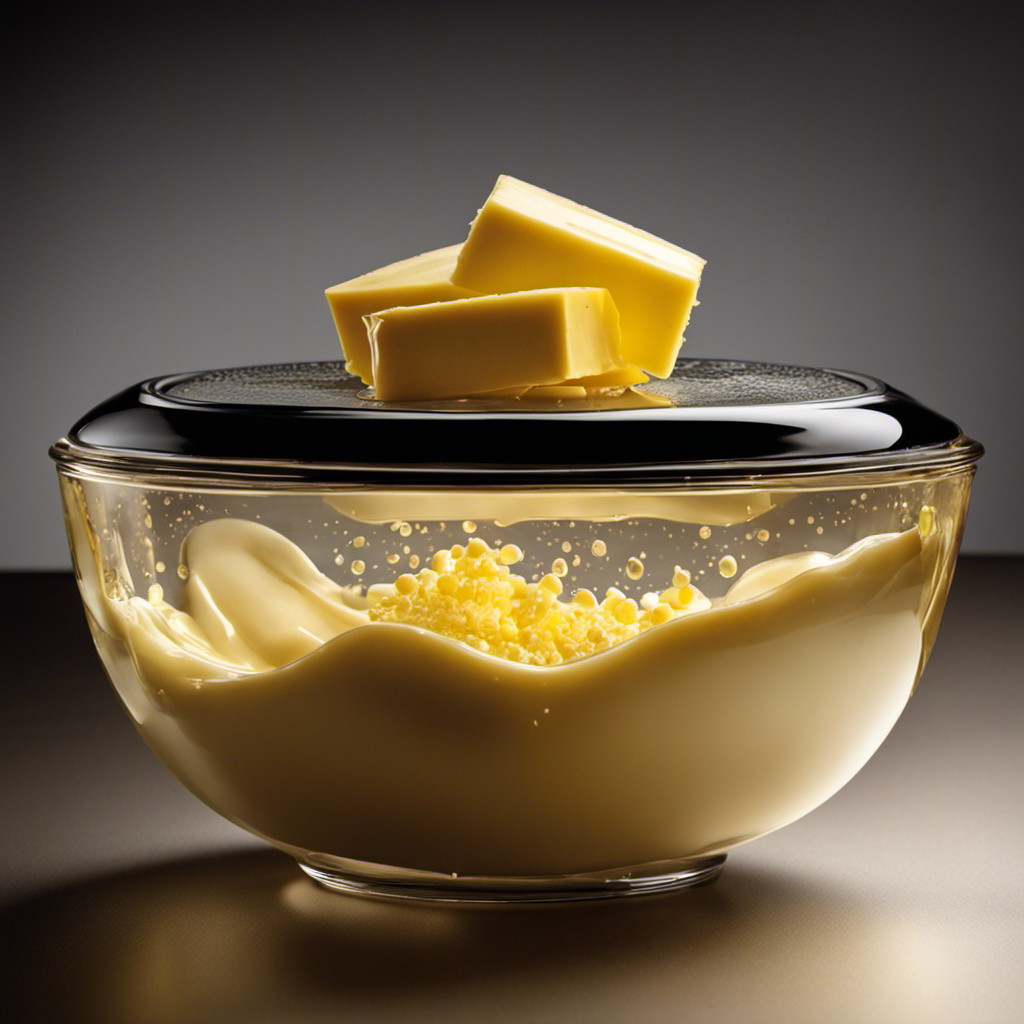
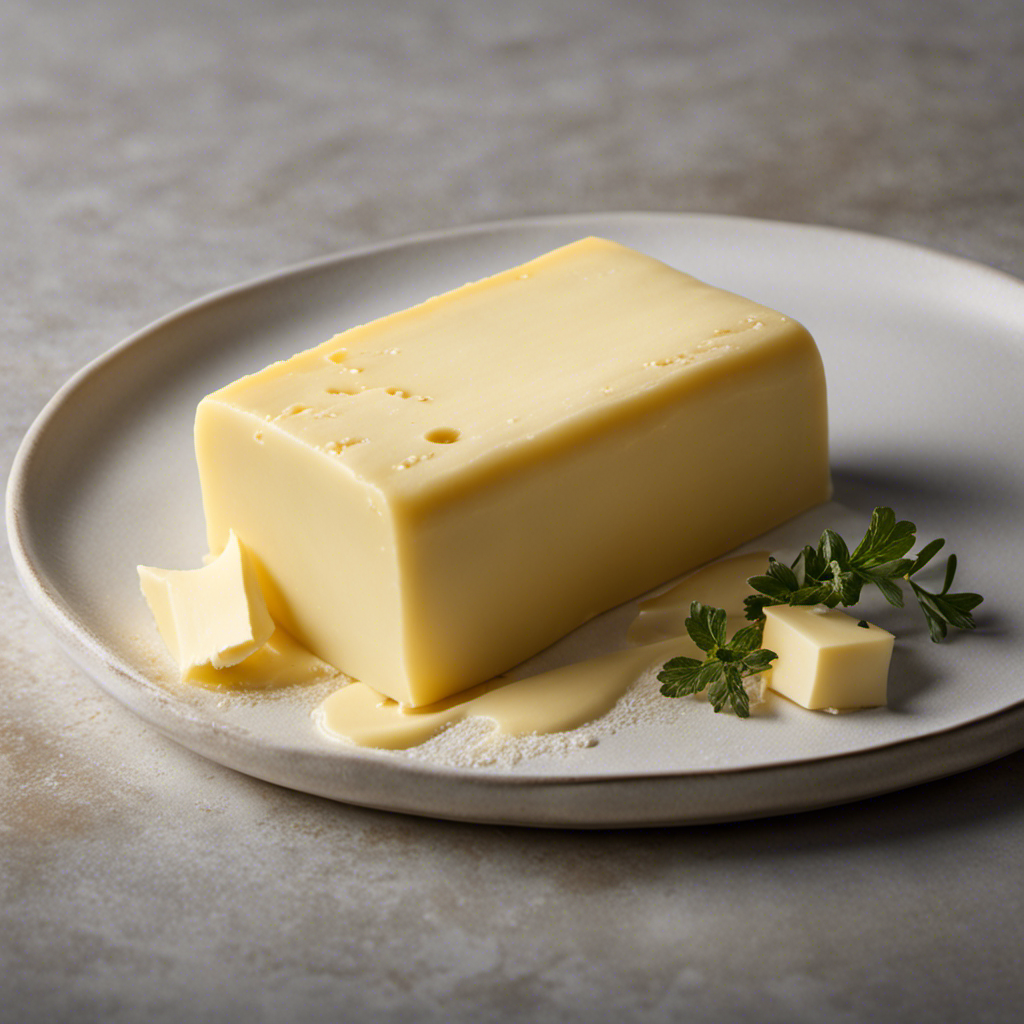
Appearance
When butter is bad, it will have a discolored appearance. Instead of its usual creamy yellow color, it may appear to be pale or even white. The texture may also be affected, becoming greasy or oily. You might notice that the butter feels slimy or has an unpleasant texture when you touch it. This change in appearance and texture is a clear indicator that the butter has gone bad.
It is important to note that butter should not be consumed if it has an off appearance and texture, as it can lead to foodborne illnesses.
Now that we have discussed the appearance and texture of bad butter, let’s move on to the next indicator: smell.
Smell
When it comes to determining if butter is bad, one of the key indicators is its smell. Rancid butter has a distinct odor that is often described as foul or unpleasant.
This smell is an indication that the butter has gone bad and should not be consumed.
Rancid Butter Odor
To determine if your butter is bad, simply give it a sniff for any foul or rancid odor. Rancid butter has a distinct smell that is often described as sour or acidic. When butter goes bad, it undergoes a process called oxidation, which results in the breakdown of fats and the release of volatile compounds that contribute to the unpleasant odor. Additionally, spoiled butter may also have a yellow or brown color, indicating that it has started to spoil. It is important to note that even if butter has a rancid odor, it may not necessarily be harmful to consume, but it will certainly have an off-putting taste. Therefore, it is best to discard any butter that exhibits signs of spoiling to avoid any potential foodborne illnesses.
| Signs of Spoiled Butter |
|---|
| Foul or rancid odor |
| Yellow or brown color |
| Off-putting taste |
Foul Smell Indication
If you notice a foul smell coming from your butter, it’s a clear indication that it has gone bad. Proper butter storage is essential to prevent spoilage and maintain its freshness. To keep your butter fresh, store it in an airtight container in the refrigerator.
The common causes of butter spoilage include exposure to air, heat, and light. Oxygen can cause the fats in butter to oxidize, resulting in a rancid smell and taste. Heat and light can also accelerate the spoilage process. To extend the shelf life of your butter, keep it away from direct sunlight and heat sources.
Now that we have discussed the foul smell indication of spoiled butter, let’s move on to the next section and explore the changes in texture.
Texture
When it comes to determining the quality of butter, there are several key points to consider:
- Smooth or grainy texture
- Rancid smell or taste
- Presence of mold or discoloration
The texture of butter can vary depending on factors such as temperature and storage conditions, but in general, fresh butter should have a smooth and creamy consistency. If the butter feels grainy or has a gritty texture, it may be a sign that it is no longer fresh.
Additionally, a rancid smell or taste can indicate that the butter has gone bad, as the fats in the butter can oxidize over time, leading to an unpleasant odor and flavor.
Smooth or Grainy
You can tell if your butter is smooth or grainy by feeling the texture between your fingers. Smooth butter will have a creamy consistency, while grainy butter will feel gritty.
The difference in texture can be attributed to the composition of the butter. Smooth butter is the result of proper churning and emulsification, which evenly distributes the fat molecules throughout the product. On the other hand, grainy butter is often caused by inadequate churning or improper storage conditions.
When butter is not churned thoroughly, fat globules may clump together, resulting in a lumpy or gritty texture. Additionally, exposure to air and moisture can cause butter to become grainy over time.
It is important to store butter in an airtight container in the refrigerator to maintain its smooth and creamy texture.
Rancid Smell/Taste
The rancid smell and taste of butter can indicate that it has spoiled. When butter goes bad, it undergoes a process called oxidation, which results in the production of unpleasant odors and flavors.
The primary cause of rancidity in butter is the breakdown of its fatty acids. Exposure to light, air, and heat accelerates this process.
Consuming rancid butter can pose health risks. Rancidity is an indication that the butter has undergone chemical changes, leading to the formation of potentially harmful compounds. These compounds may cause digestive issues, such as stomach discomfort and diarrhea.
Additionally, consuming rancid butter may increase the intake of free radicals, which can contribute to oxidative stress and inflammation in the body.
Therefore, it is crucial to discard any butter that exhibits a rancid smell or taste to avoid potential health problems.
Mold or Discoloration?
If butter exhibits mold or discoloration, it’s important to promptly discard it. Mold on butter can be harmful and can cause foodborne illnesses.
Here are three tips for mold prevention and proper butter storage:
-
Keep butter in a cool and dry place: Moisture promotes mold growth, so it’s essential to store butter in a cool and dry environment. Avoid leaving it exposed to direct sunlight or near sources of heat.
-
Use a clean utensil: When scooping butter from the container, make sure to use a clean utensil. This prevents cross-contamination and the introduction of any mold spores.
-
Keep butter covered: Properly cover the butter container to protect it from any external contaminants. A lid or plastic wrap can help maintain its freshness and prevent mold growth.
Taste
When butter is bad, it’ll taste rancid and have a sour flavor. These off-flavors are indicators of spoilage and should not be ignored.
Butter quality is crucial for both taste and safety. Spoiled butter can result from improper storage or contamination with bacteria. As butter ages, its fat breaks down, releasing fatty acids that contribute to the rancid taste. Moreover, bacteria can multiply and produce compounds that give butter a sour taste.
It is important to note that butter should have a mild, creamy flavor. If you detect any unpleasant or off-putting taste, it is best to discard the butter to avoid any health risks. Trusting your taste buds is an effective way to assess butter quality and identify potential signs of spoilage.
Expiration Date
Properly stored butter will remain fresh and flavorful until the expiration date. However, it is important to understand the shelf life of butter and the signs of spoilage to ensure its quality.
Here are three key points to consider:
-
Shelf life: Butter typically has a shelf life of about one to three months when refrigerated. It’s best to check the packaging for the specific expiration date and consume it before that date to enjoy its optimal taste and quality.
-
Signs of spoilage: When butter starts to spoil, it may develop an off odor or a rancid smell. The texture can also change, becoming greasy or grainy. Additionally, mold or discoloration may appear on the surface. If you notice any of these signs, it’s best to discard the butter to avoid any potential health risks.
-
Proper storage: To extend the shelf life of butter, it should be stored in an airtight container or wrapped tightly in its original packaging. It should be kept in the refrigerator at a temperature below 40°F (4°C) to maintain its freshness.
Storage Conditions
To maintain freshness, store your butter in an airtight container or wrap it tightly in its original packaging. This will protect it from absorbing odors and prevent it from spoiling quickly. Proper temperature and optimal humidity are also crucial for butter storage. Butter should be kept in the refrigerator at a temperature between 32-40°F (0-4°C) to slow down bacterial growth and maintain its quality. Additionally, optimal humidity levels of around 80-85% can help prevent the butter from drying out or becoming too soft. It is important to avoid exposing the butter to fluctuating temperatures, as this can cause condensation and promote the growth of bacteria. By following these storage conditions, you can ensure that your butter stays fresh and safe to consume for a longer period.
| Temperature | Humidity | Storage |
|---|---|---|
| 32-40°F (0-4°C) | 80-85% | Refrigerator |
Mold or Discoloration
Storing your butter in an airtight container or wrapping it tightly in its original packaging will help prevent mold or discoloration. However, if you notice any signs of spoilage, it’s important to know when your butter has gone bad.
Here are three indicators to watch out for:
-
Off smell: If your butter has a rancid or sour smell, it’s a clear sign of spoilage. This odor is caused by the breakdown of fats in the butter.
-
Change in texture: Spoiled butter may become excessively greasy or develop a slimy texture. It may also become grainy or crumbly, indicating that the fat has started to oxidize.
-
Unpleasant taste: Butter that has gone bad will have a noticeable off taste. It may taste sour, bitter, or overly salty.
Consuming spoiled butter can pose health risks, including food poisoning and gastrointestinal issues. So, if you notice any of these signs, it’s best to discard the butter to avoid any potential risk.
Frequently Asked Questions
Can You Eat Butter if It Has a Slightly off Smell but Looks Fine?
Yes, you can eat butter if it smells slightly off but looks fine. However, it’s important to note that a slightly off smell could be a sign of rancid butter, which may cause foodborne illness.
How Long Can Butter Stay Fresh in the Refrigerator After Its Expiration Date?
Butter can stay fresh in the refrigerator for 1-2 weeks after its expiration date if stored properly. To extend its shelf life, keep it tightly sealed and away from strong odors. Expired butter can be used for baking or as a moisturizer.
Is It Safe to Consume Butter With Small Specks of Mold on It?
Moldy butter is not safe to eat. Consuming it can lead to potential health risks such as food poisoning. To prevent butter from going bad, store it in the refrigerator at the recommended temperature.
Can Butter Be Stored Outside the Refrigerator in Hot Climates?
Living in a hot climate, I’ve found that storing butter in a cool pantry is a smart move. I use special butter storage containers to keep it fresh and prevent spoilage.
What Are the Potential Health Risks of Eating Rancid Butter?
Eating rancid butter can pose potential dangers and health implications. The consumption of spoiled butter may lead to food poisoning, gastrointestinal discomfort, and an increased risk of bacterial infections. It is crucial to ensure butter is fresh and properly stored.
Conclusion
In conclusion, it’s crucial to rely on our senses when determining if butter has gone bad. By observing its appearance, smelling any off odors, feeling for any unusual textures, and tasting for any rancid flavors, we can make an informed decision.
Additionally, checking the expiration date and ensuring proper storage conditions are maintained contribute to maintaining the quality of butter.
Remember, just like a sharp knife, our senses can slice through any doubts and provide us with the necessary information to keep our butter fresh and safe.