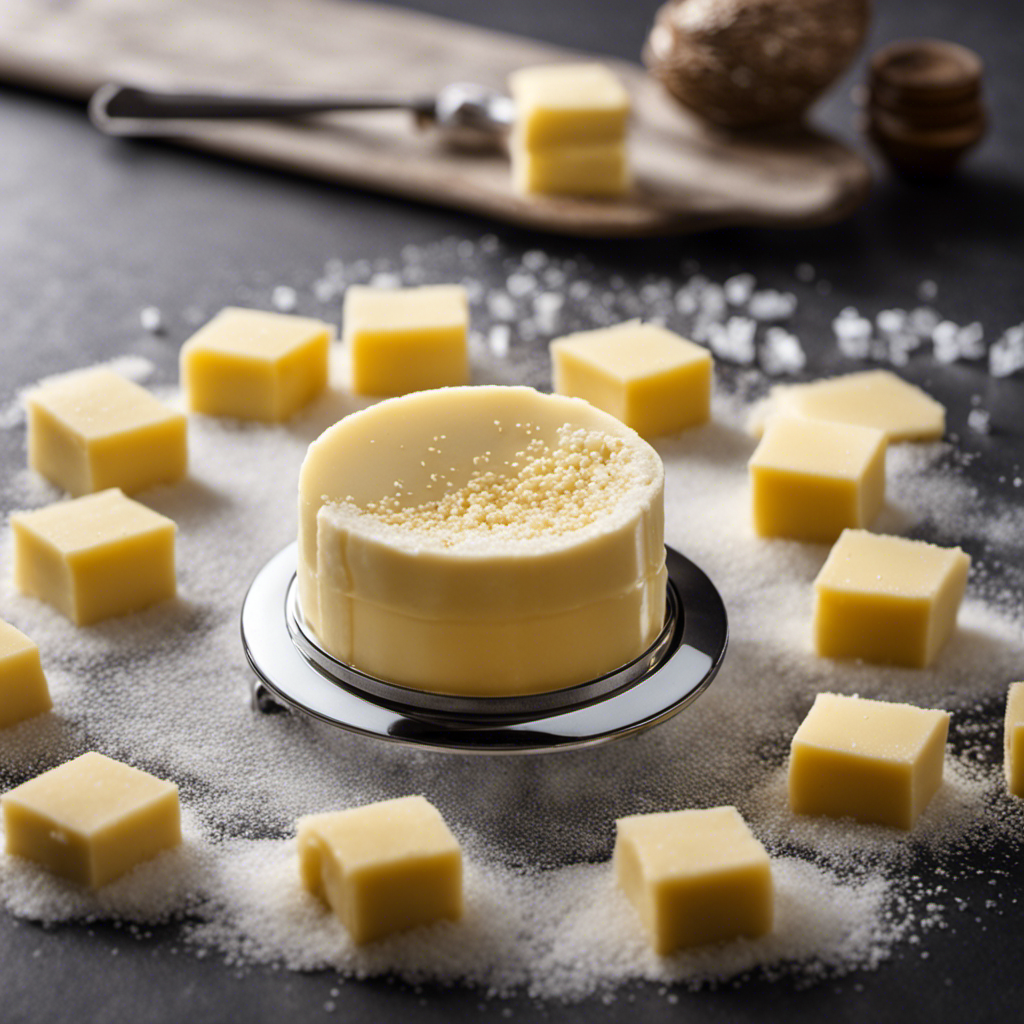
I love butter. Its creamy texture, richness, and irresistible flavor make it stand out. But have you ever thought about how it’s made?
Well, let me tell you, it all starts with milk. Yes, that’s right, good old milk. But through a fascinating process involving cream, churning, and separating, milk magically transforms into the golden goodness we know as butter.
So, join me as I take you on a journey through the incredible journey of how butter is made from milk.
Key Takeaways
- Cream composition determines the quality and flavor of butter.
- Churning is the key step in butter production to separate the fat from the liquid.
- Straining with a cheesecloth separates the buttermilk from the butter grains.
- Working the butter helps develop the desired texture and remove excess moisture.

Cosori 9-in-1 TurboBlaze Air Fryer 6 Qt, Smart Control, 90°–450°F, Shake Reminders, Precise Heating for Even Results, Air Fry, Roast, Bake, Broil, Dry, Frozen, Proof, Reheat, Keep Warm, 120V, Cream
𝘼𝙞𝙧 𝙁𝙧𝙮𝙚𝙧 𝙐𝙥𝙜𝙧𝙖𝙙𝙚: Innovative TurboBlaze Technology delivers a powerful 3600 rpm fan speed and temperatures up to 450℉,...
As an affiliate, we earn on qualifying purchases.
The Role of Cream in Butter Making
I can’t make butter without separating the cream from the milk first. Cream is a crucial component in the process of butter making. It’s the fat-rich layer that rises to the top of the milk due to its lower density. Cream composition plays an essential role in determining the quality and flavor of the resulting butter.
Typically, cream contains about 35-40% fat, with the remaining portion being water, proteins, and other milk solids. To make butter, I use various techniques such as churning, shaking, or even using a food processor. These techniques agitate the cream, causing the fat globules to separate from the water and other components.
Through continuous agitation, the fat globules clump together, forming butter. It’s then necessary to drain off the excess liquid, known as buttermilk, leaving behind pure, creamy, and delicious butter.

Puffworks Baby Organic Peanut Butter Puffs, Perfect for Early Peanut Introduction, Plant Protein, USDA Organic, Gluten-Free, Vegan, Non-GMO, Kosher, 1.0 Ounce (Pack of 6)
6-1.0 Ounce Bags of Puffworks baby Organic Peanut Butter Puffs
As an affiliate, we earn on qualifying purchases.
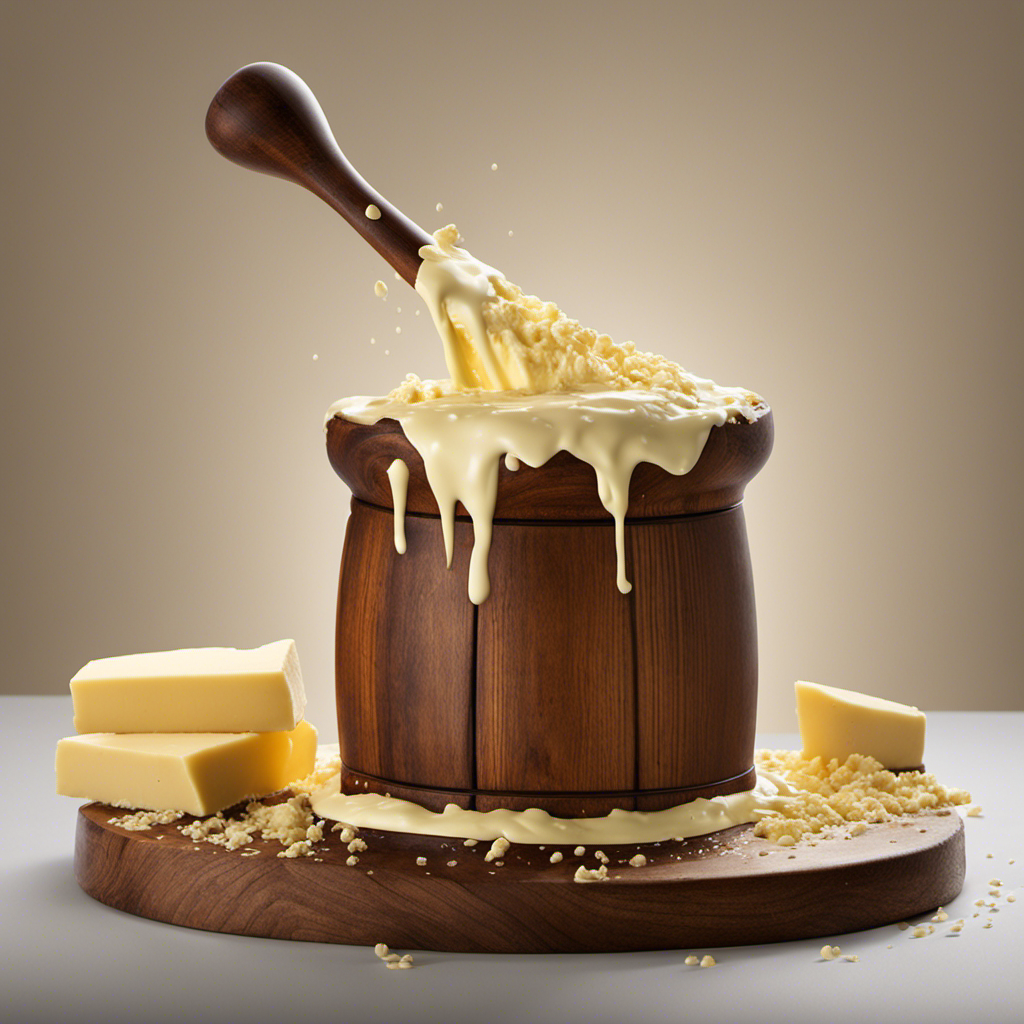
Churning: The Key Step in Butter Production
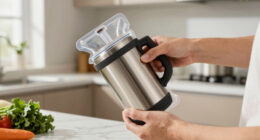
After separating the cream from the milk, I pour it into a churn and start the churning process. Churning is the key step in butter production, where the cream is agitated vigorously to separate the fat from the liquid. This process can be done using different methods, each with its own benefits.
One method is the traditional hand-churning, where the cream is placed in a jar or a wooden churn and manually agitated until butter forms. This method allows for a more hands-on experience and can be a great way to connect with the traditional methods of butter making.
Another method is using an electric churn, which automates the agitation process and reduces the effort required. This method is quicker and more convenient, making it suitable for larger quantities of butter.
Regardless of the method, the benefits of homemade butter are numerous. It’s free from additives and preservatives, ensuring a healthier option. Additionally, the taste and texture of homemade butter are superior, making it a delightful addition to any dish.

Nourishing Nippers Early Allergen Introduction - for Babies 4+ Months,14 Allergens in one pack, Including Peanut, Egg & Milk | Mix with Baby Food & Purees. 6 Month Supply
Nutritious Baby Food: Provides early exposure to common allergens like peanuts, eggs, and wheat to help reduce the...
As an affiliate, we earn on qualifying purchases.
Separating Butter From Buttermilk
To separate the butter from the buttermilk, I place the churned cream in a cheesecloth and squeeze it gently. This step is crucial in the butter-making process, as it allows us to obtain pure butter without any traces of buttermilk.
Once the cream has been churned, it transforms into butter grains that are suspended in a liquid called buttermilk. By using a cheesecloth, I carefully strain the mixture, allowing the buttermilk to pass through while retaining the butter grains.
The separated buttermilk can be used in various culinary applications, such as baking, marinating, or making delicious pancakes. It adds a tangy flavor and moistness to the dishes.
Meanwhile, the butter grains can be further washed to remove any remaining buttermilk, resulting in a smoother and longer-lasting butter.
Puffworks Baby Peanut and Almond Variety Pack, Perfect for Early Peanut Introduction, Plant Protein, No Added Sugar, USDA Organic, Gluten-Free, Vegan, Non-GMO, Kosher, 0.5 Ounce (Pack of 12)
12- 0.5 Ounce Bags of Puffworks baby Organic Nut Butter Puffs (6 peanut butter, 6 almond butter)
As an affiliate, we earn on qualifying purchases.
Working the Butter: From Moisture Removal to Texture Development
By working the churned cream, I develop the desired texture and remove any excess moisture from the butter grains. This step is crucial in the butter production process as it helps to increase the shelf life and stability of the final product.
When the cream is churned, the fat globules begin to clump together, forming butter grains. These grains contain a certain amount of moisture, which needs to be reduced to achieve the perfect texture. By continuously working the butter, either by hand or with the help of machines, the moisture content is gradually reduced.
This can be done by kneading, pressing, or squeezing the butter, which helps to expel any remaining liquid. The goal is to achieve a moisture content of around 16-18%, ensuring that the butter is neither too dry nor too wet.
Additionally, working the butter also helps to evenly distribute the fat and create a smooth, creamy texture that we all love.
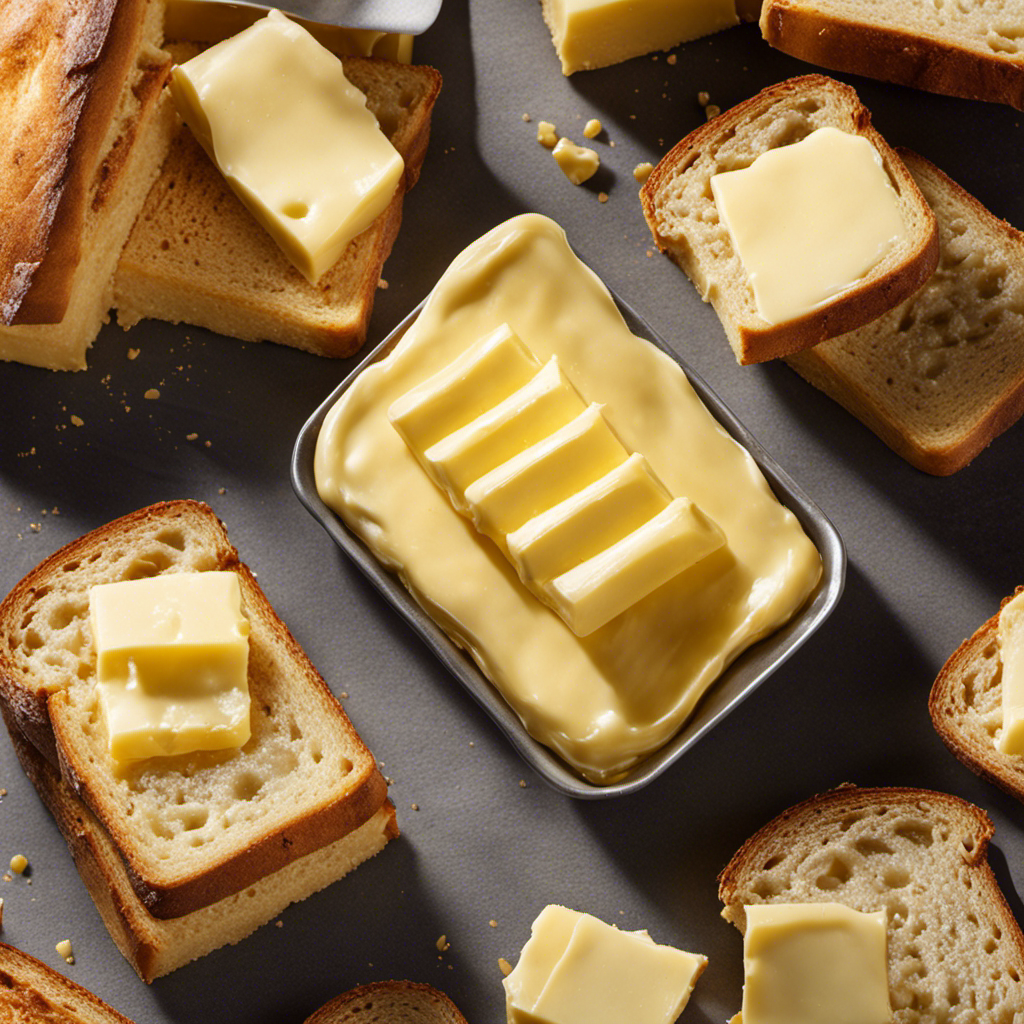
Storing and Enjoying Freshly Made Butter
When I store freshly churned cream, I like to keep it in an airtight container in the refrigerator to maintain its freshness and prevent any unwanted odors or flavors from seeping in.
Here are some tips for storing and enjoying freshly made butter:
-
Temperature control: Butter should be stored at a temperature between 32°F and 40°F to ensure its quality and prevent spoilage. The refrigerator is the ideal place for storing butter.
-
Airtight containers: Using airtight containers helps to maintain the butter’s freshness and prevent it from absorbing any unpleasant odors from other foods in the refrigerator.
-
Proper wrapping: Wrapping the butter in wax paper or plastic wrap can further protect it from picking up any off-flavors and keep it from drying out.
-
Flavor variations: To add some excitement to your butter, you can experiment with different flavor variations by incorporating herbs, spices, or even citrus zest. Just mix them into the softened butter and let the flavors meld before storing.
Frequently Asked Questions
How Long Does It Take to Make Butter From Milk?
Making butter from milk takes time, but the exact duration depends on various factors.
One crucial factor is the temperature of the milk, as it affects the butter-making process. Lower temperatures can lengthen the time required for churning and separating the butterfat.
Additionally, it’s important to note that butter is traditionally made from dairy milk.
While non-dairy milk alternatives can be used to make spreads resembling butter, they don’t undergo the same process as traditional butter made from milk.
Can I Make Butter at Home Without a Butter Churn?
Yes, you can make butter at home without a churn. There are alternative methods for making butter at home, such as using a jar or a mixer.
To make butter using a jar, simply pour heavy cream into a jar and shake vigorously until the cream turns into butter.
If using a mixer, whip the cream until it separates into butter and buttermilk.
Both methods require some time and effort, but they’re effective ways to make butter at home without a churn.
What Is the Difference Between Salted and Unsalted Butter?
Salted and unsalted butter differ in their taste, texture, and culinary applications.
Salted butter, as the name suggests, contains added salt for flavor enhancement. This makes it ideal for spreading on bread or adding to savory dishes.
On the other hand, unsalted butter has no added salt, allowing for more control over the saltiness of recipes.
Nutritionally, both types of butter have similar calorie and fat content, but salted butter may have slightly higher sodium levels.
Can I Use Skim Milk to Make Butter?
Yes, you can use skim milk to make butter. Skim milk is milk that has had most of the fat removed. While it may not yield as rich and creamy of a butter as whole milk, it can still be used.
Using different types of milk can result in different textures and flavors in the final butter. Skim milk butter may be lighter and less fatty, which can be beneficial for those watching their fat intake.
How Long Can Freshly Made Butter Be Stored Before It Goes Bad?
Freshly made butter can be stored for a surprising amount of time before it goes bad. However, it’s important to note that the shelf life of butter can vary depending on how it’s stored.
Proper storage methods, such as keeping it in an airtight container in the refrigerator, can extend its freshness. On average, butter can last up to a few weeks when stored correctly.
Taking care to protect it from exposure to air and light will help maintain its quality and flavor.
Conclusion
In conclusion, the process of making butter from milk involves churning cream to separate the butterfat from buttermilk, and then working the butter to remove moisture and develop its texture.
Did you know that it takes approximately 21 pounds of milk to produce just one pound of butter? This interesting statistic highlights the labor-intensive nature of butter production and emphasizes the value of this delicious dairy product.