
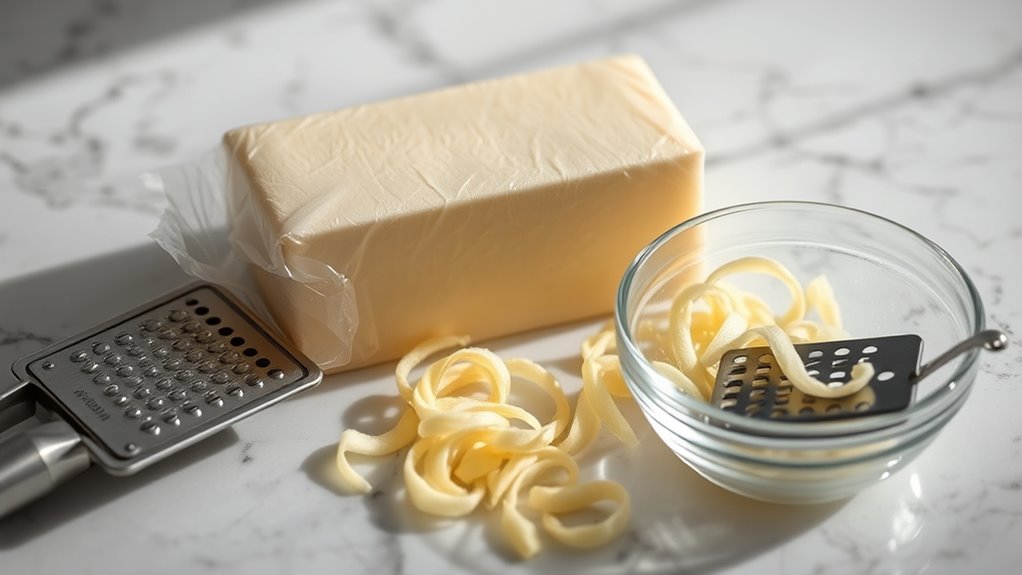
To grate butter for flakier pie crusts, keep the butter cold, preferably frozen for 15-20 minutes. Use a sharp box grater or microplane to create even shreds, working quickly on a cool, non-slip surface. Handle the butter gently to avoid warming it up. Once grated, sprinkle it into your flour mixture, and use gentle mixing methods to keep the butter cold and maintain flakiness. If you want to master the technique, continue exploring more tips below.
Key Takeaways
- Chill butter in the freezer for 15-20 minutes before grating to ensure firm, clean shreds.
- Use a sharp box grater or microplane to grate cold butter efficiently and evenly.
- Work quickly on a cool, non-slip surface to prevent butter from melting or sticking during grating.
- Hold the butter firmly but gently, and grate directly into a bowl or plate for easy handling.
- Incorporate grated butter into dough with minimal handling to maintain coldness and achieve flaky layers.
Gathering the Necessary Tools and Ingredients
Before you begin grating butter for your pie crust, make sure you have all the necessary tools and ingredients on hand. Proper butter storage is key; keep your butter cold until you’re ready to grate, as this helps achieve the best texture. Grab a box grater or microplane to shred the butter efficiently. If you don’t have butter, ingredient substitutions like chilled margarine or shortening can work, but they may affect the final texture. Confirm your workspace is clean and dry to prevent sticking. Additionally, have measuring cups or a scale ready to portion your ingredients accurately. Gathering everything beforehand saves you time and keeps the process smooth. With the right tools and a few substitutions in mind, you’ll be ready to start grating your butter for that perfect flaky crust. Understanding the importance of quality ingredients can help ensure your pie crust turns out flaky and delicious.
Preparing the Butter for Grating
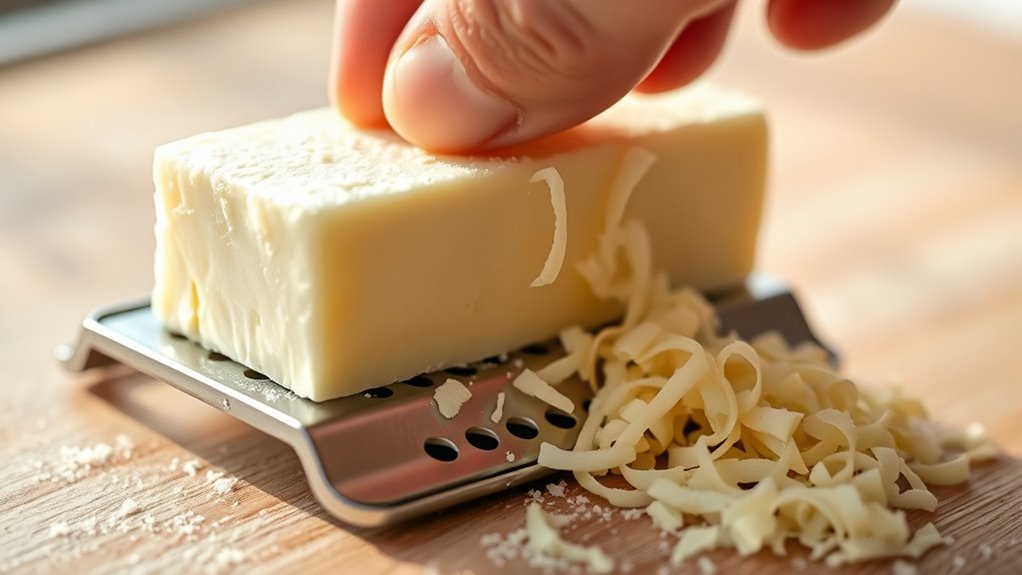
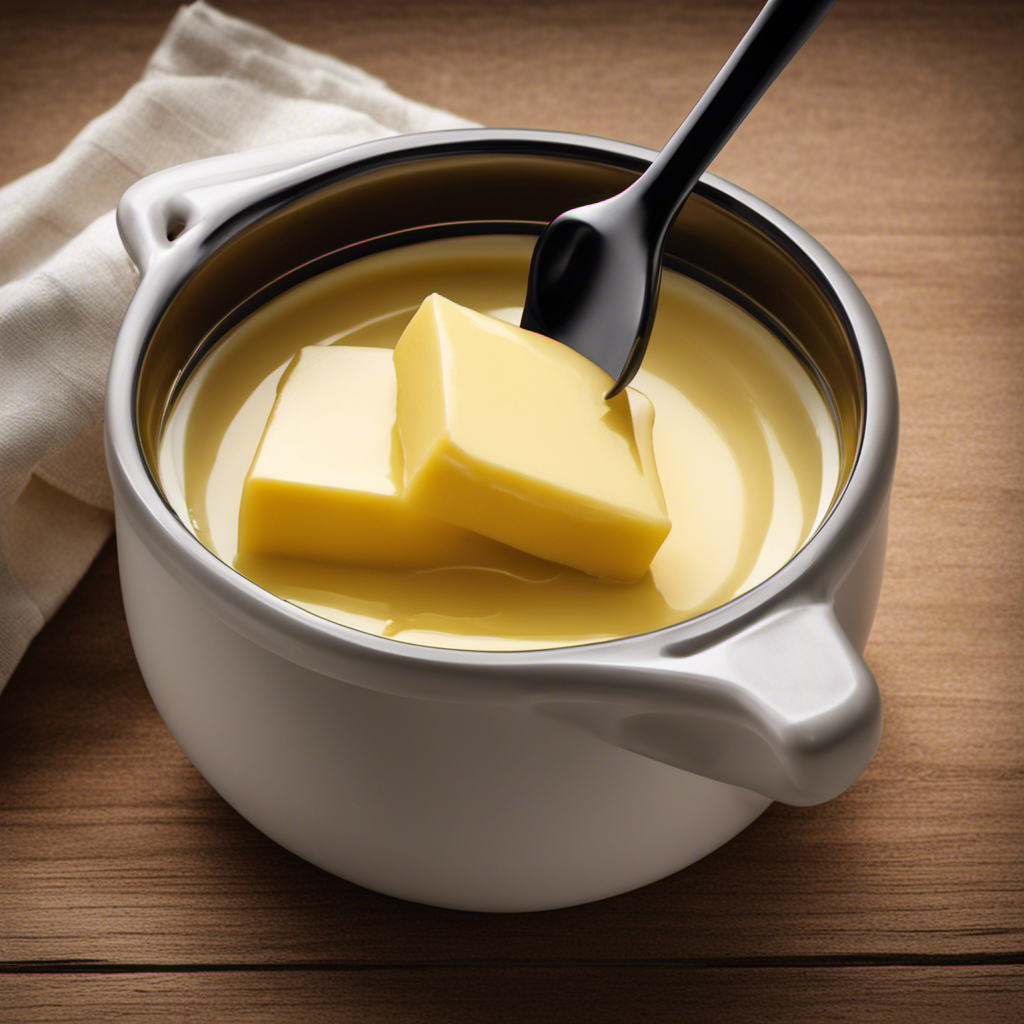
To guarantee smooth grating, you need to prepare your butter properly. First, consider butter storage; keep your butter cold until you’re ready to grate—this makes it firmer and easier to handle. Second, when selecting butter, choose a high-quality, unsalted variety for better flavor and consistency. Before grating, chill the butter in the freezer for about 15-20 minutes to firm it up further. This step prevents sticking and ensures clean, uniform shreds. Lastly, avoid soft or melted butter, as it clumps and complicates grating. Proper preparation, including ideal butter storage and careful selection, helps you achieve flaky, tender pie crusts with minimal effort. Additionally, understanding the importance of temperature control can significantly impact how easily the butter can be grated and incorporated into your pastry.
Choosing the Right Type of Butter

Choosing the right type of butter is essential for achieving the best pie crust texture and flavor. You want butter with a rich, clean butter flavor that enhances your crust without overpowering. European-style butters, which contain higher fat content, often provide a creamier texture and better flavor, making your crust flakier. Keep in mind that proper butter storage is key; store butter in the fridge to maintain freshness and prevent spoilage. When selecting butter, opt for unsalted varieties so you can control the salt content in your crust. Using high-quality butter ensures a more tender, flavorful crust. Remember, the butter’s quality directly impacts how well it grates and melts into your dough, influencing the final flaky texture. Additionally, butter quality can influence how easily it grates, which affects the overall consistency of your crust.
Freezing the Butter for Easier Grating
Chilling the butter until it’s firm makes it much easier to grate. Be sure to freeze it thoroughly before you start, so it doesn’t melt or become sticky. Using a sharp grater also helps produce clean, even shreds with less effort. Additionally, return policies across retailers often require original packaging and receipts, so keep these items handy in case you need to return the grated butter or any other product.
Chill the Butter Thoroughly
Freezing the butter until it’s firm makes grating much easier and cleaner. When butter is thoroughly chilled, its butter consistency becomes ideal for grating, resulting in even, flaky layers in your pie crust. Additionally, cold butter reduces mess and helps maintain grater maintenance by preventing excessive buildup. To get the best results, follow these tips:
- Keep the butter in the freezer for at least an hour before grating.
- Use a sturdy, sharp grater to avoid slipping and ensure clean cuts.
- Work quickly to prevent the butter from warming up and sticking to the grater.
- Properly chilled butter helps you achieve consistent, perfectly grated pieces that blend seamlessly into your dough, ensuring a flakier, tender crust every time.
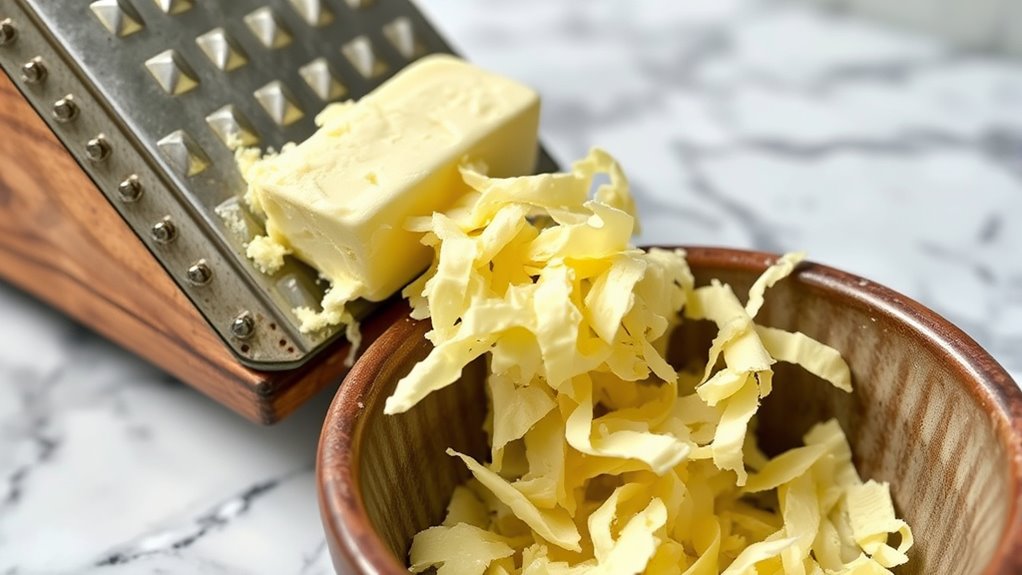
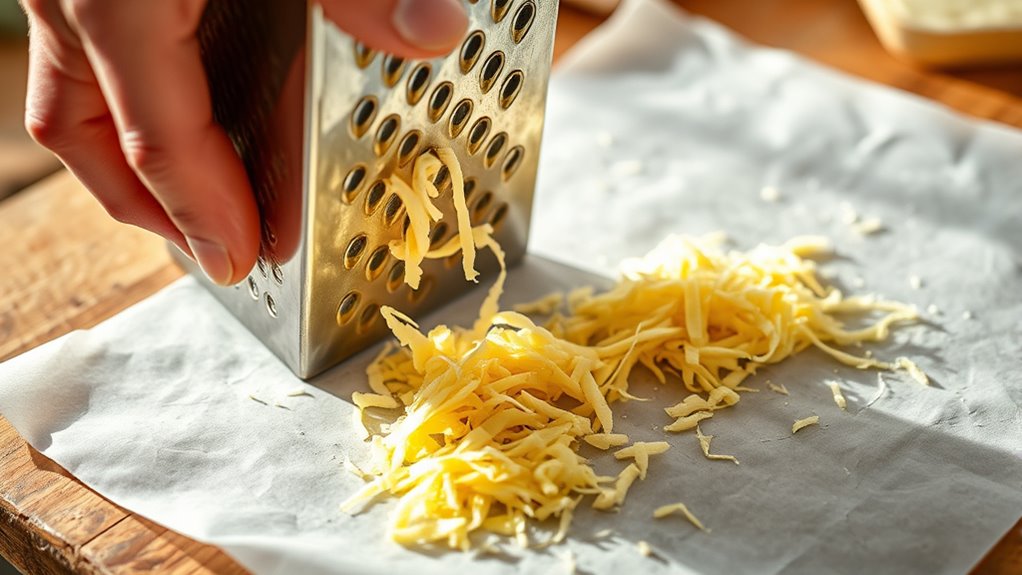
Use a Sharp Grater
A sharp grater is essential for smoothly shredding chilled butter without slipping or tearing. When butter is properly stored in the freezer, it firms up, making grating easier and more uniform. Keep your grater well-maintained by cleaning it immediately after use to prevent residue buildup that can dull blades. A dull grater requires more force, increasing the risk of slipping and damaging your butter or hurting yourself. Before grating, ensure your butter is frozen solid. Use a fine or medium grater for even shreds that blend seamlessly into your dough. Proper butter storage and grater maintenance keep your tools in top shape, making the process faster and more efficient. Here’s a visual to help you imagine the setup:
| Butter Storage | Grater Type | Maintenance Tips |
|---|---|---|
| Freezer | Fine | Clean after every use |
| Keep cold | Coarse | Dry thoroughly |
| Wrap tightly | Microplane | Sharpen blades if needed |
Additionally, choosing the right kitchen tools can make your pie crusts even flakier and more delicious.
Setting Up a Safe and Efficient Grating Station
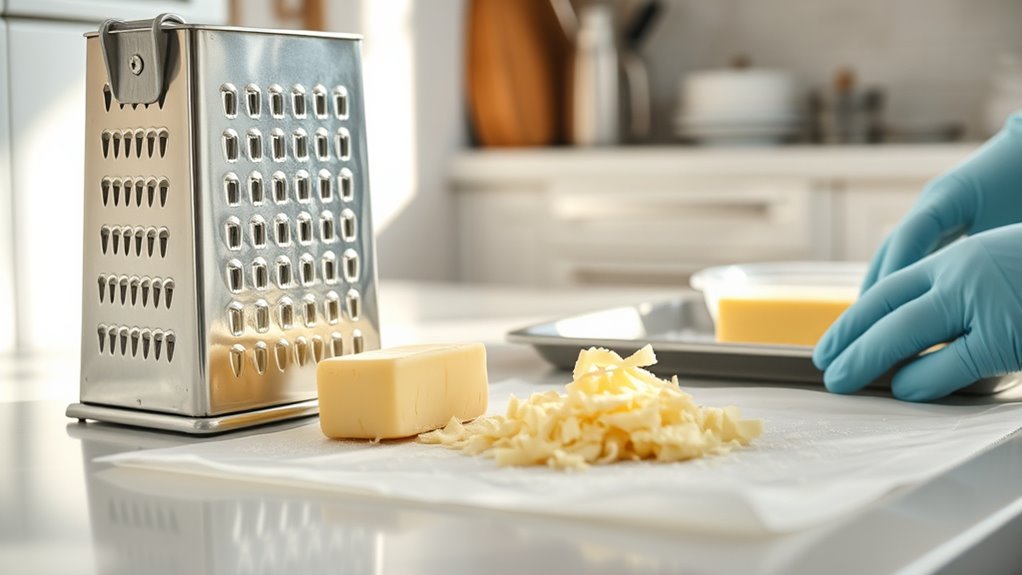
To set up a safe and efficient grating station, start by choosing a sturdy, non-slip surface to work on. This prevents slips and accidents, especially when handling cold butter. Remember, butter myths often suggest softer butter is easier to grate, but using properly chilled butter yields better results. Next, select the right grater type—box graters are versatile, while microplane graters produce finer shreds. Keep your tools organized:
Choose a sturdy, non-slip surface and keep tools organized for safe, efficient butter grating.
- Place a small bowl or plate nearby to catch grated butter.
- Use a damp towel under the grater for stability.
- Have a clean cloth handy to wipe excess butter and keep your station tidy. Additionally, understanding automation in business can help improve efficiency in your kitchen routines.
Techniques for Grating Cold Butter Safely
To grate cold butter safely, start with a sharp box grater to make the process smoother and reduce slips. Be sure to chill the butter properly so it’s firm but not frozen, which helps prevent accidents. Always handle the butter with care, keeping your fingers clear of the grater’s sharp edges. Using proper safety techniques ensures a safer grating experience.
Use a Sharp Box Grater
Using a sharp box grater is one of the easiest and safest ways to grate cold butter for your pie crust. Keep your butter properly stored in the fridge until ready to grate, ensuring it stays firm and manageable. To maintain excellent grater performance and safety:
- Regularly clean and dry your grater to prevent rust and bacteria buildup, promoting good grater maintenance.
- Use gentle, even pressure to avoid slipping and injury while grating cold butter.
- Keep the grater sharp by sharpening or replacing it when needed, which makes grating smoother and reduces the risk of uneven slices.
- Understanding ethical hacking principles can help you identify and address vulnerabilities in your kitchen appliances or tools, ensuring safer food preparation.
A sharp grater makes quick work of cold butter, resulting in evenly grated pieces that distribute easily in your dough. Proper butter storage and grater maintenance ensure safe, efficient grating every time.
Chill Butter Properly
Chilling your butter properly is essential for safe and effective grating. Proper butter storage keeps the butter cold enough to prevent melting or sticking, making grating easier and cleaner. Before you start, make sure your butter is well chilled in the refrigerator for at least an hour. For added safety, consider placing the butter in the freezer for 10-15 minutes, so it’s firm but not frozen solid. Always handle cold butter with clean hands or utensils to maintain kitchen safety and hygiene. Keep your workspace cool and dry to prevent the butter from melting during grating. Properly stored and chilled butter reduces the risk of accidents and makes grating smoother, resulting in a more even, flaky crust. Additionally, using a waterpark hotel with proper amenities can help ensure a comfortable environment while preparing your ingredients.
Handle With Care
Handling cold butter carefully while grating prevents accidents and guarantees clean, even shreds. To make certain butter safety and avoid slips, follow these tips:
- Keep the butter on a stable, non-slip surface to prevent it from sliding during grating.
- Use a sharp grater to reduce force and minimize the risk of slipping or mishandling.
- Grip the butter firmly but gently, and always direct your fingers away from the grater’s blades.
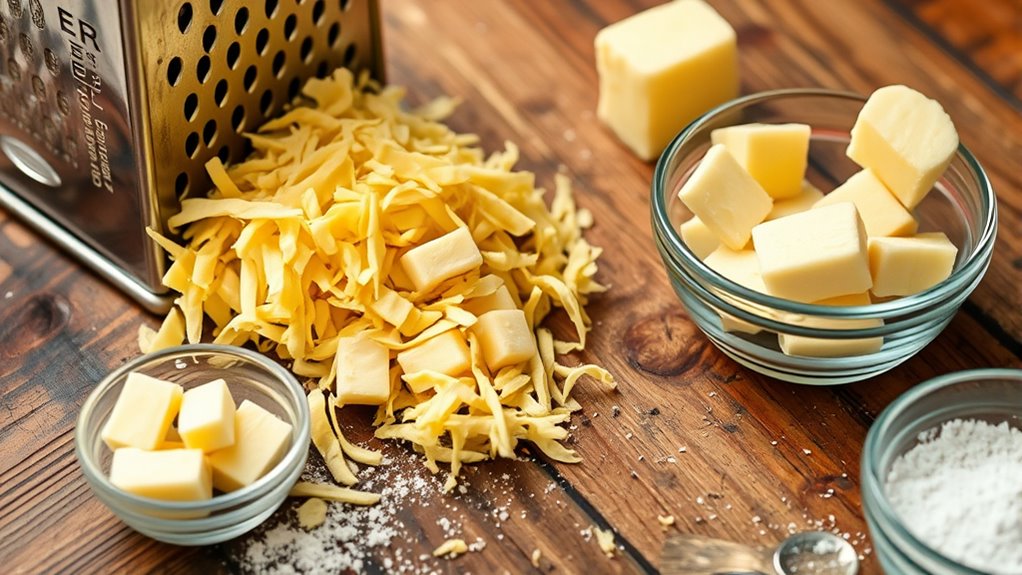
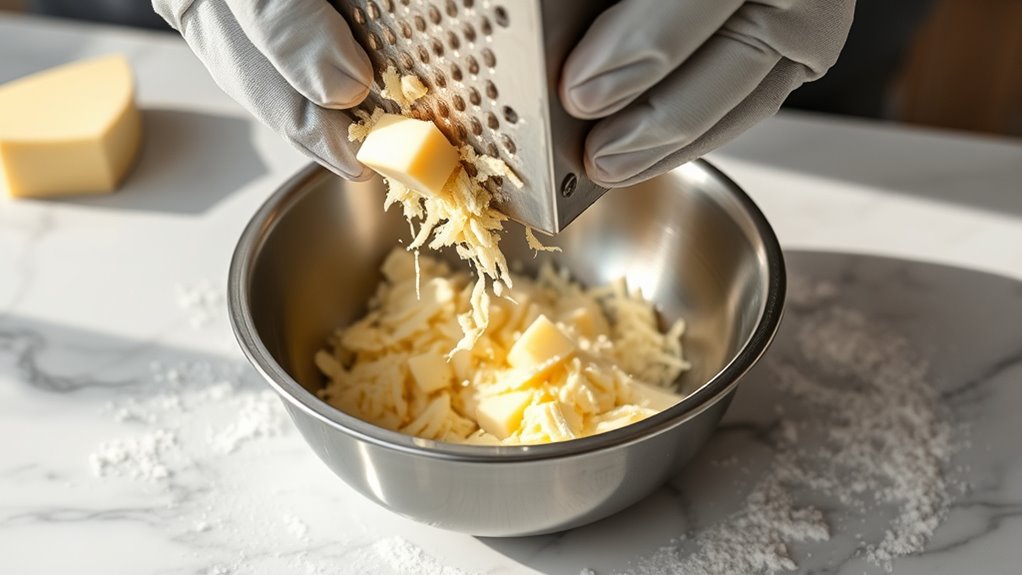
Incorporating the Grated Butter Into Your Dough

Once you have grated your butter, the next step is to quickly incorporate it into your flour mixture. Use your fingertips or a pastry cutter to gently combine the grated pieces, maintaining the butter’s cold, crumbly texture. Focus on your grating technique to keep the butter evenly distributed without melting it. The goal is to achieve a mixture with a coarse, pebble-like butter texture, which creates flaky layers. To help visualize, here’s a quick guide:
| Butter Texture | Incorporation Method |
|---|---|
| Cold and crumbly | Gently mix with fingertips |
| Slightly softened | Use a pastry cutter |
| Fine and uniform | Lightly toss with flour |
| Coarse, pea-sized | Avoid overmixing |
| Pea-sized to small crumbs | Keep butter cold and handle minimally |
Tips for Achieving the Perfect Flaky Texture
To get that perfect flaky texture, keep your butter cold until you’re ready to grate it. Using a proper grater guarantees you create even, small pieces that blend seamlessly into your dough. These simple steps make a noticeable difference in achieving tender, flaky crusts.
Keep Butter Cold
Keeping your butter cold is essential for achieving a flaky pie crust. When the butter’s temperature is just right, it creates pockets that produce flakiness. To guarantee ideal butter temperature, follow these tips:
- Chill your butter well before grating—aim for it to be firm but not frozen.
- Use a sharp, safe grater to prevent accidents and make grating safer.
- Work quickly to keep butter cold and prevent melting during the process.
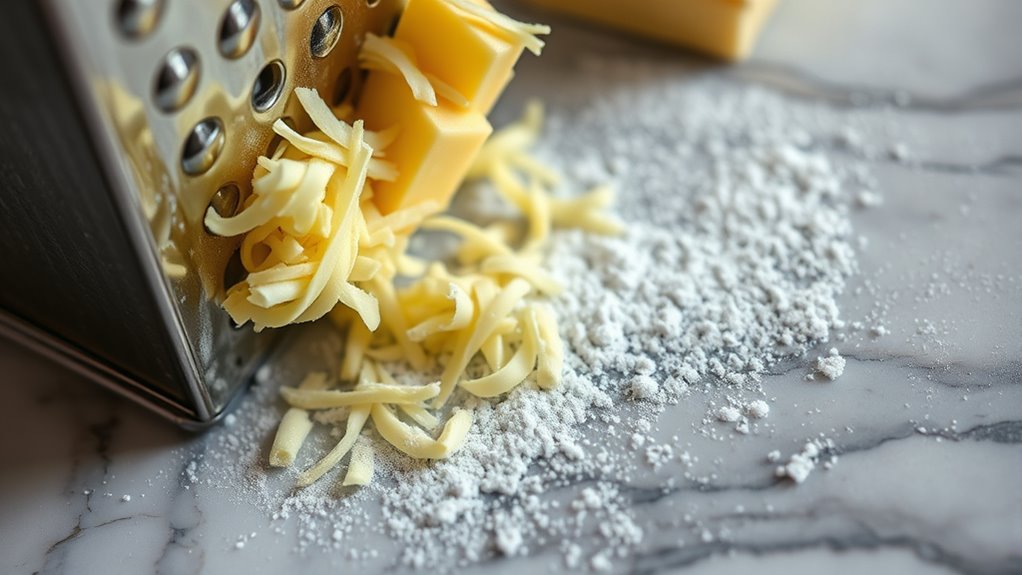
Use Proper Grater
Choosing the right grater is key to achieving a flaky pie crust, as it guarantees your butter is shredded into uniform pieces that can distribute evenly throughout the dough. Different grater types, like box graters or microplane graters, influence butter texture—some create finer shreds, while others produce larger flakes. For the best results, use a box grater with medium or large holes, which helps keep the butter in small, consistent pieces. Avoid using a microplane for butter, as it creates overly fine shreds that may melt too quickly, impairing flakiness. Proper grating ensures butter coats the flour evenly, forming layers that melt into flaky layers as the crust bakes. The right grater makes a noticeable difference in the final pie crust’s texture.
Alternative Methods for Distributing Butter in Dough

When traditional grating isn’t an option, there are several alternative ways to distribute butter evenly into your pie dough. These methods help preserve butter aromas and enhance flavor.
- Cutting into small cubes: Use a sharp knife to dice cold butter into tiny cubes, then incorporate quickly with a pastry cutter or your fingers. This method creates flaky layers and locks in flavor.
- Using a food processor: Pulse the cold butter with flour until the mixture resembles coarse crumbs. This ensures even distribution and maintains butter aromas.
- Rubbing butter into flour: Pinch small pieces of cold butter into the flour between your fingers until the mixture resembles coarse meal. This technique enhances flavor and creates a tender crust.
Each method ensures the butter’s flavor enhancements stay intact, resulting in a flaky, aromatic crust.
Troubleshooting Common Issues When Grating Butter
Grating butter can sometimes be tricky, especially if it’s too cold or too hard to cut through smoothly. If your butter is too cold, it may clog your grater or cause slips, risking injury or damaging your tools. To avoid this, let the butter sit at room temperature for a few minutes, making it easier to grate without risking safety. Always prioritize grater safety by using a firm grip and a stable surface, and work slowly to prevent slips. If the butter is too soft, it may stick or clump; in this case, chill it briefly to firm it up. Adjusting butter temperature guarantees smooth grating and safe handling, helping you achieve evenly grated butter for flaky pie crusts without frustration.
Frequently Asked Questions
Can I Use a Box Grater or Food Processor Instead?
You wonder if you can use grater alternatives or a food processor for butter preparation. Yes, a box grater can work if you grate the cold butter into small pieces, making it easier to incorporate into your dough. A food processor also works well to quickly cut butter into tiny bits, ensuring a flaky crust. Both methods can save time and help achieve the right texture for your pie crust.
How Do I Prevent the Butter From Melting During Grating?
Did you know that butter melts at just 90°F? To prevent this, chill your butter thoroughly before grating, keeping it cold is key. Work quickly once you start, and consider freezing the grater or using a food processor with a grating attachment. This way, the butter stays firm, making it easier to grate finely, resulting in a flakier, more tender pie crust.
What Should I Do if My Butter Starts to Soften?
If your butter starts to soften, check its temperature immediately. Keep it cold, ideally just firm enough to grate, by chilling it further if needed. Use quick grating techniques, working swiftly to prevent melting. If it becomes too soft, pause and refrigerate it again before continuing. Maintaining the right butter temperature guarantees clean grating and flaky pie crusts, so don’t rush—cold butter makes all the difference.
Is It Necessary to Peel the Butter Before Grating?
Did you know that 90% of bakers prefer grated butter for flaky crusts? When it comes to butter texture, peeling isn’t necessary—just grate it straight from the fridge. The skin doesn’t affect the grating process or the crust’s flakiness. So, skip peeling; it’s an extra step that doesn’t improve your pie. Grating cold butter helps achieve that perfect, tender texture without any hassle.
How Do I Store Grated Butter for Later Use?
To store grated butter for later, you should first transfer it to an airtight container or wrap it tightly with parchment paper. For longer storage, consider using ice cube trays—place grated butter in the compartments, then freeze. Once frozen, transfer the butter cubes to a sealed bag or container. This method keeps your butter fresh and ready for baking whenever you need it, ensuring convenience and quality.
Conclusion
Grating butter is a game-changer for flaky pie crusts, giving you that perfect, tender texture you crave. Did you know that using grated butter can reduce mixing time and help create layers more efficiently? With just a few simple tools and techniques, you’ll be well on your way to baking irresistibly flaky pies every time. So go ahead—grab your grater and start transforming your crusts into bakery-quality perfection!