
To get perfect garlic-butter pretzel bites, use active dry or instant yeast, making sure to proof your yeast properly. Keep your environment warm between 75°F and 85°F, using a proofing box or warm spot, and cover the dough to retain moisture. Look for signs like bubbling and doubling in size, and do the finger dent test to confirm readiness. For more tips on handling over- or under-proofed dough, continue exploring.
Key Takeaways
- Use warm, consistent environment (75-85°F) to ensure optimal yeast activity and proper dough rise.
- Proof active dry yeast in warm water until bubbly and frothy before mixing into dough.
- Cover dough with a damp cloth or plastic wrap to maintain moisture and warmth during proofing.
- Perform the finger dent test—gently press dough; slow spring-back indicates proper proofing.
- Avoid temperature extremes; hot water kills yeast, cold slows fermentation, impacting pretzel texture.
Understanding the Role of Yeast in Pretzel Dough
Yeast is the key ingredient that transforms simple dough into the chewy, airy texture characteristic of pretzels. During yeast fermentation, yeast consumes sugars in the dough, producing carbon dioxide and alcohol. This process creates the bubbles that give pretzels their signature lightness. As fermentation progresses, it also enhances dough elasticity, making it easier to shape and stretch without tearing. Proper yeast activity guarantees your pretzels develop the right rise and chewiness. If fermentation is rushed or yeast is inactive, your pretzels won’t achieve their ideal texture. Controlling fermentation time and temperature allows the yeast to work effectively, resulting in a well-structured, delicious pretzel. Understanding this process helps you master the art of perfect pretzel dough. Yeast fermentation is also influenced by factors such as temperature and the freshness of the yeast, which are crucial for optimal results.
Selecting the Right Yeast for Perfect Proofing

Choosing the right yeast can make a significant difference in achieving perfectly proofed pretzels. There are two main yeast types to contemplate: active dry yeast and instant yeast. Active dry yeast requires proofing in warm water before mixing with your dough, while instant yeast can be added directly. For consistent results, use proofing containers that maintain even warmth and humidity, such as a covered bowl or a proofing box. The right yeast type and proper proofing container ensure your dough rises adequately, resulting in pretzels with a light, chewy texture. Selecting the best yeast for your recipe and environment simplifies proofing and helps you achieve that ideal rise every time. Yeast fermentation plays a crucial role in developing the dough’s structure and flavor.
Preparing Your Environment for Optimal Yeast Activation
To guarantee your yeast activates properly, keep the environment warm and steady. Minimize drafts and noise that could disrupt the process, and make sure your workspace is clean and dry. Taking these steps helps your yeast thrive and sets the stage for perfect pretzel bites. Ensuring proper temperature control can also improve yeast proofing success.
Maintain Warm Temperature
Creating a warm environment is essential for activating yeast effectively. When your space is at the right temperature, yeast activation happens quickly, leading to better dough fermentation. If it’s too cold, yeast slows down or stops working; if it’s too hot, it can die. To guarantee ideal conditions:
- Warm your proofing area with a heating pad or wrap the bowl in a towel to maintain consistent warmth.
- Place the dough in a cozy corner away from drafts and cold spots.
- Use a microwave or oven with the light on to create a gentle, steady heat.
These simple steps keep your environment just right, helping your yeast thrive and ensuring your pretzel bites turn out soft, airy, and full of flavor. Proper temperature control is key to perfect results.
Minimize Drafts and Noise
Even small disturbances can disrupt yeast activation, so it’s important to minimize drafts and noise in your baking environment. Draft prevention is essential because sudden air currents can lower the temperature around your proofing area, slowing or halting yeast activity. Keep windows closed and avoid opening doors unnecessarily. Noise reduction also helps because loud sounds or vibrations can disturb the delicate fermentation process. Place your proofing container in a quiet, stable spot away from appliances or foot traffic. Using a draft-free enclosure, like a covered proofing box or a warm oven with the light on, can create a consistent environment. Additionally, selecting a suitable bedroom space with minimal external disturbances can further enhance your proofing process. By controlling these factors, you help guarantee your yeast activates reliably, leading to better dough rise and perfect pretzel bites.
Use Clean, Dry Surfaces
Ensuring your workspace is clean and dry sets the foundation for successful yeast activation. A tidy, dry surface helps prevent contamination and ensures the yeast remains healthy and active. Before you start, wipe down your countertop with a gentle cleaner and dry it thoroughly. Use only dry utensils and bowls to avoid introducing moisture that could hinder proofing. When your environment is spotless, you reduce the risk of unwanted bacteria and mold, giving your yeast the best chance to rise. Creating a controlled, hygienic space makes all the difference in achieving perfect pretzel bites. Additionally, verifying that your environment is free from mold and spoilage indicators helps maintain optimal conditions for yeast proofing.
Recognizing When Dough Has Properly Proofed
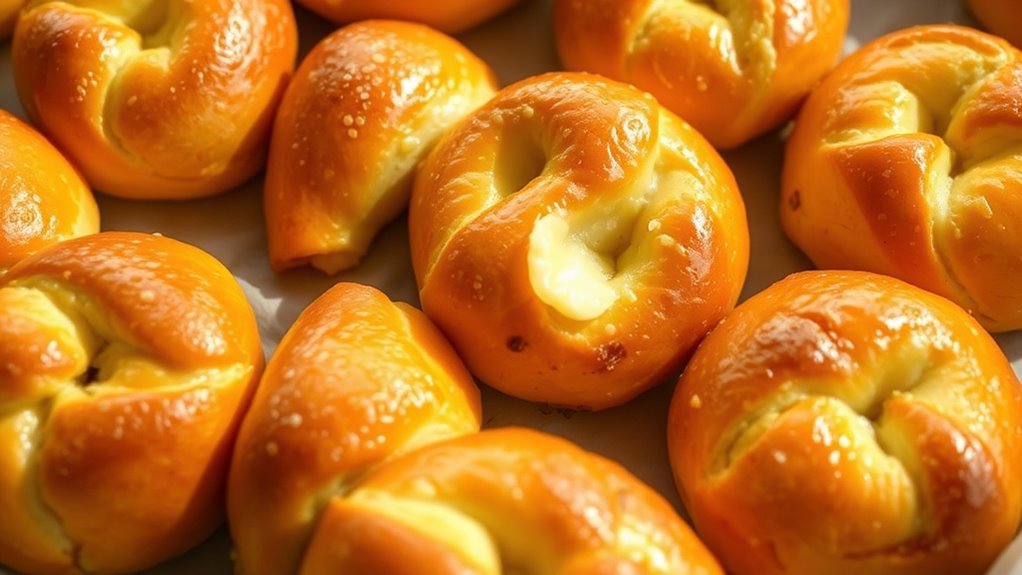
You’ll know the dough has properly proofed when it has doubled in size and feels light and airy to the touch. During this process, the dough develops enhanced elasticity, making it easier to shape without tearing. A properly proofed dough will also exhibit subtle surface bubbles, indicating active yeast fermentation. This stage is vital for flavor development, as the yeast produces complex flavors that deepen with proper rising. Gently press your finger into the dough; if the indentation remains slightly but slowly rebounds, it’s ready. Proper proofing is essential for yeast fermentation, which directly influences the dough’s rise and flavor profile. Avoid over-proofing, which can cause the dough to collapse, or under-proofing, resulting in dense bites. Recognizing these signs ensures your pretzel bites will have the perfect texture and rich flavor.
Common Mistakes That Affect Yeast Fermentation

One common mistake that can hinder yeast fermentation is using water that’s too hot or too cold. If the water isn’t at the right temperature, yeast activation slows or stops altogether, affecting fermentation timing. Too hot water kills the yeast, preventing it from producing gas and rising properly. Too cold, and the yeast remains dormant, delaying proofing and resulting in dense pretzel bites. Additionally, understanding the legacy of explorers can inspire patience and persistence, qualities essential for perfecting fermentation techniques. Be mindful of these pitfalls:
- Using water above 120°F (49°C), which kills the yeast instantly
- Using water below 100°F (38°C), causing sluggish yeast activation
- Skipping the temperature check, leading to inconsistent fermentation timing
Getting the temperature right guarantees active fermentation, better rise, and perfect pretzel bites every time.
Tips for Achieving the Ideal Proofing Temperature

To get the best rise, aim for a proofing temperature between 80-100°F. Keep the environment warm and steady to prevent uneven fermentation. Consistent warmth is key to achieving soft, chewy pretzel bites. Incorporating temperature control techniques can further optimize your proofing process.
Optimal Temperature Range
Achieving the right proofing temperature is crucial for perfect garlic-butter pretzel bites, as it guarantees the dough rises properly and develops the desired texture. The ideal temperature range for proofing is typically between 75°F and 85°F. Within this range, yeast activation occurs efficiently, ensuring consistent fermentation timing. Temperatures too low slow down yeast activity, causing dense dough, while temperatures too high risk killing the yeast. To hit the sweet spot:
- Feel confident knowing your dough will rise beautifully and evenly
- Ensure a soft, chewy texture with that perfect pretzel bite bite
- Minimize proofing time by maintaining consistent warmth
- Remember that maintaining a steady proofing temperature helps prevent over- or under-fermentation, leading to better results.
Staying within this temperature window makes all the difference in achieving fluffy, flavorful results every time.
Maintaining Consistent Warmth
Keeping your dough at a consistent warmth is the key to successful proofing within the ideal temperature range. Maintaining proper temperature control guarantees yeast activation occurs efficiently, resulting in a perfect rise. To achieve this, place your dough in a warm, draft-free spot or use a proofing box. If your environment is cool, you can create a warm environment by placing the dough near a heat source or inside an oven with just the light on. Avoid sudden temperature fluctuations, as they can hinder yeast activity. Cover the dough with a damp cloth or plastic wrap to retain moisture and warmth. Yeast activation is most effective when the temperature is maintained steadily within the optimal range. Consistent warmth promotes even proofing, leading to soft, airy pretzel bites with a beautiful finish.
Using the Finger Dent Test to Check Dough Readiness
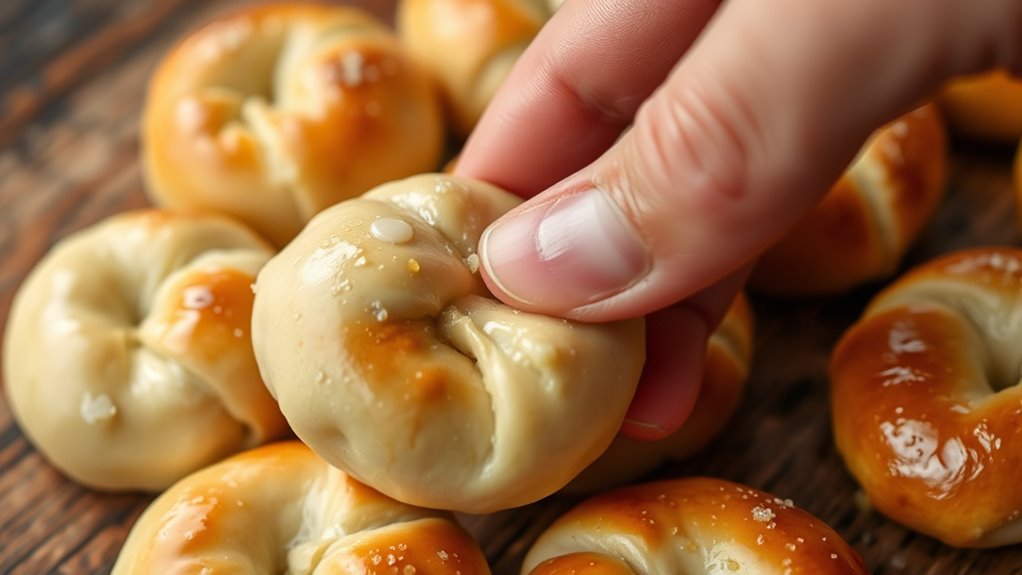
The finger dent test is a simple, effective way to determine if your dough has been kneaded enough and is ready for the next step. Gently press your finger into the dough’s surface; if it springs back slowly, your dough has good dough elasticity and is properly proofed. If it leaves a deep indentation, it needs more kneading or time to develop flavor. This test helps you feel confident in your dough’s readiness, ensuring ideal texture and flavor development. When the dough passes the dent test, it indicates perfect elasticity and readiness for shaping. Remember, a properly proofed dough results in a tender, flavorful pretzel bite with the right chewy bite and rich taste. Trust your touch to achieve bakery-quality results every time.
- Feel the satisfaction of perfect dough readiness
- Achieve the ideal chewy bite in every bite
- Unlock the full flavor potential of your pretzels
How to Handle Over- or Under-Proofed Dough

Handling over- or under-proofed dough requires quick and effective adjustments to guarantee your pretzel bites turn out perfect. If your dough is over-proofed, it may have lost its elasticity, resulting in dense bites with less flavor development. To fix this, gently punch down the dough, reshape it, and allow it to proof again briefly. For under-proofed dough, it may be too stiff and lack proper dough elasticity, which can hinder flavor development. Let it rest longer in a warm spot until it’s more pliable and has expanded adequately. Adjusting proofing times carefully helps maintain the right dough elasticity, ensuring ideal flavor development and a tender, airy texture. Proper handling of these issues leads to pretzel bites that are flavorful, chewy, and perfectly proofed.
Enhancing Yeast Growth With Proper Hydration and Timing
To guarantee your yeast activates effectively, proper hydration and timing are essential. Ensuring ideal hydration levels helps yeast produce the gases needed for a light, fluffy dough. Pay attention to the temperature of your liquid—warm, not hot—so it activates yeast without killing it. Timing matters too; give your yeast enough time to proof until it’s bubbly and frothy, signaling it’s ready to work.
Ensure your yeast is properly hydrated and proofed for perfect, fluffy dough every time.
- Feel the excitement as your yeast begins to foam, promising perfect pretzels ahead
- Trust the process, knowing that proper hydration unlocks your dough’s full potential
- Savor the anticipation of that perfect rise, driven by precise timing and hydration
Frequently Asked Questions
Can I Proof Pretzel Dough in the Refrigerator Overnight?
Yes, you can proof pretzel dough in the refrigerator overnight. This cold fermentation slows yeast activity, developing deep flavor and a better texture. Just make sure your dough is properly covered to prevent it from drying out, which can make it dough slack. When you’re ready to bake, let the dough come to room temperature for easier handling, then shape and proceed with your recipe.
How Do Different Types of Yeast Affect Proofing Times?
Did you know that instant yeast activates in about half the time of active dry yeast? Different yeast types considerably impact proofing times because of their unique activation processes. For ideal yeast activation, proofing temperature should be around 100-110°F. Rapid-rise or instant yeast proof quickly, often within 30-45 minutes, while active dry yeast may take an hour or more. Adjust your proofing time based on the yeast you use for perfect pretzel bites.
Is It Necessary to Cover Dough During Proofing?
You should cover your dough during proofing to maintain ideal dough temperature and humidity control. Covering traps moisture and keeps the environment warm, which helps yeast activate properly. If you leave it uncovered, the dough can dry out or cool down, slowing proofing. So, always cover your dough with a damp cloth or plastic wrap, especially in cooler or dry environments, to guarantee consistent, effective proofing.
What Signs Indicate Yeast Has Expired or Is Inactive?
Did you know that over 80% of home bakers struggle with yeast freshness? If you’re unsure about your yeast’s activity, look for activation signs like foam or bubbles within 5-10 minutes of mixing. If there’s no sign of life, your yeast may be inactive or expired. Always check the expiration date and test it beforehand to make certain your dough rises perfectly.
Can I Proof Dough in a Warm Oven Without Turning It On?
You can proof dough in a warm oven without turning it on by creating a controlled environment. Set the oven temperature to the lowest setting, then turn it off before placing your dough inside. To maintain moisture, add a bowl of hot water or cover the dough with a damp cloth. This method guarantees the right warmth and moisture control, helping your dough rise properly without heating the oven.
Conclusion
Now that you know the secrets to perfect yeast proofing, your pretzel bites are about to transform. But don’t get too comfortable—one small mistake can throw everything off. Will your dough rise just right, or will it fall flat? Keep these tips in mind, stay attentive, and watch your yeast work its magic. The perfect garlic-butter pretzel bites are within your reach—are you ready to make them happen?