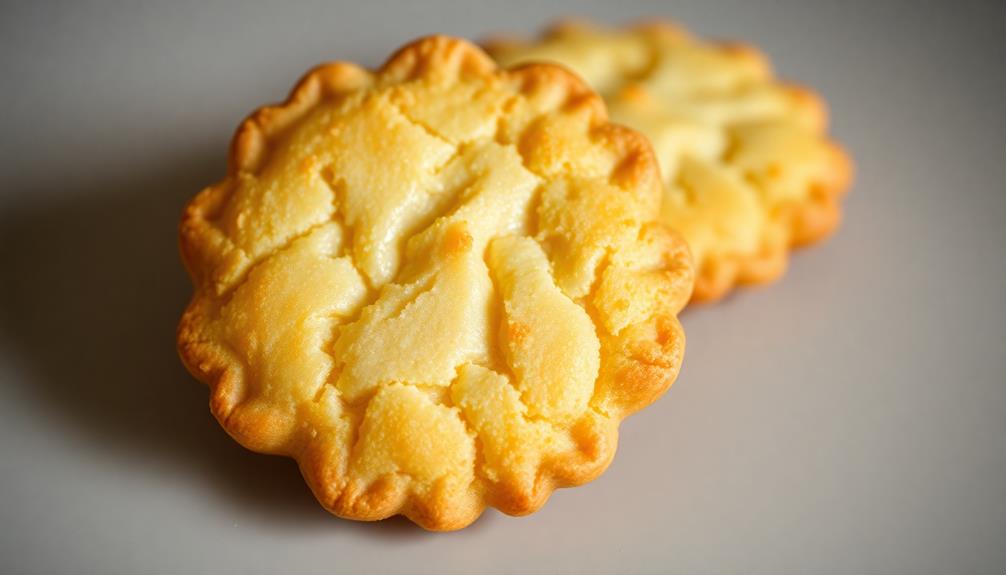
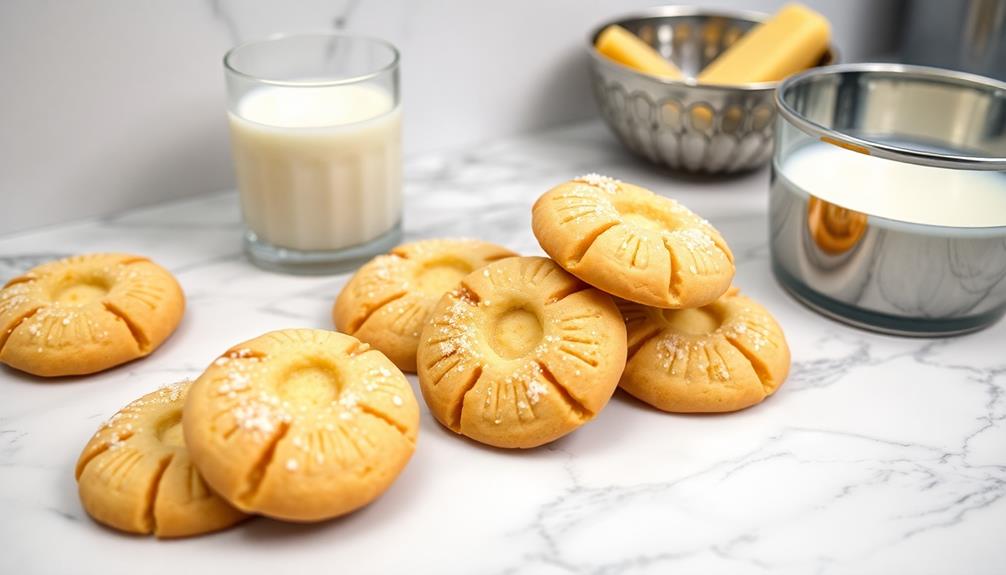
Savor the rich history and delightful flavors of French butter cookies, known as sablés. Originating in the 16th century, these crumbly, buttery treats have become a cherished part of French culinary tradition. To master the art of sablés, you'll need high-quality ingredients and meticulous technique – from chilling the dough to carefully monitoring the bake time. With a little practice, you'll be whipping up these melt-in-your-mouth delights that can be enjoyed on their own or paired with a steaming cup of tea. And if you're hoping to elevate your cookie game even further…
Key Takeaways
- The origins of French butter cookies, known as sablés, date back to the 16th century, with a surge in popularity during the 19th century.
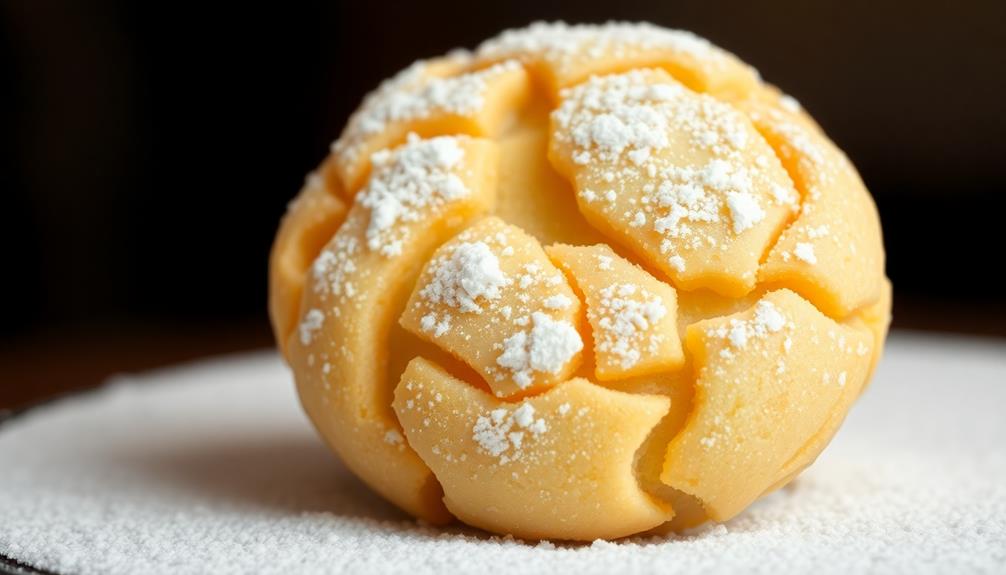
- Sablés have become staples in Parisian cafés and patisseries, and the term "sablé" translates to "sandy," reflecting their delicate, crumbly texture.
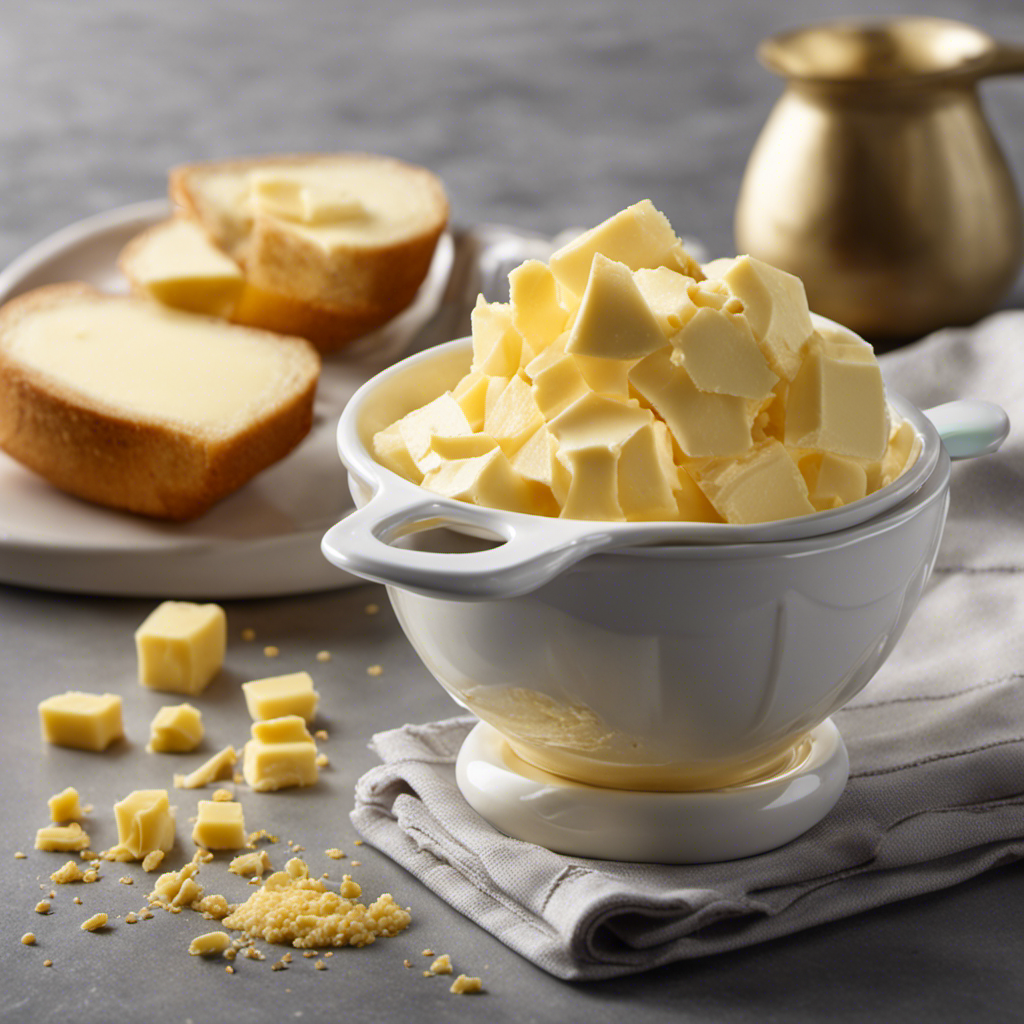
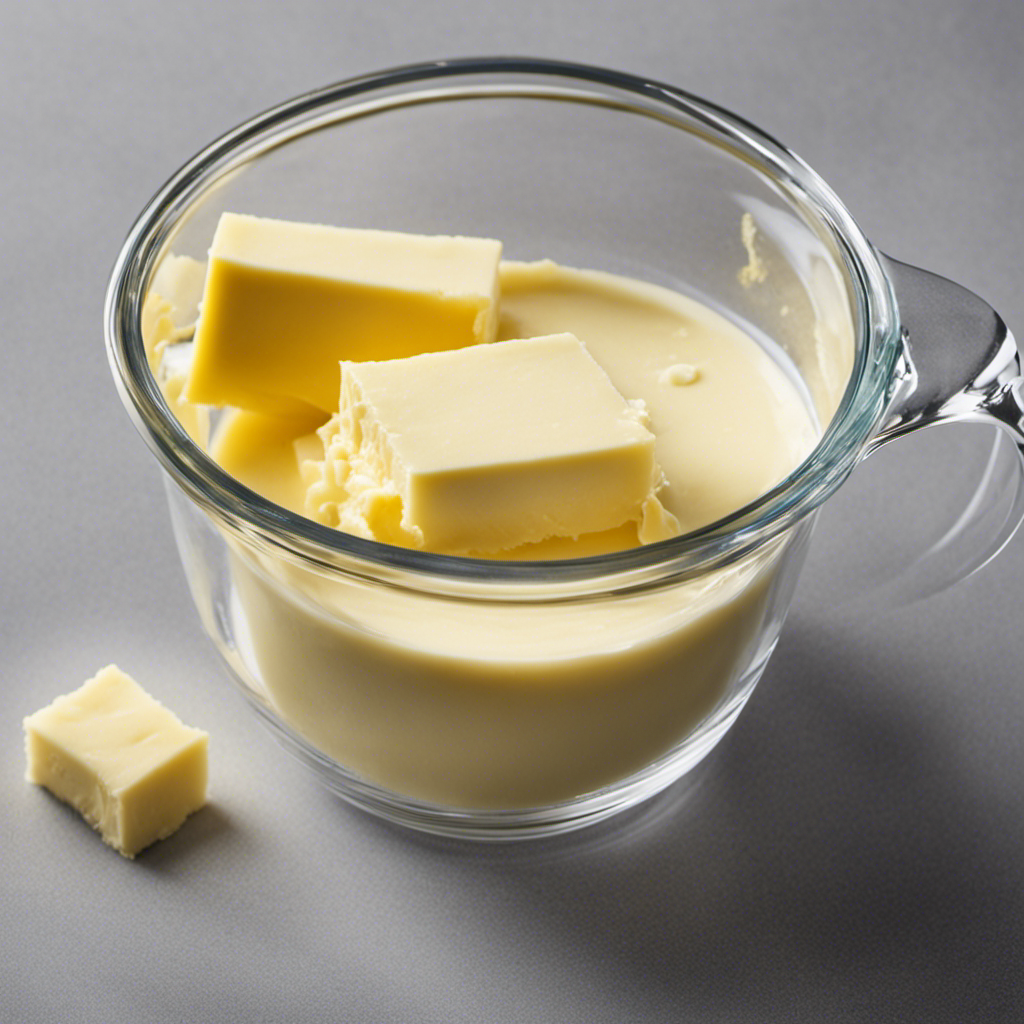
- The recipe essentials for sablés include high-quality, unsalted butter, flour, sugar, egg, vanilla extract, and salt to achieve the rich flavor and texture.
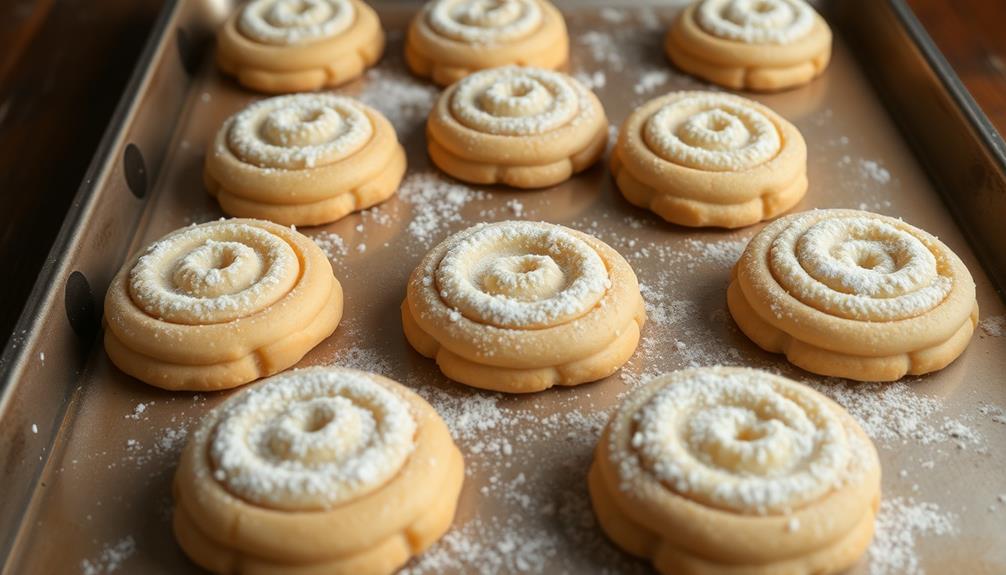
- The preparation and cooking steps for sablés involve chilling the dough, shaping it into a log, slicing it, and baking at the optimal temperature for 10-12 minutes.
- Sablés can be customized with various flavorings and shaped into different forms, making them a versatile and visually appealing treat that can be gifted or enjoyed with tea or coffee.

Amazon Grocery, Sweet Cream Butter, Unsalted, 16 Oz
- Product Size: 16-ounce Unsalted Butter
- Milk Source: Made from cows not treated with rBST
- Country of Origin: Made in the USA
As an affiliate, we earn on qualifying purchases.
As an affiliate, we earn on qualifying purchases.
History
Although the origins of French butter cookies can be traced back to the 16th century, their popularity soared during the 19th century. These delightful treats, known as sablés, became a staple in Parisian cafés and patisseries, captivating the hearts and taste buds of locals and visitors alike.
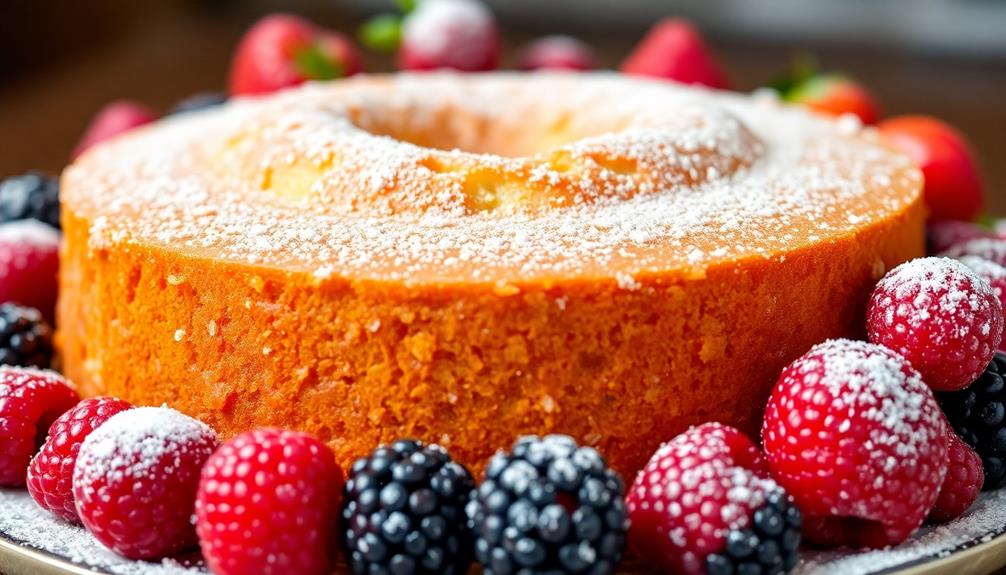
The word "sablé" translates to "sandy" in French, referring to the delicate, crumbly texture of these cookies. This texture is achieved through the careful blending of butter, sugar, and flour, creating a melt-in-your-mouth experience.
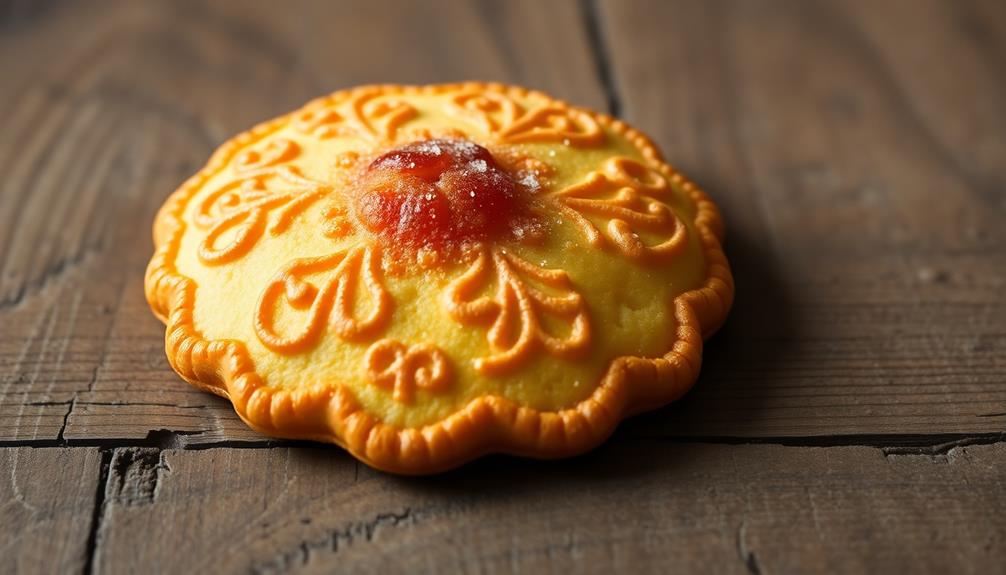
Over time, sablés evolved, with creative bakers experimenting with various flavors and shapes, from the classic round discs to more intricate designs.
Today, French butter cookies remain a cherished part of the country's culinary heritage. Whether enjoyed with a steaming cup of coffee, gifted to loved ones, or savored on their own, these timeless treats continue to delight and inspire bakers and cookie enthusiasts around the world.
Recipe
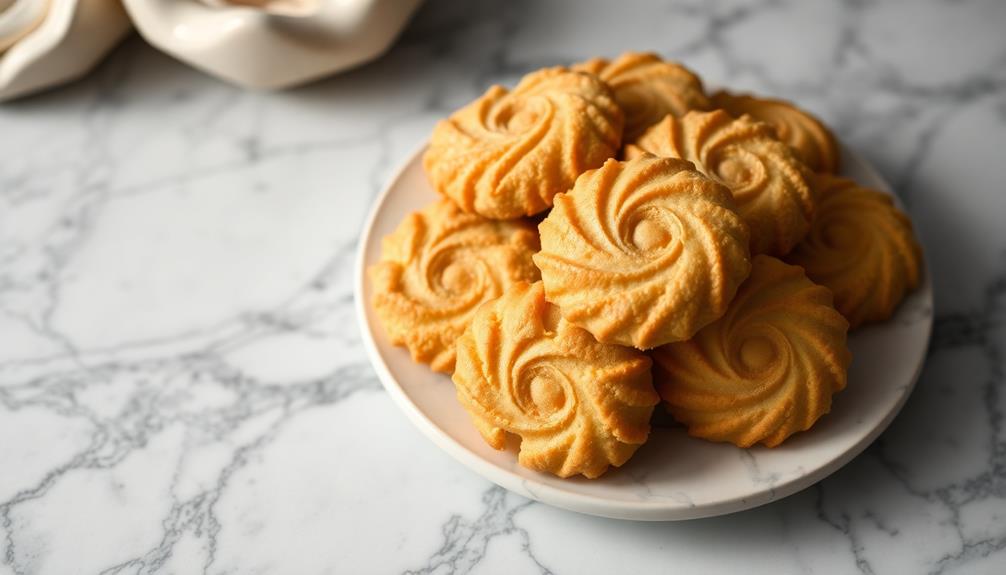
French butter cookies, also known as sablés, are a classic and beloved treat that originated in France. These buttery, crumbly cookies are perfect for enjoying with a cup of tea or coffee, or as a simple yet elegant dessert.
The secret to these delightful cookies lies in the quality of the ingredients and the careful attention to the mixing and baking process. The use of high-quality, unsalted butter is essential, as it provides the rich, creamy flavor that distinguishes these cookies from their counterparts.
Ingredients:
- 2 cups (250g) all-purpose flour
- 1 cup (225g) unsalted butter, softened
- 3/4 cup (150g) granulated sugar
- 1 egg
- 1 teaspoon vanilla extract
- 1/4 teaspoon salt
Instructions:
Preheat your oven to 350°F (180°C). In a large bowl, cream together the softened butter and sugar until light and fluffy. Beat in the egg and vanilla extract until well combined. Gradually add the flour and salt, mixing just until the dough comes together.
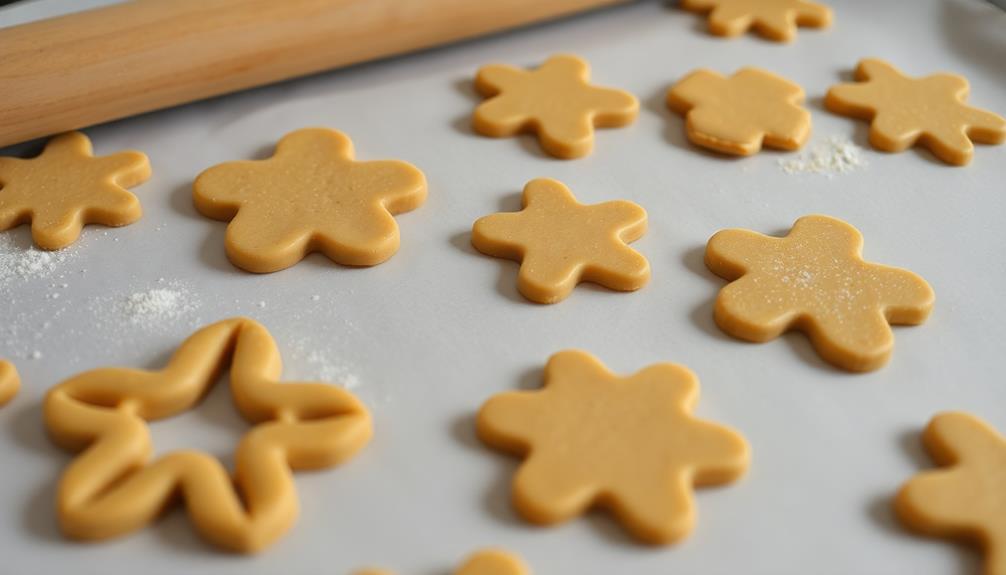
Shape the dough into a disk, wrap it in plastic wrap, and chill for at least 30 minutes. Once chilled, roll the dough out on a lightly floured surface to a thickness of about 1/4 inch (6mm). Use cookie cutters to cut out your desired shapes and place them on a parchment-lined baking sheet, spacing them about 1 inch (2.5cm) apart.
Bake for 10-12 minutes, or until the edges are lightly golden. Allow the cookies to cool on the baking sheet for 5 minutes before transferring them to a wire rack to cool completely.
To achieve the perfect texture, it's important not to overbake the cookies. The dough should be handled gently to prevent the gluten from developing, which can result in a tough, hard texture. Experiment with different shapes and sizes to find your favorite version of these classic French butter cookies.
Cooking Steps
First, you'll want to chill the dough for at least an hour. This helps the butter firm up, making the dough easier to work with.
Next, roll the chilled dough into a nice log shape.
Step 1. Chill Dough for at Least 1 Hour
After preparing the dough, it's crucial to chill it for at least an hour. This step allows the butter to firm up, making the dough easier to work with and helping the cookies hold their shape as they bake.
Pop the dough in the fridge and be patient – the wait is worth it! During this time, the flavors will also have a chance to meld, resulting in an even more delicious cookie.
Once an hour has passed, take the dough out of the fridge. It should feel cool to the touch and have a slightly firm texture.
Now you can start shaping the dough into logs or rounds, depending on your preferred cookie style. Work quickly, as you don't want the dough to become too soft. If it does start to get too warm, simply place it back in the fridge for a few minutes before continuing.
With properly chilled dough, you're well on your way to baking up a batch of perfectly shaped French butter cookies.
Step 2. Roll Dough Into Log
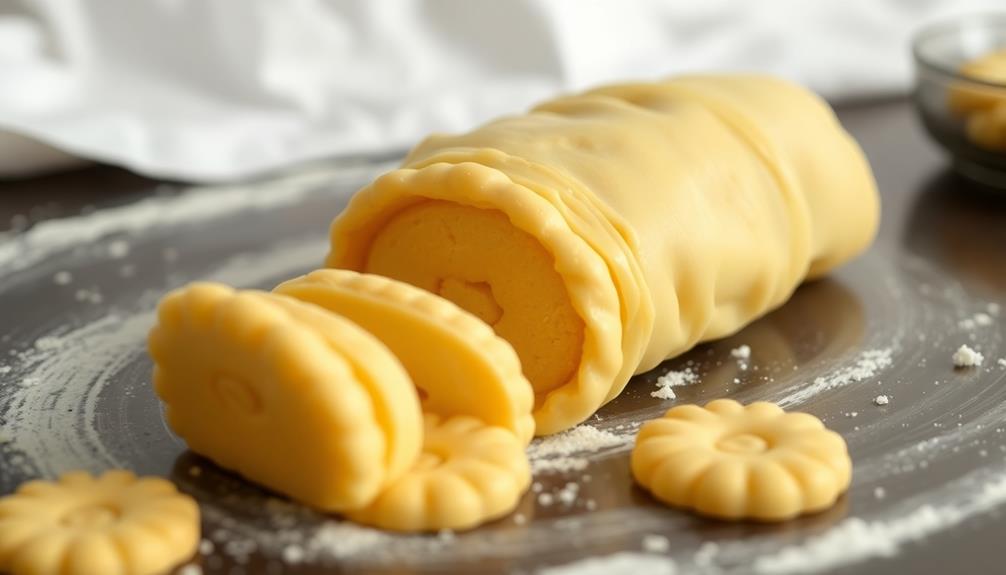
With the dough chilled and ready to go, start rolling it into a smooth log. Lightly flour a clean work surface, then place the dough on it.
Using your palms, gently roll the dough back and forth, applying even pressure, until it forms a uniform cylinder about 1 1/2 inches thick. Pay close attention as you roll, ensuring the log maintains a consistent diameter from end to end. If it starts to crack or become uneven, simply smooth it out with your hands.
Once you're satisfied with the shape, wrap the log tightly in parchment paper or plastic wrap. Refrigerate it for at least an hour, or up to 5 days, before slicing and baking. This resting period allows the flavors to meld and the dough to firm up, making it much easier to work with.
When you're ready to bake, the perfectly cylindrical log will yield beautifully uniform cookies every time.
Step 3. Cut Log Into Thin Slices
Once the dough log has rested, remove it from the refrigerator.
You'll want to work quickly, as the dough will start to soften at room temperature.
Grab a sharp knife and slice the log into thin, even pieces, about 1/4-inch thick.
Be mindful of your slicing – you don't want the cookies to be too thick or too thin.
As you slice, gently transfer the rounds to a parchment-lined baking sheet, spacing them out evenly.
This will ensure they bake up crisp and golden.
After you've sliced the entire log, take a moment to admire your handiwork.
Aren't those little rounds just perfect?
Now it's time to bake them off.
Slide the tray into your preheated oven and let the magic happen.
In about 12-15 minutes, your kitchen will be filled with the heavenly aroma of buttery, French-style cookies.
Keep an eye on them, as you want the edges to be lightly golden, not too dark.
Once they're ready, let the cookies cool on the baking sheet for a few minutes before transferring them to a wire rack.
Voila! You're well on your way to perfectly sliced French butter cookies.
Step 4. Bake Cookies at 350°F
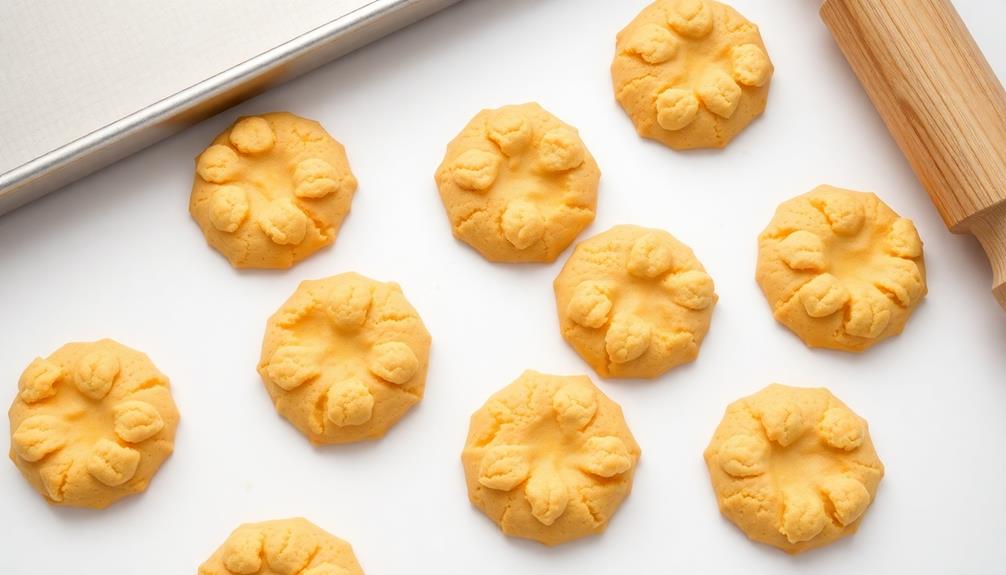
Preheat your oven to 350°F (175°C). This is the perfect temperature to bake your delightful French butter cookies to perfection.
Carefully place the thin slices of dough onto ungreased baking sheets, spacing them about an inch apart. This will allow the cookies to spread and develop their signature crumbly texture as they bake.
Set a timer for 10-12 minutes and keep a watchful eye on your cookies. You'll know they're ready when the edges turn a light golden brown.
Be careful not to overbake, as you want the centers to remain tender and buttery. Once they're out of the oven, let the cookies cool on the baking sheets for a couple of minutes before transferring them to a wire rack. This prevents them from becoming too crisp around the edges.
Now, pour yourself a cup of tea or coffee and savor the delicate, melt-in-your-mouth goodness of your homemade French butter cookies. Enjoy the fruits of your labor!
Step 5. Cool Cookies on Baking Sheet
After baking your delightful French butter cookies, let them cool on the baking sheets for a couple of minutes. This brief rest allows the cookies to firm up and prevents them from breaking when you transfer them to a wire rack.
Gently slide a spatula under each cookie, carefully lifting them one by one. The cookies should release easily from the pan, their golden-brown edges and buttery aroma tempting your senses.
Arrange the cookies in a single layer on the wire rack, leaving a bit of space between them to ensure even cooling. As they sit, you'll notice the cookies settle and develop their signature crisp, sandy texture.
Once completely cooled, you can stack the cookies or store them in an airtight container, ready to enjoy their delicate, melt-in-your-mouth perfection.
This cooling process is essential for achieving the classic French sablé cookie's perfect texture and flavor.
Final Thoughts
Although you may be tempted to simply enjoy the delightful French butter cookies you've meticulously prepared, it's important to consider a few final thoughts.
First and foremost, remember that these cookies are best savored slowly, allowing your taste buds to fully experience the buttery richness and delicate, crumbly texture. Don't be afraid to experiment with different serving suggestions, such as pairing them with a spot of Earl Grey tea or a glass of chilled Sauternes wine.
Additionally, consider the versatility of the sablé dough. You can easily customize the flavors by incorporating lemon zest, vanilla bean, or even a dash of cinnamon. The possibilities are endless!
Furthermore, these cookies make a wonderful homemade gift, beautifully packaged and tied with a ribbon. Your friends and family will surely appreciate the thoughtfulness and care you've put into creating these classic French treats.
Frequently Asked Questions
What Is the Best Way to Store Leftover French Butter Cookies?
The best way to store leftover French butter cookies is to keep them in an airtight container at room temperature. This will help preserve their crisp texture and prevent them from drying out or getting stale.
Can I Substitute Regular Butter for the Salted Butter in the Recipe?
You can substitute regular butter for the salted butter in the recipe, but the cookies may not have the same rich, salty-sweet flavor. The texture may also be slightly different. Consider adjusting the salt in the recipe to compensate.
How Do I Achieve the Perfect Crumbly Texture in French Butter Cookies?
To achieve the perfect crumbly texture, you'll want to use a combination of chilling the dough and carefully handling it. Gently mixing the ingredients and baking at a lower temperature can also help create that sought-after shortbread-like crumb.
Can I Freeze the Dough Before Baking to Save Time?
Yes, you can definitely freeze the dough before baking to save time. Just make sure to thaw it completely before shaping and baking the cookies. This won't affect the crumbly texture you're aiming for.
What Are Some Creative Ways to Decorate French Butter Cookies?
You can decorate French butter cookies in endless creative ways. Dust them with powdered sugar, drizzle with chocolate, sprinkle with nuts or sprinkles, or use cookie cutters to shape them into fun designs before baking.