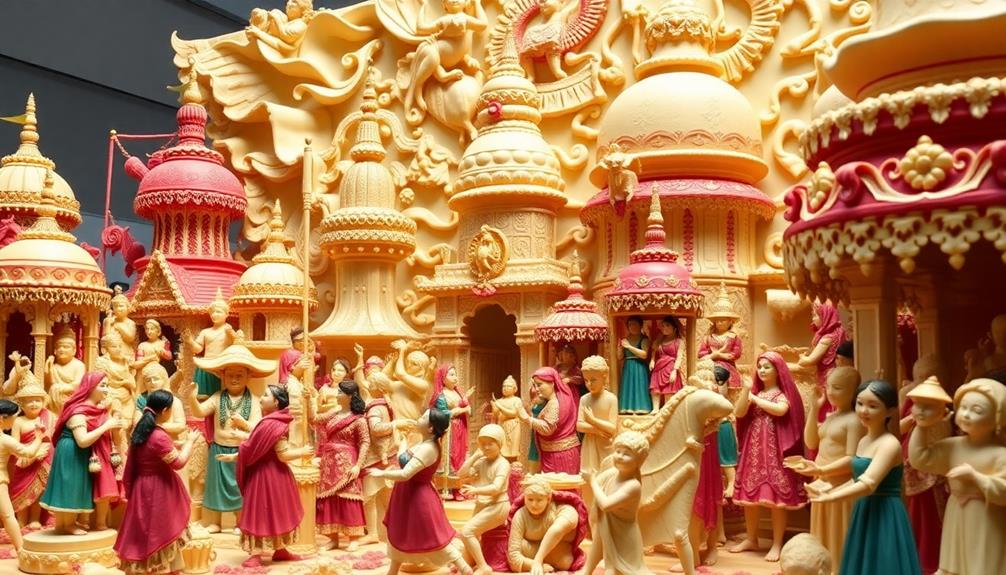
Elevate any celebration with the captivating artistry of festival butter sculptures, where masterful hands transform the humble dairy staple into breathtaking works of edible art. Tracing its roots to ancient civilizations, modern butter sculpting showcases remarkable skill and creativity. Start with high-quality unsalted butter, then use chilled tools and a steady hand to sculpt intricate designs. Experiment with vibrant colors, delicate details, and creative techniques to bring your vision to life. Whether adorning a wedding, birthday, or holiday event, these sculptures add whimsy, elegance, and lasting memories. With a little practice, you can elevate any occasion into a true work of art. Continue reading to uncover the secrets behind this enchanting culinary craft.
Key Takeaways
- Butter sculpting has a rich history, with origins in ancient civilizations and a tradition of showcasing culinary and artistic skills in various festivals and celebrations.
- Sculpting butter requires high-quality ingredients, specialized tools, and techniques like temperature control, softening, and using fingers and sculpting tools to create intricate designs.
- Butter sculptures can be enhanced with edible decorations like buttercream frosting, fresh fruits, and nuts, as well as melted chocolate and honey, to add visual interest.
- Butter sculptures are versatile decorations for weddings, birthdays, and holiday events, serving as centerpieces or dessert table adornments and creating memorable photo opportunities.
- Butter sculpting is an art form that requires skill, patience, and continuous practice, with the final sculptures leaving a lasting impact on attendees and inspiring future celebrations.
History
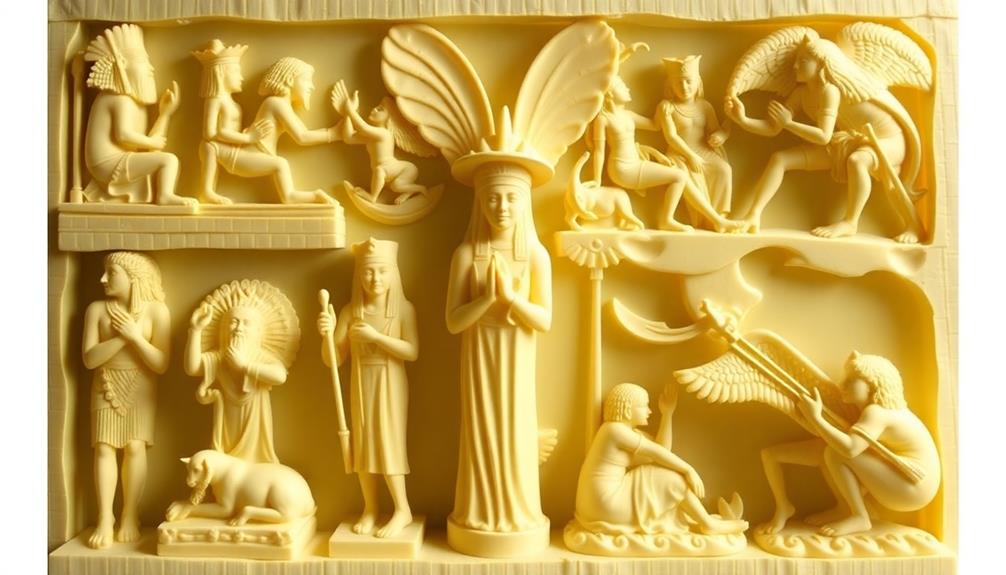
The art of butter sculpting dates back centuries, with early examples found in ancient civilizations across the globe. In ancient Egypt, sculpted butter was used in religious ceremonies, honoring the gods. Meanwhile, in ancient Greece, butter sculptures adorned temples and public events.
Centuries later, in 18th century Europe, butter carving became a popular way to showcase culinary skills and artistic talents at royal courts. During this time, skilled artisans crafted intricate designs, from delicate floral patterns to lifelike animals, all meticulously carved from blocks of butter.
Today, butter sculpting remains a cherished tradition, with artists around the world showcasing their talents at festivals and celebrations. Whether depicting beloved characters, seasonal scenes, or iconic landmarks, these ephemeral works of art delight onlookers and inspire a sense of wonder.
From the towering butter sculptures at state fairs to the delicate butter carvings that adorn holiday tables, the history of this unique art form is one of enduring creativity and cultural significance.
Recipe
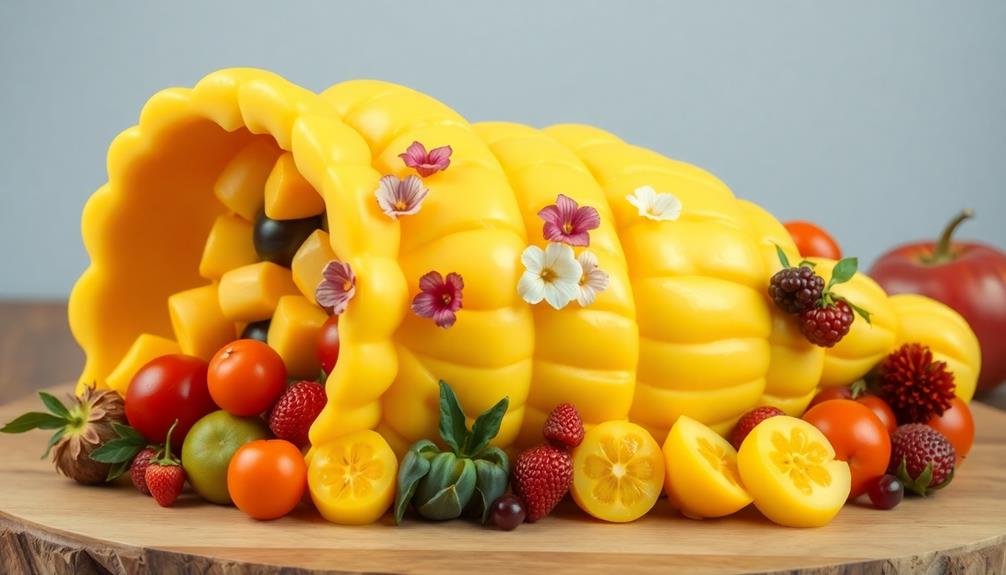
Butter sculptures have become a popular way to add a unique and eye-catching element to celebrations and events. These intricate works of art not only serve as beautiful decorations but also provide a delicious edible component to any gathering. By using high-quality butter, such as grass-fed butter, you can enhance both the flavor and visual appeal of your sculpture.
Creating your own butter sculpture can be a rewarding and creative process. With the right techniques and a bit of patience, you can transform a simple block of butter into a masterpiece that will impress your guests.
Ingredients:
- 1 pound of unsalted butter, softened
- Small sculpting tools (e.g., butter knives, toothpicks, or small sculpting tools)
- Chilled surface (e.g., a marble slab or baking sheet)
Cooking Instructions:
Begin by preparing your work surface. Place the softened butter on a chilled surface, such as a marble slab or baking sheet. This will help keep the butter firm and manageable as you work.
Using your sculpting tools, start shaping the butter into your desired design. You can create intricate patterns, figures, or even a simple geometric shape. Take your time and work slowly, gently shaping the butter to achieve the desired form.
Tips:
- Keep your sculpting tools and work surface chilled to prevent the butter from becoming too soft and difficult to work with.
- Consider practicing on a smaller scale first to get a feel for the sculpting process before attempting a larger piece.
- If the butter becomes too soft, you can place it in the refrigerator for a few minutes to firm up before continuing your sculpting.
- Once your sculpture is complete, you can display it as a centerpiece or use it to decorate your event or celebration.
Cooking Steps
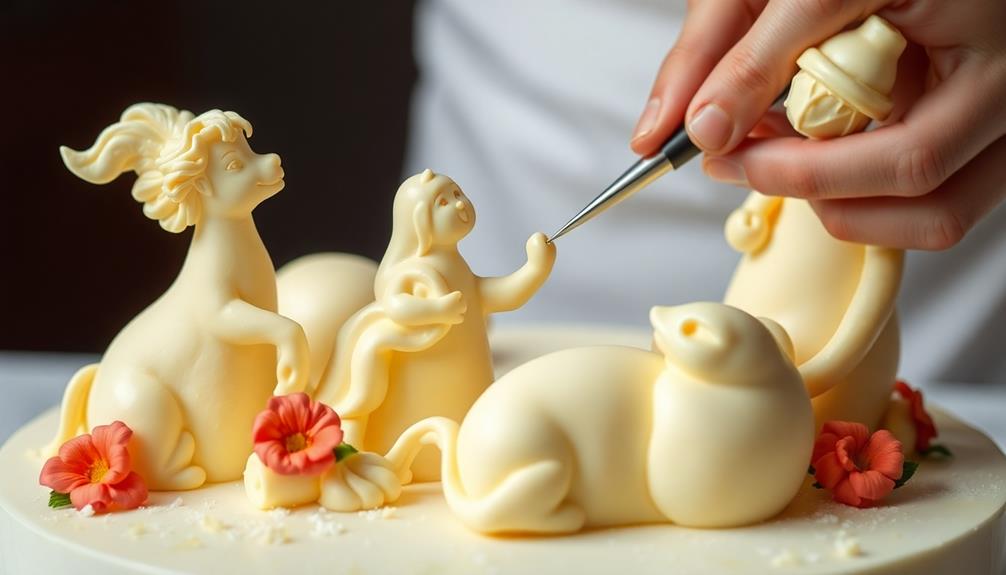
First, you'll need to gather the necessary butter and tools, like sculpting knives and molds.
Next, carefully sculpt the butter into your desired form, taking your time to perfect the details.
Step 1. Gather the Necessary Butter and Tools
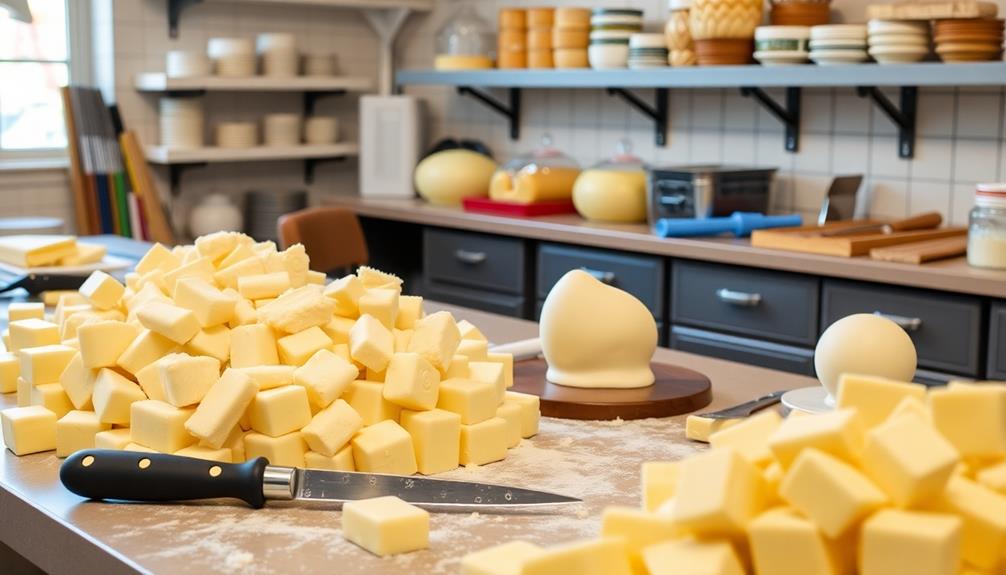
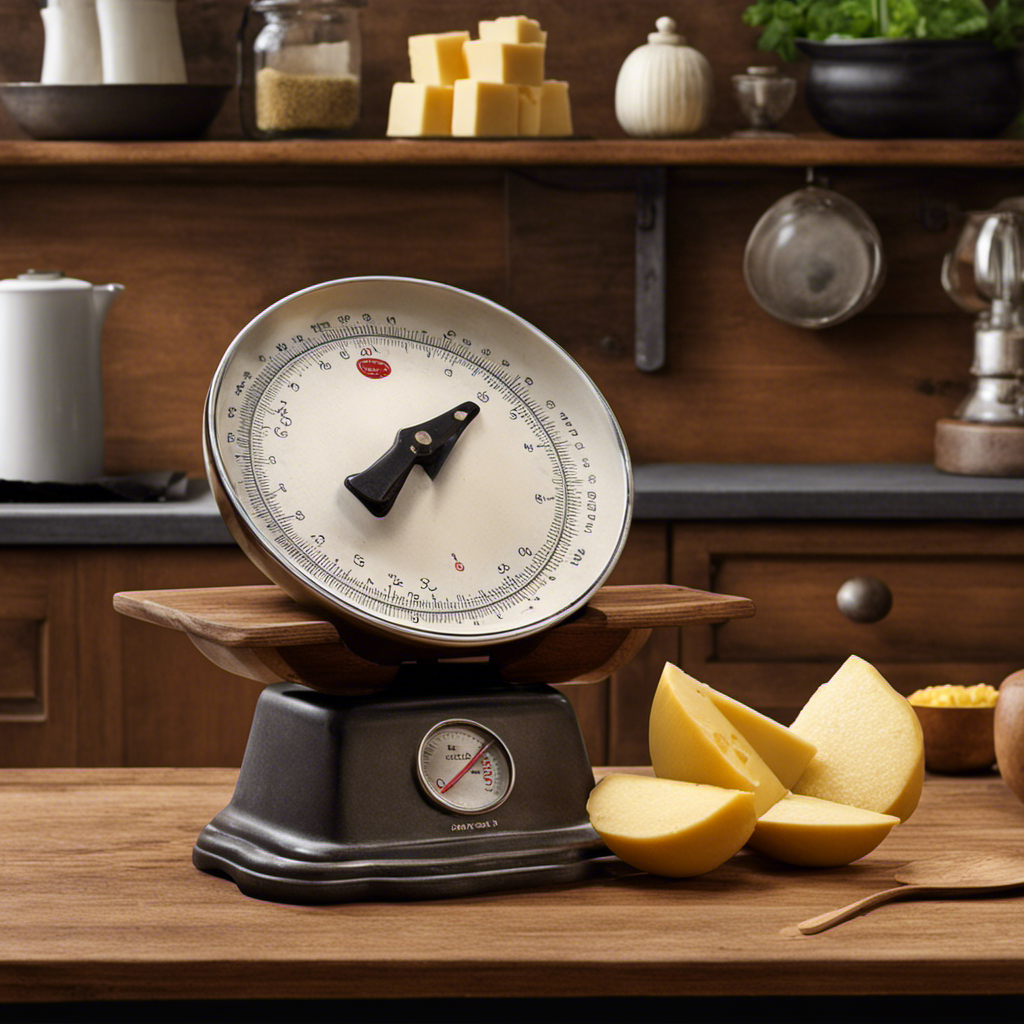
Gather a generous amount of high-quality butter, ensuring you have sufficient for your sculpting needs. Look for butter with a rich, creamy texture and bright yellow color – these qualities will make your sculptures stand out.
You'll also need a few essential tools, like sculpting knives, spatulas, and modeling tools. These will help you shape, carve, and refine your butter creations.
Don't forget a smooth, sturdy surface to work on, like a clean countertop or chilled cutting board. Temperature is key, so keep the butter cool and your work area below room temperature. This will prevent the butter from becoming too soft and difficult to manipulate.
With your butter and tools ready, you're one step closer to transforming this everyday ingredient into stunning works of art that will wow your guests at any celebration.
Step 2. Sculpt the Butter Into Desired Form
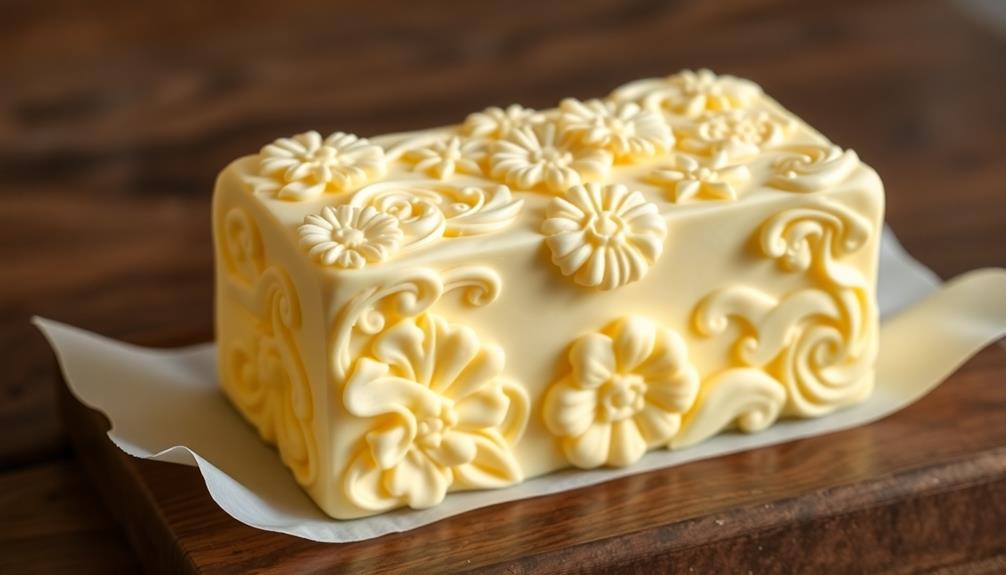
Begin by gently working the butter with your hands to soften it slightly, making it more pliable for sculpting. Once the butter is malleable, start shaping it into your desired design. Use your fingertips to smooth and refine the surface, creating clean, defined edges and lines.
If the butter starts to feel too soft, place it in the refrigerator for a few minutes to firm up again.
As you sculpt, let your creativity shine! Experiment with different techniques, such as using tools to create intricate details or textures. You can even combine multiple colors of butter to add visual interest to your creation.
Take your time and be patient – sculpting butter takes practice, but the results can be truly stunning.
Remember to keep your work space cool and your tools chilled to prevent the butter from becoming too soft. With a little skill and a lot of imagination, you can transform ordinary butter into a masterpiece fit for any celebration!
Step 3. Refrigerate Sculpture to Maintain Shape
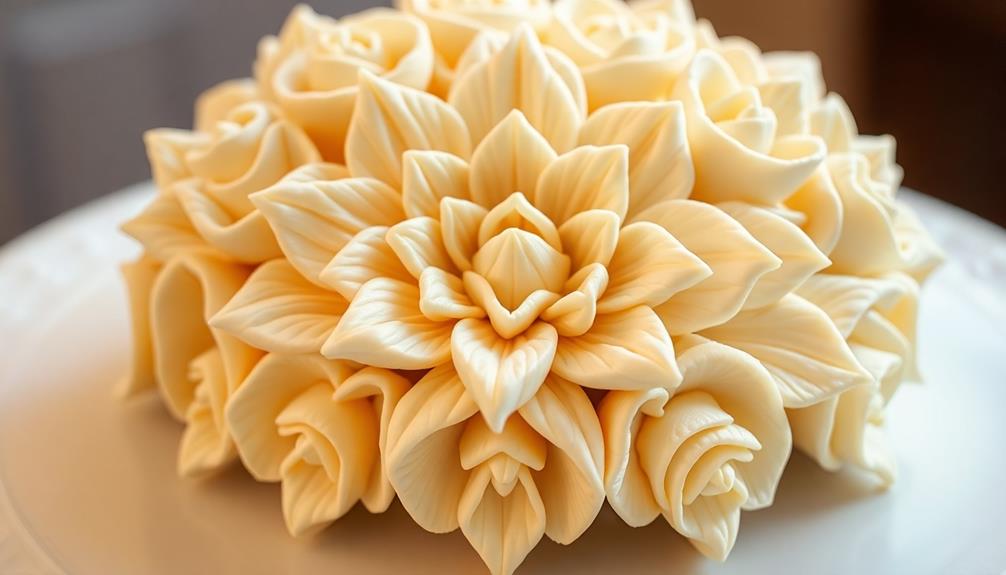
Once you've sculpted your desired butter design, it's important to refrigerate it to maintain its shape. Butter, being a soft, malleable fat, can easily lose its form if left at room temperature. By placing your delicate creation in the fridge, you'll lock in those intricate details and keep your butter sculpture looking its best.
Be sure to position your sculpture on a flat, stable surface within the refrigerator, allowing plenty of air circulation around it. This will help the butter stay firm and prevent any unwanted warping or melting.
Keep a close eye on the temperature, ensuring it stays between 35-40°F to preserve the sculpture's integrity.
When it's time to display your masterpiece, take it out of the fridge about 30 minutes before your event. This will allow the butter to warm up just enough to enhance its shine and smooth texture, without compromising the design.
With proper refrigeration, your butter sculpture will be the talk of the celebration, delighting guests with its artistic elegance.
Step 4. Adorn With Edible Decorations
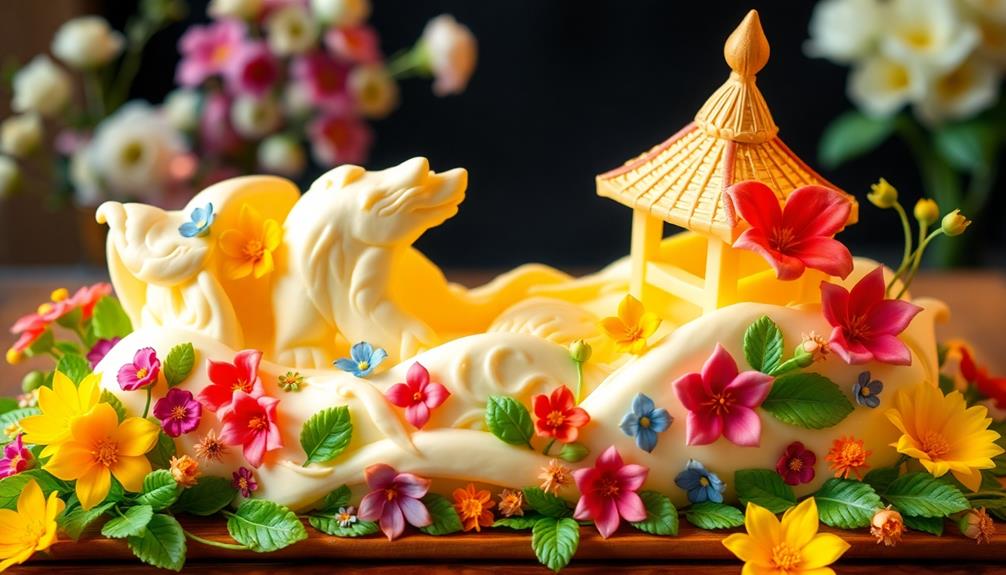
With your butter sculpture now firmly chilled, you can start adorning it with a variety of edible decorations.
Butter, especially European butter, is known for its superior quality and flavor, which can enhance the richness of your sculpture. Get creative and let your imagination run wild!
Carefully pipe on colorful swirls of buttercream frosting, adding dimension and texture to your masterpiece. Slice fresh fruits like strawberries, kiwi, or citrus and arrange them strategically to create a vibrant, eye-catching design.
Sprinkle on crushed nuts, shredded coconut, or edible glitter for a touch of sparkle and crunch. Don't be afraid to experiment – try piping intricate patterns with melted chocolate or drizzling honey for a sweet, glossy finish.
With a few simple techniques, you can transform your chilled butter sculpture into an impressive, delectable centerpiece that will delight your guests.
The possibilities are endless, so have fun and let your creativity shine through in this edible art form.
Step 5. Display the Sculpture
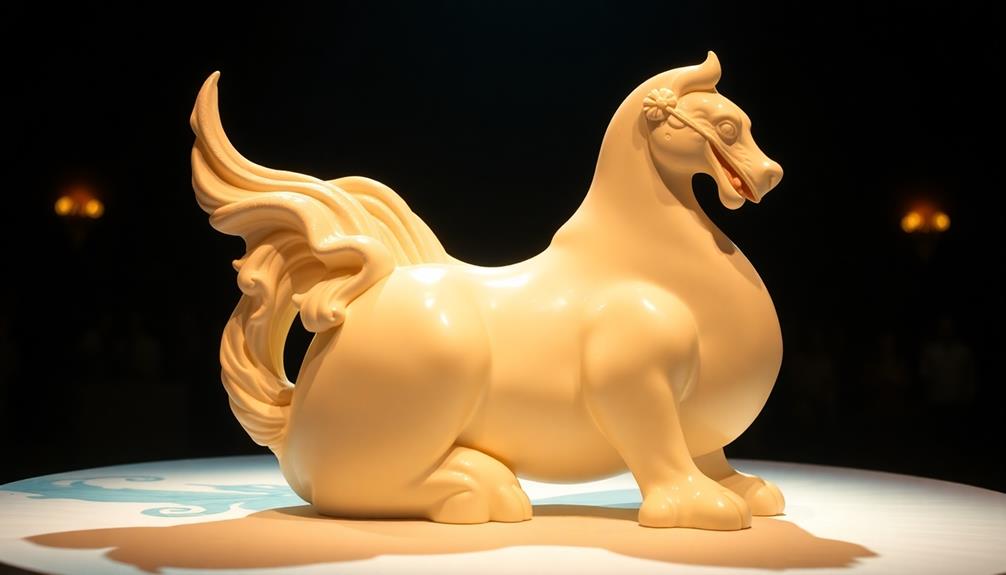
After you've adorned your butter sculpture with vibrant, edible decorations, it's time to display your masterpiece. Choose a prominent spot in your celebration space, like the center of the buffet table or a special side table.
Ensure the area is cool, out of direct sunlight, and free from any potential hazards. Carefully transfer your sculpture, supporting it from the bottom, and place it on a sturdy surface.
Step back and admire your creation! The play of light on the smooth, shiny butter is truly mesmerizing. Encourage guests to examine the intricate details up close, but be mindful of the delicate nature of the sculpture.
Throughout the event, keep a watchful eye and consider adding a small fan nearby to maintain the sculpture's shape. As your celebration winds down, savor the moment and take pride in sharing your edible artwork.
With a little care, your butter sculpture will be the talk of the party!
Final Thoughts
Butter sculptures, though fleeting in nature, can elevate any celebration with their captivating artistry.
Whether you're planning a wedding, birthday party, or holiday event, incorporating these unique butter creations is a surefire way to leave a lasting impression on your guests. The process of sculpting butter into intricate, lifelike designs not only showcases the skill of the artist but also adds a touch of whimsy and elegance to the festivities.
While the sculptures may eventually melt away, the memories and delight they evoke will linger long after the event has concluded.
Imagine the awe and wonder on your guests' faces as they admire the delicate details and impressive craftsmanship of a butter sculpture centerpiece or a towering butter creation adorning the dessert table.
These unique and captivating works of art can truly transform any celebration into an unforgettable experience.
Frequently Asked Questions
How Long Do Butter Sculptures Typically Last?
Butter sculptures typically last for a few days, depending on the temperature and humidity. They can melt and lose their shape quickly, so they're best enjoyed at the event or celebration where they're displayed.
Can Butter Sculptures Be Refrigerated or Frozen?
You can refrigerate or freeze butter sculptures to prolong their lifespan, but keep in mind that extreme temperatures can cause them to harden and become brittle, potentially compromising their artistic integrity.
What Tools Are Used to Create Butter Sculptures?
To create butter sculptures, you'll need a variety of tools like small knives, spatulas, and sculpting tools. These allow you to carve, shape, and detail the butter as you transform it into intricate works of art.
Can Butter Sculptures Be Transported Safely?
Yes, you can transport butter sculptures safely. Use chilled storage containers, insulated bags, or coolers to keep the butter firm during transit. Handle the sculptures carefully and avoid exposing them to warmth or direct sunlight.
How Do I Clean up After Making a Butter Sculpture?
To clean up after making a butter sculpture, start by carefully removing any excess butter. Next, use warm soapy water and a soft cloth to wipe down the surface, ensuring you don't damage the sculpture. Dispose of the used cloth and wash your hands thoroughly.
