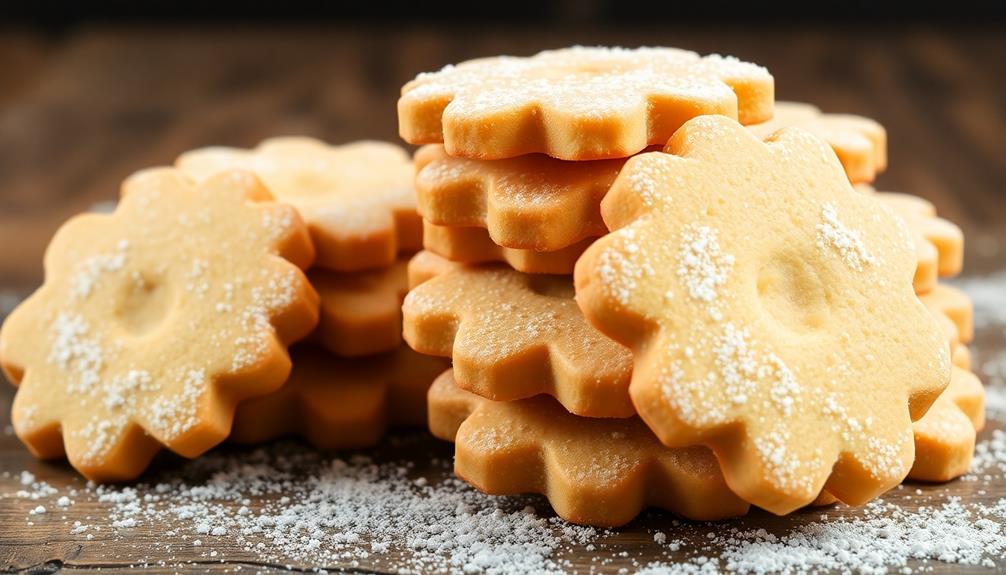

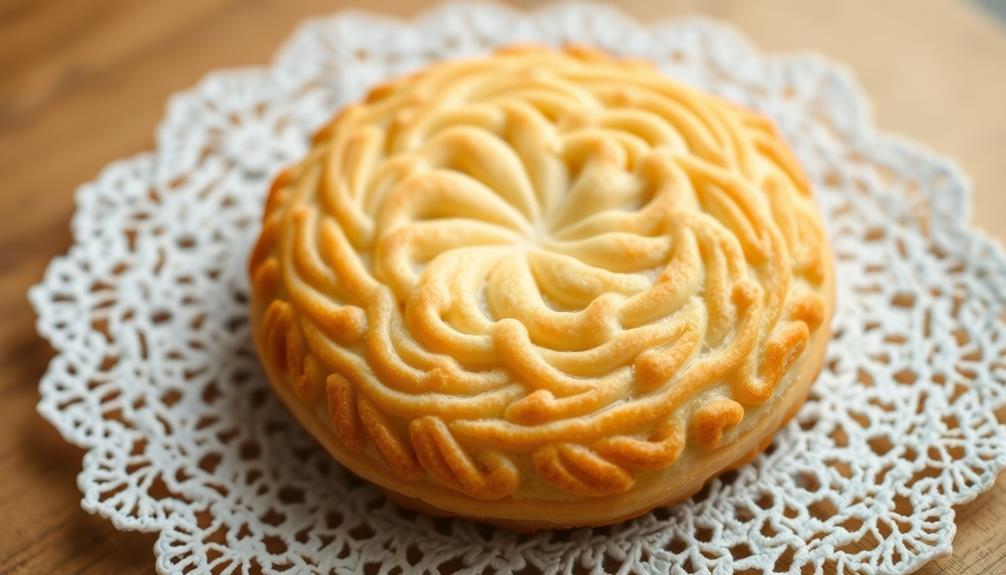
You can easily bake the classic Danish butter cookies at home, bringing the irresistible aroma and comforting flavors of this timeless treat right to your kitchen. Rooted in Danish culinary heritage, these cookies showcase a simple yet indulgent recipe featuring high-quality butter, sugar, egg yolks, and vanilla. With a crisp exterior and tender, melt-in-your-mouth interior, they pair perfectly with a hot cup of tea or coffee. Whether you shape them into traditional rounds or get creative with decorative designs, these buttery delights are sure to delight your senses and become a cherished part of your baking repertoire. If you'd like to learn more about the rich history and nuanced techniques behind these beloved Danish cookies…
Key Takeaways
- Danish butter cookies are a classic, deeply rooted in Danish culinary traditions, showcasing the country's rich cultural heritage.
- The simple yet delicious recipe, featuring key ingredients like butter, sugar, and vanilla, has made these cookies a beloved staple in Danish households and globally.
- These cookies are known for their crisp exterior and tender, melt-in-your-mouth texture, making them a versatile treat that can be enjoyed with coffee, tea, or as a standalone snack.
- Baking these cookies at home allows for experimentation with flavors and decorative shapes, while the aroma of freshly baked cookies fills the home.
- Danish butter cookies are often associated with family traditions and are frequently gifted during holidays and special occasions, representing a blend of simplicity and indulgence.

OXO Good Grips 14-Piece Cookie Press Set, Cookie Press with 12 Stainless Steel Disks and Storage Case, Holiday Baking and Everyday Treats, Essential Baking Supplies
- Consistent Cookie Shapes: Create perfectly-shaped cookies every time
- 12 Stainless Steel Disks: Festive patterns for variety and durability
- Non-Slip Base: Secure and stable for easy pressing
As an affiliate, we earn on qualifying purchases.
As an affiliate, we earn on qualifying purchases.
History
For centuries, Danish butter cookies have been a beloved treat, deeply rooted in the culinary traditions of Denmark. These delectable cookies are a testament to the country's rich cultural heritage, with recipes passed down through generations and refined over time.
The origins of these buttery delights can be traced back to the 19th century, when Danish bakers began experimenting with simple, yet indulgent, ingredients to create a cookie that would capture the hearts and taste buds of their customers.
As the popularity of Danish butter cookies grew, they became a staple in households, bakeries, and even aboard ships, serving as a comforting and familiar treat for sailors on long voyages.
Today, these iconic cookies continue to be a beloved part of Danish culture, enjoyed not only locally but shared with the world as a cherished taste of Denmark.
Recipe
Danish butter cookies are a classic sweet treat that have been enjoyed for generations. These buttery, crisp cookies are the perfect accompaniment to a cup of coffee or tea.
The recipe for these delightful cookies is relatively simple, but the attention to detail in the preparation makes all the difference. With just a few ingredients and a bit of time, you can create a batch of these delectable cookies that will impress your friends and family.
Ingredients:
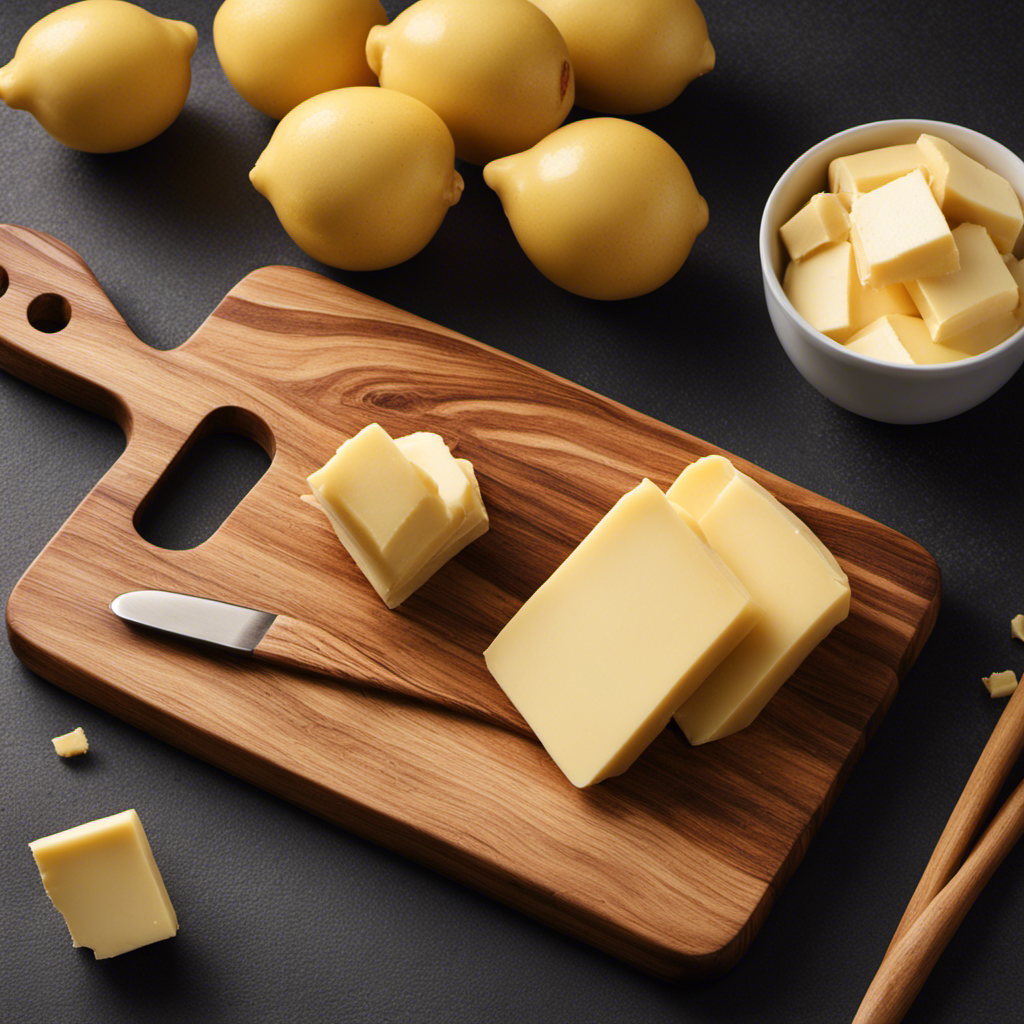
- 2 cups (4 sticks) unsalted butter, softened
- 1 cup granulated sugar
- 1 egg yolk
- 2 teaspoons vanilla extract
- 1/2 teaspoon salt
- 3 1/2 cups all-purpose flour
Cooking Instructions:
Preheat the oven to 350°F (175°C). In a large mixing bowl, cream the softened butter and sugar together until light and fluffy. Beat in the egg yolk, vanilla extract, and salt until well combined.
Gradually add the flour, mixing until a dough forms. Divide the dough into two equal parts and roll each piece into a log, approximately 1 1/2 inches in diameter. Wrap the logs in parchment paper or plastic wrap and refrigerate for at least 30 minutes.
Once the dough is chilled, slice the logs into 1/4-inch thick rounds and arrange them on baking sheets lined with parchment paper. Bake for 10-12 minutes, or until the cookies are golden brown around the edges. Allow the cookies to cool on the baking sheets for 5 minutes before transferring them to a wire rack to cool completely.
Tips:
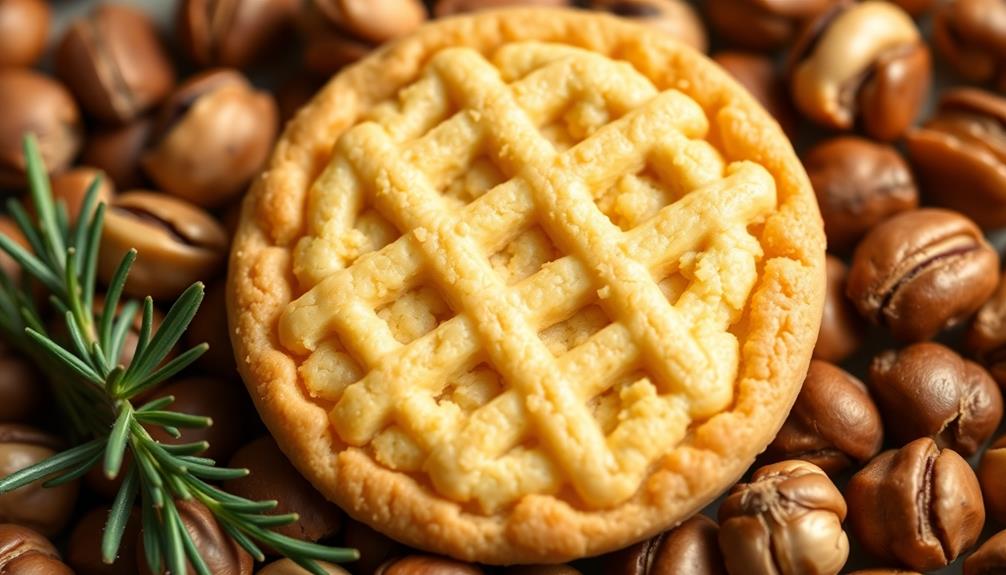
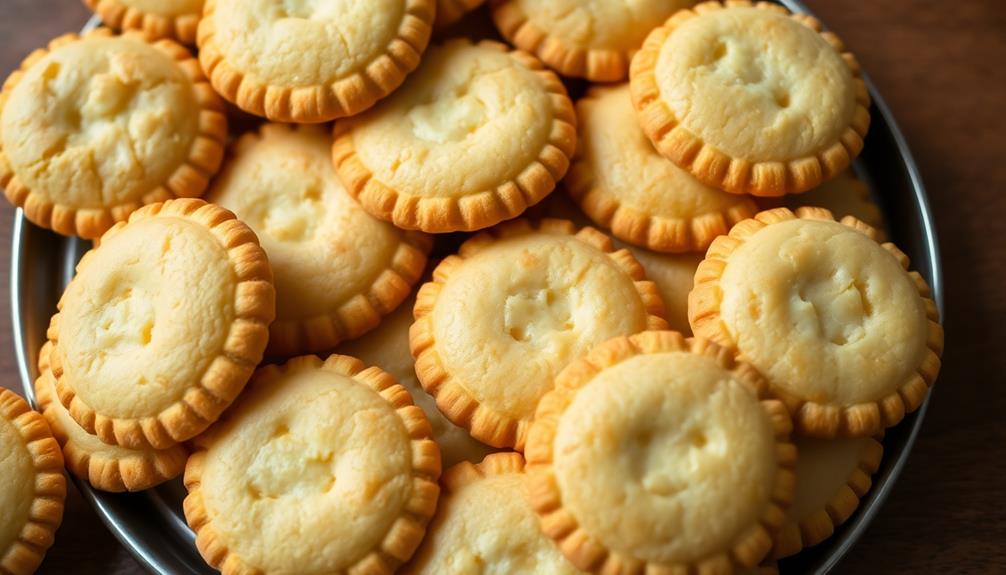
- For a more decorative look, you can press the dough into a cookie press or use a piping bag to create various shapes before baking.
- Experiment with different flavors by adding citrus zest, chopped nuts, or even a touch of almond extract to the dough.
- Store the cooled cookies in an airtight container at room temperature for up to 1 week, or in the freezer for up to 3 months.
Cooking Steps

Cream the butter and sugar together until light and fluffy.
Next, stir in the egg yolks and vanilla to create a rich, creamy base.
Now, mix in the dry ingredients – flour, baking powder, and salt – to form a smooth, pliable dough.
Roll the dough into small, uniform balls and get ready to bake them until they're golden brown and delicious.
Step 1. Cream Butter and Sugar Together
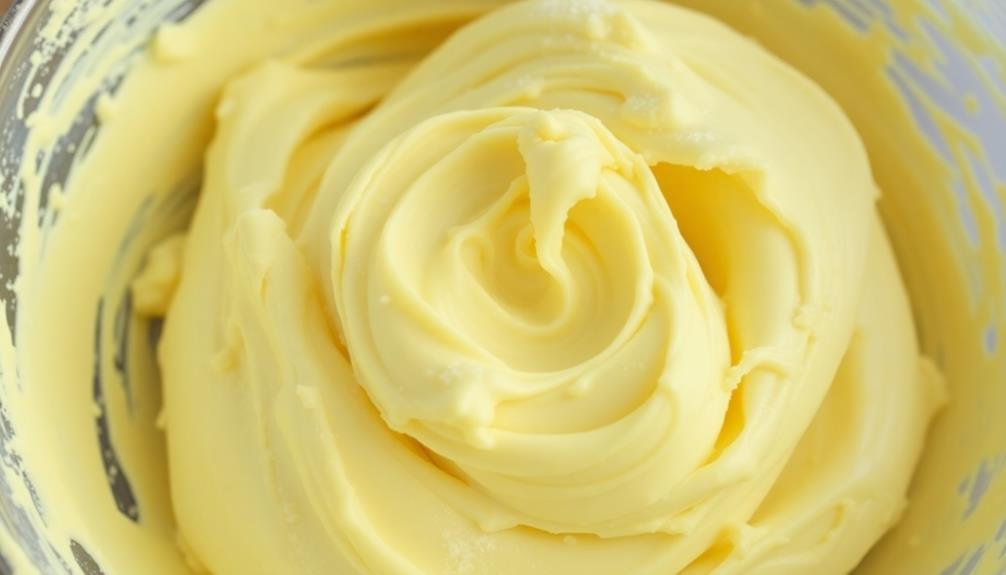
To begin, you'll want to cream the butter and sugar together until the mixture is light and fluffy. This process incorporates air into the ingredients, creating a rich, melt-in-your-mouth texture for your Danish butter cookies.
First, grab your room temperature butter and place it in a large mixing bowl. Use an electric hand mixer or a stand mixer fitted with the paddle attachment to beat the butter on medium-high speed for about 2 minutes, until it becomes smooth and creamy.
Next, gradually add the granulated sugar, a little at a time, continuing to beat the mixture for 3-5 minutes. The sugar should dissolve completely, and the batter should become pale yellow and airy.
Scrape down the sides of the bowl as needed to ensure even mixing.
Once the butter and sugar are perfectly creamed together, you're ready for the next step in crafting your delectable Danish butter cookies. Get ready to incorporate the flour and other key ingredients that will transform this luscious base into the classic treat.
Step 2. Add Egg Yolks and Vanilla
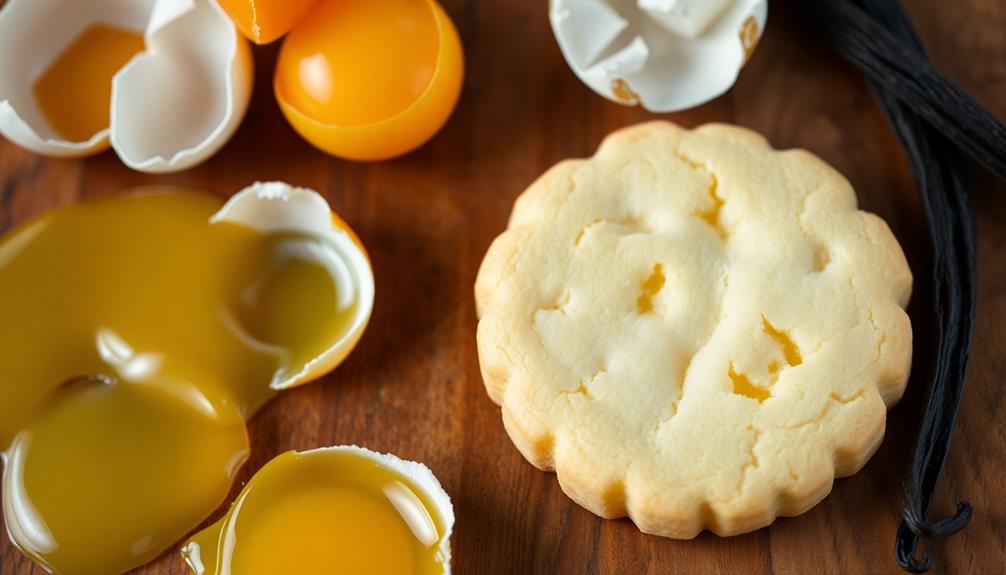
Next, add the egg yolks and vanilla extract to the creamed butter and sugar mixture. This step is crucial for achieving the rich, decadent flavor that makes Danish butter cookies so irresistible.
Crack the eggs, separating the yolks from the whites, and gently stir them into the buttery base. The egg yolks will add a silky, velvety texture to the dough, while the vanilla extract infuses it with a warm, aromatic sweetness.
Be sure to mix the ingredients thoroughly, incorporating the yolks and vanilla until they're evenly distributed. This step brings the dough one step closer to cookie perfection.
The combination of creamy butter, sweet sugar, and the luxurious egg yolks and vanilla creates a flavor profile that's simply out of this world.
Once you've mastered this stage, you'll be well on your way to baking up a batch of classic, melt-in-your-mouth Danish butter cookies.
Step 3. Add Dry Ingredients
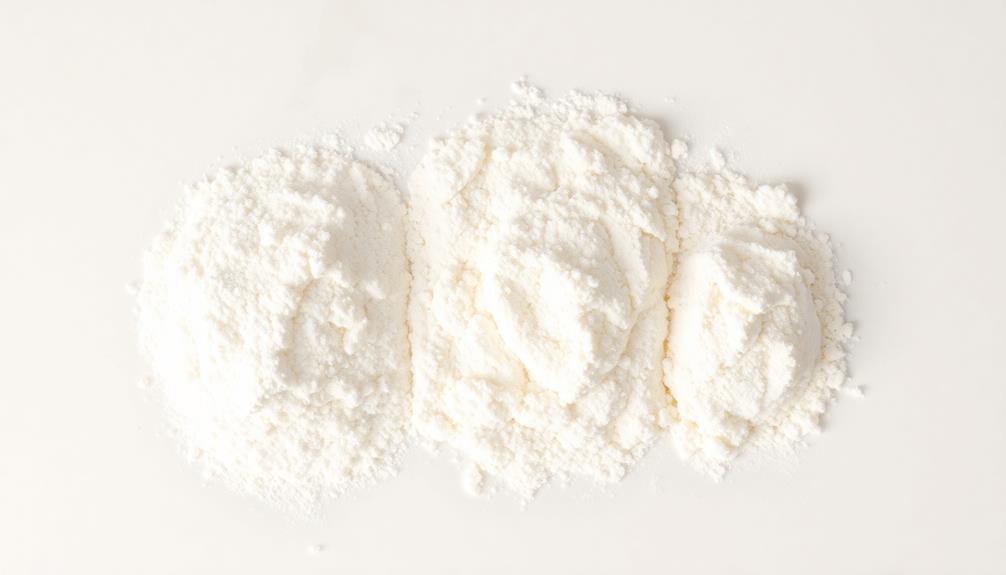
After incorporating the egg yolks and vanilla, you'll want to add the dry ingredients. This includes the all-purpose flour, cornstarch, and a pinch of salt.
Gently whisk these ingredients together in a medium bowl until they're thoroughly combined. The cornstarch helps create that melt-in-your-mouth texture that's so signature of Danish butter cookies.
Now, slowly add the dry mixture to the creamed butter and sugar, mixing just until everything comes together into a smooth dough. Be careful not to overmix, as that can lead to tough cookies.
The dough should have a soft, pliable consistency, perfect for shaping and baking. Once the dry ingredients are fully incorporated, your dough is ready to be portioned out and baked into those delightful, golden-brown Danish butter cookies you've been craving.
Get ready for your kitchen to fill with the irresistible aroma of buttery goodness.
Step 4. Roll Dough Into Balls

With your dough ready, begin rolling it into small, uniform balls. Scoop up a bit of the chilled dough and gently roll it between your palms to form a smooth, round shape. Aim for each ball to be about 1-inch in size, creating an even, consistent look.
As you roll, the warmth of your hands will help shape the dough without melting it. Place the formed balls onto the prepared baking sheets, spacing them about 2 inches apart to allow room for spreading.
Once you've rolled all the dough, refrigerate the sheets for 30 minutes before baking. This brief chilling period will help the cookies hold their shape as they bake.
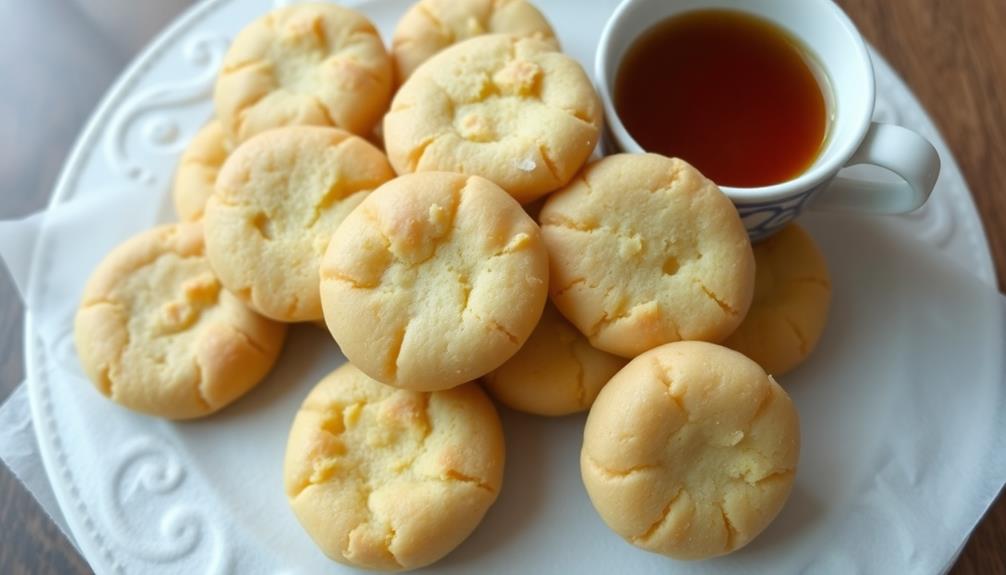
When they emerge from the oven, the cookies should be lightly golden on top with slightly cracked surfaces – a classic sign of perfect Danish butter cookies.
Get ready to enjoy the delightful flavor and tender, buttery texture you've created.
Step 5. Bake Cookies Until Golden Brown
Preheat your oven to 350°F (175°C) and line the baking sheets with parchment paper. This will help your cookies bake evenly and prevent them from sticking to the pan.
Carefully transfer the dough balls to the prepared baking sheets, spacing them about 2 inches apart. This gives them room to spread out and develop those crisp, golden-brown edges you love.
Bake the cookies for 12-15 minutes, keeping a close eye on them. You'll know they're ready when the edges turn a light golden-brown and the centers are set. The delectable aroma of buttery goodness will start to fill your kitchen, making it irresistible.
Once baked, remove the trays from the oven and let the cookies cool on the baking sheets for a few minutes before transferring them to a wire rack. This allows them to firm up and develop that perfect texture – crisp on the outside and tender within. Mmm, can you almost taste them already?
Final Thoughts
Though Danish butter cookies may seem like a simple treat, their enduring popularity is a testament to the timeless appeal of high-quality ingredients and traditional craftsmanship.
These buttery delights, with their crisp edges and tender, melt-in-your-mouth centers, are a delight to bake and share. By following the easy steps outlined in this article, you can now craft your own batch of these beloved cookies, filling your home with the warm, comforting aroma of freshly baked goodness.
Whether you enjoy them with a cup of hot tea, alongside a scoop of ice cream, or simply on their own, these Danish butter cookies are sure to become a new family favorite.
Frequently Asked Questions
Can I Substitute Margarine for Butter in the Recipe?
While you can substitute margarine for butter in the recipe, the cookies won't have the same rich, buttery flavor. The texture may also be different, as butter has different properties than margarine. It's best to use real butter for the authentic taste.
How Long Do Danish Butter Cookies Last on the Counter?
They'll typically last 5-7 days on the counter when stored in an airtight container. However, their freshness and texture may start to decline after a few days, so you'll want to enjoy them within a week for the best taste.
Can I Freeze the Dough to Bake Later?
Yes, you can freeze the dough to bake later. Just shape the dough into a log, wrap it tightly, and pop it in the freezer. When you're ready, thaw it in the fridge and bake as usual.
Why Are Danish Butter Cookies so Crumbly?
Why are they so crumbly? The high butter content gives these cookies their signature melt-in-your-mouth texture. The lack of added leavening agents also contributes to their delicate, crumbly nature. It's this tender quality that makes them such an irresistible treat.
Do Danish Butter Cookies Need to Be Refrigerated?
Do Danish butter cookies need to be refrigerated? They don't necessarily require refrigeration, but it can help extend their shelf life. At room temperature, they'll stay fresh for 1-2 weeks, while refrigeration can keep them edible for 2-3 weeks.