To cut frozen butter evenly using the ice-cube trick, start by freezing the butter until it’s very firm, then press a frozen ice cube against its surface for a few seconds to cool and harden it further. Using a sharp, serrated knife, gently slice through the butter, which resists crumbling thanks to the cold contraction. For perfect portions each time, maintaining a consistent freezing process is key. Keep exploring for more tips and techniques to perfect your butter-cutting skills.
Key Takeaways
- Use a cold ice cube pressed against the frozen butter to create a firm, chilled surface for smooth, even slicing.
- Wait a few seconds after applying the ice cube to allow the cooling effect to set before cutting.
- Employ a sharp, serrated knife and apply even pressure for precise, clean cuts through the chilled butter.
- Ensure the butter is frozen but not overly hard, possibly letting it sit briefly at room temperature before cutting.
- Wrap and store the cut pieces properly in airtight containers to maintain freshness and ease future use.
Gathering the Necessary Supplies
Before you begin, gather a few simple supplies: a sturdy ice cube tray or bag of ice, a sharp knife or a sturdy spatula, and a cutting board. Proper butter storage is key to maintaining its firmness, so guarantee your butter is well-frozen before starting. Using high-quality ice cubes helps create a consistent cold surface, making it easier to cut through the butter evenly. An ice cube tray with fresh, solid ice produces better ice cube quality, which prevents melting too quickly and ensures cleaner cuts. Avoid using melted or flimsy ice, as it can lead to uneven freezing and sloppy results. With these supplies ready, you’ll be set to achieve clean, precise slices of frozen butter using the ice-cube trick. Additionally, understanding freezing techniques can help ensure your butter stays firm and ready for precise slicing.
Preparing the Frozen Butter and Ice Cubes
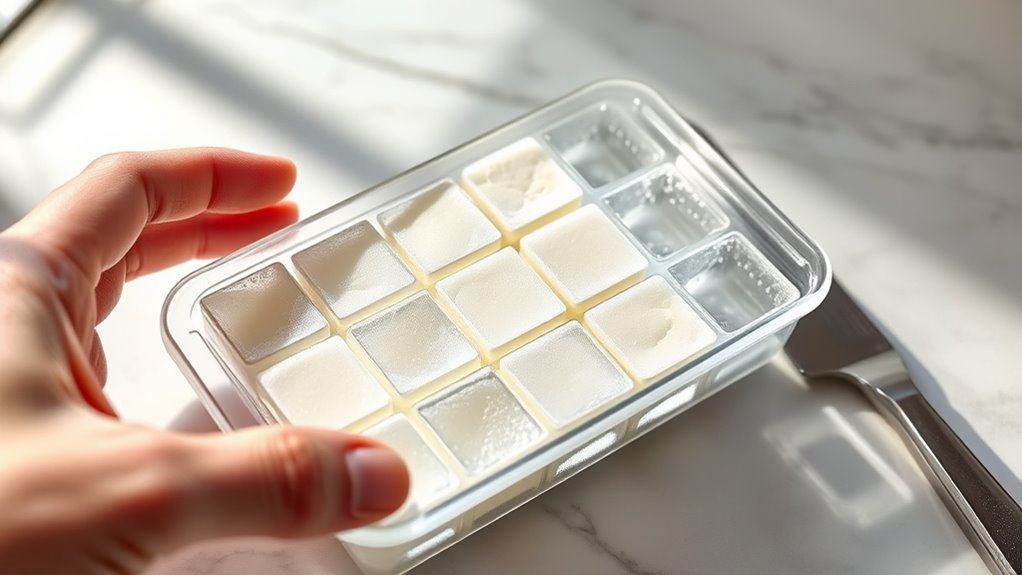
To prepare the frozen butter and ice cubes, start by ensuring your butter is thoroughly frozen—ideally, left in the freezer for several hours or overnight. Cold butter should have a firm, consistent texture, making it easier to cut evenly. The ice cube size matters too; smaller cubes work best for precise control and smoother cutting. Use a sharp knife and handle the butter quickly to prevent warming it up. For the ice, standard ice cube trays usually produce ideal-sized cubes, but if you want more control, use smaller molds. Keeping the butter at the right temperature and choosing the right ice cube size helps make your cutting process smooth and even. Here’s a quick comparison:
| Butter Temperature | Ice Cube Size | Cutting Ease |
|---|---|---|
| Very cold, firm | Small | Precise, clean |
| Slightly softer | Standard | Slightly more effort |
| Soft but frozen | Large | Difficult to cut |
Additionally, proper storage methods can help maintain the optimal firmness of your butter before freezing, ensuring consistent results when cutting.
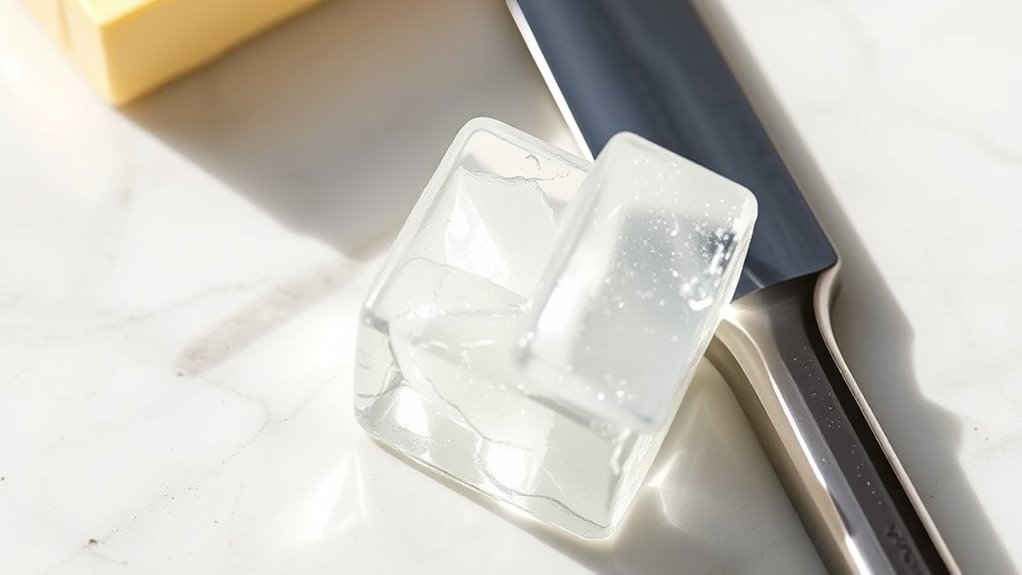
Applying the Ice‑Cube Technique to Cut Butter
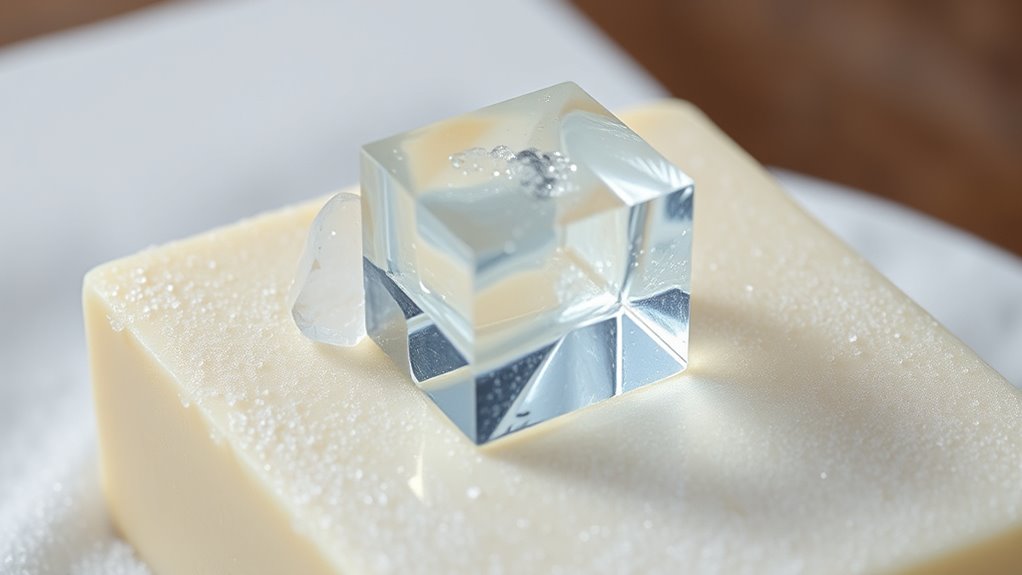
Using ice cubes to cut frozen butter can considerably improve your precision and ease. When you press an ice cube against the butter, the low ice cube temperature quickly chills the surface, increasing its firmness without making it too hard. This enhances butter softness at the edges, allowing for cleaner, more even cuts. To apply the technique, place the frozen butter on a stable surface and hold an ice cube firmly against the section you want to cut. Allow a few seconds for the ice cube to cool the butter’s surface. Then, use a sharp knife to slice through smoothly. The chilled butter will resist crumbling, and the even temperature difference ensures consistent thickness, making your cuts precise and neat every time. Incorporating the correct temperature, as recommended in food handling guidelines, can further optimize the results.
Tips for Achieving Precise and Even Pieces

Achieving precise and even pieces when cutting frozen butter requires a steady hand and attention to technique. First, ensure the butter’s consistency is firm but not too hard; ideal freezing duration helps achieve this. If it’s been frozen too long, it becomes too brittle, making clean cuts difficult; too short, and it remains too soft. Before cutting, let the butter sit at room temperature for a minute or two to slightly soften, which improves control. Use a sharp, serrated knife and apply even pressure, keeping your hand steady throughout. For uniform pieces, measure and mark the butter beforehand. Consistent freezing duration ensures the butter’s firmness stays predictable, making it easier to cut evenly without crumbling or deforming. Additionally, understanding Glycolic acid benefits can help you maintain healthy skin after handling cold ingredients.
Storing the Cut Butter for Future Use

Proper storage is essential to keep your cut butter fresh and maintain its quality for future use. To guarantee optimal butter storage, wrap the pieces tightly in plastic wrap or place them in airtight containers. This helps prevent exposure to air and moisture that can cause spoilage or freezer burn. Consider using preservation techniques like labeling each portion with the date to track freshness. If you plan to keep butter for an extended period, freezing it is ideal, but always ensure it’s properly sealed. When you’re ready to use it, thaw the butter in the refrigerator to preserve its texture. Additionally, understanding headphone compatibility can enhance your listening experience when using wireless or wired devices with your kitchen appliances. Good butter storage practices help retain flavor and consistency, making your butter ready for your next culinary adventure.
Frequently Asked Questions
Can This Method Be Used on Other Frozen Foods Besides Butter?
You wonder if the ice-cube trick works on other frozen foods. While it’s great for butter, it might not suit all items. Alternative freezing methods, like using a sharp knife or a serrated blade, can be better for different types of frozen foods such as bread or meat. The trick works best with soft, easily shaped items. For tougher or more delicate foods, consider different tools or techniques for cleaner cuts.
How Long Should the Ice Cube Sit on the Butter Before Cutting?
Wondering how long to wait? Well, the duration depends on the butter’s consistency and ice cube size. Typically, you should let the ice cube sit on the butter for about 1 to 2 minutes. This allows the ice to soften the surface just enough for a clean cut, without melting the butter. Keep an eye on the texture to make certain you get perfect slices every time.
Is This Technique Suitable for Large Quantities of Frozen Butter?
You wonder if this scaling technique, like the ice-cube trick, works for large quantities of frozen butter. It’s not ideal for commercial applications or big batches because it’s designed for small, precise cuts. For larger quantities, consider using a sharp knife or specialized equipment to guarantee even slices. The ice-cube trick is perfect for home use but isn’t scalable for professional or commercial needs.
What Are Common Mistakes to Avoid When Using This Trick?
Did you know that improper technique can lead to uneven butter slices? When using this trick, avoid common mistakes like improper tool selection and uneven ice placement. Always choose a sharp knife or proper cutting tool, and guarantee the ice cube is centered for consistent pressure. This helps you cut frozen butter evenly without crumbling or slipping, making your task smoother and more efficient.
Can the Ice-Cube Trick Be Used to Cut Butter Into Different Shapes?
You can use the ice-cube trick for butter shaping, but it’s best suited for creating uniform slices rather than intricate shapes. The ice-cube size helps control the thickness, so if you want different shapes, you’ll need to adjust the size or use molds after slicing. Keep in mind, this method works best for simple, even cuts, and shaping beyond that may require additional tools or techniques.
Conclusion
With this ice-cube trick, you can easily cut frozen butter into perfect, even pieces. Some might think it’s a hassle or worry about melting, but it’s quick and efficient, saving you time and mess. Remember, a little patience helps guarantee clean cuts without warming the butter. Give it a try, and you’ll find that even the toughest frozen butter becomes simple to handle—making your cooking prep smoother and more enjoyable.