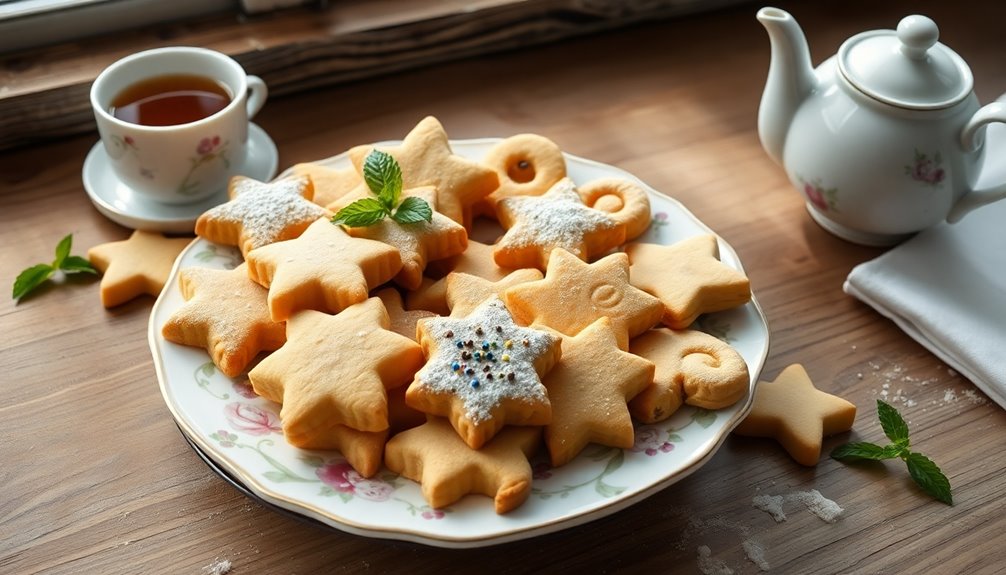
Classic Danish butter cookies are a delightful treat you'll love. With their rich, buttery flavor and melt-in-your-mouth texture, they're perfect for any occasion. You'll find the recipe simple, using just a few quality ingredients like unsalted butter, powdered sugar, and flour. Shaping them into beautiful designs makes them even more special. These cookies are a festive favorite, and there's so much more to discover about their history and variations if you keep exploring.
Key Takeaways
- Danish butter cookies, or "småkager," offer a rich, buttery flavor and delicate texture, making them a festive favorite.
- The iconic recipe features simple ingredients: unsalted butter, powdered sugar, all-purpose flour, vanilla extract, and a pinch of salt.
- Chilling the dough for 30 minutes enhances the flavor and ensures uniform baking when shaped into circles.
- These cookies can be easily customized with unique shapes and decorative designs for any occasion.
- Store in an airtight container for up to a week to maintain their melt-in-your-mouth quality and freshness.

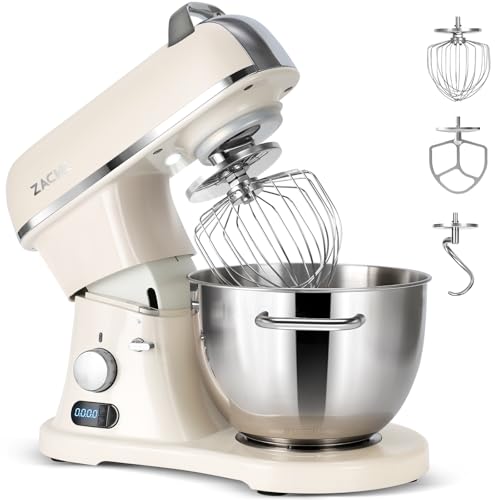
KitchenAid Classic Series 4.5 Quart Tilt-Head Stand Mixer K45SS, Onyx Black
Built to take it all on with the durable and built-to-last metal construction, and 59 touchpoints around the...
As an affiliate, we earn on qualifying purchases.
History
Danish butter cookies, or "småkager," have a rich history rooted in Denmark's culinary traditions. Originating from Denmark, these cookies are a festive favorite, often enjoyed during holidays. Their buttery taste and melt-in-your-mouth texture evoke a sense of nostalgia, making them a cherished treat at gatherings.
In the mid-20th century, Danish butter cookies gained international fame, especially when packaged in those iconic blue tins by brands like Royal Dansk. The simplicity of their classic recipe, featuring just butter, sugar, and flour, enhances their appeal.
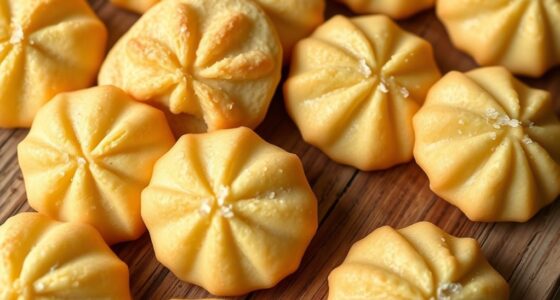
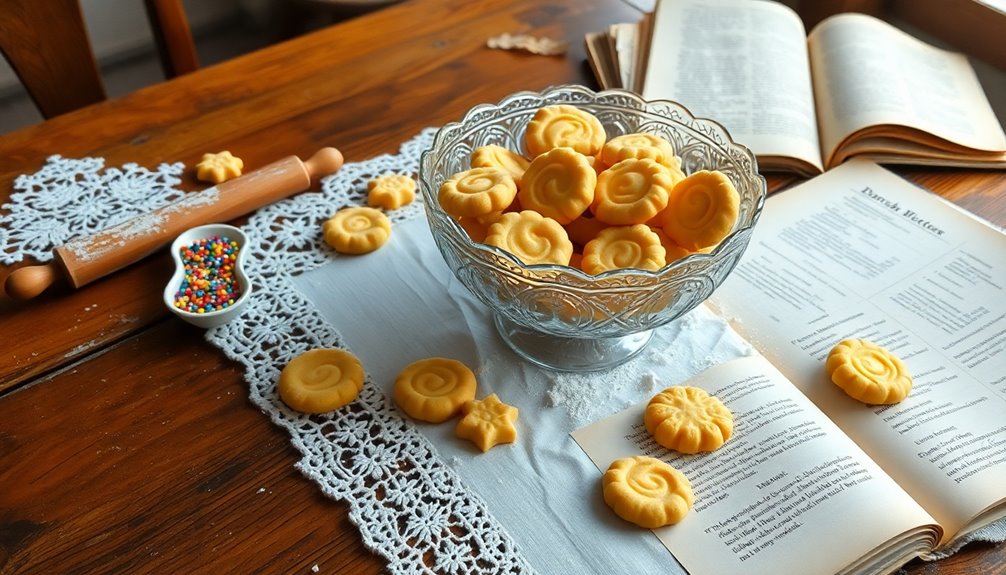
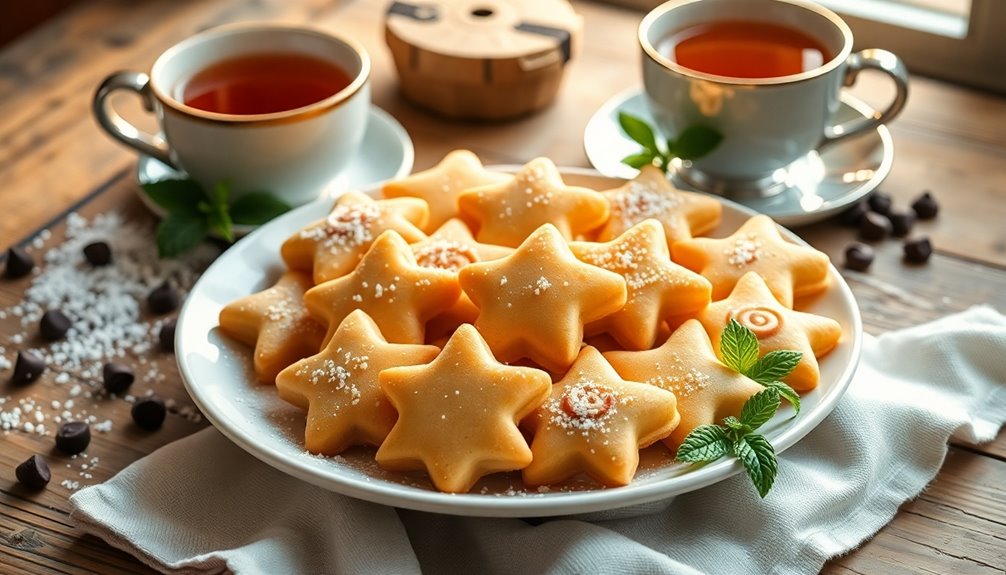
Plus, the unique shapes and decorative designs, crafted using intricate piping techniques, showcase the artistry of Danish baking. These cookies truly blend tradition and creativity, delighting taste buds around the world.
8.4QT Commercial Stand Mixer 800W with Aluminum Die Casting Meets the Standard of NSF/ANSI 8-2023, Mixers Kitchen Electric Stand Mixer with Stainless Steel 8L Bowl, Dough Hook, Whisk and Beater
High Capacity & High Efficiency: The maximum amount of dough is 3 kg/6.6 lbs/105.8 oz. Compared with other...
As an affiliate, we earn on qualifying purchases.
Recipe
Danish butter cookies are a timeless treat that embodies the essence of simple yet indulgent baking. Known for their rich, buttery flavor and delicate texture, these cookies are perfect for any occasion, whether you're hosting a gathering or simply enjoying a quiet moment with a cup of tea.
The classic preparation method allows for easy customization, making it a versatile recipe that can cater to various tastes and preferences.
To create these delightful cookies, you'll need just a handful of quality ingredients. The combination of unsalted butter, powdered sugar, and vanilla extract ensures a melt-in-your-mouth experience, while the all-purpose flour provides structure.
With a few simple steps, you'll be able to impress your guests or treat yourself to a delicious homemade snack that brings the warmth of Danish baking into your kitchen.
Ingredients:
- 1 cup unsalted butter, softened
- 1 cup powdered sugar
- 2 cups all-purpose flour
- 1 teaspoon vanilla extract
- Pinch of salt
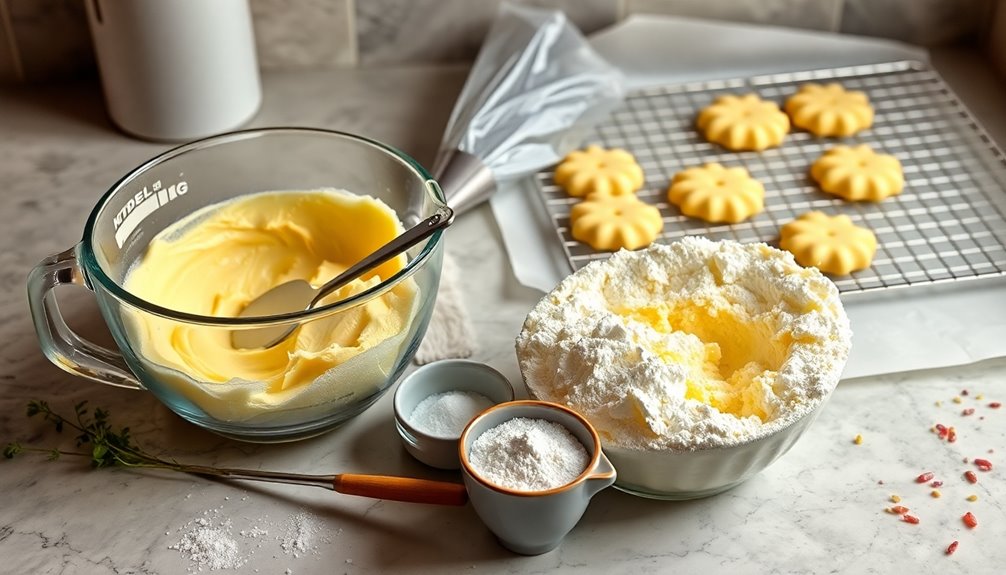
To make the cookies, begin by preheating your oven to 350°F (175°C). In a large mixing bowl, cream together the softened butter and powdered sugar until the mixture is light and fluffy.
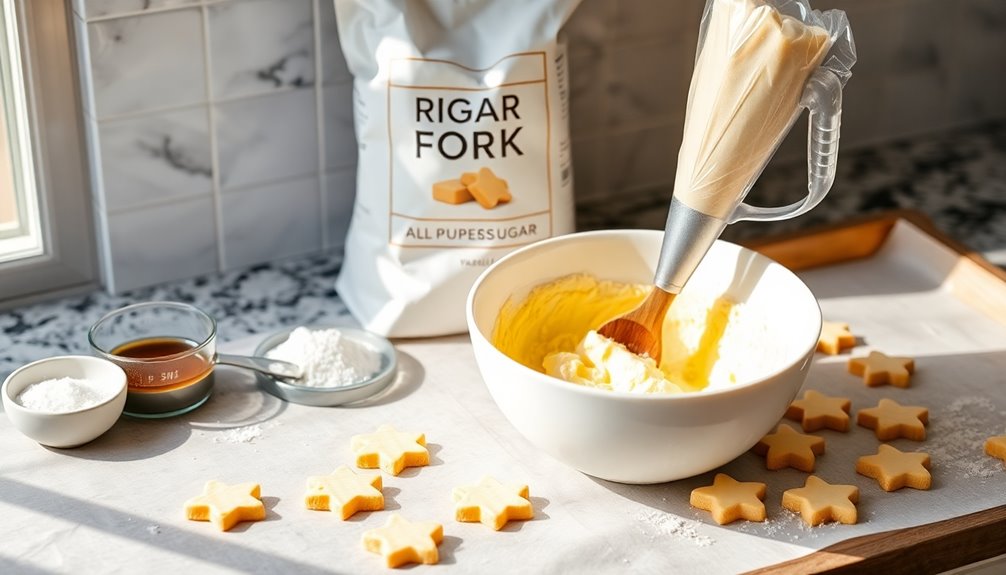
Gradually add the all-purpose flour, vanilla extract, and a pinch of salt, mixing until everything is well combined. Once the dough is ready, transfer it to a piping bag fitted with a star tip and pipe your desired shapes onto a baking sheet lined with parchment paper.
Bake the cookies in the preheated oven for about 12 minutes or until they've a lightly golden edge. Allow them to cool on a wire rack before serving.
When preparing Danish butter cookies, it's essential to ensure your butter is at room temperature for optimal creaming. Experiment with different shapes and sizes by using various piping tips, and feel free to sprinkle toppings like colored sugar or chocolate chips for added flair.
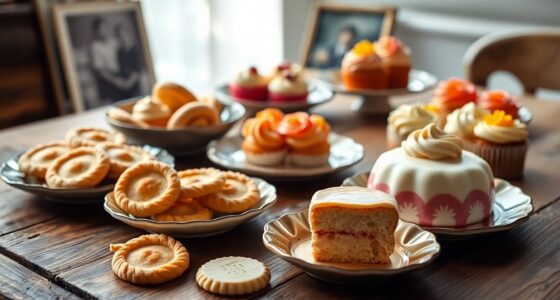
These cookies can be stored in an airtight container for up to a week, making them perfect for enjoying throughout the week or sharing as gifts.

The Wisemen Buttermeister Pro Electric Butter Churn 1 Gallon
As an affiliate, we earn on qualifying purchases.
Cooking Steps
To get started on your Danish butter cookies, preheat your oven to 350°F.
Next, cream together the softened butter and sugars until the mixture is light and fluffy.
After that, gradually add in the flour, mixing well to create a smooth dough.
Step 1. Preheat Oven to 350°F
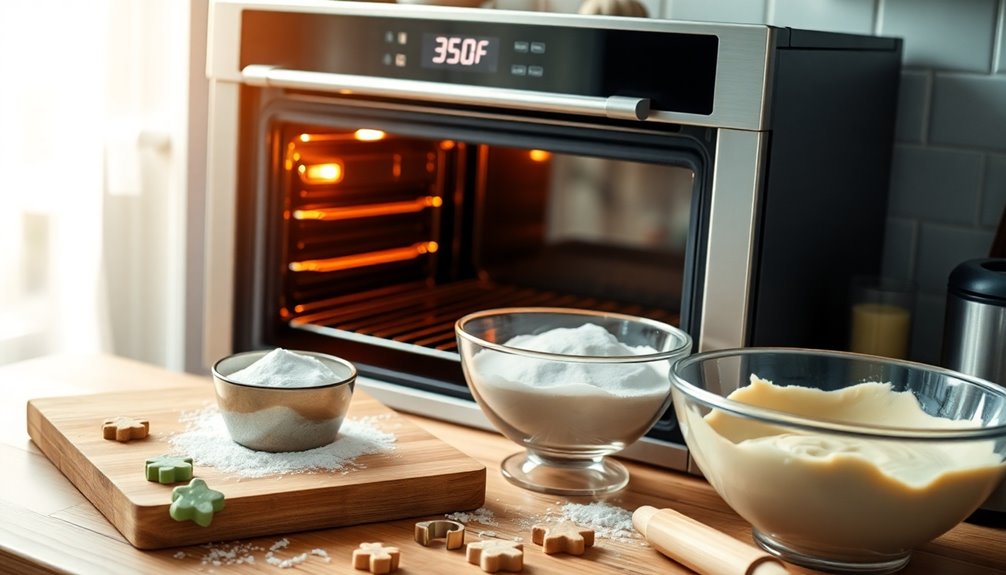
Typically, you'll want to preheat your oven to 350°F (175°C) to create the perfect baking environment for Danish butter cookies. This temperature ensures that your cookies bake evenly, developing that delightful golden edge.
To confirm your oven's accuracy, consider using an oven thermometer—this helps you achieve consistent results every time. Allow the oven to preheat for at least 15 minutes before placing your cookies inside.
While waiting, line your baking sheets with parchment paper to prevent sticking and make removal a breeze. Once your cookie dough is ready, scoop it onto the prepared baking sheets and place them in the preheated oven.
Adjust the baking time as necessary, usually around 12 to 15 minutes, for optimal results.
Step 2. Cream Together Butter and Sugar
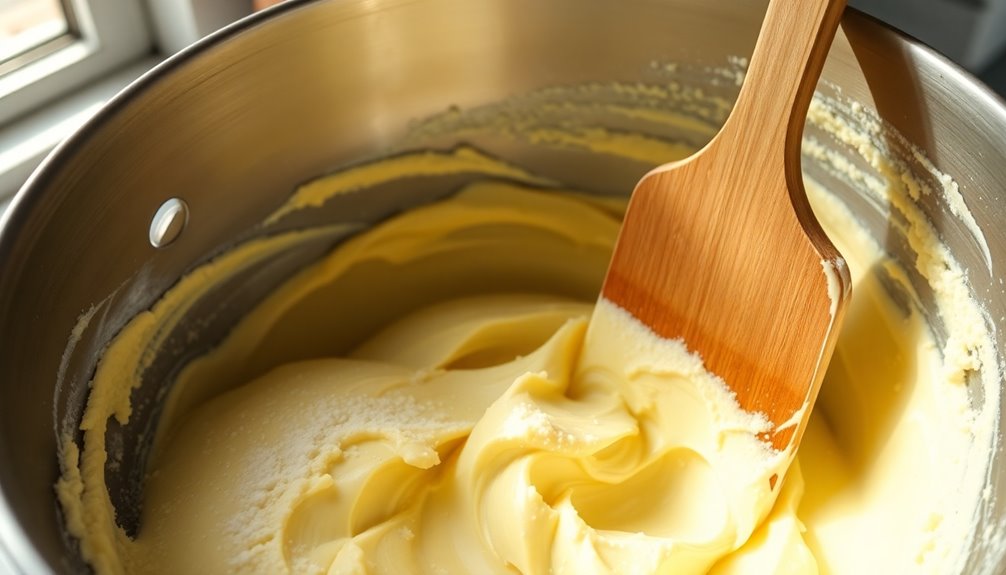
Once your oven is preheated and ready to go, it's time to cream together the butter and sugar.
Start by ensuring your butter is softened to room temperature for that perfect, light, and fluffy texture. Using an electric or stand mixer, beat together 1 pound of softened butter with 1 cup each of white sugar and powdered sugar.
Mix on medium speed for about 3-5 minutes until the mixture is pale and fluffy. Gradually add 2 teaspoons of vanilla extract during this process to enhance the flavor.
Your goal here is to achieve a well-blended mixture that embodies the rich, buttery taste of Danish butter cookies, setting you up beautifully for the next step.
Step 3. Add Flour Gradually, Mix Well
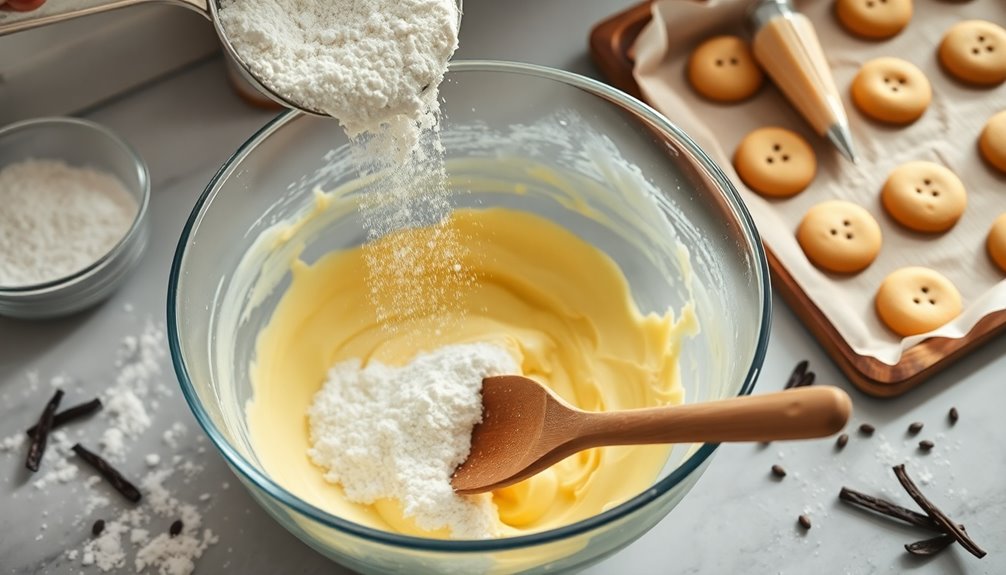
As you move forward with your cookie dough, gradually adding the flour is crucial for achieving the perfect texture.
Start by sifting the flour to eliminate lumps, ensuring a smoother consistency. Incorporate the flour into the butter and sugar mixture in two portions. After adding each portion, mix thoroughly to maintain a light, fluffy texture.
Be careful not to overmix the dough; doing so can lead to denser cookies rather than the crumbly delight you desire.
Once all the flour is added, check the dough's consistency. If it's too thick, adjust by adding a little milk until it reaches a pipeable texture, ideal for your baking.
Enjoy the process of creating these timeless cookies!
Step 4. Shape Dough Into Circles
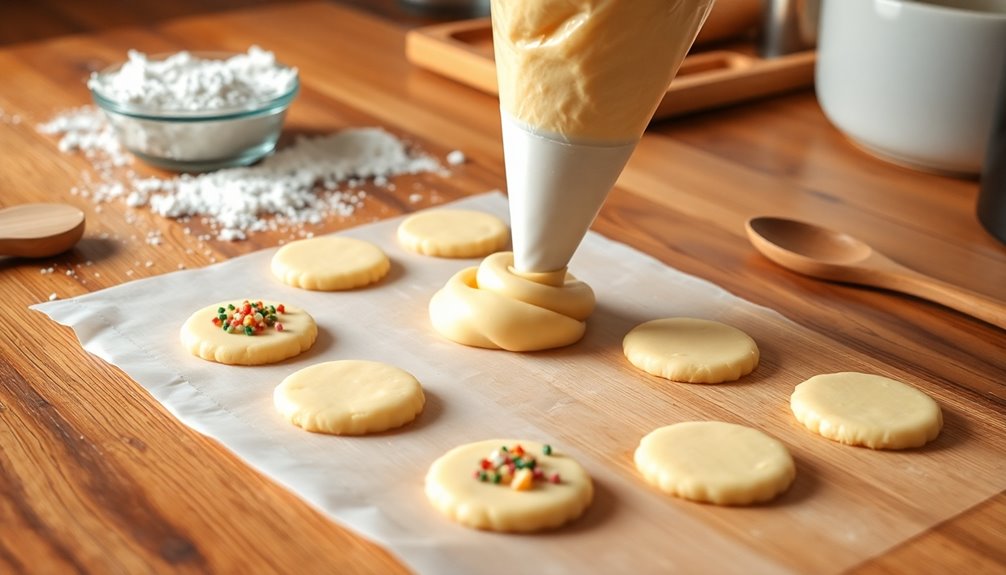
After ensuring your dough has the right texture, it's time to shape it into circles.
Begin by taking a portion of the chilled dough and rolling it into a ball about 1 inch in diameter. Flatten each ball gently with your palm to create a circular shape, making sure they're evenly sized for consistent baking.
For a decorative touch, use a fork to press down lightly on the flattened dough, creating a textured pattern.
Now, place the shaped circles on a baking pan lined with parchment paper, leaving enough space between each cookie to allow for spreading.
Once you've piped all the cookies, you're ready to bake them in a preheated oven at 350°F (175°C) for 12 to 15 minutes.
Step 5. Chill Dough for 30 Minutes
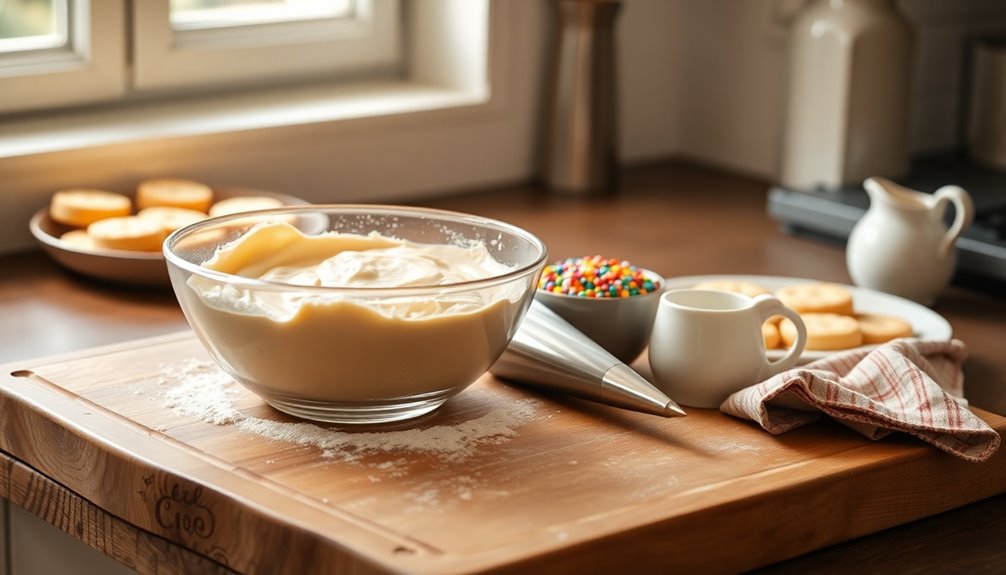
Chilling the dough for 30 minutes is crucial for achieving the perfect Danish butter cookies. This step helps firm up the dough, making it easier to pipe without spreading during baking.
If the dough's too warm, it can get sticky, leading to uneven shapes when you use your piping bag. As the dough chills, the butter solidifies, contributing to that melt-in-your-mouth, crumbly texture you crave.
Plus, this cooling period allows the flavors to meld, resulting in a richer taste in the final cookies. Don't forget to cover the dough while it chills to prevent it from drying out or absorbing any unwanted odors from the fridge.
Once it's done, you're ready to shape and bake!
Buttermeister Butter Churn (1 Gallon)
As an affiliate, we earn on qualifying purchases.
Final Thoughts
While enjoying a batch of homemade Danish butter cookies, you'll likely appreciate their rich flavor and delightful texture, making them a perfect treat for any occasion.
With just a simple blend of salted butter, sugar, and flour, you can whip up these cookies in under an hour.
Once they're out of the oven, let them cool properly to preserve their melt-in-your-mouth goodness.
Storing them in an airtight container keeps them fresh for up to a week, allowing you to savor each bite over time.
Whether you choose to enjoy them yourself or share with friends and family, these classic treats embody the spirit of giving and joy. Additionally, using grass-fed butter can enhance the flavor and provide health benefits, making your cookies even more enjoyable.
Frequently Asked Questions
What Are the Original Danish Butter Cookies?
Original Danish butter cookies, known as "Klejner," are delightful treats that boast a rich buttery flavor and crisp texture.
You'll find that these cookies use simple ingredients like butter, sugar, and flour, resulting in their melt-in-your-mouth quality.
They come in various iconic shapes, often created through piping techniques, making them as visually appealing as they're delicious.
Traditionally enjoyed during festive seasons, they symbolize celebration and togetherness in Danish culture.
What Is the Most Popular Danish Cookie?
Like a warm hug on a cold day, the most popular Danish cookie is the Danish butter cookie.
You'll find it's renowned for its rich buttery flavor and crisp texture, making it a favorite treat. Often presented in decorative tins, these cookies come in delightful shapes like swirls, rings, and pretzels.
They're perfect for enjoying with coffee or tea, embodying a beloved aspect of Danish culture that people worldwide adore.
What's the Difference Between Shortbread and Danish Butter Cookies?
The difference between shortbread and Danish butter cookies lies in their ingredients and texture.
You'll find that Danish butter cookies are richer, incorporating egg yolks for a softer bite, while shortbread relies on a simpler blend of butter, sugar, and flour, giving it a denser texture.
Danish cookies often feature additional flavors like vanilla and are piped into decorative shapes, whereas shortbread's crumbly nature and simplicity make it a classic treat enjoyed year-round.
How Long Do Danish Butter Cookies Last After Opening?
After opening, Danish butter cookies usually last up to one week when stored in an airtight container.
To keep them fresh and crisp, you should store them in a cool, dry place.
If you want to enjoy them longer, consider freezing them, which can extend their shelf life to about a month.
Just remember to avoid moisture and heat, as these can make your cookies soggy and lose their delightful texture.