
To achieve a silky, Parisian-style omelet with clarified butter, start by carefully preparing your butter to keep it clear and nutty. Use fresh, high-quality eggs, whisk them gently, and cook slowly over low heat, folding carefully for a soft, rounded shape. Focus on gentle heat control and patience to prevent burning and guarantee an even, tender texture. If you want to master this delicate technique, keep exploring tips that can elevate your omelet to restaurant standards.
Key Takeaways
- Use high-quality, fresh eggs and clarified butter to ensure optimal texture and flavor.
- Melt and clarify butter gently over low heat, then strain to achieve a clear, nutty-flavored butter.
- Cook eggs on low heat, tilting the pan for even distribution, avoiding high temperatures to prevent burning.
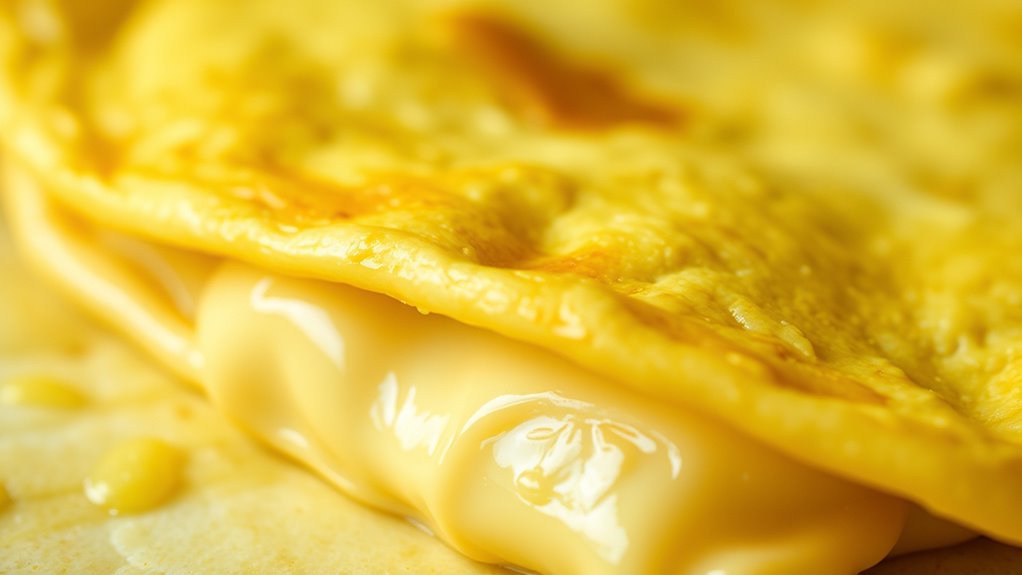
- Fold the omelet delicately while still slightly runny on top for a soft, Parisian finish.
- Serve immediately, keeping the omelet warm and glossy for a refined, restaurant-quality appearance.
Understanding the Benefits of Clarified Butter for Omelets

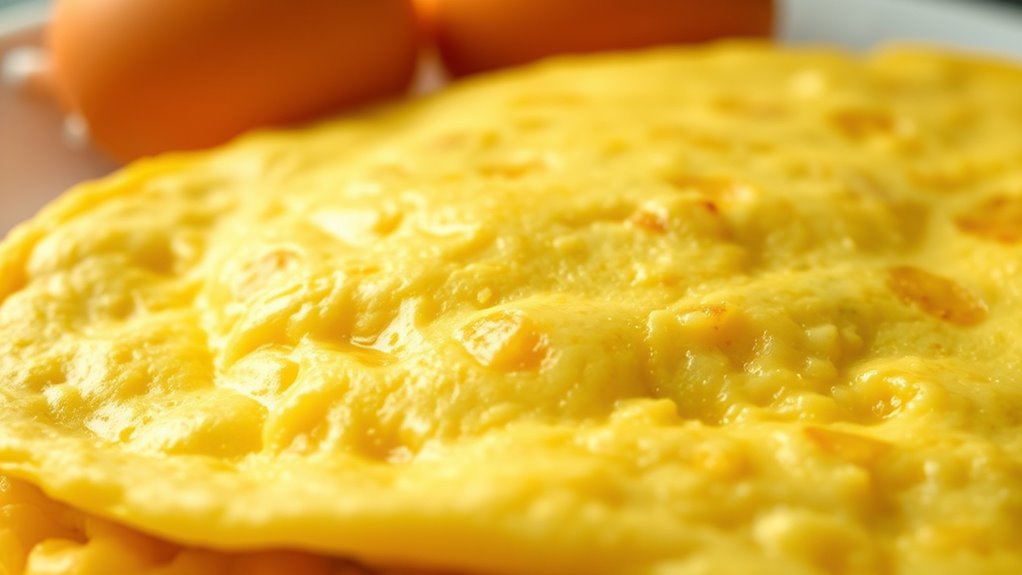
Have you ever wondered why some omelets turn out perfectly golden and flavorful? The secret lies in using clarified butter. It enhances the butter flavor without the risk of burning, thanks to its high smoke point. Unlike regular butter, clarified butter allows you to cook at an ideal temperature, preventing sticking and ensuring even cooking. This control means your eggs won’t become greasy or soggy, resulting in a light, tender texture. Plus, clarified butter adds a rich, nutty aroma that elevates your omelet’s flavor profile. Because it’s free of milk solids, it’s less likely to burn or develop off-flavors, giving you more consistent results. Ultimately, clarified butter helps you achieve that perfect, golden finish with a delightful depth of flavor. Additionally, understanding the role of contrast ratio in cooking can help you better control the visual appeal and texture of your finished omelet.
Selecting the Right Eggs for a Fluffy Texture
Choose fresh eggs for the best fluffy omelet, as their whites whip up more easily and hold air better. Organic eggs are also a great option since they tend to be fresher and have richer yolks. Using the right eggs makes a noticeable difference in achieving that light, airy texture you want. Additionally, selecting eggs with strong filtration systems can help ensure fewer contaminants, resulting in a cleaner, more consistent result.
Freshness Matters Most
Since the key to a fluffy omelet lies in the eggs you select, guaranteeing they’re fresh makes all the difference. Fresh eggs have tighter whites and more vibrant yolks, which help create that light, airy texture you desire. Seasonal variations can influence egg freshness and quality; eggs during peak seasons often taste better and hold their structure longer. Using fresh eggs also enhances flavor, providing a richer, more satisfying taste without added ingredients. To test freshness, do the float test: place an egg in water—if it sinks, it’s fresh; if it floats, it’s past its prime. Prioritizing freshness ensures your clarified butter omelet achieves the perfect Parisian texture and flavor, elevating your breakfast experience.
Organic Eggs Preferred
Opting for organic eggs can considerably enhance the fluffiness of your omelet because they often come from hens raised on better-quality feed, resulting in richer yolks and firmer whites. Freshness plays a crucial role; fresher eggs have stronger whites that trap air better, making your omelet lighter. Organic benefits extend beyond flavor, as organic eggs are typically free from antibiotics and hormones, encouraging healthier, more vibrant eggs. When selecting eggs, check the date to ensure maximum freshness, which improves texture and rise. Organic eggs tend to have a more robust flavor, contributing to a richer taste in your omelet. Additionally, choosing eggs with a high-quality shell can help prevent cracks and spoilage during cooking, ensuring optimal freshness and texture. Overall, choosing organic eggs elevates your cooking process, giving you a more consistent, fluffy, and delicious result every time.
Preparing Clarified Butter for Cooking

To prepare clarified butter for cooking, start by melting unsalted butter gently over low heat. As the butter melts, you’ll notice the separation of the milk solids from the butterfat. Carefully simmer until the butter is clear, with no foam or solids on top. This process guarantees you get pure butterfat, ideal for a smooth, even omelet. Once melted, you can strain the butter through cheesecloth to remove any remaining solids. Clarified butter is fundamentally oil blending, combining butter’s rich flavor with the high smoke point of pure fat. This method prevents burning and helps achieve that delicate, Parisian texture you’re aiming for. Keep the heat low, and avoid stirring too much, to preserve the clarity and quality of your clarified butter. Incorporating natural ingredients and sustainable practices can also enhance the overall quality of your cooking.
Mastering the Gentle Cooking Technique
Mastering the gentle cooking technique is essential for achieving a perfect omelet with a delicate texture. You want to keep the heat low to prevent curdling and preserve the butter’s subtle flavors. Adjusting egg yolk ratios ensures a creamy consistency, while gentle stirring prevents over-formation of curds. Use a non-stick pan and a silicone spatula for precise control. Focus on slow, even cooking to develop that smooth, Parisian finish. Monitor the heat closely; too high, and your omelet loses its silky feel. Practice patience, as this technique requires finesse. Here’s a quick guide:
| Technique Step | Key Focus | Result |
|---|---|---|
| Low heat control | Prevent overcooking | Silky, tender texture |
| Gentle stirring | Maintain smoothness | Even, creamy consistency |
| Adjust egg yolk ratios | Balance richness | Perfect tenderness |
| Use quality butter | Enhance flavors | Rich, nuanced taste |
| Patience | Achieve Parisian perfection | Flawless texture |
Additionally, paying attention to heat distribution can help ensure even cooking across the omelet surface.
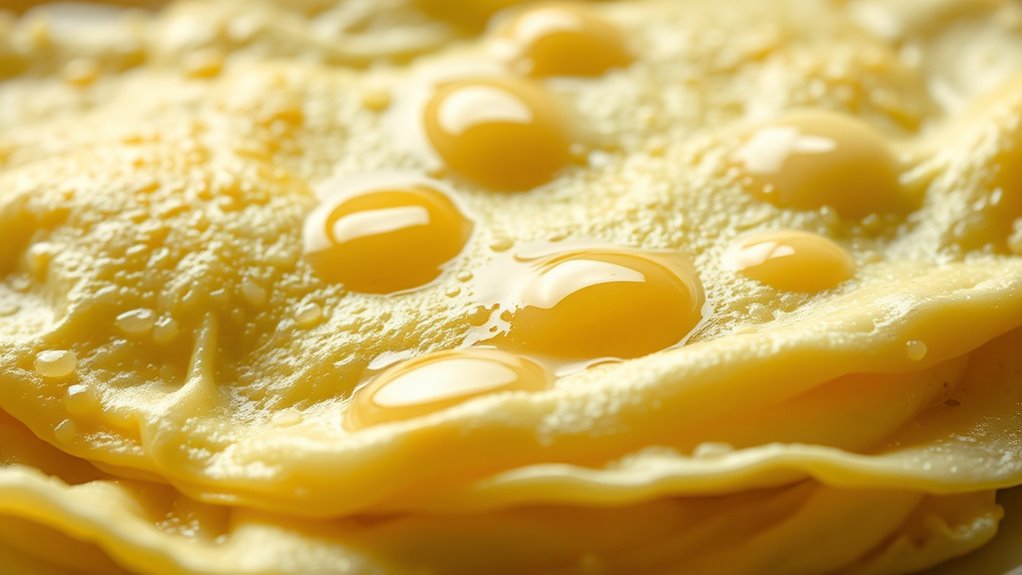
Achieving the Classic Parisian Look and Feel
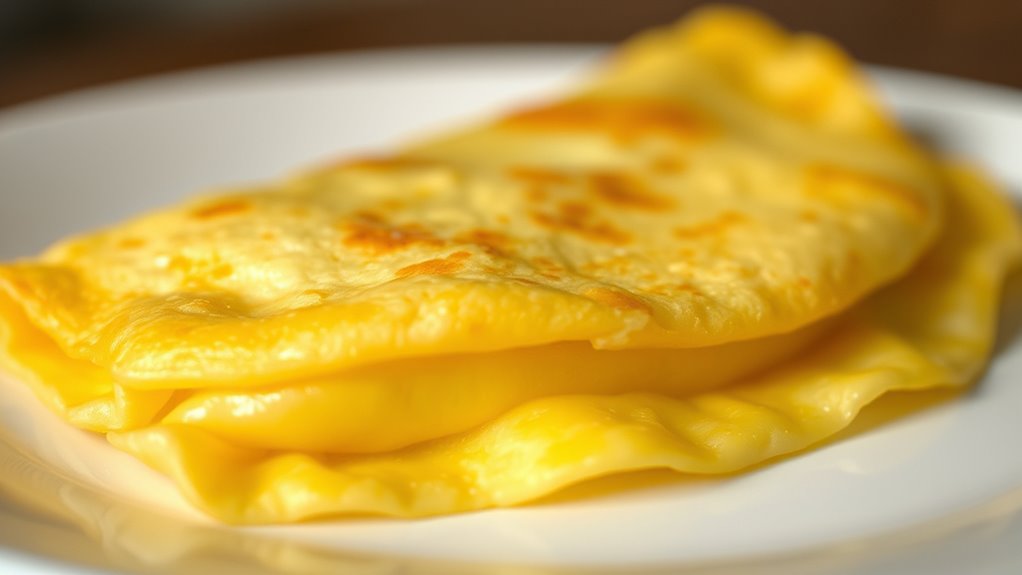
Once you’ve achieved a tender, silky omelet through gentle cooking, the next step is shaping it into the classic Parisian style. To do this, focus on maintaining a uniform egg color, which indicates even cooking and a refined appearance. The butter flavor should be subtle yet rich, enhancing the omelet’s smooth texture. When pouring the beaten eggs into the pan, tilt it gently to spread the mixture evenly. As it begins to set, use a spatula to gently fold the edges inward, creating a soft, rounded shape. The key is to keep the surface slightly glossy and tender, avoiding overbaking. Additionally, selecting the right cooking technique can make a significant difference in achieving that perfectly delicate texture. This approach results in a delicate, elegant omelet that looks as refined as it tastes, embodying the quintessential Parisian aesthetic.
Tips for Perfecting Your Omelet’s Shape and Texture
To perfect your omelet’s shape and texture, focus on mastering your folding techniques so the omelet stays neat and tender. Keep a close eye on the heat and timing to prevent overcooking or browning too quickly. With practice, you’ll control these elements and create a beautifully cooked, fluffy omelet every time. Additionally, understanding cooking techniques can help you achieve the ideal texture and presentation.
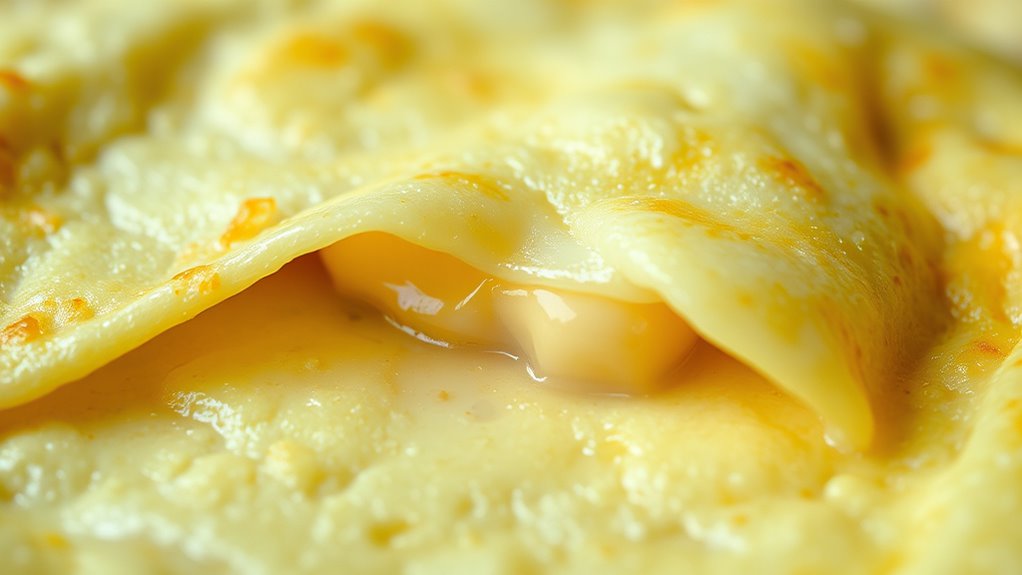
Mastering Folding Techniques
Folding your omelet correctly is essential for achieving a sleek, professional appearance and the perfect texture. To master folding finesse, wait until the eggs are mostly set but still slightly runny on top. Use a spatula to gently lift one edge, then fold it over itself in a smooth, confident motion. Keep the fold tight but not forceful to maintain a tender interior. Practice your technique to ensure clean, even lines that enhance plate presentation. The goal is a neat, compact shape that showcases your skills and the omelet’s silky texture. Proper folding not only improves visual appeal but also helps trap moisture inside, giving you that luxurious Parisian finish you’re aiming for. Additionally, paying attention to the texture of the eggs ensures a fluffy, tender result that mimics restaurant quality. With patience, your folding finesse will elevate your omelet to restaurant-quality.
Controlling Heat and Timing
Have you ever wondered why some omelets turn out fluffy and evenly cooked while others end up rubbery or underdone? It all comes down to controlling heat and timing. Use a moderate cooking temperature—too high, and the eggs scorch; too low, and they take forever to set. Keep your heat steady throughout the process to guarantee even cooking. Timing precision is vital: remove the omelet from heat just as the eggs are softly set but still slightly runny on top. This prevents overcooking and helps achieve that delicate Parisian texture. Practice paying close attention to the visual cues—slightly translucent surface and gentle puffiness—to master the perfect shape and texture. Additionally, understanding how to manage heat effectively is essential for maintaining focus and achieving consistent results. With control over heat and timing, you’ll consistently produce flawless, restaurant-quality omelets at home.
Common Mistakes to Avoid When Making a Clarified Butter Omelet

One common mistake when making a clarified butter omelet is overheating the butter, which can cause it to burn and develop a bitter taste. This also leads to overcooking eggs, making them tough and rubbery. To avoid this, keep the heat moderate and watch closely. Using low-quality ingredients can also ruin the texture and flavor; opt for fresh eggs and good-quality clarified butter. Overcooking eggs destroys their delicate, silky texture and diminishes the Parisian finish you’re aiming for. Remember, the goal is gentle, even cooking. Rushing or using high heat increases the risk of burning the butter and overcooking the eggs. Staying attentive, maintaining proper heat, and choosing fresh ingredients are essential to achieve that perfect, tender, Parisian-style omelet. Additionally, understanding Gold IRA Rollovers can help diversify your retirement portfolio, providing long-term financial security to support your culinary pursuits.
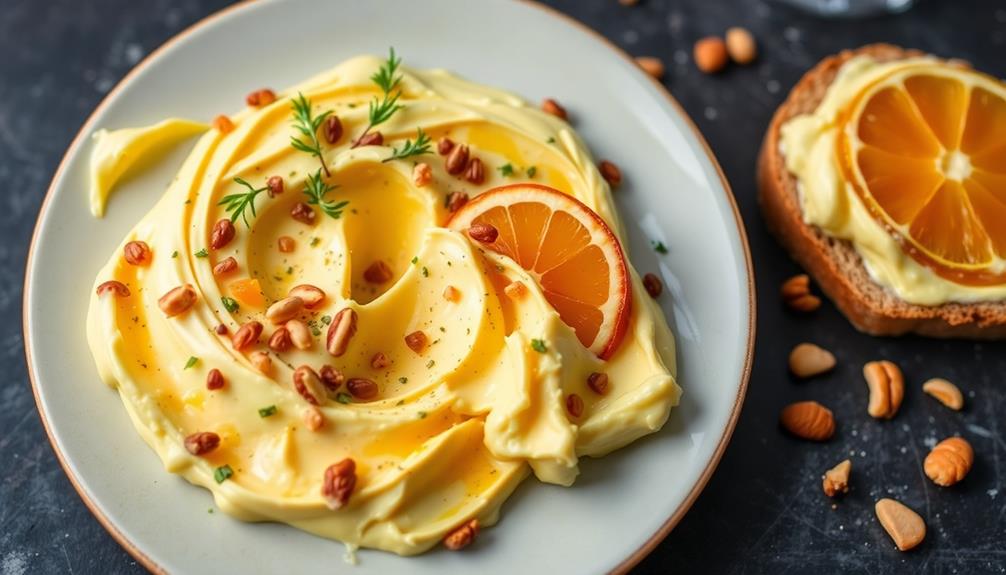
Serving and Enhancing Your Parisian-Style Omelet
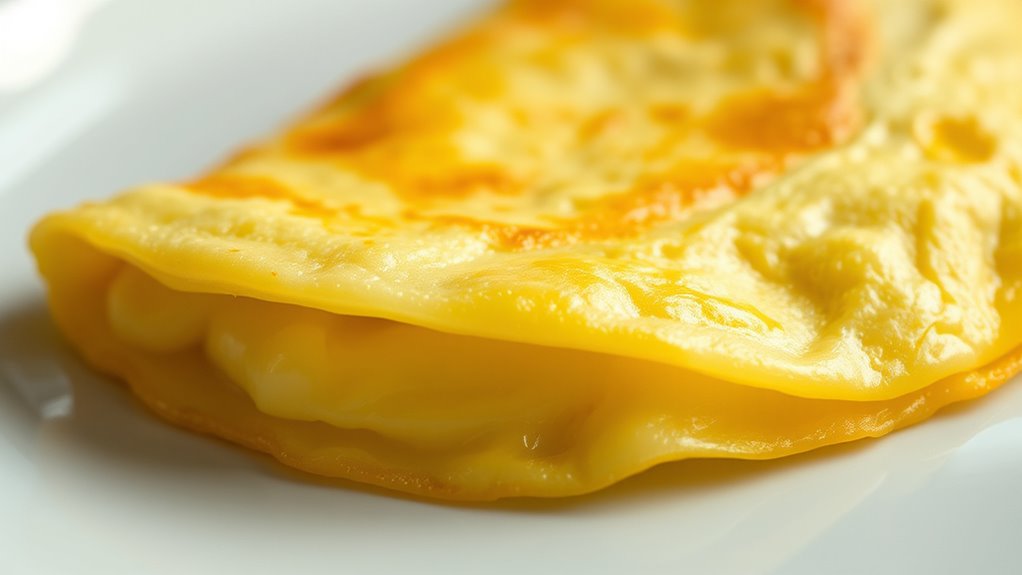
Once you’ve perfected the technique of making a delicate, Parisian-style omelet, the next step is to serve it in a way that highlights its refined texture and flavor. Focus on presenting it simply, perhaps topped with a light drizzle of melted butter or a touch of fresh herbs. If you prefer, you can use butter substitutes like light olive oil or clarified butter alternatives to keep it lighter without sacrificing richness. When it comes to omelet fillings, keep them minimal and fresh—such as fine herbs, soft cheeses, or sautéed vegetables—so they complement rather than overpower the delicate eggs. Serve the omelet promptly while it’s still warm, folding it gently onto a plate to preserve its smooth, silky appearance. This approach emphasizes the elegance and subtlety of your Parisian-style creation.
Frequently Asked Questions
Can I Use Salted Butter Instead of Clarified Butter?
You can use salted butter instead of clarified butter, but keep in mind the butter substitution will impact flavor enhancement. Salted butter adds a richer, more pronounced taste and may cause the omelet to brown faster. Be cautious with added salt, as it could make the dish saltier than intended. For the best results, use unsalted or clarified butter, but salted butter works in a pinch if you adjust seasoning accordingly.
How Long Does It Take to Cook a Perfect Parisian Omelet?
To cook a perfect Parisian omelet, your cooking time usually ranges from 2 to 3 minutes, depending on how high your heat is. You need to control the heat carefully; too high, and the eggs will brown too quickly, too low, and they’ll take longer and be runny. Keep the heat medium-low, stir gently, and remove from heat as soon as the eggs are just set for that ideal Parisian texture.
What Are Some Common Variations to Add Flavor?
Imagine your omelet as a blank canvas waiting for vibrant strokes. You can add flavor with herb infusions like chives or tarragon, which dance like fresh breezes. For richer textures, sprinkle cheese options such as Gruyère or goat cheese, melting into silky waves. These variations transform a simple egg into a flavorful masterpiece, inviting you to explore a palette of tastes that elevate your morning ritual.
Can This Technique Be Adapted for Vegetarian Fillings?
You can definitely adapt this technique for vegetarian fillings. Simply prepare your favorite vegetarian ingredients, like sautéed spinach, mushrooms, or cheese, and fold them into the eggs before cooking. To enhance flavor, add herbs, spices, or a splash of cream. This approach allows you to create a rich, flavorful omelet with a perfect Parisian texture, tailored to your vegetarian preferences. Just make certain fillings are cooked and seasoned well beforehand.
How Do I Store Leftover Clarified Butter Omelets?
Leftovers are like memories—best preserved with care. For your clarified butter omelet, store it in an airtight container in the fridge, following refrigeration tips to keep it fresh. When reheating, gently use a skillet over low heat or a microwave with short bursts, avoiding overcooking to maintain that delicate texture. This way, you enjoy your omelet’s rich flavor and Parisian perfection even the next day.
Conclusion
Now that you know the secrets to a perfect Parisian omelet with clarified butter, go forth and impress—just don’t get too fancy and forget to enjoy it. After all, if your omelet looks like a work of art but tastes like cardboard, who cares? Master the technique, keep it simple, and remember: the real goal is breakfast, not a culinary competition. Bon appétit—your Instagram followers will thank you (or not).