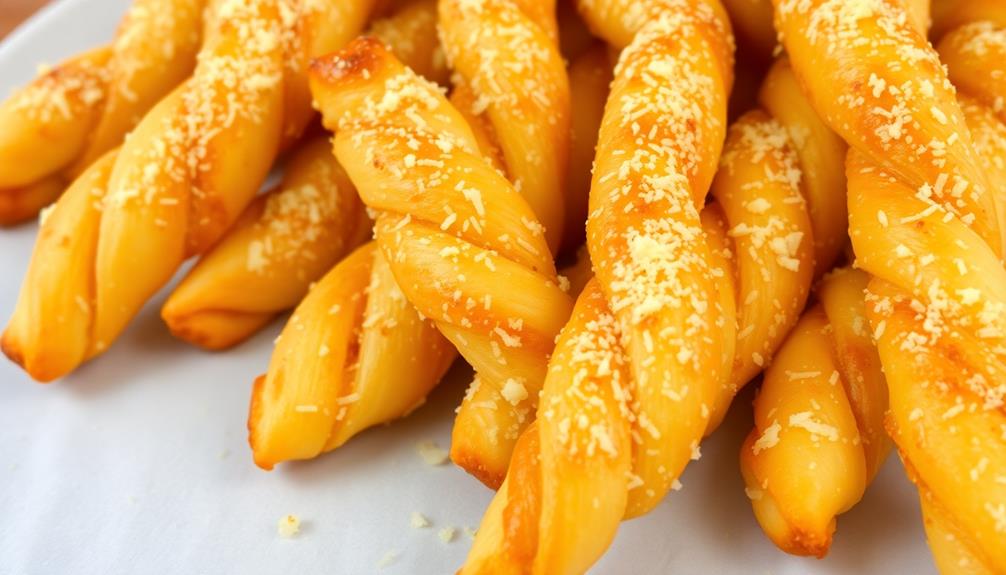
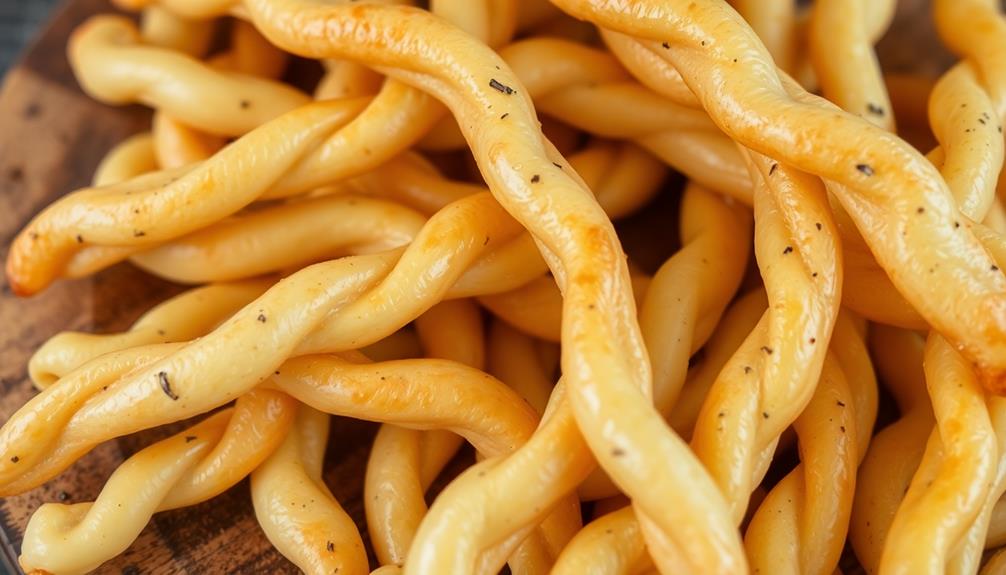
Buttery cheese straws are the addictive, cheesy snack that'll have you reaching for one after another, their irresistible aroma and flavor profile making them the perfect indulgence for any occasion. Originating in the Southern United States, these flaky, golden-brown delights are a timeless classic, evolving from simple biscuit dough and local cheeses. With just a few key ingredients like flour, butter, and sharp cheddar, you can craft your own batch, customizing the flavors to your liking. Serve them up at your next gathering, or enjoy them as a satisfying personal snack – either way, these moreish treats are sure to leave a lasting impression. Want to learn more about the history and cooking steps behind these beloved cheese straws?
Key Takeaways
- Buttery Cheese Straws are a classic Southern snack with a rich, cheesy flavor profile and a crunchy, flaky texture that satisfies cravings.
- The versatile snack can be enjoyed as an appetizer, wine accompaniment, or casual indulgence, making it a popular choice for gatherings and events.
- The recipe's simplicity and high-quality ingredients, such as sharp cheddar cheese and unsalted butter, contribute to its irresistible taste and aroma.
- Variations in cheese and spices allow for customization, ensuring the snack can be tailored to individual preferences and dietary needs.
- While delicious for humans, pet owners should be mindful of potential health risks and consider safer snack alternatives for their furry companions.
Top picks for "buttery cheese straw"
Open Amazon search results for this keyword.
As an affiliate, we earn on qualifying purchases.
History
Originating in the Southern United States, cheese straws have a long and storied history as a beloved snack.
These buttery, savory treats date back to the 18th century, when resourceful Southern cooks began experimenting with leftover biscuit dough and local cheeses. They'd roll and twist the dough into thin, crunchy sticks, then bake them to golden perfection.
Over time, the recipe evolved, with the addition of spices like cayenne or paprika adding a delightful kick. Cheese straws quickly became a staple at Southern gatherings, from church socials to porch parties.
Today, they're enjoyed far beyond their regional roots, delighting snack lovers worldwide with their irresistible combination of flaky pastry and bold, cheesy flavor.
Whether homemade or store-bought, these buttery bites continue to hold a special place in the hearts and stomachs of countless fans, cementing their status as a true Southern classic.
Recipe
Buttery Cheese Straws are a classic Southern snack that can be enjoyed as an appetizer or a delightful accompaniment to a glass of wine. These flaky, cheesy bites are perfect for any occasion, from casual gatherings to elegant soirées.
To elevate your backyard gatherings, consider pairing these treats with eco-friendly natural pools to create a serene atmosphere for your guests. The secret to the perfect Cheese Straws lies in the use of high-quality ingredients and a delicate balance of flavors. The combination of savory cheese and the rich, buttery pastry creates a mouthwatering treat that's sure to impress your guests.
Ingredients:
- 2 cups all-purpose flour
- 1/2 teaspoon salt
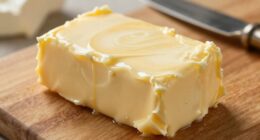
- 1 cup unsalted butter, chilled and cubed
- 1 1/2 cups shredded sharp cheddar cheese
- 2 tablespoons cold water
Directions:
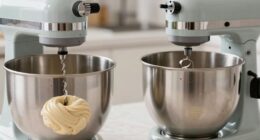
Preheat your oven to 375°F (190°C). In a large mixing bowl, combine the flour and salt. Cut in the chilled butter until the mixture resembles coarse crumbs. Stir in the shredded cheese, then gradually add the cold water, mixing just until the dough comes together.
Divide the dough in half, shape each half into a disk, wrap in plastic wrap, and refrigerate for at least 30 minutes.
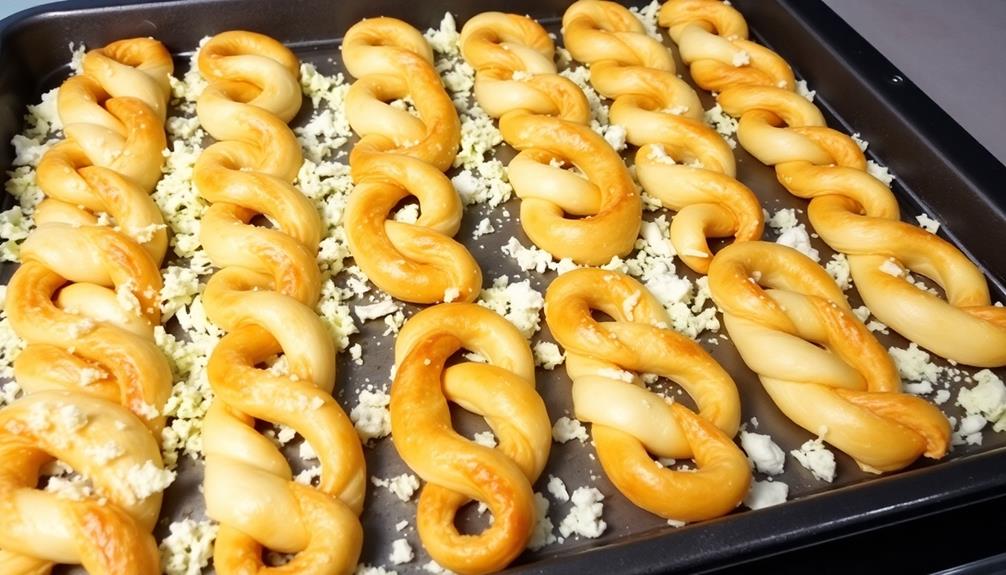
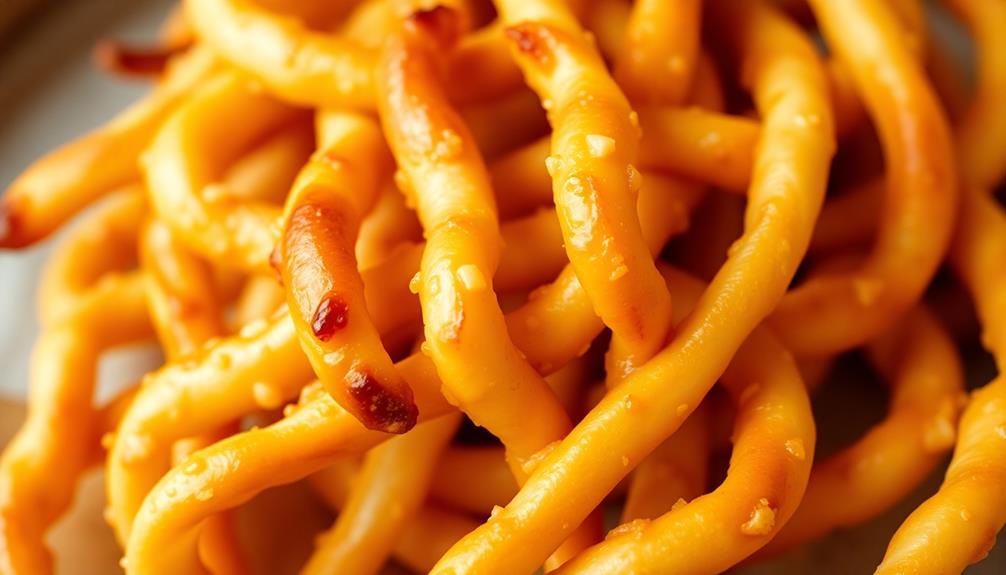
On a lightly floured surface, roll each dough disk into a long rectangle, about 1/8-inch thick. Cut the dough into long, narrow strips, about 1/2-inch wide. Transfer the strips to a parchment-lined baking sheet, spacing them about 1 inch apart.
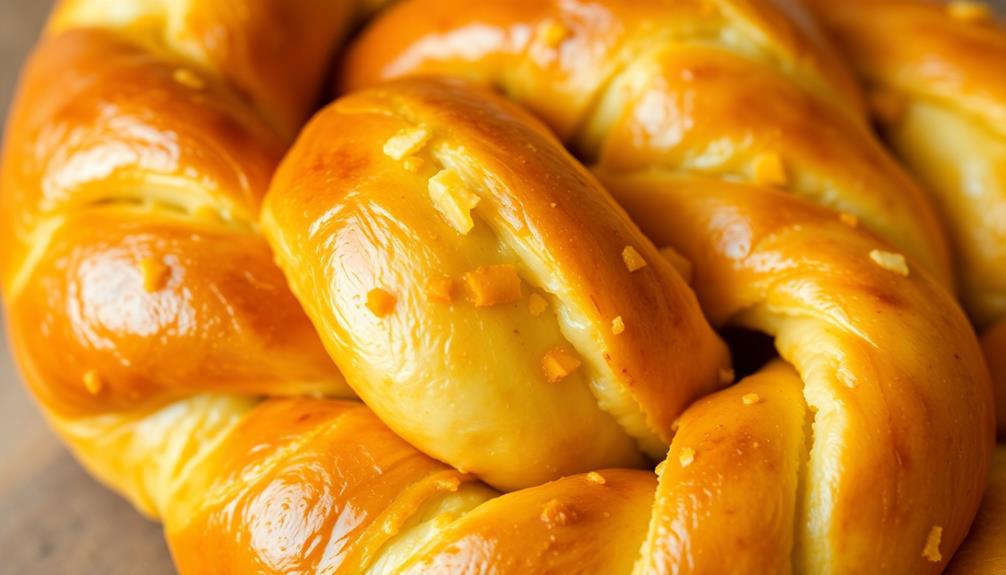
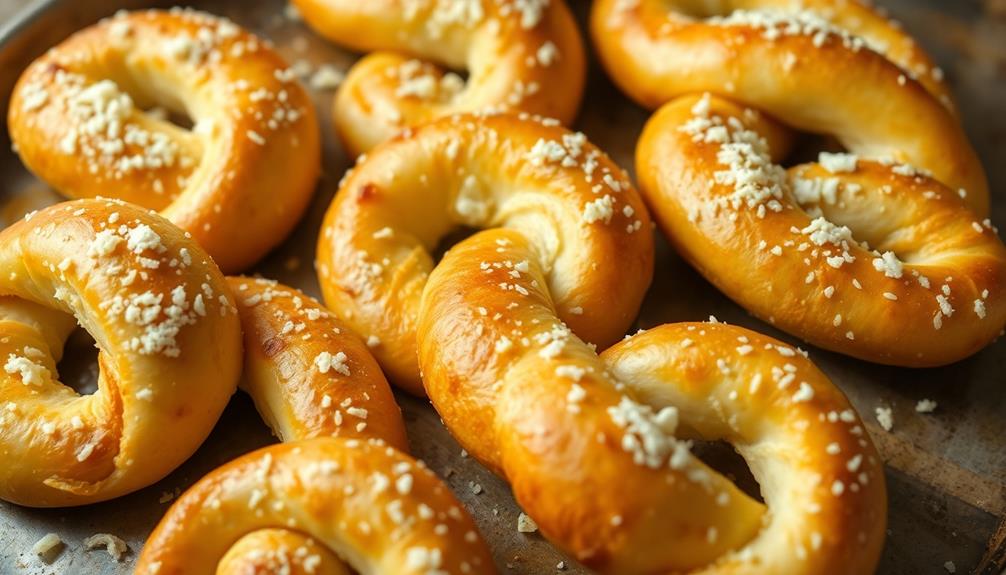
Bake for 12 to 15 minutes, or until the Cheese Straws are golden brown and crispy. Allow them to cool on the baking sheet for 5 minutes before serving.
For best results, be sure to handle the dough gently and work quickly to maintain the flakiness of the pastry. You can also experiment with different types of cheese or add a pinch of cayenne pepper for a spicy twist. Enjoy your homemade Buttery Cheese Straws!
Cooking Steps
Preheat your oven to 375°F and get ready to roll out that dough.
Once it's nice and thin, you'll slice it into strips – just be careful with those sharp knives!
Now pop those buttery, cheesy strips into the oven and bake them until they're golden brown.
Can't wait to see how they turn out!
Step 1. Preheat Oven to 375°F
Preheating the oven to 375°F is a crucial step in ensuring your cheese straws bake evenly and develop that signature golden-brown crust. This temperature strikes the perfect balance, allowing the butter and cheese to melt together while creating a delicate, flaky texture.
As the oven heats up, you can gather your other ingredients and prepare your work surface. Make sure to line a baking sheet with parchment paper or a silicone mat to prevent sticking. This simple step will save you time and hassle when it comes time to transfer the shaped dough onto the pan.
Once the oven reaches the desired temperature, you'll know it's time to start shaping and baking your irresistible cheese straws. The aroma of buttery, cheesy goodness will soon fill your kitchen, and you'll be one step closer to indulging in this addictive snack.
Step 2. Roll the Dough
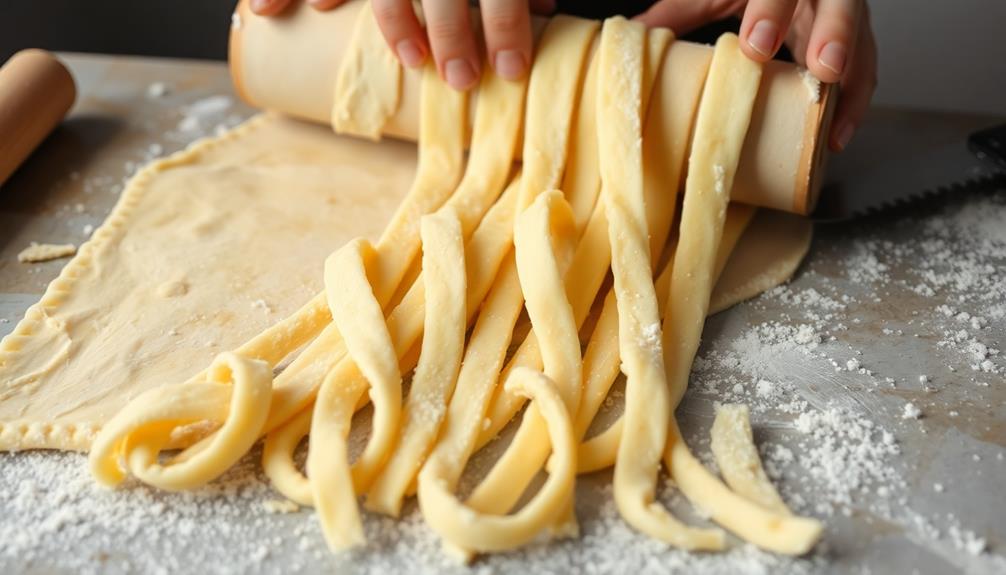
With the oven preheated, grab the chilled dough and place it on a lightly floured surface. Using a rolling pin, gently roll the dough out, being careful not to over-work it. Roll it into a long rectangle, about 1/4 inch thick. You want the dough to be even in thickness so the cheese straws bake evenly.
Once the dough is rolled out, use a sharp knife or a pizza cutter to cut the dough into long, thin strips, about 1/2 inch wide. Carefully transfer the strips to a parchment-lined baking sheet, spacing them apart so they don't touch. This will ensure they get perfectly crispy on all sides.
With the dough now cut into perfect cheese straw shapes, you're ready for the next step. Keep an eye on the clock, as these buttery, cheesy snacks bake up quickly in the hot oven.
Soon, your kitchen will be filled with the irresistible aroma of freshly baked cheese straws!
Step 3. Cut the Dough Into Strips
With the dough rolled out, use a sharp knife or pizza cutter to slice it into long, thin strips, about 1/2 inch wide.
Run the blade across the dough, making clean, even cuts to create uniform strips. Take your time and work carefully to ensure each piece is the same size.
These delicate, rectangular shapes will be the foundation of your buttery cheese straws. As you cut, keep the strips organized and try not to let them get jumbled together.
Gently lift and transfer the strips to a baking sheet, spacing them out so they don't touch. This will prevent the dough from sticking as it bakes.
With the dough cut, you're one step closer to enjoying those irresistible, flaky cheese straws. The next stage is to bake them to golden perfection, filling your kitchen with the mouthwatering aroma of butter and cheese.
Step 4. Bake Until Golden Brown
Preheat your oven to 375°F. Arrange the cut dough strips onto a couple of baking sheets, spacing them about an inch apart. This gives the cheese straws room to spread out and develop that mouthwatering, golden-brown crust as they bake.
Just like the careful balance in the refrigeration cycle, achieving the perfect bake requires attention to detail. Keep a close eye on them, as the high butter content means they can go from perfectly baked to burnt in the blink of an eye.
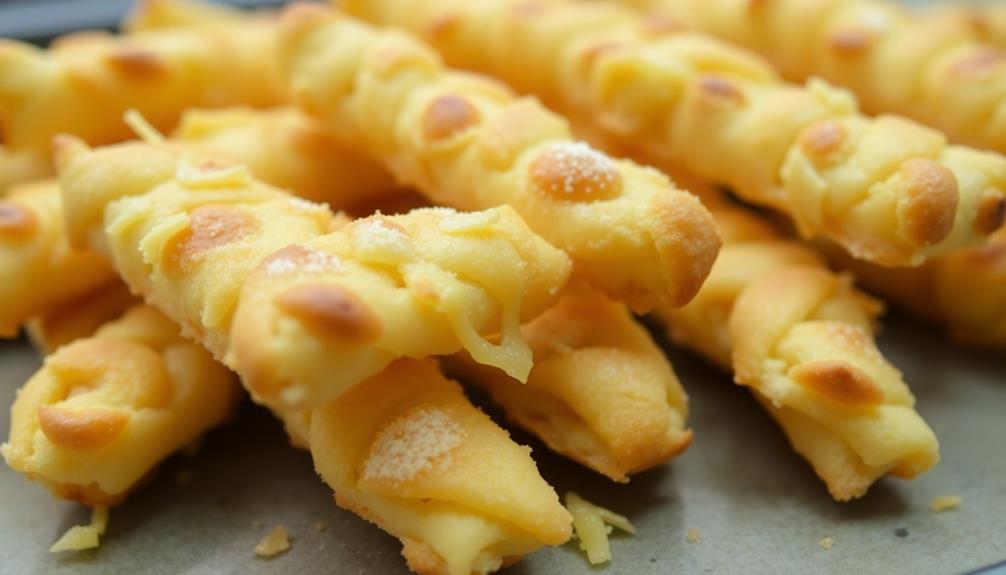
After about 12-15 minutes, you'll start to see the edges turn a lovely shade of toasty brown. That's your cue to give them a quick rotation, ensuring even browning all around.
Once they're a consistent golden-brown hue, they're ready to come out of the oven. Let them cool for a couple of minutes on the baking sheet before transferring to a wire rack.
These buttery, cheesy bites are irresistible when they're still slightly warm, with a satisfying crunch that gives way to a delightfully soft, flaky interior.
Step 5. Let Cool Before Serving
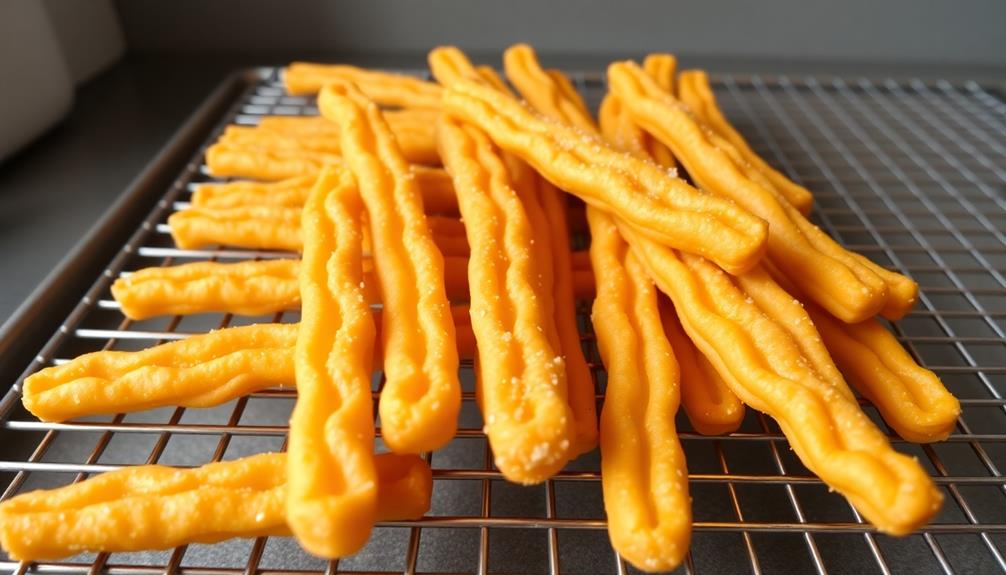
Once the cheese straws have achieved that perfect golden-brown hue, it's time to let them cool before serving.
You'll want to transfer the piping hot, freshly baked straws to a wire rack or parchment-lined baking sheet. This allows the air to circulate around them, helping them to cool down gradually.
As they sit, you'll notice the straws firm up and develop that melt-in-your-mouth texture. Resist the urge to dive right in – patience is key here!
Give them about 10-15 minutes to cool completely. This resting period allows the flavors to meld and the texture to set.
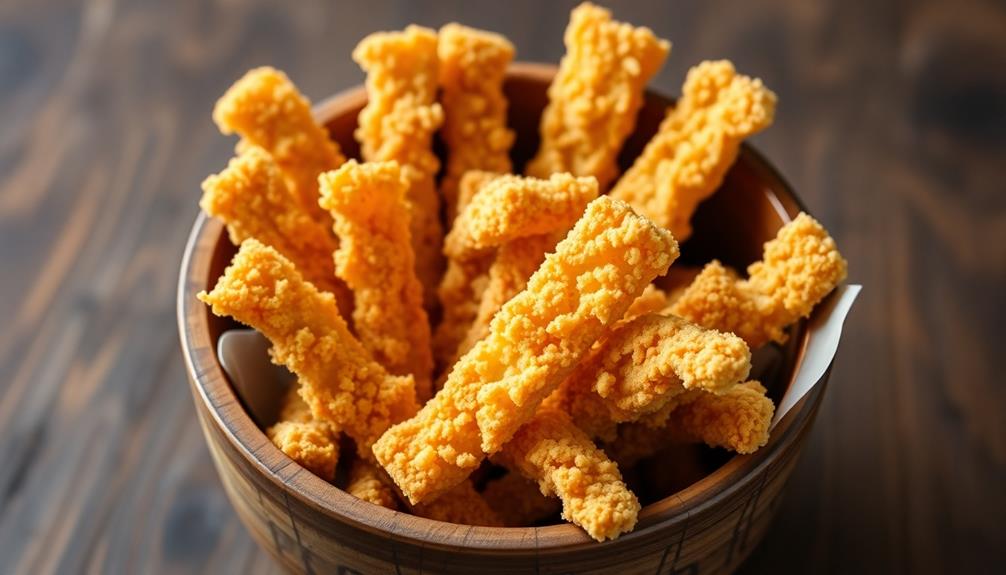
Once cooled, the cheese straws will be perfectly crisp on the outside yet delightfully tender on the inside.
Now you can proudly present your homemade masterpieces to family and friends.
Get ready for oohs, aahs, and requests for the recipe – these buttery, cheesy bites are sure to disappear in no time!
Final Thoughts
Ultimately, the Buttery Cheese Straws you've prepared are a delightful treat that can be enjoyed any time. The aroma of the freshly baked, golden-brown straws is simply irresistible, and the buttery richness combined with the sharp, tangy cheese creates a flavor explosion in your mouth.
These straws are the perfect snack for gatherings, movie nights, or simply indulging in a moment of personal indulgence. If you're also looking for safe snacks for your furry friends, consider alternatives to toxic foods like grapes, as they can lead to serious health issues in dogs dogs and grapes.
You'll find that the crunchy, flaky texture is truly satisfying, and the cheese adds a delightful depth of flavor that keeps you coming back for more.
Whether you enjoy them on their own or paired with a glass of wine, the Buttery Cheese Straws are sure to become a staple in your snack rotation.
Frequently Asked Questions
How Long Do Cheese Straws Typically Last After Baking?
Freshly baked cheese straws typically last 3-5 days when stored properly in an airtight container at room temperature. They'll remain crisp and flavorful, but you'll likely find it hard to resist devouring them in just a day or two.
Can Cheese Straws Be Frozen for Later Consumption?
Yes, you can freeze cheese straws for later consumption. Simply place them in an airtight container or freezer bag and they'll keep for several months. When you're ready to enjoy them, just thaw at room temperature.
What Is the Best Cheese to Use for Cheese Straws?
When making cheese straws, you'll want to use a sharp, hard cheese like cheddar or parmesan. These cheeses will give your straws a bold, flavorful punch that's sure to please. Experiment with different varieties to find your favorite!
How Can Cheese Straws Be Stored to Maintain Their Freshness?
To maintain their freshness, you should store cheese straws in an airtight container at room temperature. Avoid refrigerating them, as it can make them stale. Enjoy your cheese straws within a few days for the best texture and flavor.
Are Cheese Straws Suitable for Those With Dietary Restrictions?
Cheese straws may not be suitable for those with dietary restrictions. Depending on the recipe, they can be high in fat, calories, and contain ingredients like butter and cheese that may not align with certain dietary needs. It's essential to check the ingredients carefully.