
DIY butter waxing is a natural way to preserve produce without chemicals, using simple ingredients like organic butter and beeswax. This old method helps keep fruits and vegetables fresh, flavorful, and protected from spoilage by creating a breathable, moisture-regulating coating. By preparing, applying, and storing your waxed items properly, you can extend their lifespan effectively. If you want to discover step-by-step techniques and tips, you’ll find plenty of useful details as you continue.
Key Takeaways
- Learn to prepare and melt high-quality organic butter with natural preservatives like beeswax for effective preservation.
- Follow proper cleaning and drying methods to ensure wax adheres evenly to fruits or surfaces.
- Apply thin, even layers of melted butter wax, building multiple coats for optimal coverage and protection.
- Store waxed items in a cool, dry, and well-ventilated environment to maintain freshness and prevent mold.
- Incorporate natural enhancements like essential oils or herbal infusions to boost preservation and add beneficial properties.
Understanding the Benefits of Butter Waxing

Understanding the benefits of butter waxing can help you decide if it’s the right hair removal method for you. One key advantage is its natural preservation qualities, meaning it often uses simple, wholesome ingredients without harsh chemicals. This makes butter wax gentler on your skin and suitable for sensitive areas. Additionally, butter waxing preserves the natural oils and nutrients of ingredients like beeswax and butter, which can soothe and hydrate your skin during the process. Beyond hair removal, butter wax offers flavor enhancement for culinary uses, but in waxing, it provides a smoother, more natural finish. This method reduces irritation and promotes healthier skin, making it a popular choice for those seeking an organic, effective alternative to conventional waxing. Skin-friendly formulations further enhance its appeal for individuals with sensitive skin.
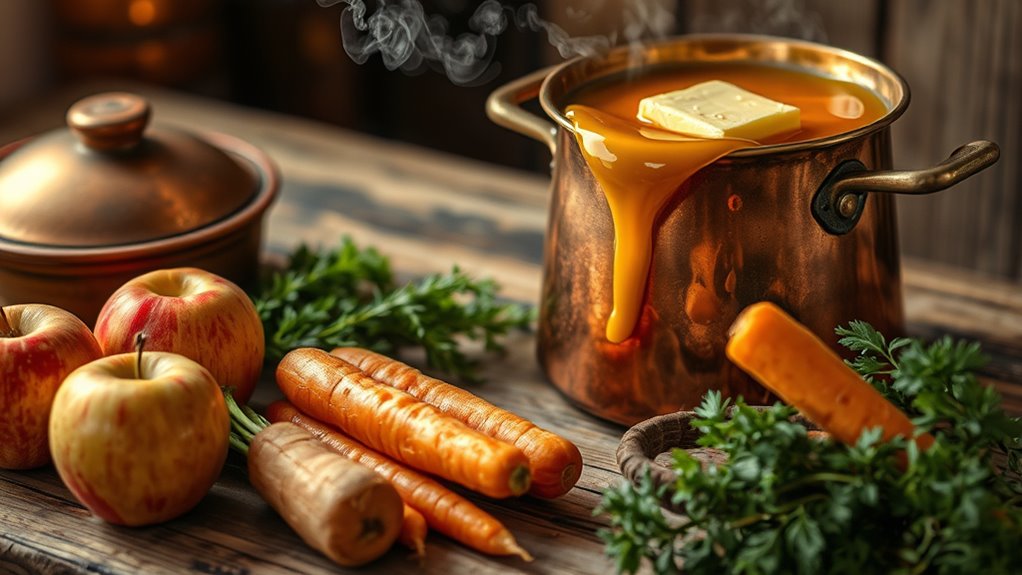
Gathering the Necessary Supplies and Ingredients
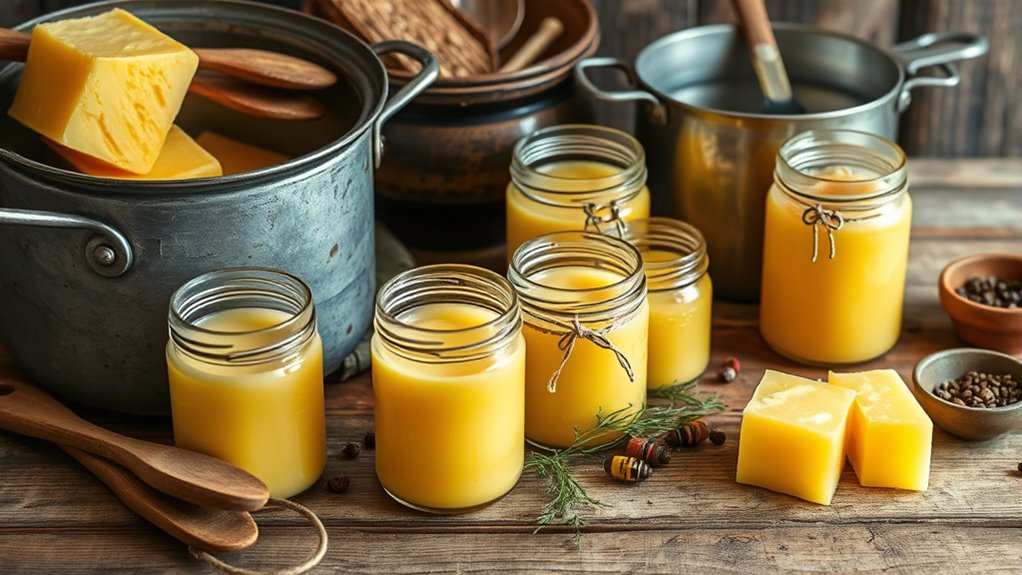
To begin your butter waxing process, you’ll need to gather the essential supplies and ingredients. Focus on natural preservatives and eco-friendly methods to keep your project sustainable. First, choose high-quality butter, preferably organic, as the base. Next, gather natural preservatives like beeswax or plant-based oils to enhance preservation. Finally, make sure you have clean, sterilized tools and containers for mixing and storing your wax. Here’s a quick list:
- Organic butter (preferably grass-fed)
- Natural preservatives such as beeswax or plant oils
- Sterilized mixing bowls and storage containers
In addition, understanding the importance of proper storage can help extend the shelf life of your homemade wax. Using natural preservatives ensures your wax is free of chemicals, aligning with eco-friendly methods. Gathering these supplies thoughtfully helps you create a safe, effective butter wax that preserves your produce naturally.
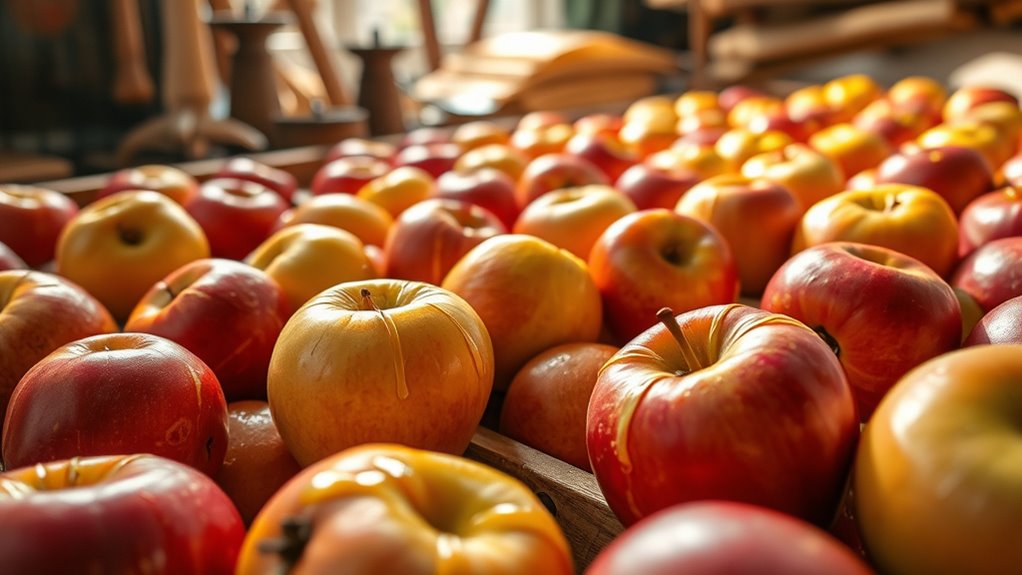
Preparing Your Produce for Waxing
Before applying your homemade butter wax, it’s important to properly prepare your produce to guarantee the wax adheres evenly and effectively. Start by selecting ripe, blemish-free fruits with firm skins, as these will absorb the wax better. Wash your produce thoroughly with warm water and a gentle brush to remove dirt and residues. Dry completely to ensure the wax sticks well. Ensuring proper color accuracy during preparation can also improve the visual appeal of the finished product.
Crafting the Homemade Butter Wax Mixture
To craft your homemade butter wax mixture, start by choosing a high-quality butter that suits your needs. Then, melt and mix the ingredients carefully to guarantee a smooth blend. Finally, aim for the perfect consistency that’s easy to apply but still effective. Incorporating traditional butter-making techniques can enhance the preservation properties of your mixture.
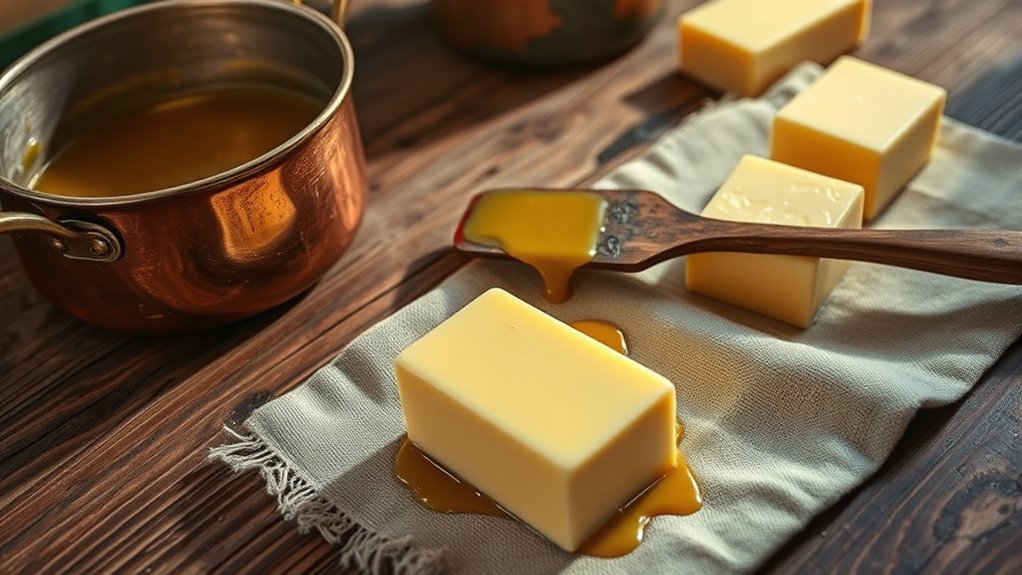
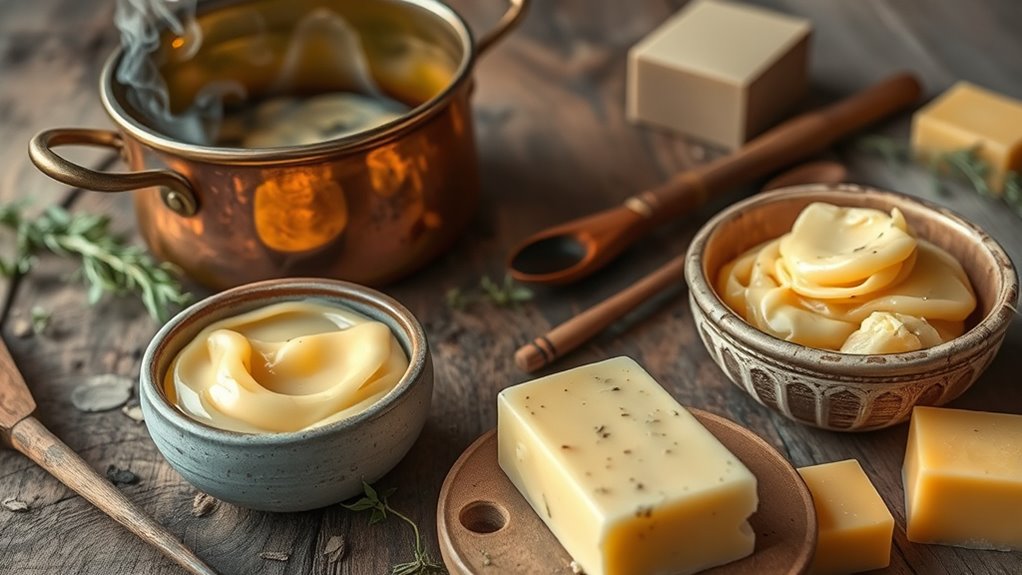
Selecting the Right Butter
Choosing the right butter is essential for creating an effective and smooth homemade wax mixture. Your choice of butter types impacts the mixture’s consistency, spreadability, and preservation qualities. When sourcing options, consider fresh, high-quality butters with minimal additives for the best results. Look for options like:
- Organic grass-fed butter for richer flavor and natural preservation
- Unsalted butter to avoid excess salt interfering with the wax
- Local or farm-fresh sources for freshness and quality assurance
These choices ensure your mixture melts smoothly and adheres well. Avoid processed or salted varieties, as they can compromise the wax’s effectiveness. Selecting the right butter sets a solid foundation for successful DIY butter waxing. Content preservation is vital for maintaining the wax’s longevity and effectiveness over time.
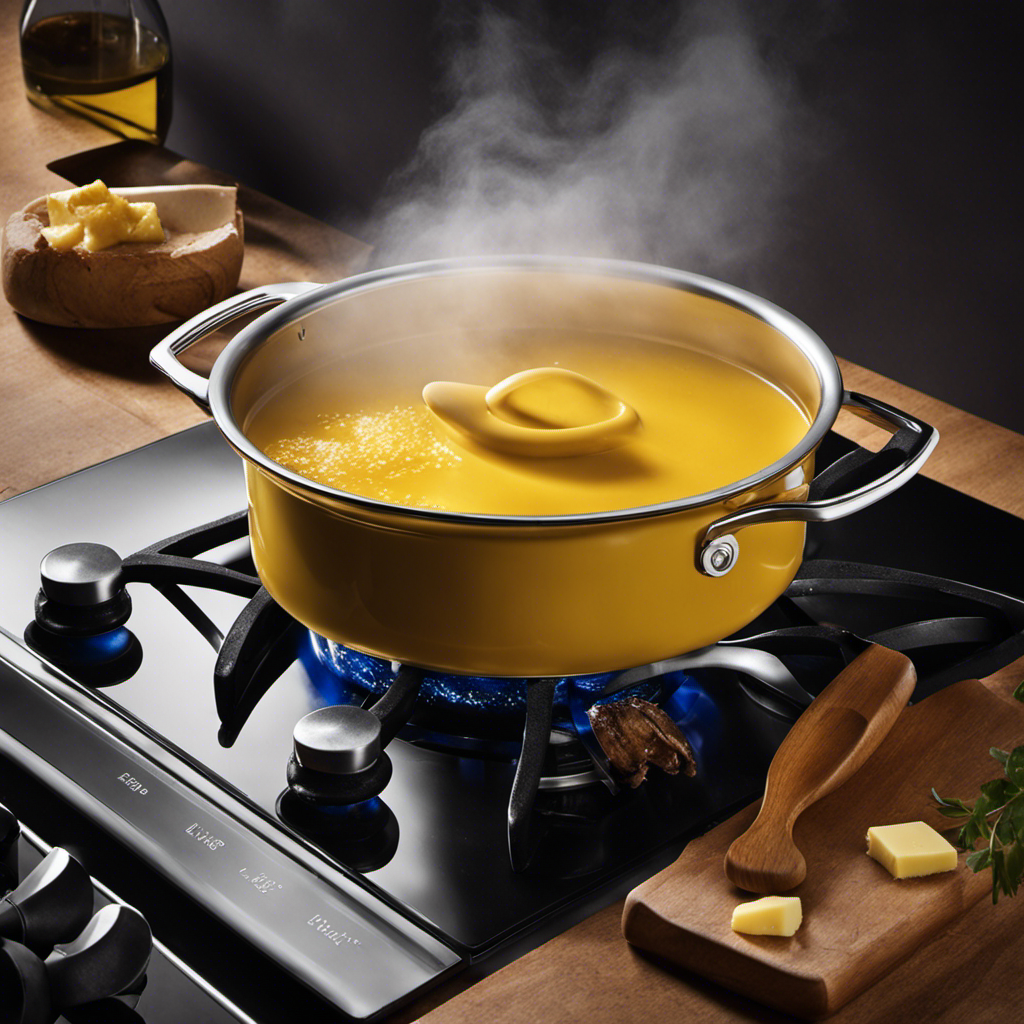
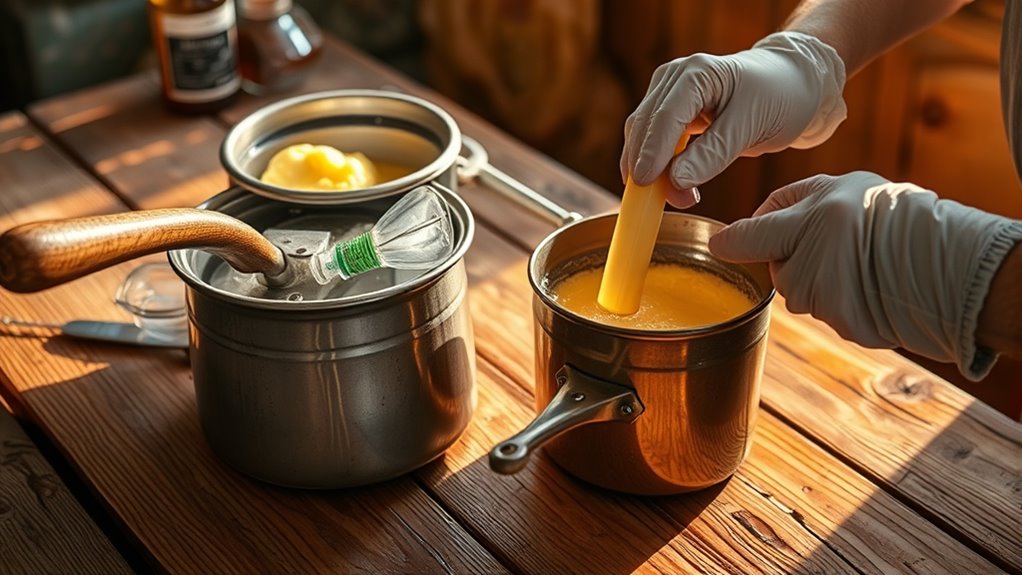
Melting and Mixing Techniques
You’ll want to melt the butter slowly over gentle heat to prevent burning and guarantee a smooth, even consistency. Maintaining proper temperature control is essential; keep the heat low and steady to avoid overheating, which can alter the texture. Stir continuously to ensure uniform melting and mixing. If a specific ingredient isn’t available, consider substitutions—such as using different types of fats or oils—that won’t compromise the mixture’s integrity. When adding other ingredients, do so gradually, ensuring they melt evenly into the butter. Use a double boiler or a heatproof bowl over simmering water to maintain gentle heat. This careful melting and mixing process ensures your homemade butter wax mixture forms a cohesive, stable blend ready for preservation or application. Proper temperature management is especially important when working with electric bikes components to ensure safety and optimal performance.
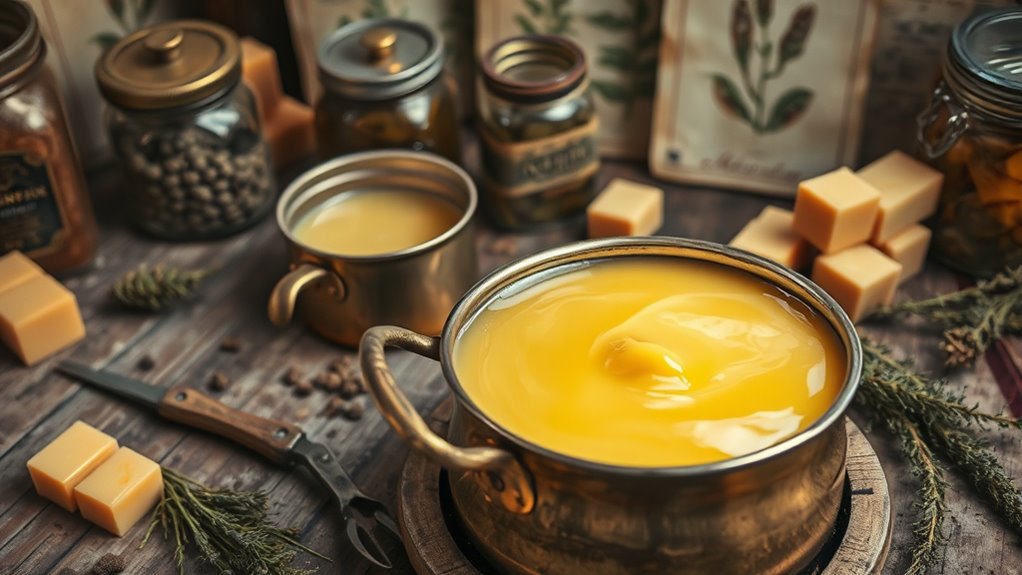
Achieving the Perfect Consistency
Achieving the perfect consistency in your homemade butter wax mixture requires careful attention to the balance of ingredients and temperature. To refine the texture, monitor the mixture closely as it cools, adjusting heat or ingredients if needed. Proper texture refinement guarantees your wax isn’t too runny or too stiff, making application easier. If you encounter consistency troubleshooting, try gently reheating and stirring until it reaches the desired state. Visualize a smooth, cohesive blend that’s easy to spread without sagging or cracking. Additionally, ensuring the mixture maintains the correct temperature during cooling helps achieve optimal consistency.
- The mixture should flow like thick honey but hold its shape
- It shouldn’t feel greasy or overly sticky
- It should set firm yet pliable once cooled
Applying the Wax Coating Properly
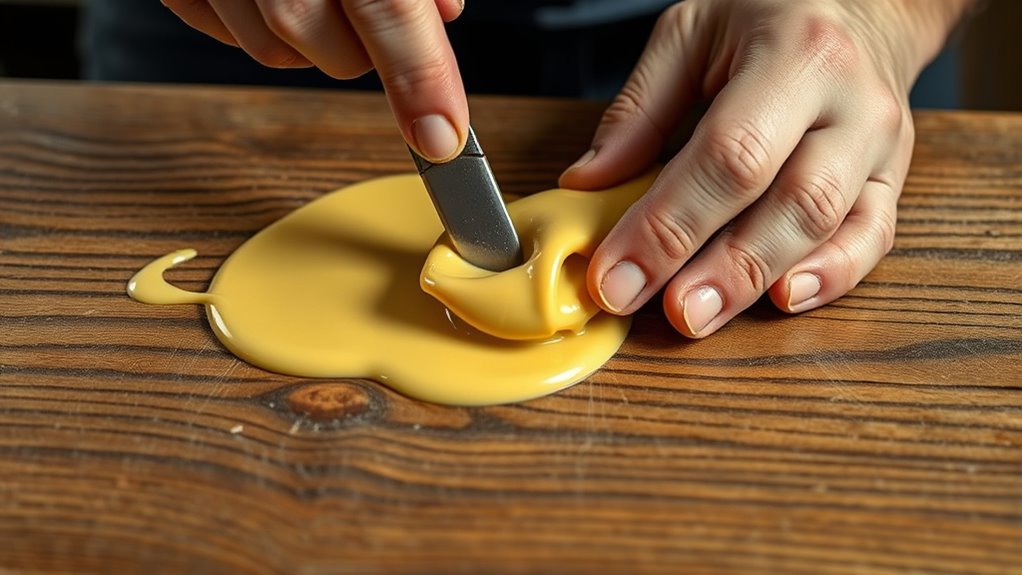
To apply the wax coating effectively, start by making certain your skin is clean and dry. Good application techniques involve working in thin, even layers to prevent drips and uneven coverage. Begin by spreading a small amount of melted wax with a brush or spatula, moving steadily to create a smooth layer. Avoid applying too thick a layer at once, as this can lead to cracking or difficulty in removal. Focus on building multiple wax coating layers, allowing each to set slightly before adding the next. This gradual approach ensures thorough coverage and better preservation. Keep your tools clean to prevent contamination, and work in a cool, well-ventilated area. Proper application techniques are key to achieving a durable, uniform wax coating that preserves your produce effectively. Incorporating multi-layer coatings can enhance the preservation process and improve overall results.
Properly Curing and Storing Waxed Produce
After waxing your produce, make certain to let it cure in a well-ventilated area at room temperature for a few days. Keep it stored in a cool, dark place to prevent spoilage and maintain the wax’s protective layer. Proper curing and storage ensure your waxed produce stays fresh and ready to enjoy. Understanding proper storage techniques can further extend the shelf life of your preserved items.
Optimal Curing Techniques
Proper curing and storage are essential to guarantee your waxed produce maintains its quality and shelf life. To achieve ideal curing, focus on temperature control and humidity regulation. Keep your produce in a well-ventilated area with consistent temperature to prevent mold and spoilage. Aim for a cool, dry space, ideally between 50-60°F. During curing, you’ll notice the wax hardening and sealing in freshness. To help visualize, consider this:
- A cool, shaded cellar with controlled airflow
- Consistent temperature levels, avoiding fluctuations
- Moderate humidity to prevent excess moisture or dryness
Maintaining these conditions ensures the wax forms a proper barrier, preserving your produce safely. Proper curing not only boosts longevity but also enhances flavor and texture, making your preservation efforts truly effective. Additionally, monitoring humidity levels helps prevent mold growth and ensures optimal preservation conditions.
Ideal Storage Conditions
Maintaining ideal storage conditions is essential for preserving the quality of your waxed produce after curing. To prevent spoilage, focus on humidity control and temperature regulation. Keep your stored produce in a cool, dark place with stable temperatures around 55-60°F. Avoid fluctuations that can cause mold or spoilage. Proper humidity levels—around 70%—prevent drying out or excess moisture. Use breathable containers to allow airflow and reduce condensation.
| Condition | Effect |
|---|---|
| High humidity | Promotes mold and rot |
| Low humidity | Causes drying and cracking |
| Stable temperature | Ensures even preservation |
| Fluctuations | Risk of spoilage and mold |
Tips for Maintaining and Reusing Your Waxed Items

To keep your waxed items in good condition and get the most out of them, it’s necessary to follow some simple maintenance tips. Proper care enhances reusability strategies and extends their lifespan. First, regularly inspect your wax coating for cracks or peeling, and reapply a thin layer of melted wax when needed. Second, store your items in a cool, dry place away from direct sunlight to prevent melting or deterioration. Finally, clean your waxed objects gently with a soft cloth to remove dust and debris without damaging the wax surface. Keeping these maintenance tips in mind ensures your waxed items remain functional and reusable. With proper care, you can enjoy your preserved items for years, maximizing their reusability and preserving the integrity of your DIY wax coating.
Safety Considerations and Best Practices
When working with wax for DIY waxing projects, safety should always come first. Ensuring food safety is vital to prevent contamination, so always use clean utensils and store your wax properly. Wear personal protection like gloves and eye protection to avoid burns from hot wax and prevent skin irritation. Work in a well-ventilated area to avoid inhaling fumes, especially if melting the wax over heat. Keep a fire extinguisher nearby in case of accidents, and never leave melting wax unattended. Properly label and store leftover wax away from children and pets. Following these safety practices helps protect your health and maintains the quality of your preservation process. Prioritize safety to enjoy your DIY butter waxing project confidently and responsibly.
Exploring Variations and Additional Preservation Techniques
Exploring variations and additional preservation techniques can help you customize your DIY butter waxing process and extend its effectiveness. By experimenting with alternative ingredients, you can tailor the wax to different climates or specific needs. For example, adding beeswax can increase firmness, while incorporating natural oils can improve pliability. You might also consider using herbal infusions for added preservation extension and antimicrobial properties. Visualize these options:
- Incorporating beeswax or carnauba wax for durability
- Using essential oils like tea tree or eucalyptus for antimicrobial effects
- Adding natural preservatives such as vitamin E or rosemary extract for longer shelf life
These variations allow you to optimize your wax’s performance and longevity, ensuring your preservation method remains effective over time. Adjusting ingredients provides a personalized touch and enhances the overall preservation process.
Frequently Asked Questions
How Long Can Butter-Waxed Produce Be Stored Effectively?
You can store butter-waxed produce effectively for several months, typically between 3 to 6 months, depending on storage conditions. To prevent spoilage, keep the produce in a cool, dark, and dry place, ideally around 50-60°F. Proper storage duration is essential for spoilage prevention, ensuring the produce remains fresh and safe to consume. Regularly check for signs of mold or deterioration to maintain peak freshness.
Can Butter Waxing Be Used on Non-Food Items?
Think of butter waxing as a versatile shield that can protect more than just food. You might wonder if it’s suitable for non-food applications, and the answer is yes. This preservation technique creates a barrier that guards against moisture and decay, making it useful for sealing wood, leather, or other materials. It’s a natural, old-world method that’s seeing new life in preserving various items beyond just edibles.
What Are Common Mistakes to Avoid During Application?
When applying butter wax, you should avoid common mistakes like uneven application, which affects application consistency and wax layer uniformity. make certain you spread the wax evenly, using thin, consistent layers to prevent clumps or gaps. Don’t rush the drying process, as it can cause uneven coverage. Also, avoid applying too much wax at once, which makes it harder to achieve a smooth, uniform finish and can compromise the preservation quality.
Is Butter Waxing Suitable for All Types of Produce?
Butter waxing isn’t suitable for all types of produce. For effective fruit preservation, you need to take into account each item’s skin and moisture content. Some fruits with delicate skins or high moisture may not respond well to wax application techniques, which could trap moisture or cause spoilage. Always research specific preservation methods for your produce, and test small areas first to ensure the wax enhances shelf life without damaging the fruit.
How Environmentally Friendly Is the Butter Waxing Process?
Think of butter waxing as a gentle guardian for your produce, like a protective shield. It’s environmentally friendly because the process emphasizes biodegradability, breaking down naturally without harming ecosystems. Plus, it’s chemical-safe, avoiding harmful additives. So, when you wax your fruits and veggies, you’re choosing a preservation method that respects the planet, keeping your food fresh while minimizing ecological impact. It’s a win for sustainability and food safety alike.
Conclusion
By reviving the old butter waxing technique, you can naturally preserve your produce for weeks longer. Did you know that traditional methods like waxing can extend freshness up to 2-3 times longer than unpreserved items? With just a few supplies and some care, you’re not only safeguarding your harvest but also embracing a sustainable, chemical-free approach. Give it a try and enjoy fresher, tastier produce while reducing waste—your garden and the planet will thank you!