
To make five-ingredient butter truffles that melt twice as slow, start by gathering high-quality butter, dark chocolate, vanilla extract, a pinch of flaky sea salt, and optional flavor infusions like espresso or liqueur. Melt the chocolate gently, combine with softened butter, and chill the mixture until firm. Shape into balls, coat with tempered chocolate for a glossy finish, then store in airtight containers. Keep them cool to slow the melt, and you’ll enjoy decadent, slow-melting treats—there’s more to discover as you continue.
Key Takeaways
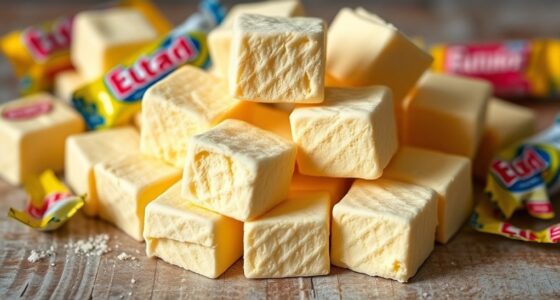
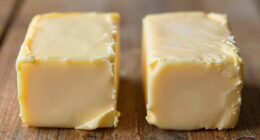
- Use high-quality, high-fat butter to create a richer, denser truffle center that melts more slowly.
- Incorporate ingredients like cocoa butter or coconut oil to increase melting point and prolong texture.
- Chill the truffles thoroughly after shaping to solidify fats and slow down melting upon serving.
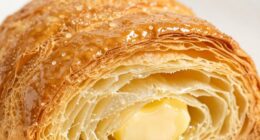
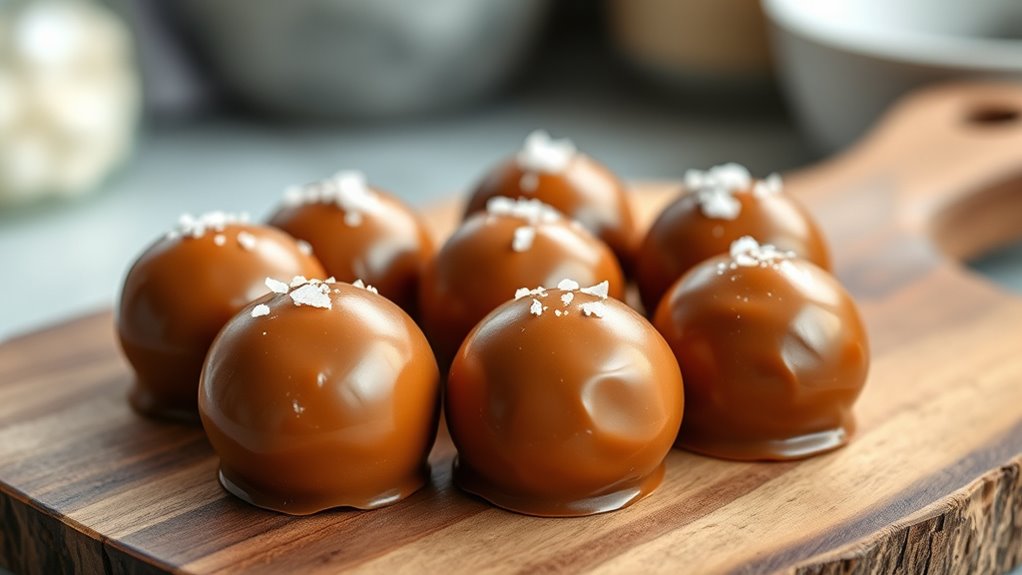
- Coat the truffles with tempered chocolate for a firm, glossy exterior that resists melting.
- Store in cool, airtight conditions to maintain firmness and delay melting during serving.

Peanut Butter Maker, Nut Butter Machine, 2025 New Electric Nut Butter Maker Machine, Electric Sesame Sauce Nut Grinder with Non-Slip Base Entry, Easy Install Easy to Use,Grinder
Our peanut nut grinder lets you easily grind a variety of nuts and seeds to make smooth.
As an affiliate, we earn on qualifying purchases.
Gathering Your Ingredients and Equipment
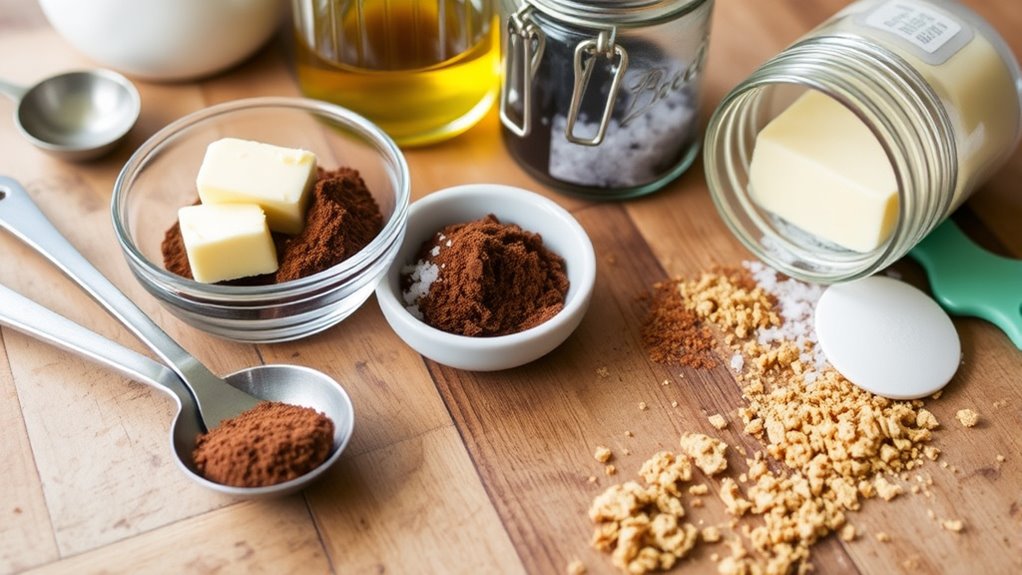
Before you begin making the butter truffles, gather all the necessary ingredients and equipment. Start with ingredient sourcing; choose high-quality butter, good quality chocolate, and any flavorings you want to include. Fresh, premium ingredients ensure your truffles taste rich and indulgent. Next, focus on equipment essentials: a mixing bowl, a spatula, a whisk, and a double boiler or microwave-safe bowl for melting chocolate. Having everything within reach keeps the process smooth and efficient. Make sure your workspace is clean and organized. Double-check that your tools are in good condition. By preparing your ingredients and equipment beforehand, you streamline the process and set yourself up for success in creating irresistibly smooth, melt-in-your-mouth butter truffles. Additionally, organizing your tools can help reduce automation in business and streamline your workflow, making the entire process more enjoyable.

1100W Peanut Butter Maker Machine, 33lbs/h Stainless Steel Food Electric Grain Grinder Sesame Sauce Grinder Nut Butter Maker Home/Commercial for Groundnut, Almond, Cashew Nut, Sesame, 2850RPM
【Industrial-Grade Durable Grain Mill】- Crafted with premium stainless steel housing & aluminum grinding bin for corrosion/rust resistance. Built...
As an affiliate, we earn on qualifying purchases.
Preparing the Rich Chocolate Mixture
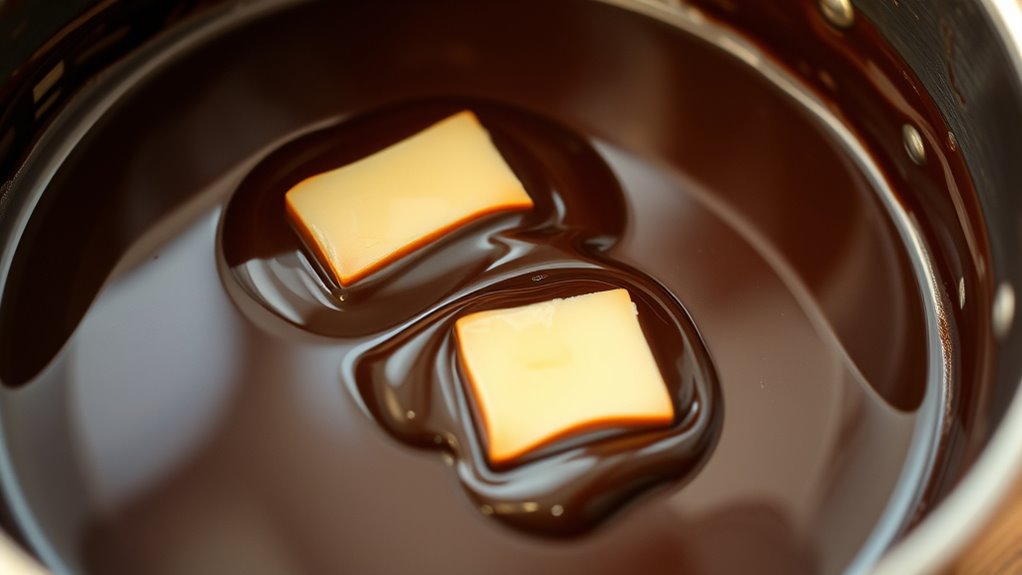
Once your ingredients and equipment are ready, it’s time to focus on preparing the rich chocolate mixture. Start by gently melting the chocolate using a double boiler, making certain you avoid overheating, which is essential for proper chocolate tempering. As the chocolate melts, consider adding subtle flavor infusions—like a splash of vanilla or a hint of espresso—to enhance depth. Stir continuously until smooth and glossy. To achieve the perfect consistency, test the tempering process by spreading a small amount on parchment; it should set quickly with a shiny finish. Proper tempering ensures the truffles melt slowly and maintain their structure. Keep the mixture at a consistent, cool temperature, and avoid moisture to prevent seizing. Using a quality watering pot can help you pour and control the chocolate more precisely during this process. This careful process guarantees luxurious, velvety truffles.
DBXMJWCMDT Electric Nut Grinder Peanut Butter Maker Machine, 500ml Large-Capacity Almond/Cashew/Sesame Grinding Mill with Non-Slip Base, Efficient Home & Commercial Nut Butter Processor
【Homemade Peanut Butter Maker】 This 500ml electric grinder allows you to create fresh, natural peanut butter and nut...
As an affiliate, we earn on qualifying purchases.
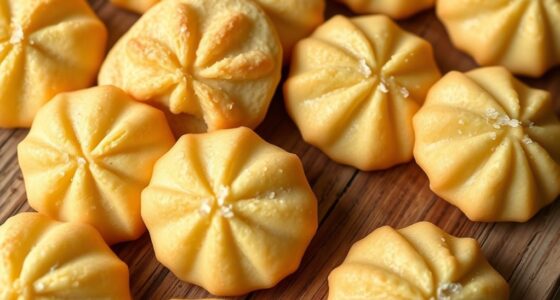
Shaping and Chilling the Truffles
After your chocolate mixture has cooled slightly and thickened, it’s time to shape the truffles. Use a teaspoon or melon baller to scoop portions, then roll them gently between your palms for smooth spheres. Chill the shaped truffles on a baking sheet lined with parchment paper for 30 minutes, allowing them to firm up. This step guarantees better handling for decorating techniques and flavor variations. You can customize your truffles with toppings like cocoa powder, chopped nuts, or edible gold for an elegant touch. Here’s a quick guide to flavor options:
| Flavor Variations | Decorating Techniques | Tips |
|---|---|---|
| Lavender | Dipping in chocolate | Infuse cream before mixing |
| Orange Zest | Sprinkling sea salt | Use a fine grater for zest |
| Espresso | Drizzling caramel | Chill before decorating |
This process guarantees beautifully shaped, flavorful truffles with a professional finish. Incorporating air purification techniques in your kitchen can improve air quality, making your space more comfortable and healthier for food preparation.
ZERNEIL Peanut Butter Maker Machine Nut Butter Machine 110V 1100W Electric Grain Grinder Peanut Butter Maker - 33lb/h Sesame Sauce Grinder Home/Commercial for Groundnut, Almond, Cashew Nut and Sesame
🧉【Grinding Assistant】: The 1100W pure copper motor, 2850r/min, and the white jade just grinding wheel used can grind...
As an affiliate, we earn on qualifying purchases.
Coating for a Perfect Finish
With your truffles shaped and chilled to perfection, the next step is to add a smooth, glossy coating that elevates their appearance and flavor. A well-chosen coating enhances the visual appeal and provides a luxurious texture. To achieve this, consider decorating techniques like drizzling with tempered chocolate or dipping for a sleek finish. Incorporate flavor infusions into the coating, such as a hint of espresso or liqueur, to add depth. Use a spatula or fork for precise application, ensuring even coverage. For added sophistication, sprinkle edible gold leaf or finely chopped nuts before the coating sets. This finishing touch not only makes your truffles look professional but also enriches their flavor profile, creating an irresistible treat.
Storing and Serving Your Slow-Melting Delights
To keep your slow-melting truffles at their best, proper storage is essential. Store them in an airtight container in the refrigerator to preserve their texture and flavor. For ideal flavor pairings, consider placing them near complementary treats like nuts or dried fruit to enhance tasting experiences. Before serving, let the truffles sit at room temperature for a few minutes to soften slightly, showcasing their rich interior. Presentation tips include arranging them on a sleek platter or in decorative paper cups, which elevates their visual appeal. Avoid stacking too many at once to prevent crushing. Proper storage and thoughtful presentation not only maintain their slow-melting quality but also make your treats more enticing, creating a memorable indulgence for anyone lucky enough to enjoy them. Additionally, understanding the contrast ratio of your serving dishes can influence how visually appealing your presentation appears.
Frequently Asked Questions
Can I Substitute Different Types of Chocolate for the Recipe?
You can definitely try chocolate substitutions in your truffle recipe. Different types of chocolate, like dark, milk, or white, will impact flavor infusions and texture. Keep in mind that melting times and sweetness levels vary, so adjust accordingly. For the best results, choose chocolates with similar cocoa content or sweetness. Experimenting with different chocolates lets you customize your truffles while maintaining that rich, indulgent experience.
How Long Do These Truffles Stay Fresh at Room Temperature?
You wonder about storage duration and freshness preservation for these truffles at room temperature. Generally, they stay fresh for about 1-2 days if kept in an airtight container. To maximize freshness, keep them in a cool, dry spot away from direct sunlight. If you want them to last longer, consider refrigerating or freezing, which will extend their shelf life but may affect texture.
Is It Possible to Make These Truffles Vegan?
Did you know that vegan chocolate often contains antioxidant-rich plant-based ingredients? Yes, you can make these truffles vegan by swapping regular butter with vegan butter or coconut oil, and using dairy-free chocolate. This way, you keep the rich flavor and smooth texture while making the treat suitable for a plant-based diet. With a few simple substitutions, your delicious truffles will be fully vegan and just as indulgent.
What Are Some Creative Flavor Variations to Try?
You can get creative with flavor infusion by adding ingredients like espresso, orange zest, or chili powder to your truffle mixture. Topping enhancements like crushed nuts, sea salt, or drizzles of chocolate elevate the experience. Experimenting with different extracts or spices allows you to craft unique variations that suit your taste. Don’t be afraid to try new combinations—these simple tweaks can turn basic truffles into gourmet treats.
Can I Freeze the Truffles for Later Consumption?
Oh, sure, go ahead and freeze your delicate, melt-in-your-mouth truffles—what’s the worst that could happen? Freezing storage can extend their shelf life, but beware, texture might suffer. Wrap them tightly to prevent freezer burn, and label clearly. While they’ll last longer, expect some loss of that luscious creaminess. For best results, consume within a month, because even freezing can’t save every treat from losing its magic.
Conclusion
Now, after all that effort, you’ve made truffles that melt so slowly, you’ll almost forget they’re chocolate at all. Ironically, the real challenge is resisting the urge to stuff your face before they even make it to the fridge. But hey, with just five ingredients and a little patience, you’ve crafted a treat that defies expectations—and your willpower. Enjoy the slow delight, and maybe, just maybe, savor each bite a little longer.