
To make your corn on the cob prep cleaner and easier, try applying butter before husking. Melt a generous amount and spread it over the husks with a brush or paper towel. The butter acts as a barrier, loosening the husks and silk, while also reducing mess and pulling effort. It keeps your hands cleaner and speeds up the process. Keep going to discover more tips to perfect your husking technique and enjoy stress-free prep.
Key Takeaways
- Applying butter to husks softens them, making silk removal easier and reducing mess during husking.
- Butter creates a barrier that minimizes silk sticking to the cob, leading to cleaner prep.
- Coating husks with butter helps husks slide off smoothly, decreasing stray silk and residue.
- The butter trick speeds up husking, especially when handling multiple ears, by easing husk removal.
- Rinsing after husking removes remaining silk and butter, ensuring cleaner, ready-to-cook corn.
If you’ve ever struggled with messy, sticky corn on the cob prep, there’s a simple butter trick that can make the process cleaner and easier. Instead of trying to peel off the husks with your hands and dealing with the slippery silk, you can use a little butter melting to your advantage. This method keeps your hands cleaner and simplifies the corn husking process. When you start with butter melting, you’re creating a barrier that helps loosen the husks without making a mess.
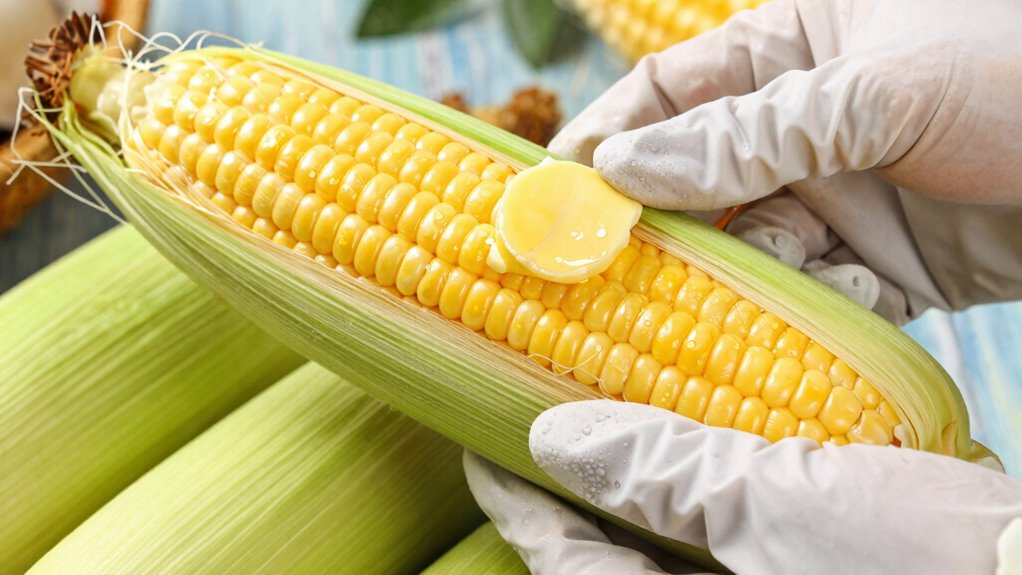
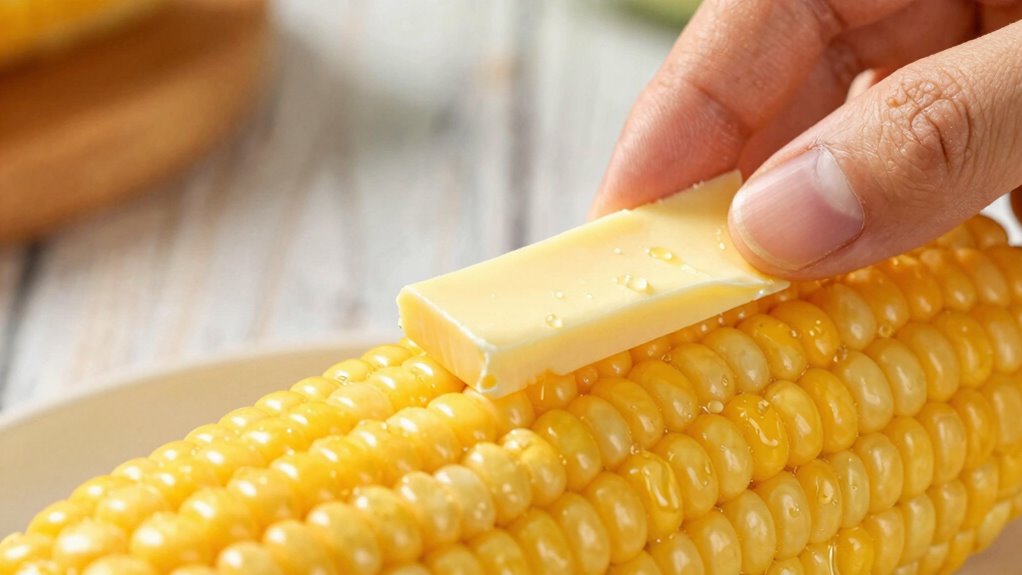
Begin by melting a generous amount of butter in a microwave-safe bowl or on the stovetop. Once melted, use a brush or a paper towel to spread the butter generously over the outer layers of the corn husks. As you do this, the butter penetrates the husks, softening them and making them easier to peel away. The key here is to coat the entire ear of corn thoroughly, so the butter seeps through the layers and loosens the silk and husks naturally. This step minimizes the usual tugging and pulling, which often results in sticky silk sticking to your fingers or flying everywhere. Additionally, the natural properties of butter help in softening the silk, making removal even easier. Incorporating temperature control during melting can optimize how well the butter coats and penetrates, further easing the husking process. Understanding butter’s functions as a barrier can help you better appreciate why this method works so effectively.
Melting butter and coating the corn softens husks, making peeling easier and mess-free.
Next, hold the corn firmly by the end and begin husking from the top, where the stem used to connect. Thanks to the butter coating, the husks slide off more smoothly, and the silk comes away easily. You’ll notice less residue and fewer stray silks clinging stubbornly to the corn. If you encounter any particularly stubborn parts, a second round of butter melting and reapplication can help loosen them further. This technique not only keeps your hands cleaner but also reduces the mess on your countertop or cutting board. Proper technique in husking can greatly enhance your efficiency and minimize waste.
The butter also adds flavor, so as you husk the corn, some of the melted butter naturally drips down, seasoning the cob. After husking, you can give the corn a quick rinse to remove any remaining silk or butter residue, or you can proceed straight to cooking, knowing the prep was tidy and effortless. This method works especially well if you’re preparing multiple ears — it speeds up the process and keeps everything neat.
Using butter melting as part of your corn husking routine isn’t just about cleanliness; it’s about making the whole experience more enjoyable. The extra flavor and less mess mean less frustration and more time to focus on cooking or eating. With this simple butter trick, you’ll find corn on the cob prep becomes a quick, clean, and tasty task every time. Additionally, understanding how butter functions as a barrier can help you better appreciate the science behind this method.
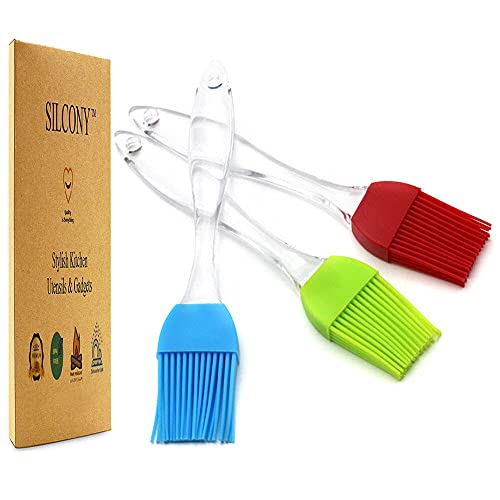
SILCONY 7" Silicone Basting Pastry Brush – Perfect for Oil Butter Spread, Marinades, Baste, BBQ, Grill, Cooking – BPA Free, Food Grade Material, Dishwasher Safe (3, 7 Inches)
- Material: Food grade silicone, BPA free
- Heat Resistance: Withstands 40-250°C heat
- Design: Soft, flexible, comfortable grip
As an affiliate, we earn on qualifying purchases.
As an affiliate, we earn on qualifying purchases.
Frequently Asked Questions
Can I Use Margarine Instead of Butter for This Trick?
Yes, you can use margarine instead of butter for the butter trick. Margarine substitution works fine, but keep in mind that there are flavor differences—margarine often has a slightly different taste and texture compared to butter. If you prefer a milder flavor or need a dairy-free option, margarine is a good choice. Just use the same amount, and your corn will still be delicious and easy to clean.
Does This Method Work for Frozen or Pre-Shucked Corn?
This method generally doesn’t work well for frozen or pre-shucked corn because frozen corn can be slippery, and pre-shucked varieties often have uneven surfaces. For frozen preparation, thaw the corn first, then try the butter trick. The corn variety also matters; sweeter or softer corn might not hold the butter as effectively. For best results, use fresh, whole ears for the trick to work smoothly and cleanly.
How Long Should I Soak the Corn for Best Results?
You should soak the corn for about 10-15 minutes to get the best results. During this time, the corn soaking process allows the butter to seep into every nook and cranny, creating a flavor explosion. Make sure to submerge the corn fully, so the butter application becomes more effective and your corn tastes like it’s been kissed by summer sunshine. This quick soak transforms ordinary corn into a juicy, buttery masterpiece.
Is This Trick Effective on Heirloom or Specialty Corn Varieties?
Yes, the butter trick works well on heirloom varieties and specialty corn. You simply apply butter before soaking, which helps loosen dirt and husk debris, making cleaning easier. Since heirloom and specialty corn often have unique husk textures, this method guarantees you remove unwanted residues effectively. Just be gentle during cleaning, and you’ll preserve the delicate flavors and qualities of these special corn types while keeping them clean and ready to cook.
Can I Prepare the Butter Mixture Ahead of Time?
Yes, you can prepare the butter mixture ahead of time, turning your kitchen into a flavor-enhancing symphony waiting to be played. Mix your butter and seasonings, then store it in the fridge, ready to melt into the warm corn. This not only speeds up your prep but also preserves the perfect texture, ensuring each bite is rich and tender. When you’re ready, just slather, savor, and enjoy!
Conclusion
So, next time you prep corn on the cob, give the butter trick a try. It’s said to help remove the silk more easily, making your prep quicker and less messy. While some swear by it, the real proof is in your own experience. Try it out and see if it makes a difference for you. Sometimes, simple hacks like this can turn a tedious task into a breeze—so why not give it a shot?