
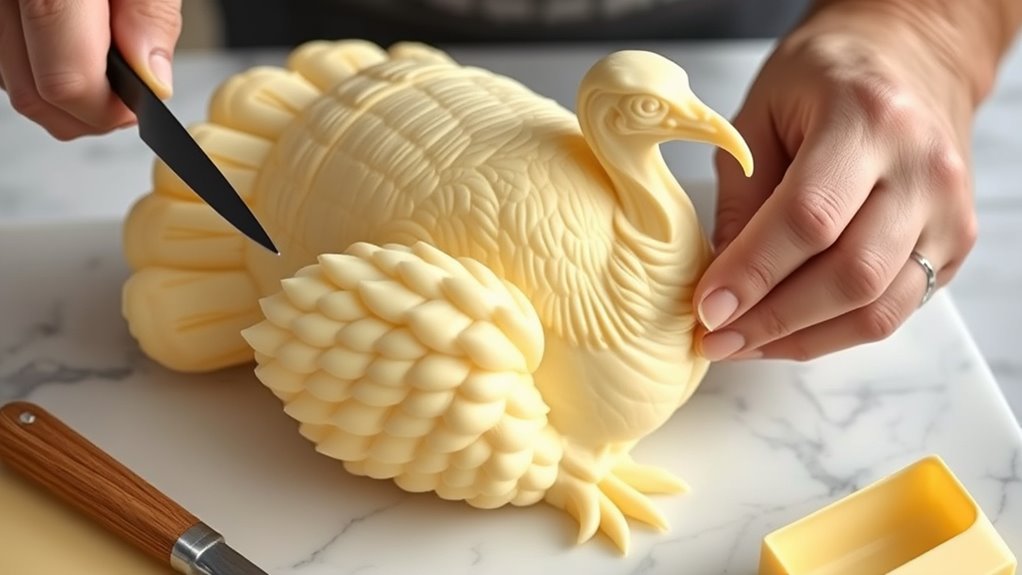
To craft stunning Thanksgiving butter turkeys, start with high-quality, slightly softened butter at about 65°F for easy molding and fine detail. Use sharp tools like knives and sculpting picks, and keep your workspace cool to prevent melting. Carefully carve and texture the sculpture, adding intricate details like feathers and wrinkles for realism. Proper storage and gentle handling keep your masterpiece fresh. Keep going, and you’ll discover expert tips to elevate your butter sculpture skills even further.
Key Takeaways
- Use high-quality, slightly warmed butter (around 65°F) for optimal pliability and detailed carving.
- Prepare and chill molds and tools beforehand to ensure sharpness and ease of shaping.
- Focus on creating realistic textures like feathers and wrinkles with fine tools and gentle carving techniques.
- Add subtle tinting and surface details to enhance vibrancy and realism of the turkey sculpture.
- Keep the sculpture refrigerated until display, handling it carefully to preserve intricate features and prevent melting.

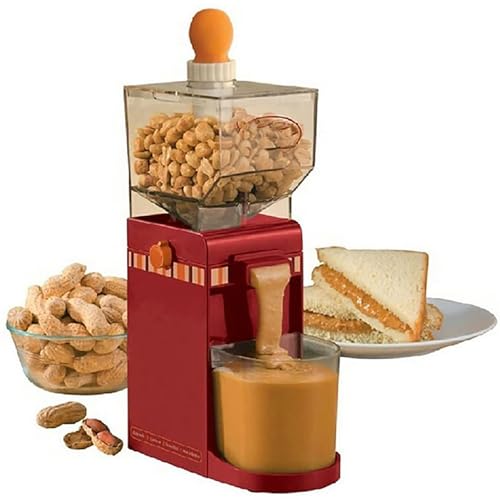
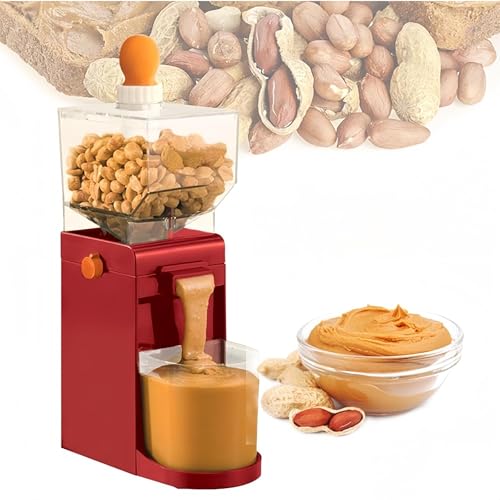
Peanut Butter Maker, Nut Butter Machine, 2025 New Electric Nut Butter Maker Machine, Electric Sesame Sauce Nut Grinder with Non-Slip Base Entry, Easy Install Easy to Use,Grinder
Our peanut nut grinder lets you easily grind a variety of nuts and seeds to make smooth.
As an affiliate, we earn on qualifying purchases.
Choosing the Right Butter for Sculpting
Choosing the right butter is vital for successful sculpting because not all butters have the same consistency or workability. High butter quality guarantees your sculpture holds shape without crumbling or melting too quickly. Look for unsalted, European-style butter with higher fat content, as it’s softer and easier to mold. Proper storage methods are essential; keep your butter refrigerated until use, then let it sit at room temperature for easier shaping. Avoid butter that’s too soft or too cold, as it can be difficult to carve smoothly. If your butter is too firm, warm it slightly; if too soft, chill it. Using quality butter and storing it correctly helps you achieve clean lines and detailed textures in your sculpture.
DBXMJWCMDT Electric Nut Grinder Peanut Butter Maker Machine, 500ml Large-Capacity Almond/Cashew/Sesame Grinding Mill with Non-Slip Base, Efficient Home & Commercial Nut Butter Processor
【Homemade Peanut Butter Maker】 This 500ml electric grinder allows you to create fresh, natural peanut butter and nut...
As an affiliate, we earn on qualifying purchases.
Essential Tools and Equipment for Butter Carving
To create stunning butter sculptures, you need the right tools of the trade, including sharp knives, spatulas, and carving tools. It’s also essential to follow safety guidelines and keep your equipment well-maintained to avoid accidents. Proper care guarantees your tools stay effective and your sculptures turn out flawless. Additionally, understanding cybersecurity vulnerabilities can help protect your digital plans and images related to your sculptures from potential cyber threats.
Tools of the Trade
Successful butter carving relies on having the right tools, as they allow you to shape and detail your sculptures with precision. Achieving the perfect butter consistency is vital, making sculpting accessories like spatulas, knives, and modeling tools essential. These tools help you carve fine details and smooth surfaces, elevating your work from amateur to professional. Using the proper tools reduces frustration and guarantees cleaner cuts. Invest in quality sculpting accessories that feel comfortable in your hand and are sharp enough for delicate work. Remember, the right tools make all the difference in transforming simple butter into stunning Thanksgiving turkeys. Additionally, maintaining an optimal working environment, such as a cold environment, helps preserve the ideal butter consistency during the sculpting process.
Safety and Maintenance
Using the right tools is only half the equation—safety and proper maintenance are key to a smooth and enjoyable butter carving experience. Always prioritize food safety by keeping your tools clean and sanitized to prevent bacteria growth. Regular equipment maintenance ensures your knives and carving tools stay sharp, reducing the risk of slips or accidents. Inspect your tools before each use, replacing dull blades promptly. Store your equipment properly to avoid damage and contamination. Remember, a well-maintained setup not only enhances safety but also improves precision, making your butter sculpture look professional. Maintaining your tools properly also extends their lifespan and ensures consistent performance. Proper safety and maintenance are essential for a successful butter sculpture project. By staying vigilant with food safety practices and routine equipment care, you’ll carve confidently and enjoy the process without unnecessary hazards. Proper safety and maintenance are essential for a successful butter sculpture project.

ZERNEIL Peanut Butter Maker Machine Nut Butter Machine 110V 1100W Electric Grain Grinder Peanut Butter Maker - 33lb/h Sesame Sauce Grinder Home/Commercial for Groundnut, Almond, Cashew Nut and Sesame
🧉【Grinding Assistant】: The 1100W pure copper motor, 2850r/min, and the white jade just grinding wheel used can grind...
As an affiliate, we earn on qualifying purchases.
Preparing the Butter Block for Sculpting
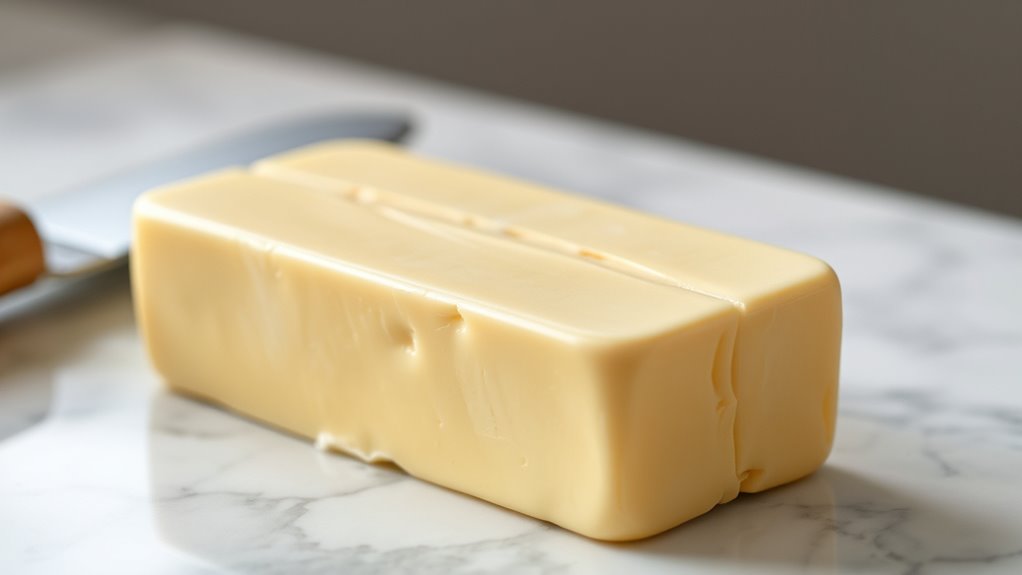
Before you start sculpting, it’s essential to prepare your butter block properly. First, guarantee your butter is at the right temperature—ideally around 65°F (18°C)—to make it pliable without melting. Cold butter will be too hard to shape, while warm butter may become too soft and lose detail. Next, focus on mold preparation: thoroughly clean and dry your mold, then lightly coat it with vegetable oil or non-stick spray to prevent sticking. This step ensures smooth removal of the finished sculpture. If you’re using a silicone mold, simply ensure it’s clean and dry. Properly tempering your butter and preparing your molds set the foundation for precise, clean carvings, making your sculpture process smoother and more successful. Additionally, understanding the importance of butter consistency can significantly impact your sculpting results.
Electric Peanut Butter Maker Machine, Nut Butter Grinder for Almond Cashew Sesame, Large-Capacity Grain Grinder, Home & Commercial Nut Processor with Non-Slip Base
【Fresh Homemade Nut Butter】Ideal for peanuts, almonds, cashews, hazelnuts, seeds, grains—create smooth or chunky spreads for home kitchens...
As an affiliate, we earn on qualifying purchases.
Basic Techniques for Shaping Butter
Once your butter is properly prepared and at the right temperature, you can begin shaping it with basic techniques that bring your sculpture to life. Start by gently molding the butter with your hands or simple tools like knives and spatulas. Keep in mind that butter flavor influences how your sculpture tastes, so choose high-quality, fresh butter for the best results. Throughout sculpting history, artisans relied on straightforward methods like carving, smoothing, and layering to create detailed forms. These foundational techniques help you control the shape and texture, ensuring the butter remains pliable and easy to work with. Additionally, understanding butter texture is essential for achieving smooth and precise designs. Mastering these basics allows you to develop more intricate designs later and sets a solid foundation for impressive butter artistry.
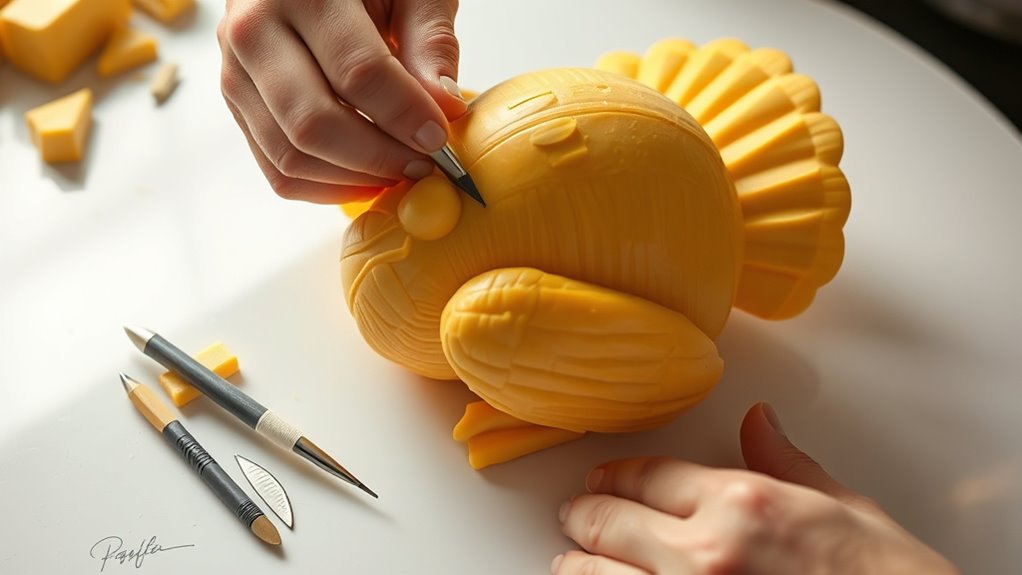
Adding Fine Details: Texturing and Finishing Touches
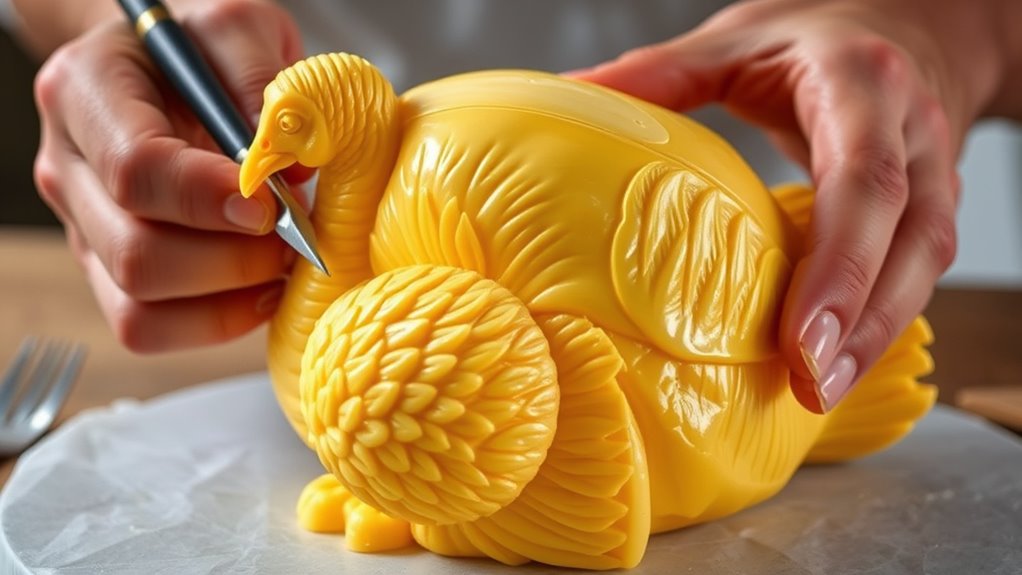
Adding fine details transforms a simple butter sculpture into a mesmerizing work of art. To achieve this, focus on wrinkle details that add realism, especially around the turkey’s skin and features. Use small tools or fine-tipped picks to carve delicate creases, giving texture and depth. Color accents also enhance the overall appearance; lightly tint certain areas to highlight feathers or contours, making your sculpture more vibrant and lifelike. Pay close attention to subtle variations in texture, smoothing some parts while emphasizing rougher areas for contrast. These finishing touches require patience and precision but markedly elevate your sculpture’s realism. Incorporating techniques like essential oils for texture, which can be used to subtly enhance surface details, may also add an extra layer of realism. Remember, the key is not overdoing it—just enough detail to captivate viewers and bring your Thanksgiving turkey to life.
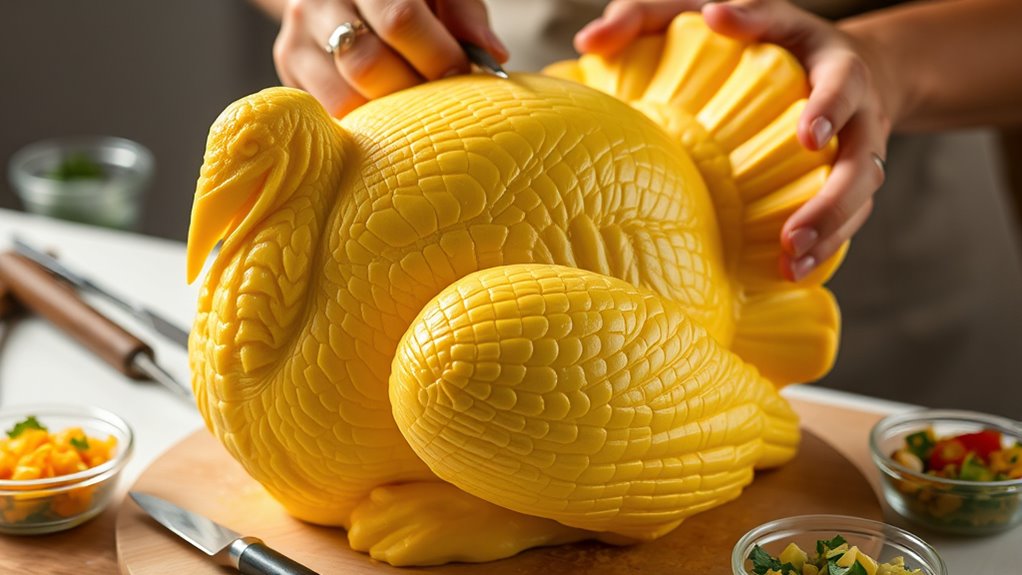
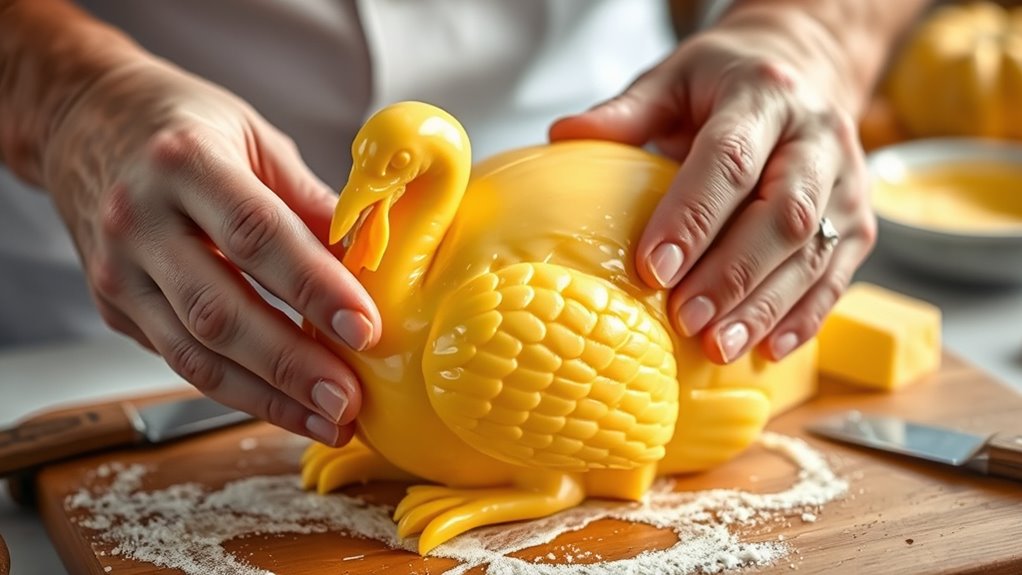
Building the Structure of a Thanksgiving Turkey

To build a sturdy and accurate foundation for your Thanksgiving turkey sculpture, start by shaping the core mass with a block of chilled butter. This initial step is vital, as it sets the structure’s stability and guides your detailed work. The butter’s mild flavor helps prevent overpowering the natural look of the sculpture, allowing the focus to remain on form and texture. Understanding sculpting history reveals that early butter artists prioritized a solid base to support intricate details later. Keep the butter cold to maintain its firmness, making shaping easier and more precise. As you build upward, refine the contours gradually, ensuring your turkey’s proportions are realistic. This foundational step guarantees your sculpture will hold its shape and showcase your skill in butter artistry. Additionally, maintaining the correct temperature is essential for butter sculpting, ensuring your work remains workable and avoids melting.
Tips for Maintaining Butter Freshness During the Process
To keep your butter fresh during sculpting, make sure it stays cold at all times. Minimize handling to prevent warmth from softening it, and store your finished piece in an airtight container. These simple steps will help preserve the butter’s texture and appearance throughout your project. Using proper storage techniques can also extend the freshness and prevent spoilage.
Keep Butter Cold
Keeping your butter cold throughout the sculpting process is vital to prevent it from becoming too soft or melting. Maintaining an ideal butter temperature ensures your details stay sharp and your sculpture holds its shape. To do this, work in cool, controlled environments and keep your butter refrigerated whenever not actively sculpting. Pay attention to your storage conditions—avoid warm spots or direct sunlight, which can quickly soften the butter. Using chilled tools and working in short sessions also helps keep the butter firm. If the butter starts to warm up, return it to the fridge briefly before continuing. Additionally, selecting the right materials can significantly impact the ease of sculpting and the final appearance. Keeping your butter cold is a simple yet essential step to achieve smooth, precise sculptures that last.
Minimize Handling Time
Ever wonder how to keep your butter fresh during sculpting? Minimizing handling time is key. Keep your workspace cool, and work quickly to prevent butter from warming and becoming soft. Use fondant techniques to create detailed textures or smooth surfaces without excessive manipulation. When adding edible decorations, plan your placement beforehand to avoid unnecessary adjustments. Handle the butter as little as possible—use tools like spatulas and sculpting tools to speed up the process. Keep your hands clean and cool to prevent melting. If you need to pause, cover the sculpture with plastic wrap or a damp cloth to maintain the temperature. Staying efficient reduces the risk of butter melting or losing its shape, ensuring a fresh, crisp-looking sculpture.
Use Airtight Storage
Since butter is highly susceptible to air exposure, using airtight storage during sculpting helps preserve its freshness and prevents it from drying out or absorbing odors. Proper butter storage is essential to keep your sculpture pristine. To maximize freshness, consider these tips:
- Store butter in airtight containers to prevent odor absorption.
- Keep butter chilled until you’re ready to work.
- Wrap unused portions tightly in plastic wrap before placing in containers.
- Avoid leaving butter exposed to air for extended periods.
- Choosing the right storage method can significantly extend the butter’s shelf life and maintain its ideal texture.
Using airtight containers ensures your butter stays fresh and malleable, making your sculpting process smoother. Proper butter storage not only maintains its texture but also prevents spoilage, so your Thanksgiving turkey sculpture looks perfect and tastes fresh.
Common Mistakes and How to Avoid Them
One common mistake beginners make when working with butter sculptures is rushing the freezing process, which can cause cracks and uneven surfaces. This hasty step hampers your sculpture’s butter flavor, making it less appealing to the senses. Additionally, rushing can lead to sculpting challenges, as the butter becomes too hard or too soft to shape properly. To avoid this, freeze your sculpture gradually and allow ample time for it to set fully. Keep your workspace at a consistent temperature, and don’t skip the cooling period after shaping. Also, be mindful of butter quality—poor-quality butter can be more difficult to work with and may not hold details well. Patience is key to achieving a smooth, professional-looking turkey.
Displaying and Preserving Your Butter Sculpture
To guarantee your butter sculpture remains impressive after completing it, proper display and preservation are essential. You want your work to reflect its cultural symbolism and respect its historical origins, so handling it carefully is key. Here are four tips to ensure longevity:
- Keep it chilled until display to prevent melting.
- Place it on a sturdy, flat surface away from direct sunlight or heat sources.
- Cover it loosely with plastic wrap to protect from dust while allowing airflow.
- Avoid frequent handling to prevent fingerprints or deformation.
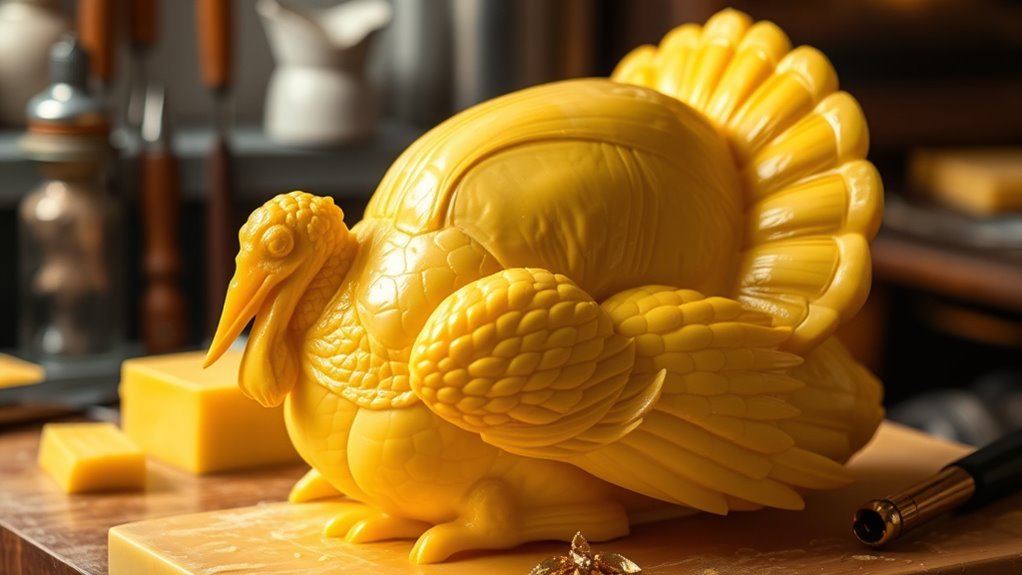
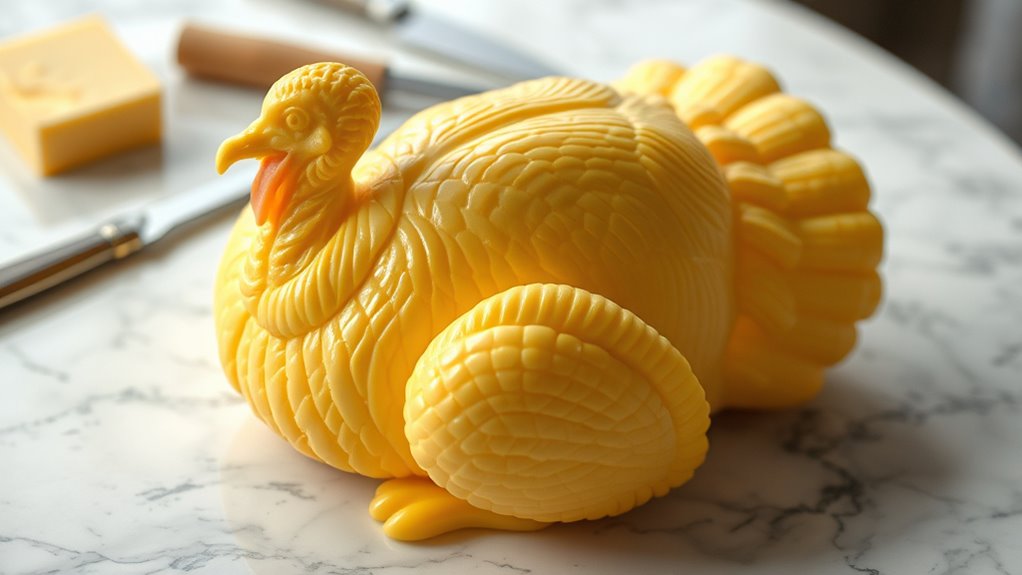
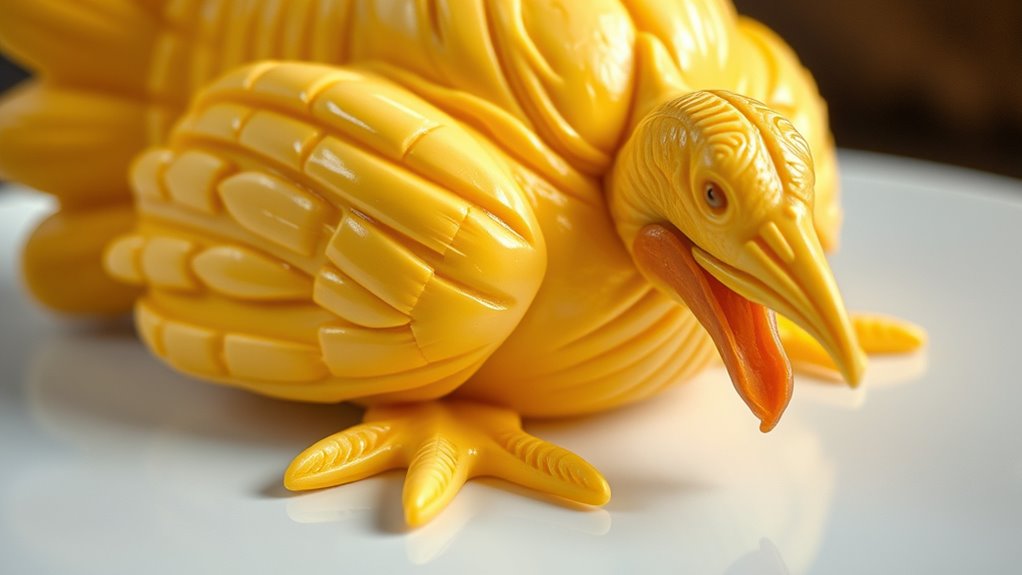
Inspiring Examples of Professional Butter Turkeys
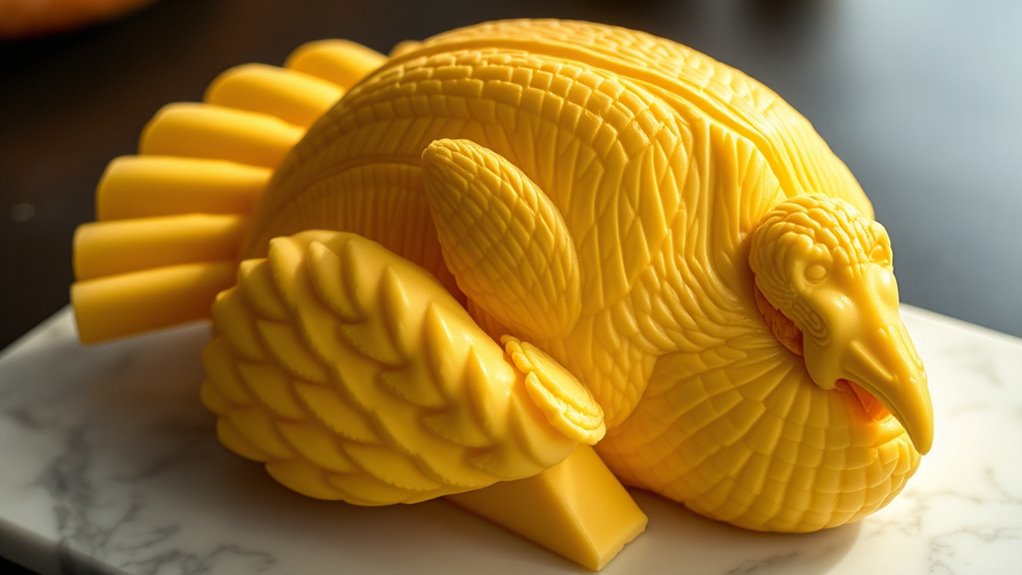
Professional butter artists have elevated the craft with breathtaking turkey sculptures that showcase skill and creativity. These inspiring examples highlight how mastery of sculpting history and an understanding of butter flavor combine to create stunning displays. Some artists incorporate intricate details, like feathers and textured surfaces, to bring their turkeys to life. Others push the limits with large, complex designs that wow audiences at competitions and events. Their work demonstrates how butter, when properly handled, can be transformed into edible art that celebrates tradition and innovation. These sculptures serve as a testament to the artistry involved—proving that butter isn’t just for flavor but also a versatile medium for creative expression. Their work inspires both novices and seasoned sculptors alike to push boundaries and explore new possibilities.
Frequently Asked Questions
How Long Does It Typically Take to Carve a Detailed Butter Turkey?
Carving a detailed butter turkey usually takes about 15 to 30 minutes, depending on your skill and the sculpture’s complexity. During butter carving, you’ll focus on precision and finesse to highlight intricate sculpture detailing. You should work slowly and carefully to avoid breaking or smudging the design. As you practice, you’ll improve your speed and technique, making each butter sculpture more impressive and easier to carve in less time.
Can Butter Sculptures Be Made Ahead of Time Without Melting?
You might think butter sculptures are a delicate flower, but with proper butter preservation, you can make them ahead of time. Keep your sculptures in the refrigerator using effective refrigeration techniques to prevent melting. Cover them loosely or wrap them in plastic to avoid moisture buildup. As long as you maintain a cool environment, your butter masterpiece stays intact, allowing you to impress guests without last-minute stress.
What Are the Best Storage Conditions to Prevent Butter From Spoiling?
To prevent butter from spoiling, you should store it in proper refrigeration at or below 40°F. Keep it in airtight containers to prevent exposure to air and moisture, which can cause rancidity. Avoid leaving butter out at room temperature for long periods, especially in warm environments. Proper refrigeration and airtight storage are key to maintaining freshness and preventing spoilage, ensuring your butter remains usable for your butter sculptures or cooking needs.
Is It Possible to Create Large-Scale Butter Sculptures for Events?
Creating large-scale butter sculptures is like orchestrating a symphony—you need perfect butter sculpture logistics and careful planning. You can definitely pull it off for events if you prioritize butter sculpture safety, ensuring the sculpture remains stable and safe for display. Proper temperature control, suitable tools, and expert handling are essential. With these elements in place, your impressive butter masterpiece will wow crowds without melting or collapsing.
How Do Professional Butter Sculptors Develop Their Artistic Skills?
You develop your butter artistry skills through consistent practice and learning sculpting techniques. Start by studying basic shapes and gradually tackle more complex forms. Experiment with different tools to refine your precision and control. Watching tutorials, attending workshops, and analyzing professional sculptures help you improve. Over time, your understanding of butter’s properties and your mastering of sculpting techniques allow you to create detailed, impressive butter artworks for any event or display.
Conclusion
Now that you’ve revealed the secrets of butter sculpting, you’re ready to create edible art that’s as stunning as a Thanksgiving centerpiece. With steady hands and a keen eye, you’ll turn everyday butter into a masterpiece that captures the spirit of the holiday. Think of your sculpture as a buttery symphony—delicate, beautiful, and truly unforgettable. So, go ahead, sculpt your way to holiday fame and let your creativity melt hearts!