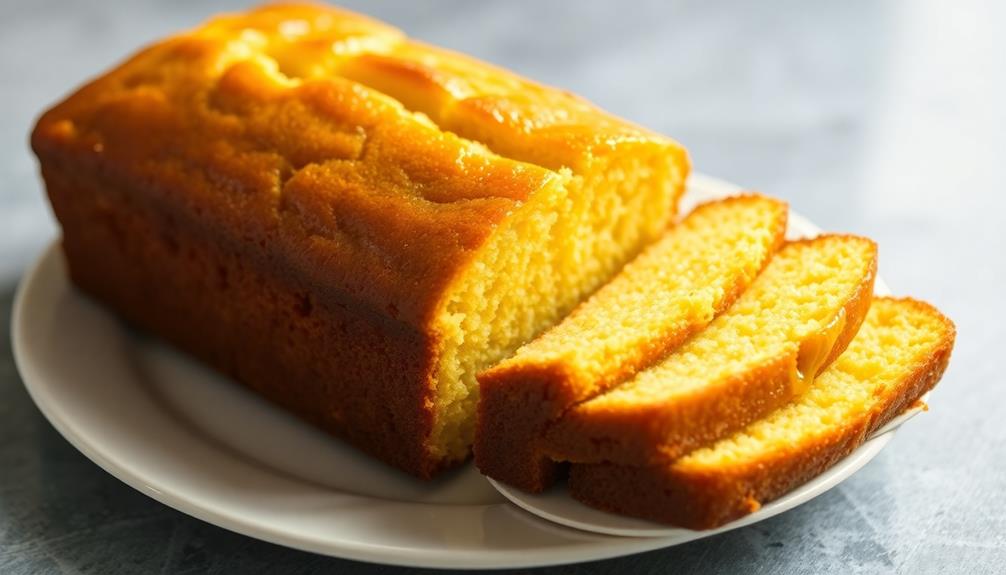
Butter pound cake is the ultimate indulgence! It's a classic dessert that'll transport you back in time with its rich, buttery flavor and melt-in-your-mouth texture. The traditional recipe has evolved, but the key ingredients – creamy butter, sweet sugar, and fluffy eggs – remain the same. Bake it to perfection by creaming the butter and sugar, then gently folding in the flour. As it bakes, your kitchen will fill with an irresistible aroma. Slice into this decadent treat and enjoy every bite – it's sure to become a new family favorite. But that's just the start; keep reading to uncover the full story behind this beloved classic.
Key Takeaways
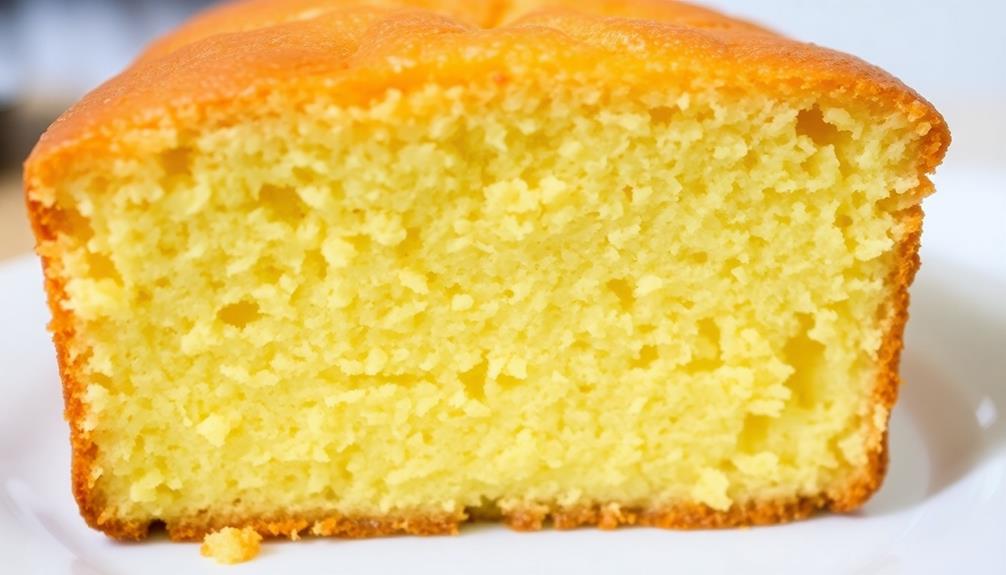
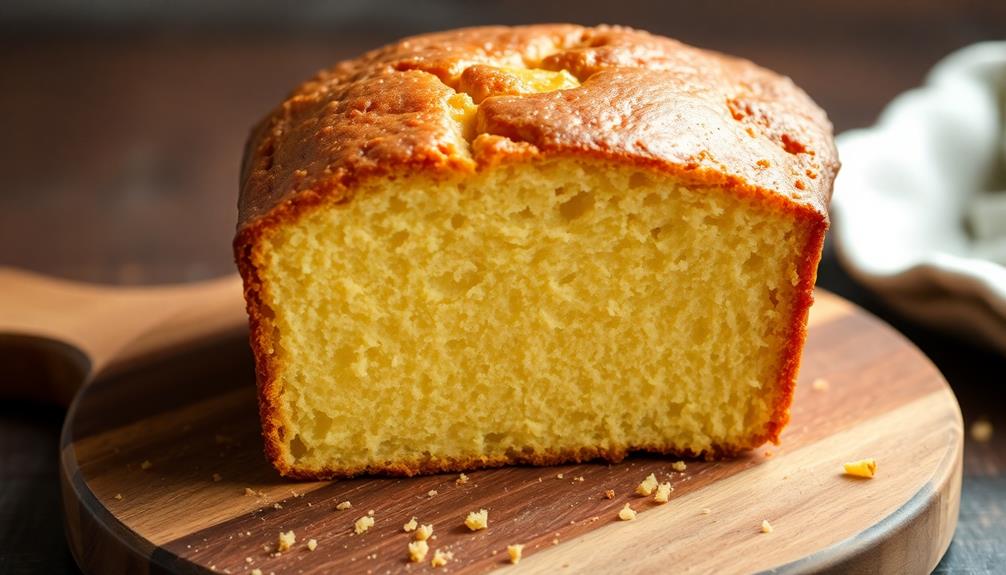
- Butter pound cake is a classic, indulgent dessert characterized by its dense, moist texture and rich, buttery flavor.
- The traditional recipe calls for equal parts butter, sugar, eggs, and flour, producing a substantial cake suitable for special occasions.
- Proper techniques like creaming butter and sugar, gradual egg incorporation, and gentle flour mixing are crucial for achieving the desired light and fluffy texture.
- Baking the cake at 325°F for 60-75 minutes until a toothpick inserted comes out clean ensures a golden crust and even doneness.
- Serving the cake with optional toppings like powdered sugar, whipped cream, or fresh berries can enhance the overall sensory experience.

Peanut Butter Maker, Nut Butter Machine, 2025 New Electric Nut Butter Maker Machine, Electric Sesame Sauce Nut Grinder with Non-Slip Base Entry, Easy Install Easy to Use,Grinder
Our peanut nut grinder lets you easily grind a variety of nuts and seeds to make smooth.
As an affiliate, we earn on qualifying purchases.
History
Pound cake has long been a staple in many households, with its rich, buttery flavor and dense texture. This classic dessert has a fascinating history that dates back centuries.
Originally, the name "pound cake" referred to the recipe's simple ingredients – one pound each of butter, sugar, eggs, and flour. This straightforward formula produced a satisfyingly substantial cake that was perfect for special occasions.
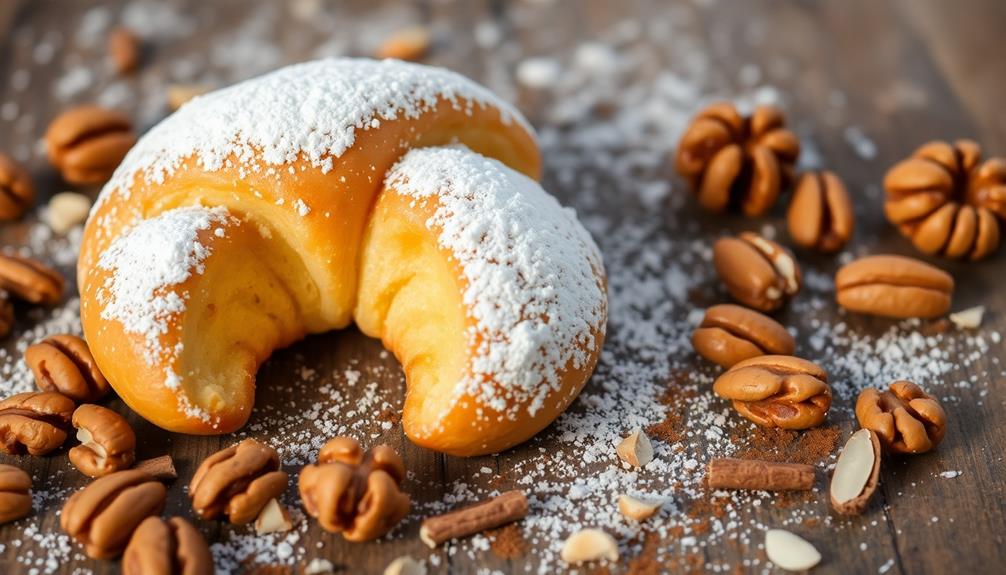
As time passed, pound cake recipes evolved, with bakers experimenting with different flavors and techniques. Some added citrus zest or spices, while others incorporated creative mix-ins like nuts or dried fruit.
The versatility of pound cake made it a favorite among home cooks and professional bakers alike. Today, this timeless treat remains a beloved classic, bringing comforting nostalgia and satisfying indulgence to kitchens around the world.
Whether enjoyed on its own or dressed up with toppings, the rich, buttery goodness of pound cake is sure to delight.

DBXMJWCMDT Electric Nut Grinder Peanut Butter Maker Machine, 500ml Large-Capacity Almond/Cashew/Sesame Grinding Mill with Non-Slip Base, Efficient Home & Commercial Nut Butter Processor
【Homemade Peanut Butter Maker】 This 500ml electric grinder allows you to create fresh, natural peanut butter and nut...
As an affiliate, we earn on qualifying purchases.
Recipe
Butter pound cake is a classic dessert that's perfect for any occasion. This rich and decadent cake is made with simple ingredients, but the result is a truly indulgent treat. The key to a successful butter pound cake is to use high-quality ingredients and to follow the recipe closely.
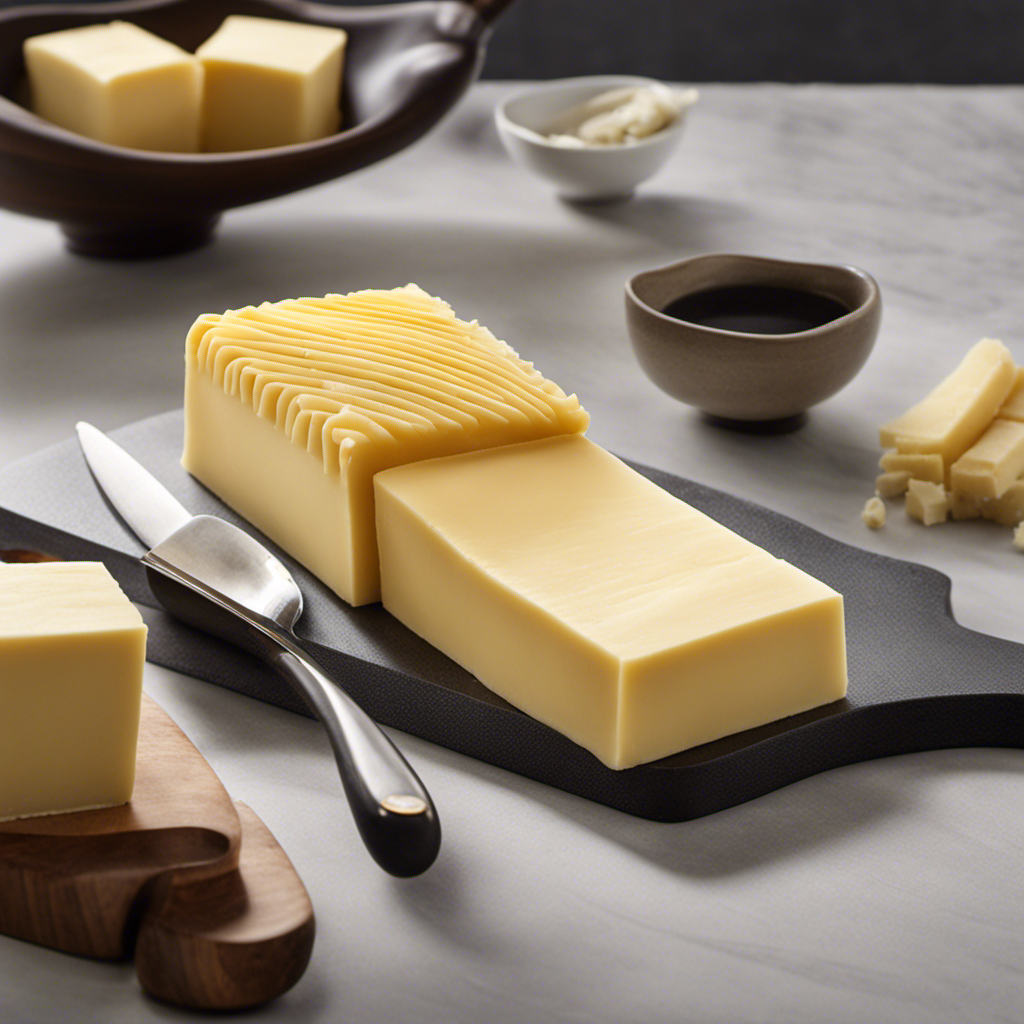
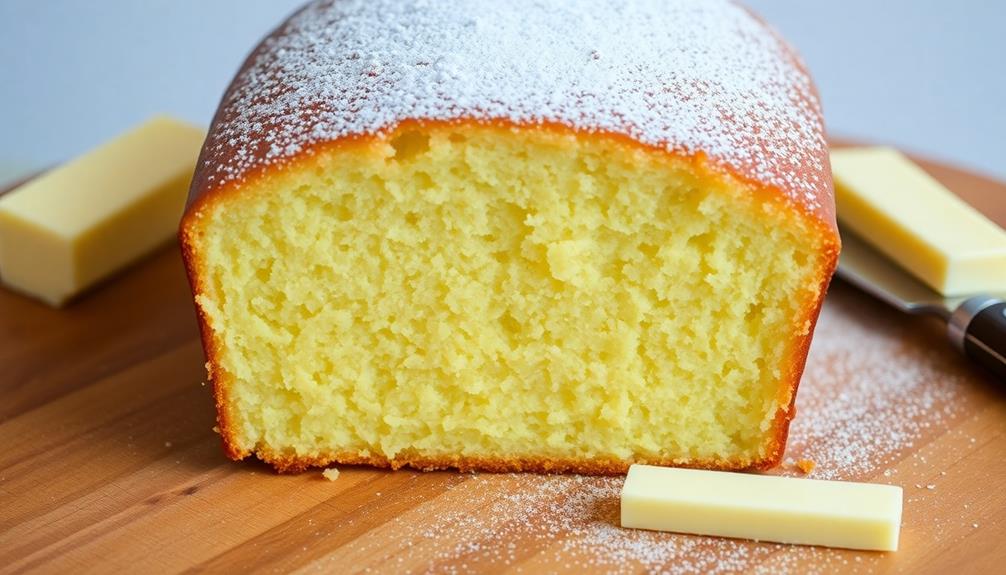
Butter adds a rich, creamy flavor to baked goods, enhancing the overall experience of this delicious cake. Before you begin, it's important to ensure that all of your ingredients are at room temperature. This will help the batter to come together more easily and result in a smooth, even texture. Additionally, be sure to grease and flour your baking pan thoroughly to prevent the cake from sticking.
Ingredients:
- 1 cup (2 sticks) unsalted butter, softened
- 3 cups granulated sugar
- 6 large eggs
- 3 cups all-purpose flour
- 1/2 teaspoon salt
- 1 teaspoon vanilla extract
Instructions:
In a large bowl, cream the butter and sugar together until light and fluffy, about 3-5 minutes. Add the eggs one at a time, beating well after each addition.
In a separate bowl, whisk together the flour and salt. Gradually add the dry ingredients to the wet ingredients, mixing until just combined. Stir in the vanilla extract.
Pour the batter into a well-greased and floured Bundt or tube pan. Bake at 325°F for 60-75 minutes, or until a toothpick inserted into the center comes out clean. Allow the cake to cool in the pan for 10 minutes before inverting it onto a wire rack to cool completely.
Tips:
For an extra-moist and flavorful cake, you can brush the warm cake with a simple syrup made from equal parts water and sugar. This will help to keep the cake from drying out.
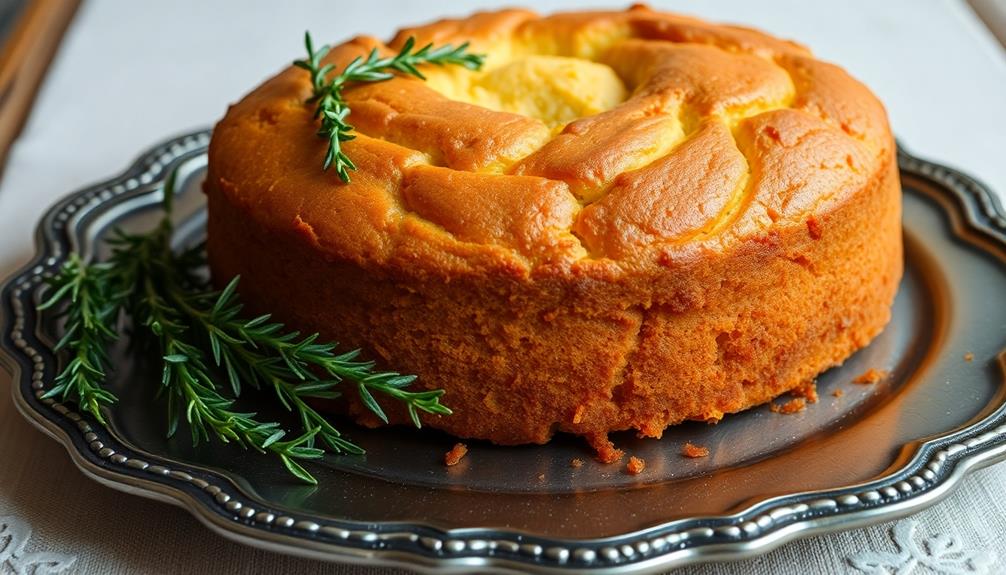
Additionally, you can add lemon or orange zest to the batter for a bright, citrusy flavor. Another way to elevate your cake is by using herb-infused butter variations to enhance its flavor profile.

KEARIXM 1100W Peanut Butter Machine, Electric Nut Butter Maker Machine, 33LBS/Hour Commercial Sesame Grinder Mill, 110V Grain Grinder for Peanuts Almonds Rice, Stainless Steel Sauce Grinding Machine
【Build to Last】: Its stainless steel housing and aluminum crushing bin make the grain mill solid, anti-corrosion, anti-rust...
As an affiliate, we earn on qualifying purchases.
Cooking Steps
Preheat your oven to 325°F and get ready to create a buttery delight!
Butter isn't just a key ingredient; it adds flavor and moisture to your cake, making it irresistibly delicious.
First, cream the butter and sugar together until they're light and fluffy.
Then, add the eggs one at a time, beating well after each addition.
Be sure to use optimal storage temperature for your butter to maintain its freshness.
Finally, gradually mix in the flour mixture until you've got a smooth, velvety batter.
Pop that cake in the oven for about an hour, and get ready to enjoy a heavenly homemade treat!
Step 1. Preheat Oven to 325°F
Preheat your oven to 325°F. This critical first step sets the stage for your delectable butter pound cake. The even, consistent heat will ensure your cake bakes to perfection, with a golden crust and a soft, tender crumb.
Regular cleaning of your baking space will help maintain a tidy environment, similar to the importance of air purifier maintenance for optimal performance.
As the oven warms, gather your baking pan – a sturdy 9×5 inch loaf pan works wonderfully. Grease it generously with butter or nonstick cooking spray to prevent sticking.
Placing the pan on the middle rack allows the heat to circulate evenly around your cake, promoting even baking.
Now, take a moment to inhale the aroma of the preheating oven – that buttery, sweet scent is a tantalizing preview of the indulgent treat to come.
With the oven temperature set and your pan ready, you're one step closer to sinking your teeth into a slice of homemade heaven.
Keep an eye on the clock, and soon you'll be sliding your masterpiece into the oven, ready to bake to golden-brown perfection.
Step 2. Cream Butter and Sugar Together

With the oven preheated and your pan ready, it's time to cream the butter and sugar together. This is a crucial step that sets the foundation for your delectable butter pound cake.
Grab your electric mixer and let's get started! First, add the softened butter to a large bowl. Using the paddle attachment, beat the butter on medium-high speed until it becomes light and fluffy, about 2-3 minutes. This incorporates air into the butter, creating a wonderfully airy texture.
Next, gradually add the granulated sugar, a little at a time, continuing to beat until the mixture is smooth and creamy. You'll notice the color lightening as the sugar dissolves and the ingredients become well incorporated.
This creaming process is essential for achieving the rich, buttery flavor and tender crumb that make pound cake so irresistible.
Once the butter and sugar are perfectly blended, you're ready to move on to the next step. Get ready to add those eggs and bring your cake batter to life!
Step 3. Add Eggs One at a Time
Now that the butter and sugar have been perfectly creamed, it's time to start adding the eggs. One by one, crack the fresh eggs into a small bowl before gently folding them into the luscious butter-sugar mixture.
Take your time with this step – you don't want to rush and risk an uneven batter. As each egg is incorporated, you'll notice the batter transforming, becoming richer and creamier. Imagine the golden yolks swirling together, creating a smooth, uniform texture.
Be sure to scrape down the sides of the bowl between additions, ensuring every last bit of egg is evenly distributed. With each new egg, the batter will grow silkier and more decadent.
Keep going until all six eggs have been lovingly folded in. Now your pound cake base is ready for the next steps. The future holds a delightfully dense, buttery crumb, just waiting to be baked to perfection.
Step 4. Gradually Add Flour Mixture

Next, gradually add the flour mixture to the creamy batter. Take your time with this step, incorporating the dry ingredients slowly and gently. You don't want to overwork the batter and end up with a tough, dense cake.
Sprinkle in a bit of the flour mixture, then use your trusty wooden spoon to fold it in, taking care not to overmix. Continue this process, adding more flour a little at a time, until all the dry ingredients have been beautifully blended into the wet batter.
As you work, pay attention to the texture. You're aiming for a smooth, silky consistency that's easy to pour into your prepared pan.
If the batter starts to stiffen up, don't be afraid to add a splash of milk to loosen it up. Just be mindful not to thin it out too much. The key is finding that perfect balance, where the flour is fully incorporated but the batter remains light and airy.
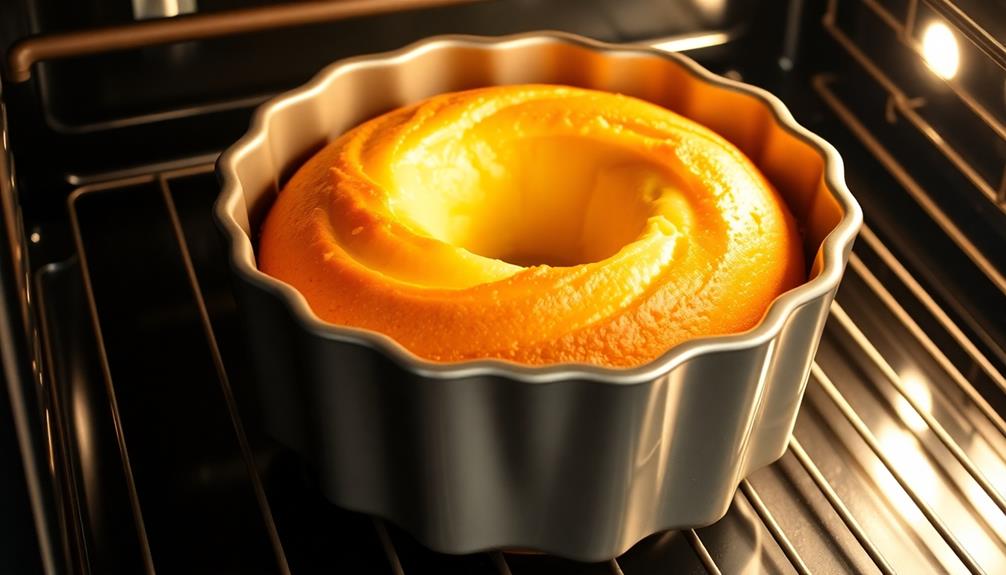
Step 5. Bake for Approximately 1 Hour

Once the flour mixture has been gently incorporated, pour the thick, velvety batter into your greased and floured Bundt pan. Smooth the top with a spatula, ensuring the batter is evenly distributed.
Now, it's time to bake your masterpiece!
Slide the pan into your preheated oven and set the timer for about an hour. As the cake bakes, your kitchen will fill with the heavenly aroma of butter, vanilla, and spices.
Keep a close eye on it, checking occasionally to ensure the top isn't browning too quickly. If it seems to be, simply cover the pan loosely with foil to prevent over-browning.
When the timer goes off, insert a toothpick or skewer into the center of the cake. If it comes out clean, your pound cake is ready!
Allow it to cool in the pan for 10-15 minutes before gently inverting it onto a wire rack.
Once completely cooled, your butter pound cake is ready to slice and serve – a delightful treat that's sure to impress.
ZERNEIL Peanut Butter Maker Machine Nut Butter Machine 110V 1100W Electric Grain Grinder Peanut Butter Maker - 33lb/h Sesame Sauce Grinder Home/Commercial for Groundnut, Almond, Cashew Nut and Sesame
🧉【Grinding Assistant】: The 1100W pure copper motor, 2850r/min, and the white jade just grinding wheel used can grind...
As an affiliate, we earn on qualifying purchases.
Final Thoughts
With the butter pound cake now complete, you can take pride in your accomplishment. This rich, buttery delight is the perfect treat to share with family and friends. The aroma of the freshly baked cake will fill your kitchen, inviting everyone to gather around and indulge in a slice.
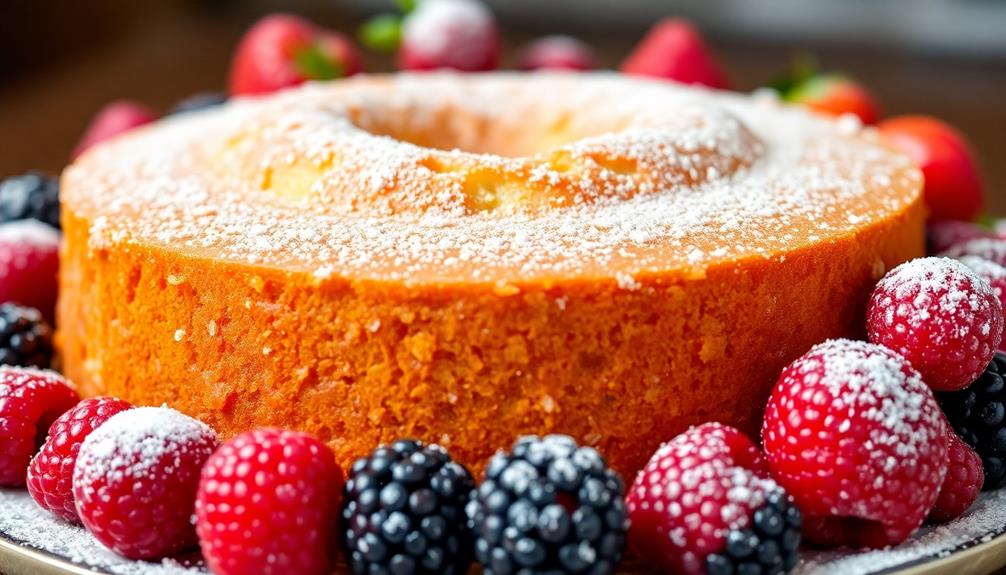
The dense, moist texture and the slight crunch of the crust make each bite a true sensory experience. Serve the cake with a dusting of powdered sugar or a dollop of whipped cream for an extra touch of elegance.
You can also experiment with various toppings, such as fresh berries or a drizzle of caramel sauce, to personalize the flavor profile.
As you savor the cake, remember that the love and care you put into baking it shines through in every delicious morsel. This recipe is a timeless classic that will surely become a family favorite, bringing joy and satisfaction to all who enjoy it.
Frequently Asked Questions
Can I Use Margarine Instead of Butter?
You can use margarine instead of butter, but the flavor and texture may not be as rich or buttery. Margarine often lacks the depth of flavor and creamy mouthfeel that butter provides. Consider your personal preferences when deciding whether to substitute margarine.
How Do I Know When the Cake Is Done Baking?
You'll know the cake's done when a toothpick inserted in the center comes out clean. The top should be golden brown and the sides should have pulled away slightly from the pan. Keep an eye on it and test it regularly.
Can I Freeze Leftover Pound Cake?
Yes, you can definitely freeze leftover pound cake! Simply wrap it tightly in plastic wrap or aluminum foil and store it in the freezer for up to 3 months. When ready to enjoy, simply thaw it at room temperature.
What if I Don't Have a Bundt Pan?
If you don't have a bundt pan, you can bake the pound cake in a loaf pan or a 9-inch round cake pan. Just adjust the baking time accordingly and keep an eye on it to ensure it doesn't overbake.
Can I Add Any Additional Flavors to the Cake?
Absolutely! You can easily add extra flavors to your cake. Consider incorporating citrus zest, vanilla extract, or even nuts and dried fruit for a delightful twist. Get creative and customize the flavor to your liking.