Butter caramels are the ultimate in decadence – they're soft, chewy, and loaded with rich, buttery goodness that just melts in your mouth. Whether you're savoring them solo or using them as a luxurious topping, these homemade treats offer a blissful escape. Their precise crafting yields deep, complex flavors that'll have you revisiting the recipe again and again. With just a few simple ingredients like butter, sugar, and cream, you can create an indulgent confection that'll impress your friends and family. And if you keep reading, you'll discover the secrets to crafting the perfect butter caramel.
Key Takeaways
- Butter caramels originated in the 17th century as a combination of sugar, cream, and butter, and their soft, chewy texture evolved over time.
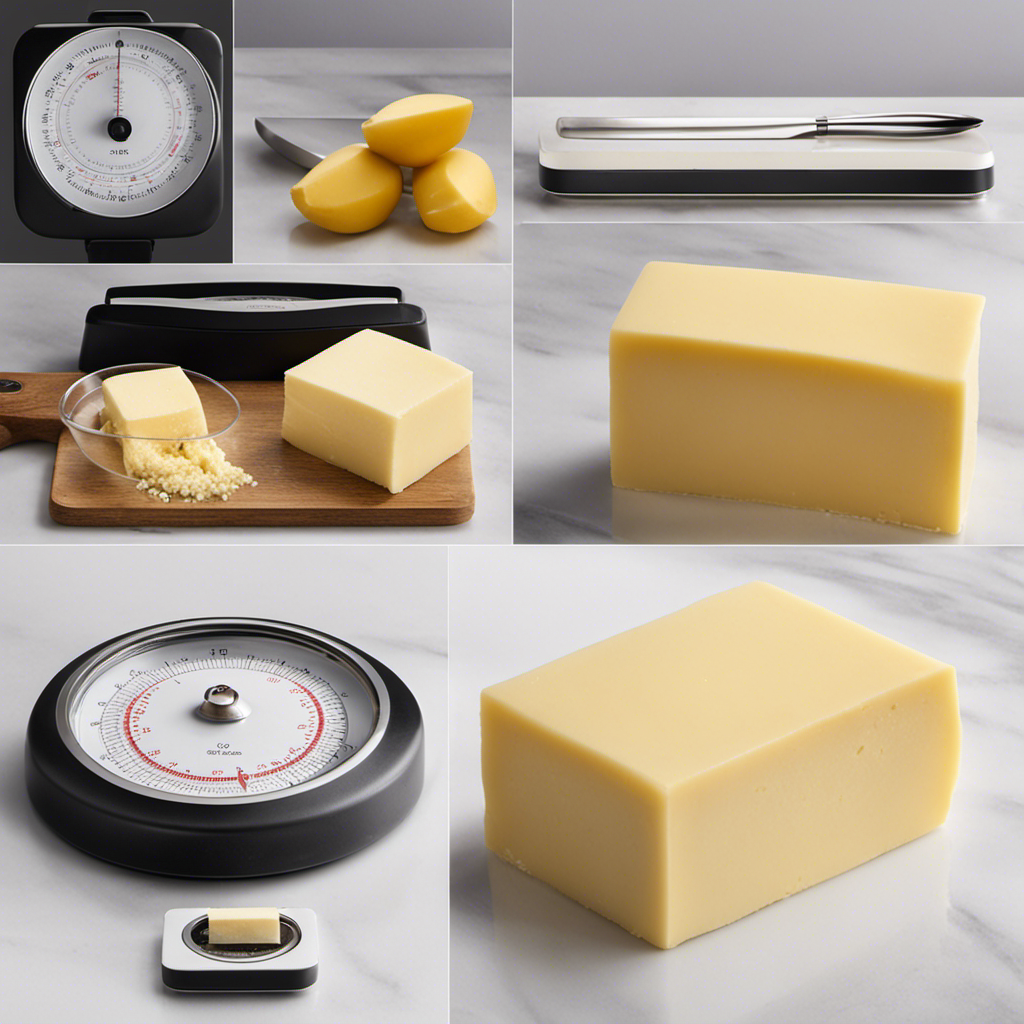
- Homemade butter caramels are made with simple ingredients like unsalted butter, sugar, cream, and corn syrup, requiring careful attention to cooking technique.
- The caramelization process, from the initial golden liquid to the rich amber color, is crucial for achieving the desired balance of sweetness and butteriness.
- Allowing the caramel to cool completely is essential for transforming the texture into a soft, chewy consistency that can be easily cut into bite-sized pieces.
- Butter caramels provide an indulgent, memorable experience, with the joy of savoring their rich flavor and satisfying texture, whether enjoyed alone or shared with loved ones.

Wilton Candy Melts Candy Melting Pot - Melt Station for Chocolate & Fondue - Features Dishwasher-Safe Insert & Easy-Pour Spout - Fits on a Tabletop - 2.5-Cup Capacity
Effortless Candy Melting: The Wilton Candy Melting Pot melts cheese and chocolate into the perfect consistency for dipping...
As an affiliate, we earn on qualifying purchases.
History
The origins of butter caramels can be traced back to the 17th century, when confectioners in Europe began experimenting with combining sugar, cream, and butter to create a rich, decadent treat.
These early caramels were often firm and chewy, as the techniques for producing a softer, more velvety texture were still being perfected.
As the recipe and preparation methods evolved, butter caramels gained popularity across the continent.
In the 18th and 19th centuries, they became a staple in confectioneries, with each region developing its own unique twist on the classic flavor profile.
Some caramel makers would infuse their creations with spices, nuts, or even fruit, while others focused on achieving the ultimate balance of sweetness and creaminess.
The rise of mass production in the 20th century made butter caramels more accessible to the general public, allowing these beloved treats to captivate the taste buds of generations of candy lovers around the world.
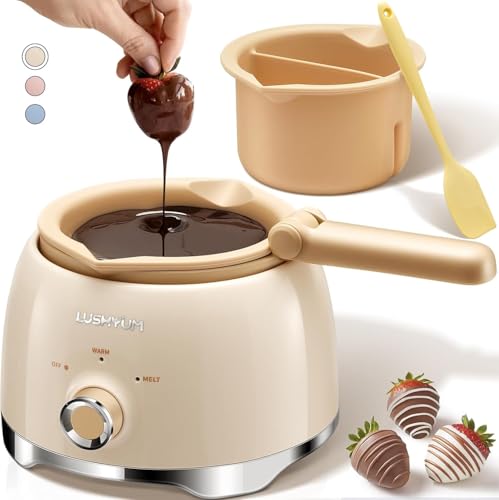
LUSHYUM Chocolate Melting Pot Candy Melts Melter with 2 Insert Pots and Spatula, 4 Cups Capacity Warmer Machine, Ideal Dipping Tool Kitchen Supplies for Making Cake Pop Covered Strawberries Fondue
Keep Your Chocolate Always Smooth: Tired of clumpy chocolate? LUSHYUM Chocolate Melting Pot makes it easy to keep...
As an affiliate, we earn on qualifying purchases.
Recipe
Butter Caramels are a classic, indulgent treat that can be enjoyed on their own or used as a topping for various desserts. The rich, creamy caramel is the perfect balance of sweet and buttery, making it a beloved confection for candy lovers.
Crafting these delectable caramels at home is a rewarding experience. The process may require some patience and attention to detail, but the end result is well worth the effort. With a few simple ingredients and the right technique, you can create a batch of homemade butter caramels that will impress your friends and family.
Ingredients:
- 1 cup (2 sticks) unsalted butter
- 1 cup granulated sugar
- 1 cup light brown sugar
- 1 cup heavy cream
- 1/4 cup light corn syrup
- 1/4 teaspoon salt
Cooking Instructions:
In a heavy-bottomed saucepan, melt the butter over medium heat. Add the granulated sugar, brown sugar, heavy cream, corn syrup, and salt. Stir the mixture constantly until it reaches a temperature of 245°F on a candy thermometer. This process may take 15-20 minutes.
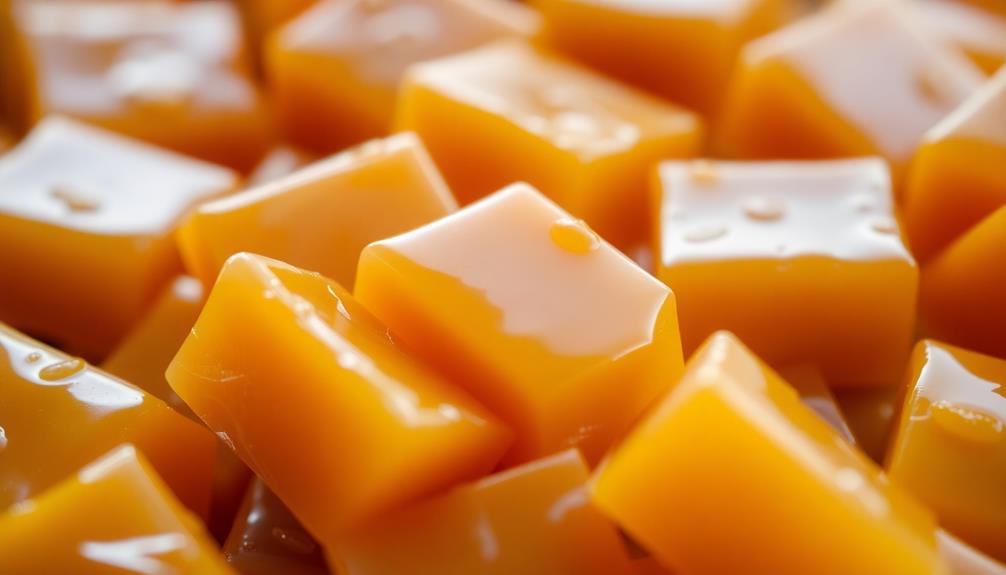
Once the desired temperature is reached, immediately remove the pan from the heat and pour the caramel into a lightly greased 8-inch square baking pan. Allow the caramel to cool completely, then cut it into 1-inch squares.
Tips:
For best results, use high-quality butter and cream. The type of sugar you use can also affect the flavor, so feel free to experiment with different combinations of granulated and brown sugar.
Be patient and stir the mixture continuously to prevent it from burning or seizing up. Finally, let the caramel cool completely before cutting to ensure clean, neat squares.

LUSHYUM Chocolate Melting Pot Candy Melts Melter with 2 Insert Pots and Spatula, 4 Cups Capacity Warmer Machine, Ideal Dipping Tool Kitchen Supplies for Making Cake Pop Covered Strawberries Fondue
Keep Your Chocolate Always Smooth: Tired of clumpy chocolate? LUSHYUM Chocolate Melting Pot makes it easy to keep...
As an affiliate, we earn on qualifying purchases.
Cooking Steps
In your quest to create scrumptious butter caramels, you'll first need to combine the sugar, corn syrup, and butter in a saucepan.
Once that's simmering, gradually stir in the cream and vanilla until the mixture transforms into a rich, golden-brown caramel.
Step 1. Combine Sugar, Corn Syrup, and Butter
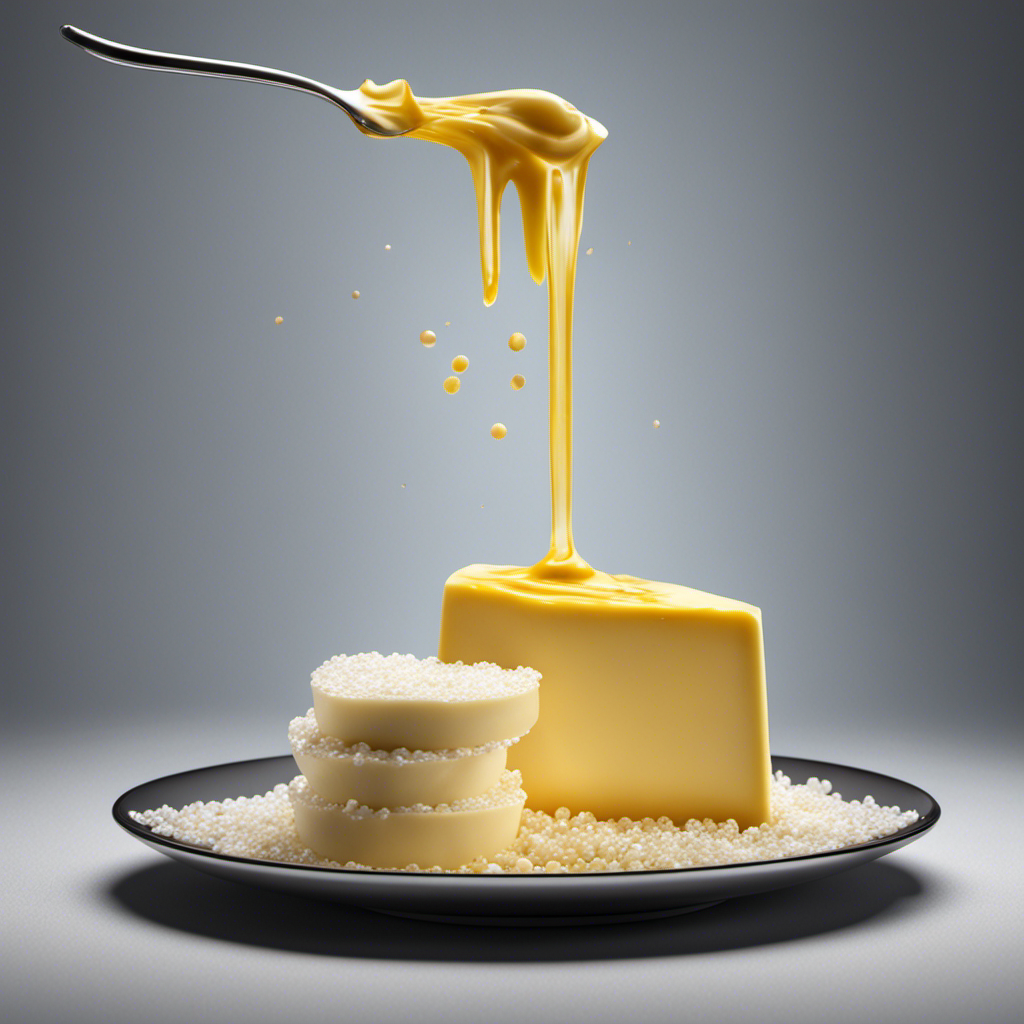
Delicate caramelization commences as you combine the granulated sugar, light corn syrup, and unsalted butter in a heavy-bottomed saucepan.
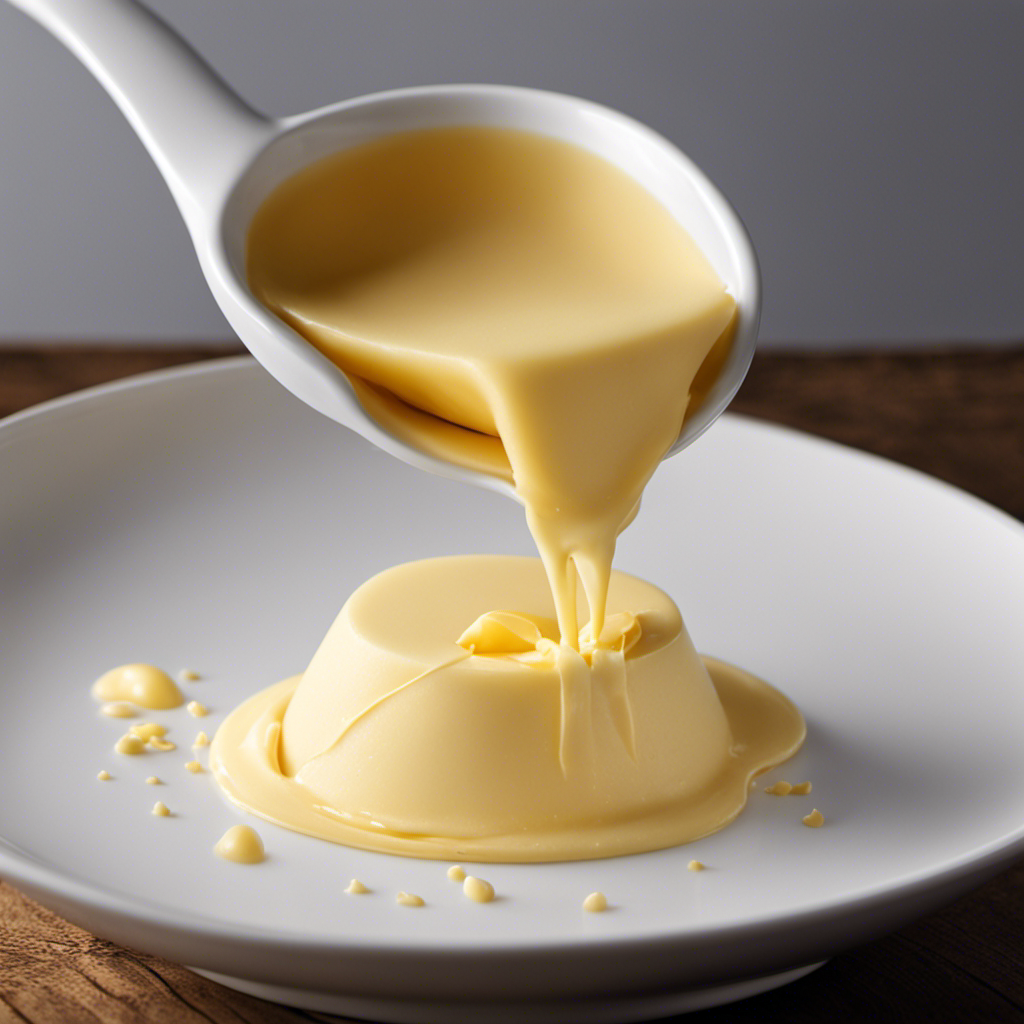
Butter adds rich, creamy flavor to baked goods and enhances flavor in savory dishes, making it an essential ingredient for this caramel.
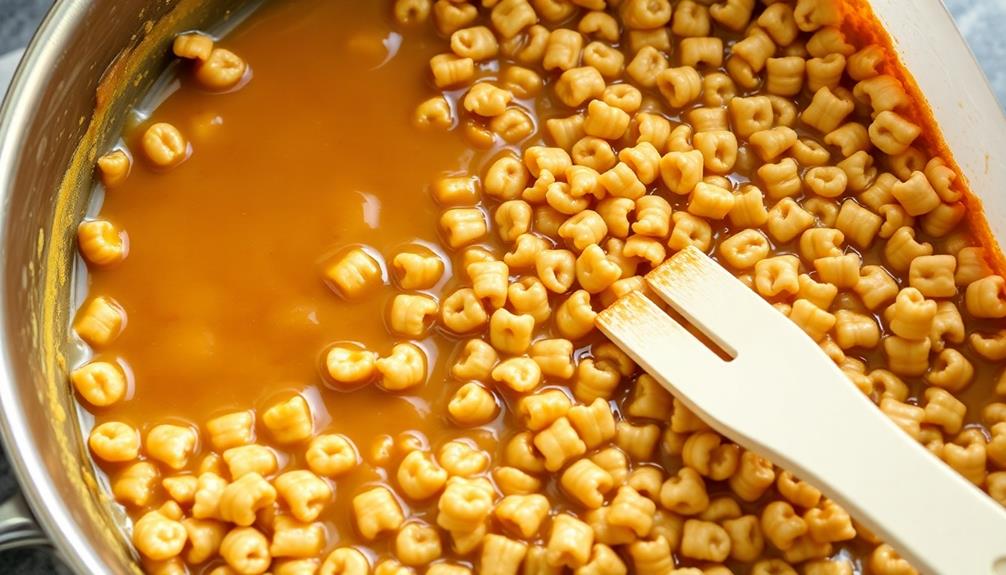
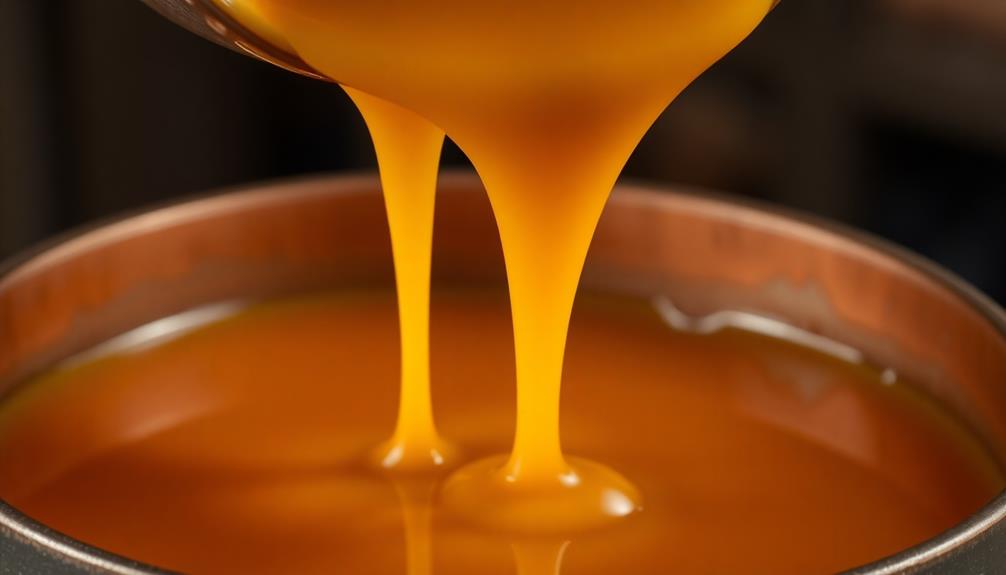
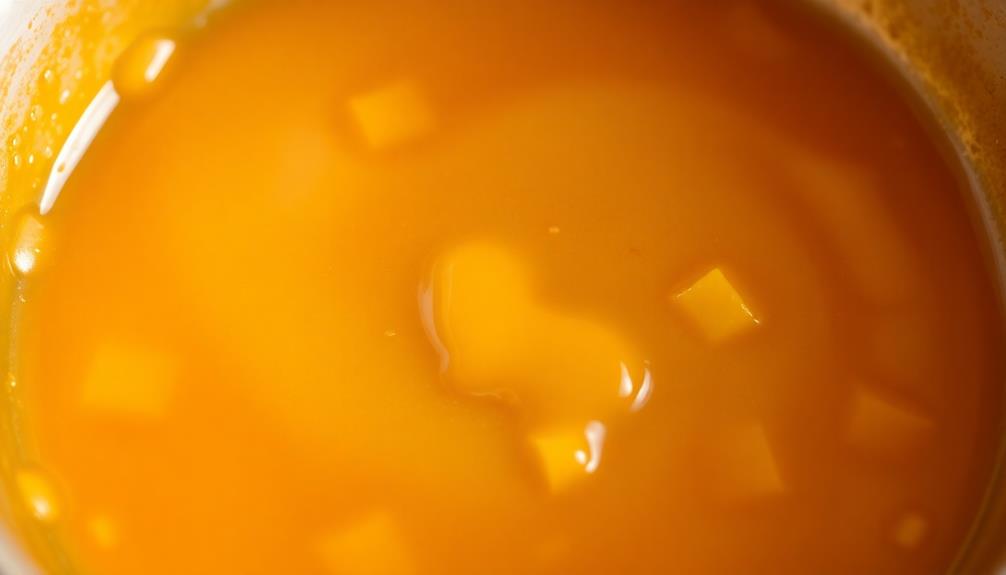
Stirring constantly over medium heat, you watch the mixture gradually transform, bubbling and thickening into a rich, golden liquid. The aroma of caramelizing sugar fills the air, signaling the start of the magic.
As the temperature rises, the sugar molecules break down, creating a complex symphony of flavors. You can almost hear the sizzle and see the tiny bubbles bursting across the surface.
Patience is key – don't rush this step, as it's crucial for developing the signature caramel taste and texture.
Butter enhances flavor in sautéed dishes, which is essential in achieving that perfect caramelization.
Once the mixture reaches the perfect shade of amber, you remove it from the heat, carefully pouring it into a prepared baking pan.
The liquid quickly begins to cool, solidifying into a smooth, glossy sheet of caramel.
With each passing minute, the flavors deepen and the texture becomes increasingly irresistible.
Step 2. Add Cream and Vanilla

With the luscious caramel base now formed, it's time to add the finishing touches. First, pour in the heavy cream and stir until fully incorporated. The cool, creamy liquid will help temper the hot caramel, creating a silky-smooth texture.
For a rich depth of flavor, consider using high-quality butter, which can elevate your caramel experience even further, as you can discover in the best butter products.
Now, add a splash of pure vanilla extract. Its fragrant, sweet aroma will infuse the caramel, elevating the buttery notes.
Stir the mixture continuously, ensuring the cream and vanilla blend seamlessly. As the caramel simmers, it will thicken and transform into an irresistibly gooey, golden elixir.
Don't be tempted to rush this process – low and slow is the key to achieving that perfect caramel consistency. Keep a close eye, stirring occasionally, until the mixture coats the back of a spoon.
With the cream and vanilla now fully incorporated, your caramel is ready for the next step. Prepare to pour this luscious, aromatic blend into the prepared pan, ready to set into silky-smooth, chewy caramel perfection.
Step 3. Cook Until Caramelized
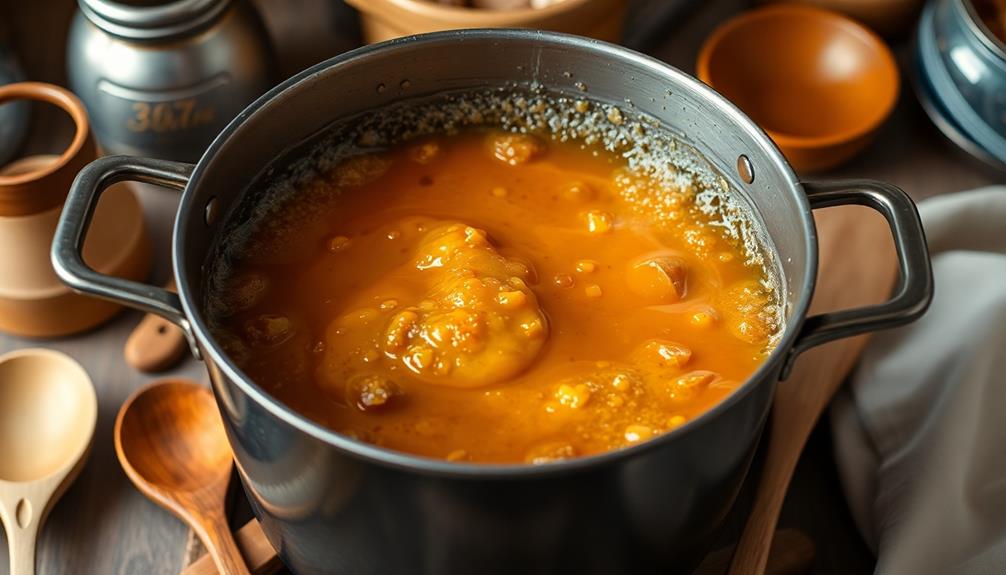
Once the cream and vanilla have been thoroughly incorporated, turn your attention to the stovetop.
You'll want to keep a close eye on the mixture as it simmers, gently stirring from time to time. As the minutes tick by, you'll notice the color begin to deepen, transforming from a pale golden hue to a rich, amber tone.
This is the critical moment – the point at which the sugars are caramelizing, creating that unmistakable, buttery-sweet flavor.
Continue cooking, whisking frequently, until the mixture reaches the perfect caramel stage.
You'll know it's ready when it coats the back of a spoon in a thick, glossy layer. The temperature should register between 235°F and 240°F on a candy thermometer.
Once this stage is reached, immediately remove the pan from the heat to prevent the caramel from burning.
The caramelization process is now complete, and your butter caramels are well on their way to being soft, chewy, and utterly delicious.
Step 4. Pour Mixture Into Pan
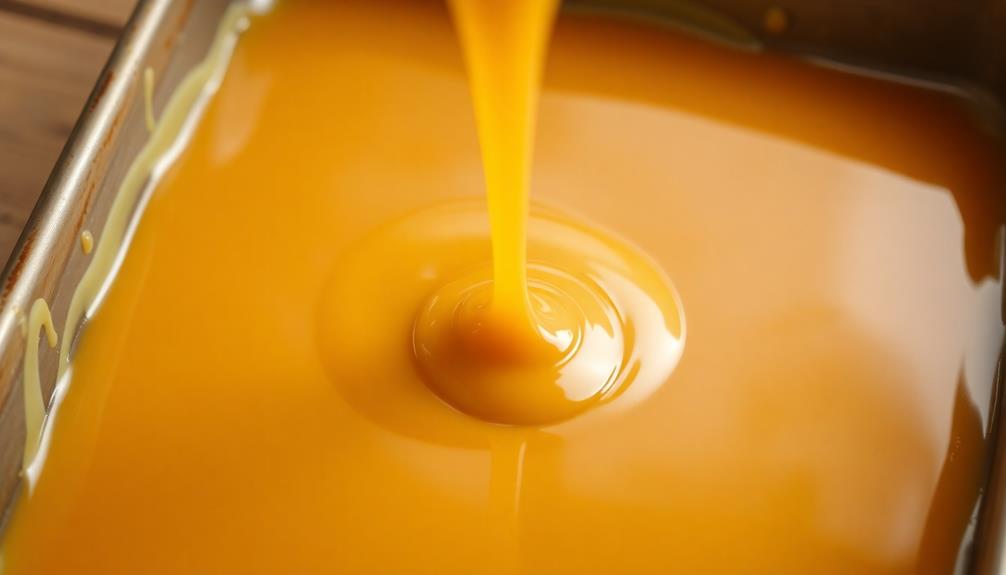
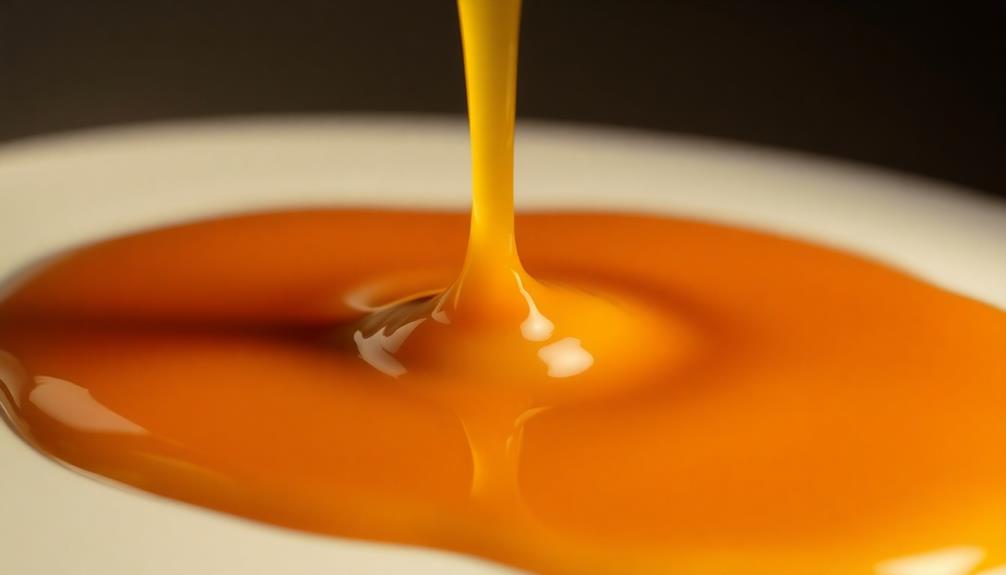
After the caramel has reached the desired temperature, carefully pour the molten mixture into a prepared pan. Make sure to use a pan with high sides, as the caramel will bubble and expand as it cools.
Slowly and steadily, guide the golden liquid into the pan, ensuring it spreads evenly across the surface. You'll notice the caramel has a mesmerizing sheen as it fills the pan, reflecting the kitchen lights above.
Once the pan is filled, use a spatula to scrape every last bit of caramel from the saucepan. Don't let a single drop go to waste!
Smooth the surface of the caramel with the spatula, creating a level, uniform layer. Now, carefully transfer the pan to a wire rack or heat-safe surface to allow the caramel to cool completely.
As it sets, you'll see the color deepen and the texture transform from a pourable liquid to a thick, fudgy consistency. Be patient – this cooling process is crucial for achieving the perfect chewy, soft bite of your homemade butter caramels.
Step 5. Allow to Cool Completely
Let the pan sit undisturbed on the rack or surface. This is a crucial step, as you'll want the caramels to cool completely before attempting to remove them from the pan.
As they rest, the caramel will firm up and become more manageable. Resist the temptation to peek or touch the pan – the caramels need this time to set properly.
Once the caramels have had ample time to cool, about 1-2 hours, you can begin the process of removing them from the pan. Carefully invert the pan onto a cutting board or clean surface. The caramel slab should slide out in one piece.
If it sticks, gently run a knife along the edges to loosen it.
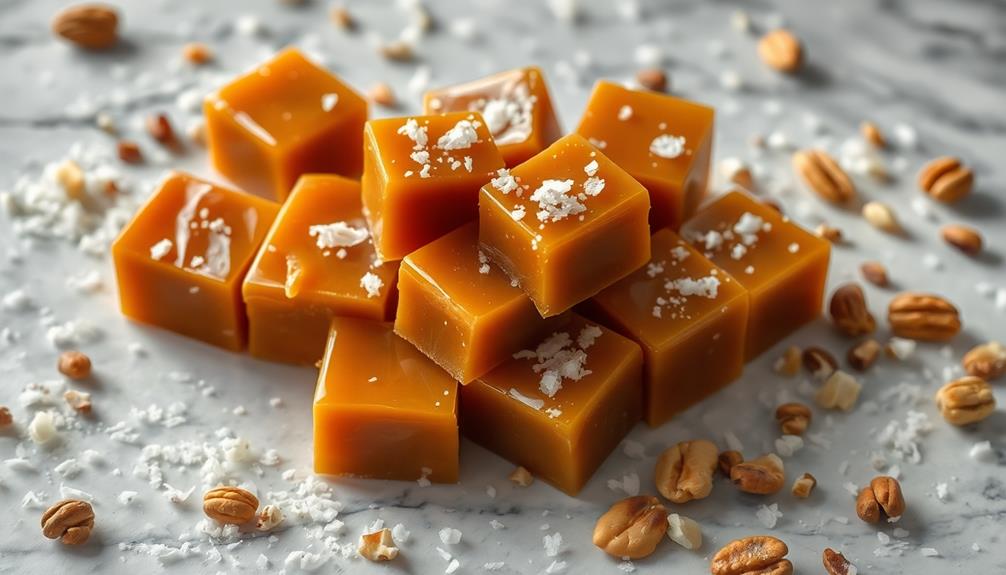
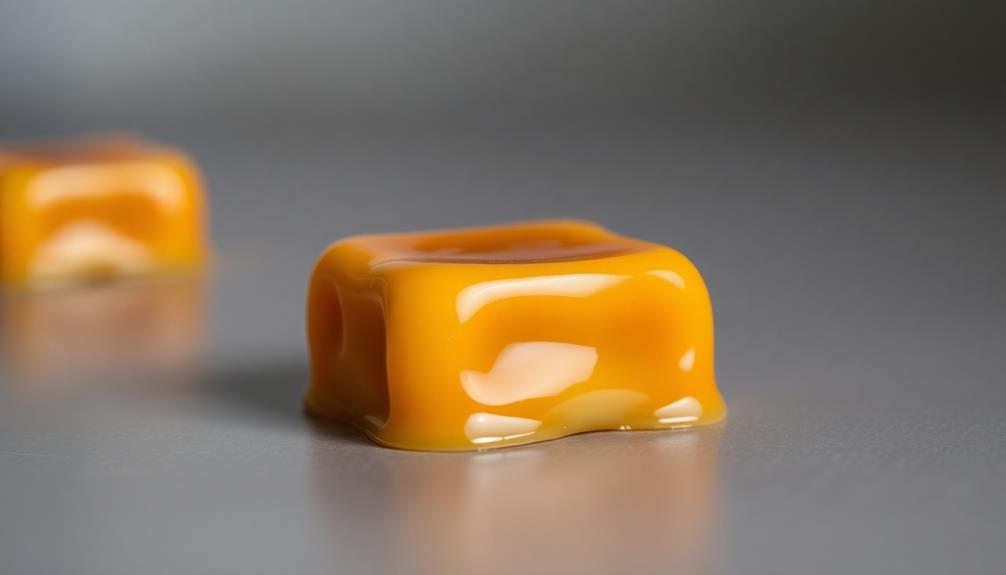
With the caramel block now out of the pan, you can begin cutting it into individual pieces. Use a sharp, oiled knife to slice the caramel into bite-sized squares or rectangles.
Be patient and take your time, as the caramel may still be slightly soft. Place the cut caramels on a parchment-lined surface to finish cooling completely before enjoying or wrapping them.

NutriChef Electric Fondue Pot | 25W Chocolate Melting Warmer | 8.8 Oz Capacity | Keep Warm Dipping Function & Removable Pot | Perfect for Melting Chocolate, Butter & Cheese | White
25 WATTAGE HEATING ELEMENT: This 25 watts hotplate chocolate melting set is equipped with a high powered heating...
As an affiliate, we earn on qualifying purchases.
Final Thoughts
The allure of these butter caramels lingers, beckoning you to savor each bite and reflect on the delightful journey.
These decadent treats have unfolded before you, revealing their soft, chewy texture and rich, buttery goodness. As you take that final, satisfying morsel, you can't help but appreciate the care and attention that went into crafting these confections.
From the precise temperature control to the delicate balancing of ingredients, every step in the process has culminated in this moment of pure indulgence. The caramel's deep, complex flavors dance on your tongue, leaving you with a sense of contentment and a craving for more.
These butter caramels aren't simply a snack, but an experience to savor and share. Whether enjoyed alone or with loved ones, they offer a moment of pure bliss – a sweet escape that lingers long after the final bite.
Embrace the joy they bring and let the memory of their delightful taste inspire you to revisit this recipe time and time again.
Frequently Asked Questions
How Long Do Homemade Butter Caramels Last?
Homemade butter caramels typically last about 1-2 weeks when stored properly in an airtight container at room temperature. They may last longer in the fridge, but the texture and flavor can change over time.
Can I Use Brown Sugar Instead of White Sugar?
Yes, you can use brown sugar instead of white sugar in your caramel recipe. The brown sugar will add a richer, more complex flavor to the caramel, though the texture may vary slightly.
Do I Need a Candy Thermometer for This Recipe?
You don't necessarily need a candy thermometer for this recipe, but it can make the process easier. You can use the cold water test to check the temperature, but a thermometer will give you a more precise reading.
How Do I Store Leftover Caramels?
To store leftover caramels, wrap them individually in wax paper or plastic wrap. Store them in an airtight container at room temperature. This will help them retain their soft, chewy texture and prevent them from drying out.
Can I Add Nuts or Other Mix-Ins to the Caramel?
You can definitely add nuts or other mix-ins to your caramel. Chopped pecans, almonds, or even chocolate chips would make a tasty addition. Just be sure to incorporate them into the caramel before it sets to ensure even distribution.