
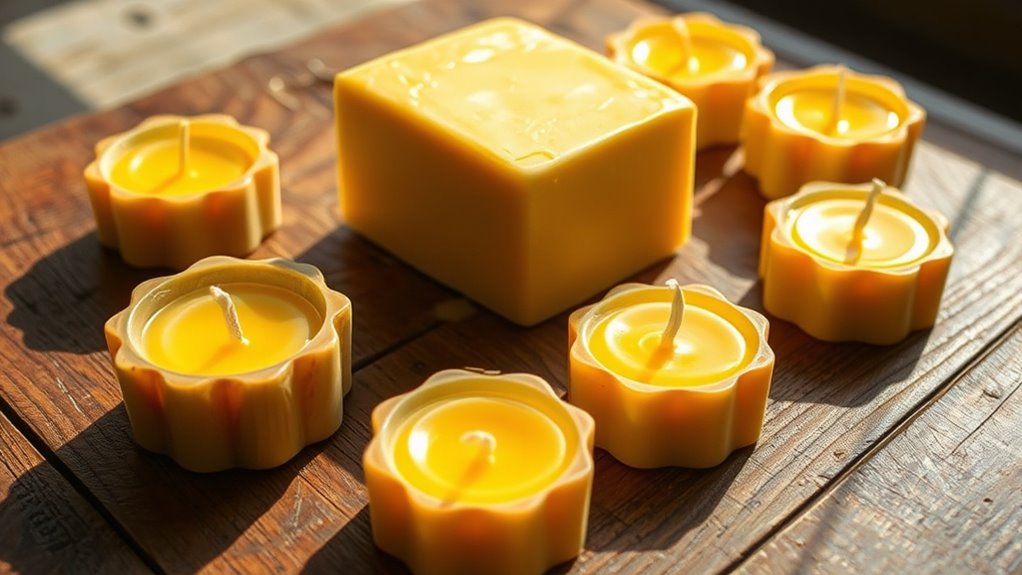
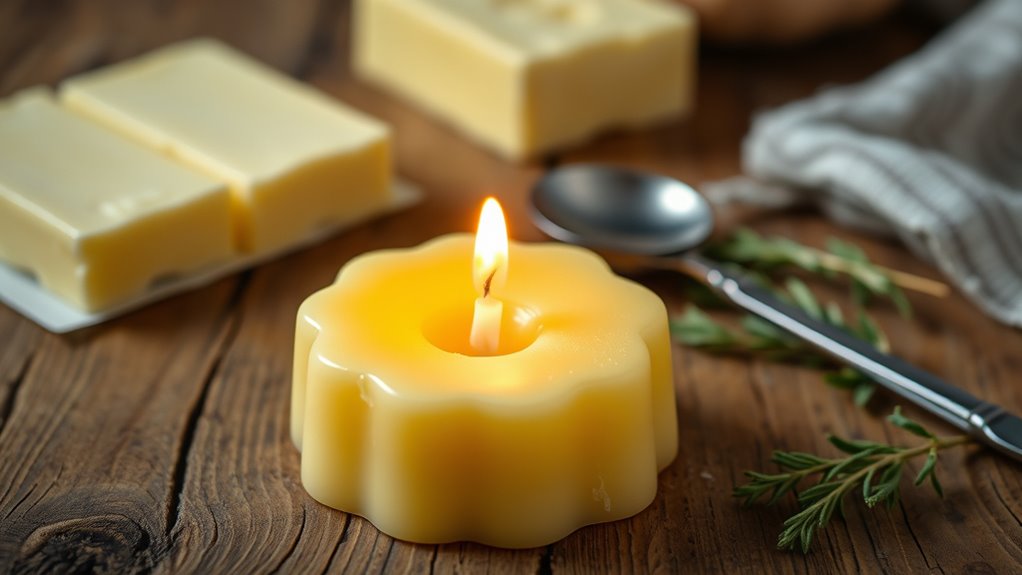
To make a butter candle emergency light, gather supplies like melted butter, a suitable wick, and a mold. Carefully insert the wick into the softened butter, then pour it into your mold and support it while it cools. Allow it to solidify in a cool, undisturbed spot, then trim the wick and light it when needed. If you keep going, you’ll discover detailed steps to craft a safe, effective butter candle in minutes.
Key Takeaways
- Melt butter gently using low heat, add fragrance if desired, and prepare the mold with a wick centered inside.
- Secure the wick upright in the butter, ensuring proper placement for even burning and safety.
- Pour the melted butter into a prepared mold, then allow it to cool and solidify in a stable, undisturbed environment.
- Trim the wick to a quarter-inch before lighting, and ensure the candle is on a heat-resistant surface during use.
- Store unused butter candle in a cool, dry place and never leave it unattended while burning.

Complete Candle Making Kits for Adults Beginners, DIY Candle Making Supplies Include Soy Wax,Wax Melter,Scents,Dyes,Wicks,Wicks Sticker,Candle Tins & More-Full Candle Maker Set – Arts & Crafts Kits
All-IN-ONE Complete Premium DIY Candle Making Kit: The candle making supplies are suitable for all levels and contain…
As an affiliate, we earn on qualifying purchases.
As an affiliate, we earn on qualifying purchases.
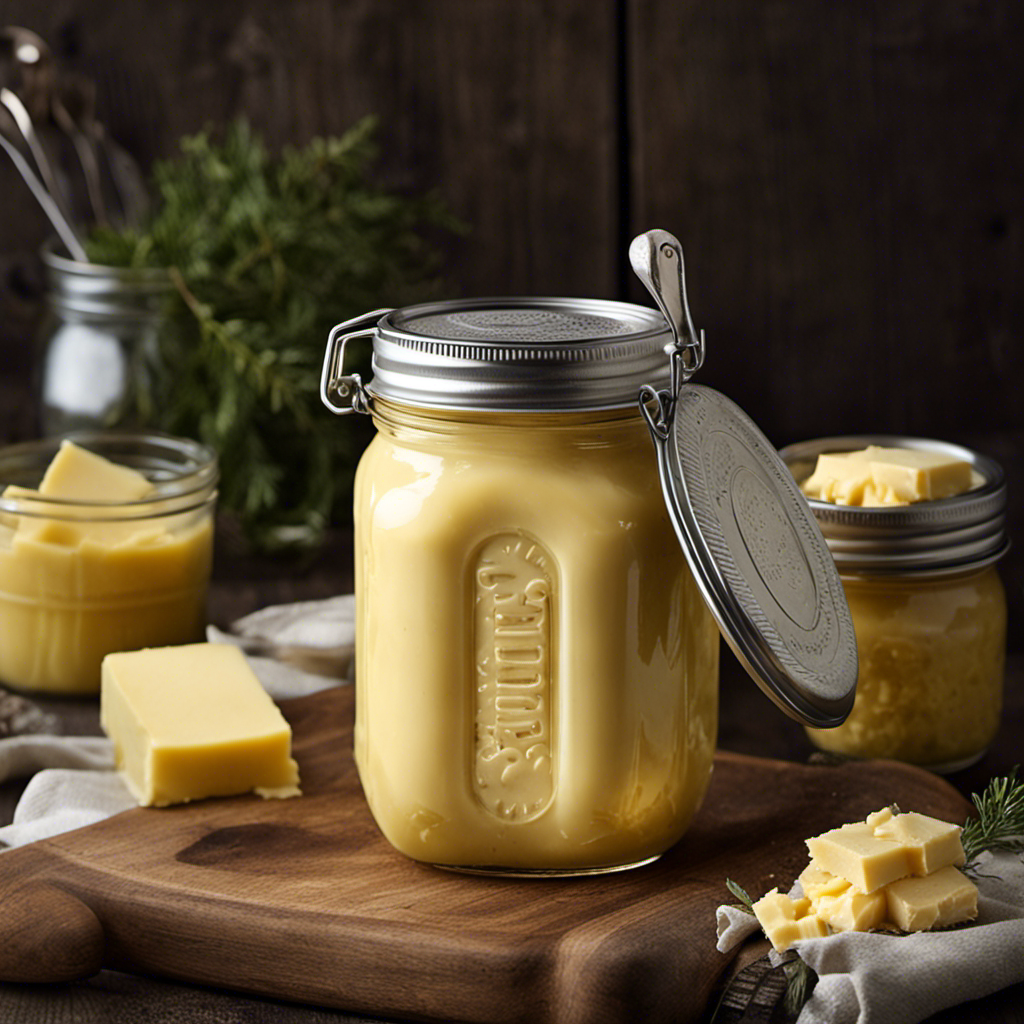
Gathering Your Supplies
Before you begin, gather all the necessary supplies to make certain your DIY butter candle project goes smoothly. First, pick up your candle fragrance to add a pleasant scent during burning. You’ll also need wax melting supplies, such as a double boiler or microwave-safe container, to safely melt your wax. Confirm you have a clean, heat-resistant surface to work on. Grab your butter, a suitable container or mold, and a wick that fits your candle size. Having a thermometer is helpful to monitor wax temperature. Don’t forget to have a stirring utensil and safety gloves for protection. Additionally, understanding the importance of contrast ratio can help you choose the best lighting conditions for viewing your finished candle. Once all these supplies are ready, you’ll be set to start melting your wax and creating a cozy, fragrant butter candle that’s perfect for emergency lighting or ambiance.

Candle Wicks 100 PCS 8 inch Hemp Candle Wicks 2.5mm Organic Beeswax Candle Wicks for Candle Making Candle Wick for Butter Candle Hemp Candle Wick
【Advantages of Hemp Wicks】compared with cotton wicks, hemp wicks burn much cleaner and hotter than cotton wicks, suitable…
As an affiliate, we earn on qualifying purchases.
As an affiliate, we earn on qualifying purchases.
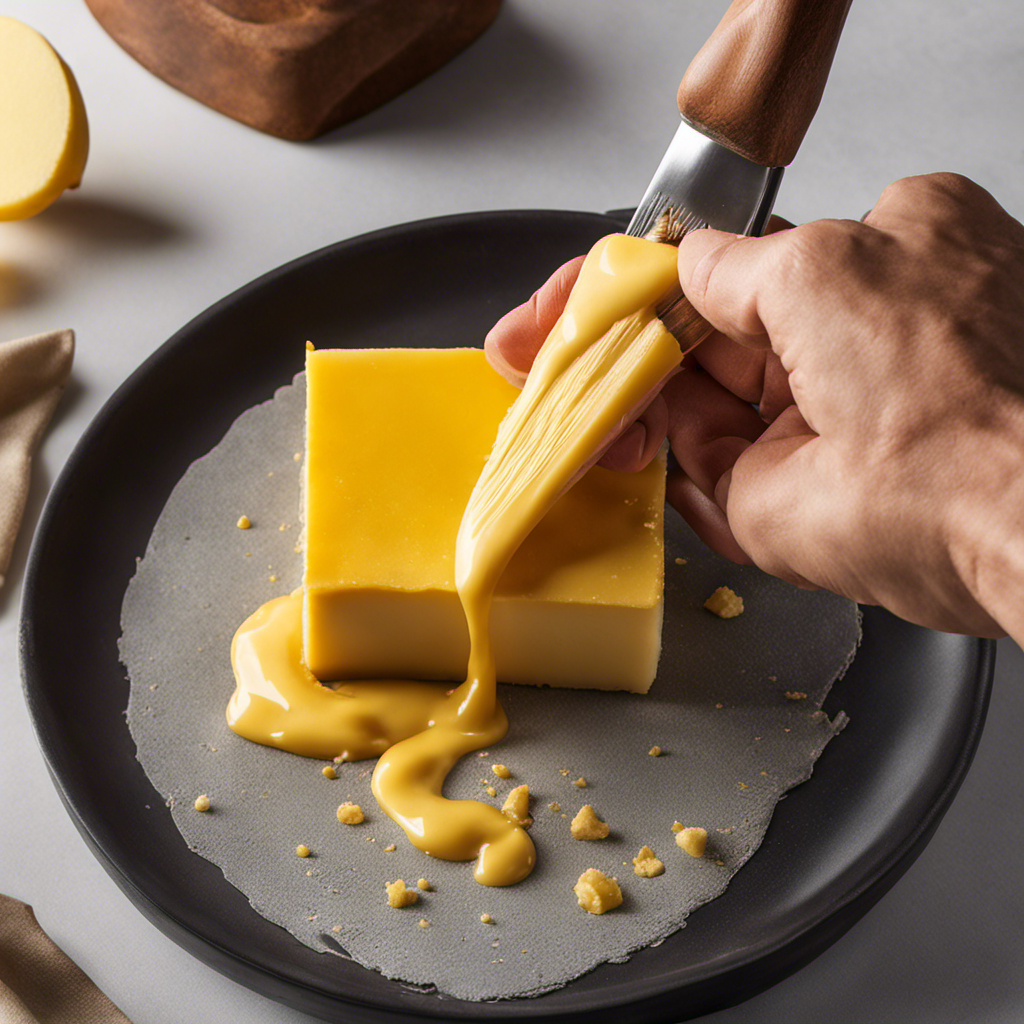
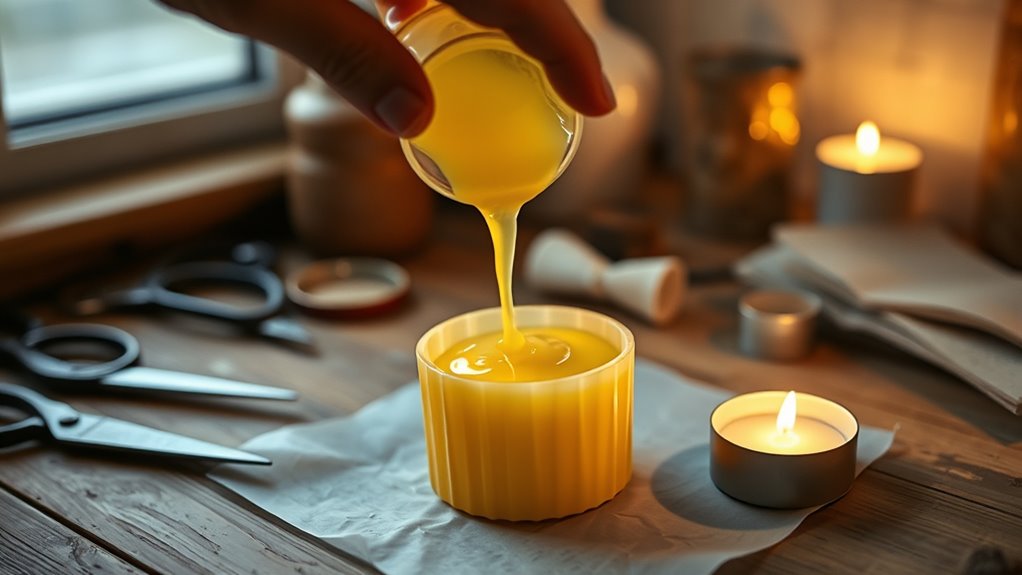
Preparing the Butter Base
To prepare the butter base, start by melting your butter gently to guarantee a smooth and even consistency. Use low heat to prevent burning and ensure the butter melts uniformly. As your butter melts, keep an eye on it to avoid overheating, which can affect the candle’s quality. Once melted, consider the wick selection; choose a wick that fits the size of your container for proper burning. Stir the melted butter lightly to incorporate any impurities and achieve a consistent mixture. Prepare your mold or container beforehand to pour the butter smoothly. Remember, the key is gentle butter melting and proper wick selection to ensure your butter candle burns steadily and safely. Also, be mindful of headphone compatibility, especially if you plan to listen to audio instructions or background music while working on your project.
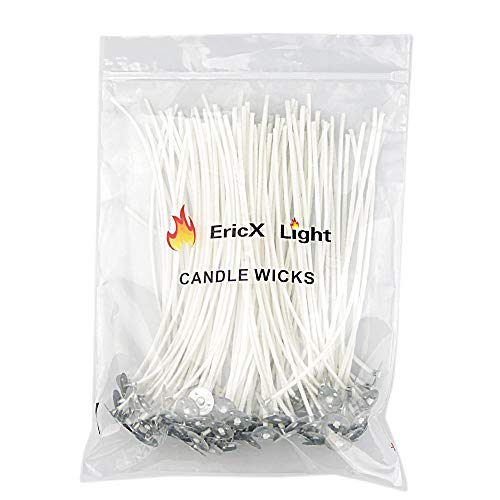
EricX Light 100 Piece Natural Candle Wick, Low Smoke 6" Pre-Waxed & 100% Natural Cotton Core,For Candle Making,Candle DIY
Pre-waxed and tabbed
As an affiliate, we earn on qualifying purchases.
As an affiliate, we earn on qualifying purchases.
Inserting the Wick

Once your butter has cooled slightly but remains soft enough to work with, it’s time to insert the wick. Carefully position the wick upright in the center of the butter, ensuring proper wick placement for an even burn. Gently press it until it’s secure but not too tight, avoiding any tilting that could affect flame safety. To help you understand the importance, consider this table:
| Wick Placement | Flame Safety | Result |
|---|---|---|
| Centered | Stable flame | Even burning and minimal soot |
| Off-center | Flickering | Uneven burn, risk of tipping |
| Too deep | Excess heat | Potential fire hazard |
| Too shallow | Poor flame | Difficult to light |
Proper wick placement guarantees safety and efficient burning—never compromise on flame safety. Ensuring the wick is correctly positioned helps maintain the candle’s safety and effectiveness.

ZPARNO 3 Pack Candle Molds for Candle Making, Moldes para Velas, Flower Molds Silicone Candle Molds for DIY Scented Candle, Soy Wax, Cake, Soap, Resin Casting Craft Making
Candle Molds Material: Our candle making molds are made of strong and flexible material. Odorless, flexible, and durable,…
As an affiliate, we earn on qualifying purchases.
As an affiliate, we earn on qualifying purchases.
Setting Up the Candle Mold
Start by selecting a mold that fits your desired candle size and shape. Next, prepare the surface by cleaning and applying a release agent if needed to guarantee easy removal. Finally, secure the mold firmly to prevent any movement while pouring the wax. Considering efficient e-commerce credit card processing can be useful if you plan to sell your candles online.
Choosing the Right Mold
Choosing the right mold is essential for creating a clean, professional-looking butter candle. Your mold material impacts ease of removal and cleanliness, so pick sturdy, non-stick options like silicone or plastic. Size selection is equally important; choose a mold that matches the desired candle dimensions—small for emergency use, larger for longer-lasting light. Consider the shape you want to achieve, whether round, rectangular, or custom. Ensure the mold is heat-resistant and easy to handle. Think about the depth and width to balance melting time and burn duration. A well-chosen mold helps avoid messes and guarantees a smooth finish. Attention in creative practice can be cultivated by choosing the right tools and environment, which also applies when selecting your mold. Keep these factors in mind to make your butter candle both functional and attractive.
Preparing the Mold Surface
Preparing the mold surface properly guarantees your butter candle comes out cleanly and looks professional. Start by making certain the mold surface is clean and dry to prevent sticking. Lightly coating it with a neutral oil or non-stick spray creates a barrier, making removal easier. The butter consistency is essential; it should be soft but not melted, so it fills every cavity without spilling. If the butter is too warm, it may be too runny, making it hard to pour precisely. Chill the mold briefly if needed, to firm up the surface and improve control. Smooth the surface of the butter with a spatula or spoon to eliminate air bubbles and ensure an even finish. Proper preparation of the mold surface sets the foundation for a flawless butter candle. Additionally, ensuring the butter is at the right temperature helps achieve a smooth, professional look, similar to smooth blending in juice recipes.
Securing the Mold Properly
To guarantee your butter candle maintains its shape during pouring, you need to secure the mold firmly in place. Proper securing techniques ensure mold stability, preventing spills or movement that can ruin your candle. Start by placing the mold on a flat, stable surface. Use clamps or tape to hold the mold steady, especially if it’s lightweight. You can also set the mold in a container or tray filled with sand or rice for extra support. Double-check that the mold won’t shift when you pour the melted butter. Keep in mind that even slight movement can cause imperfections. Optimal angles can also influence the stability of the mold during the setting process. By applying these securing techniques, you’ll ensure your butter candle forms perfectly and safely during the setting process.
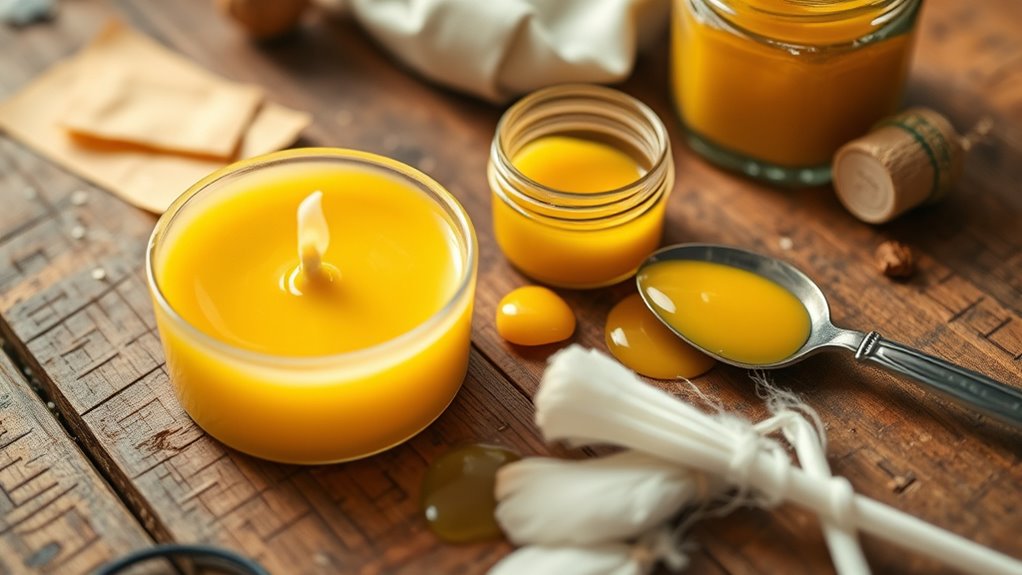
Allowing the Candle to Solidify
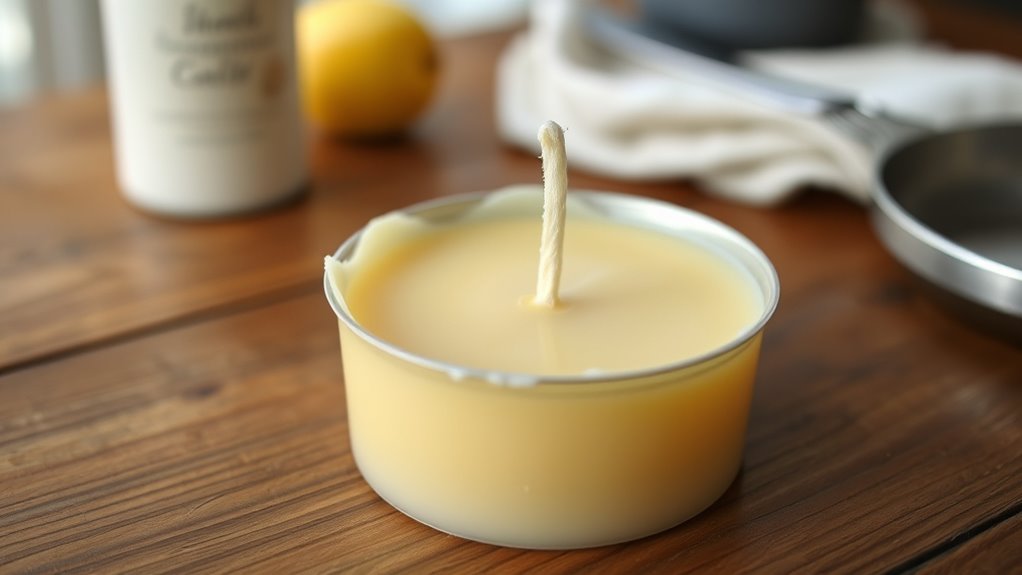
To guarantee your butter candle sets perfectly, place it in a cool, undisturbed environment. Giving it enough time to solidify prevents cracks and uneven surfaces. Remember, moving or disturbing it too soon can ruin the final look. For optimal results, understanding the sustainable practices involved in candle-making can help you choose eco-friendly materials and methods.
Cooling Environment Benefits
Allowing your candle to cool in a controlled, cool environment helps it solidify evenly and prevents surface imperfections. A stable temperature aids in ideal solidification, ensuring your candle maintains a smooth, professional look. Cooler surroundings also help preserve the aromatic benefits of the candle, preventing scent loss due to excess heat. Proper temperature regulation minimizes the risk of cracking or warping, which can occur if cooled too quickly. Additionally, a calm environment with minimal vibrations can help maintain the candle’s shape during solidification.
- A shaded spot away from direct sunlight
- An air-conditioned room or a cool basement
- A flat surface to prevent uneven cooling
- Minimal drafts to avoid surface imperfections
- A space with consistent airflow for even cooling
This controlled environment ensures your butter candle remains visually appealing while retaining its aromatic benefits.
Proper Solidification Time
Ensuring your butter candle solidifies properly is essential for achieving a smooth, durable finish. The solidification process depends on giving the wax enough time to fully set, which is determined by the curing duration. Rushing this step can cause cracks or uneven surfaces, weakening the candle’s structure. Typically, you should allow at least a few hours to overnight for complete solidification, depending on the thickness of your candle. During this period, avoid moving or disturbing the candle to prevent imperfections. Patience is key; a proper curing duration guarantees the wax hardens evenly, creating a sturdy, reliable emergency light. Proper solidification time allows the wax to cure thoroughly and enhances the candle’s overall quality. Once fully solidified, you can safely proceed to trimming and testing your butter candle for maximum performance.
Avoid Disturbance During Setting
Since movement can disrupt the solidification process, it’s important to keep your candle undisturbed while it sets. Electric interference and ambient noise can also cause small vibrations that affect the curing. To guarantee a solid, even finish, create a stable environment for your candle.
- Place the mold on a flat, stable surface away from electronics
- Keep the area quiet, avoiding loud sounds or sudden noise
- Shield the setup from drafts or air currents
- Turn off nearby appliances that generate electric interference
- Cover the candle lightly with a cloth if needed to block vibrations
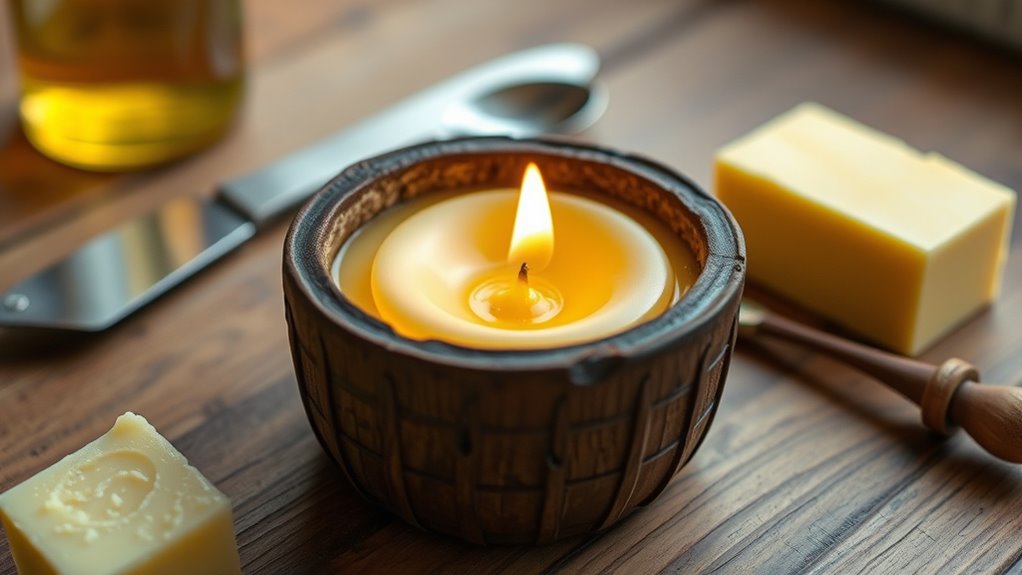
Lighting Your Homemade Butter Candle
To light your homemade butter candle safely, start by trimming the wick to about a quarter-inch to prevent excessive smoking and uneven burning. Choose a wick suitable for the candle’s size and material; a cotton wick often works best. If you want a pleasant candle fragrance, add a few drops of essential oil to the melted butter before pouring it into the mold. When ready to light, hold the flame steadily to the wick’s tip until it ignites. Keep a safe distance and avoid tilting the candle during lighting. Make sure the flame is steady and centered. If the candle flickers too much or smokes excessively, extinguish it and trim the wick again. Always monitor the candle while burning to ensure safety.
Tips for Safe and Effective Use
Once your butter candle is lit, paying attention to how you use it can make a big difference in safety and effectiveness. Always keep it on a stable, heat-resistant surface to prevent spills or accidents. Never leave it unattended, especially around children or pets. Follow safety precautions like trimming the wick to avoid large flames and avoiding drafts that could cause uneven burning. Store leftover butter and candles in a cool, dry place away from direct sunlight to prevent spoilage or melting. Keep the flame away from flammable objects, and extinguish it properly when not in use. These simple storage tips and safety precautions ensure your emergency light remains effective and safe every time you need it.
Frequently Asked Questions
How Long Does a Butter Candle Typically Burn?
A butter candle typically burns for about 30 to 60 minutes, but burn time factors like candle size, wick length, and how you maintain the candle affect this. Proper candle maintenance, such as trimming the wick and keeping the surface clean, can extend its burn time. Be mindful that larger candles generally last longer, so choose the size based on how long you need the light to last in an emergency.
Can I Use Other Fats Instead of Butter?
You can definitely use alternative fats instead of butter for your candle, but keep in mind that different fats impact candle longevity differently. For example, lard or coconut oil may burn longer or shorter depending on their melting points and composition. Experiment with small quantities first to see how each fat affects the candle’s burn time and safety. Always prioritize safety when testing new fats for emergency candles.
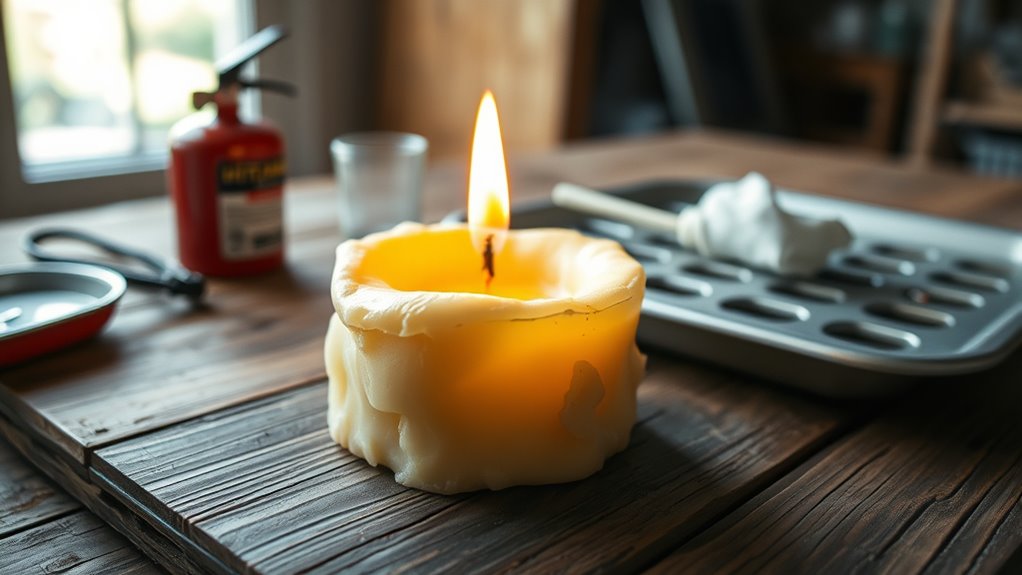
What Safety Precautions Should I Take During Burning?
While burning your homemade candle, think of it as a small, controlled fire hazard. You should always stay vigilant, ensuring proper ventilation to prevent smoke buildup and reduce carbon monoxide risks. Keep a fire extinguisher nearby, avoid drafts, and never leave it unattended. These safety precautions help you enjoy your DIY emergency light without risking fire hazards, making sure your candle remains a safe and effective source of illumination.
How Do I Extinguish the Candle Safely?
To extinguish your candle safely, follow proper fire safety and extinguishing methods. Gently blow out the flame, keeping your face away from the smoke. Alternatively, use a snuffer to put out the candle without splattering wax. Never leave a burning candle unattended, and confirm the wick is no longer glowing before leaving the area. This helps prevent accidental fires and maintains safe candle use.
How Should I Store Leftover Homemade Butter Candles?
To store leftover homemade butter candles, you should follow proper storage tips to maintain their quality. Keep them in a cool, dry place away from direct sunlight and heat sources. Wrap each candle in parchment paper or store them in an airtight container to prevent melting or spoilage. Typically, their shelf life is about 2-3 months if stored correctly. Regularly check for signs of spoilage before reuse to ensure safety.
Conclusion
Now that you’ve crafted your butter candle, you’re ready to enjoy a cozy, emergency light whenever needed. Think of it like a tiny sun you’ve made yourself—warm, comforting, and reliable in a pinch. Keep your candle safe, away from drafts, and always extinguish it properly. With just a few simple steps, you’ve created a handy, homemade source of light that’s as comforting as a flickering flame in a dark room.