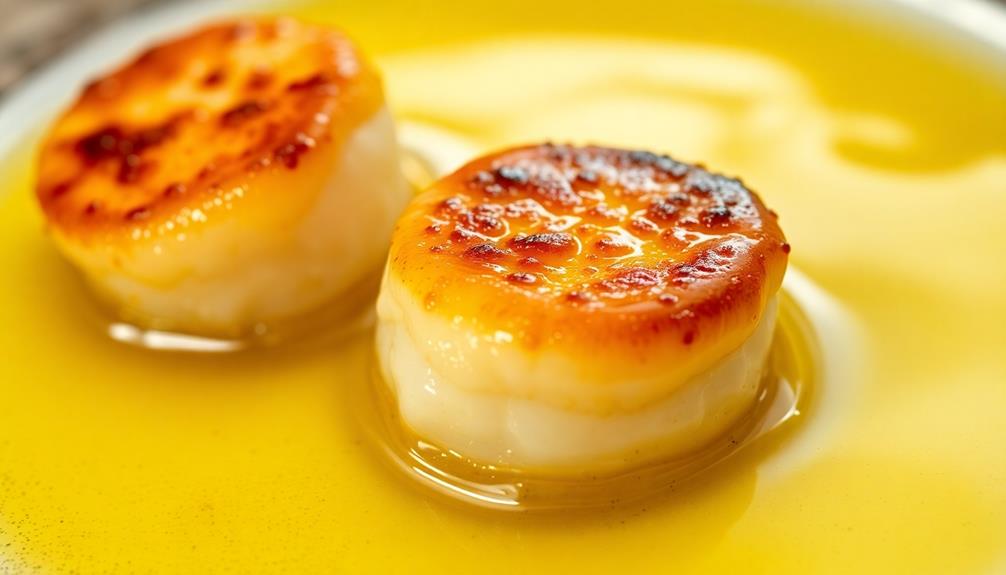
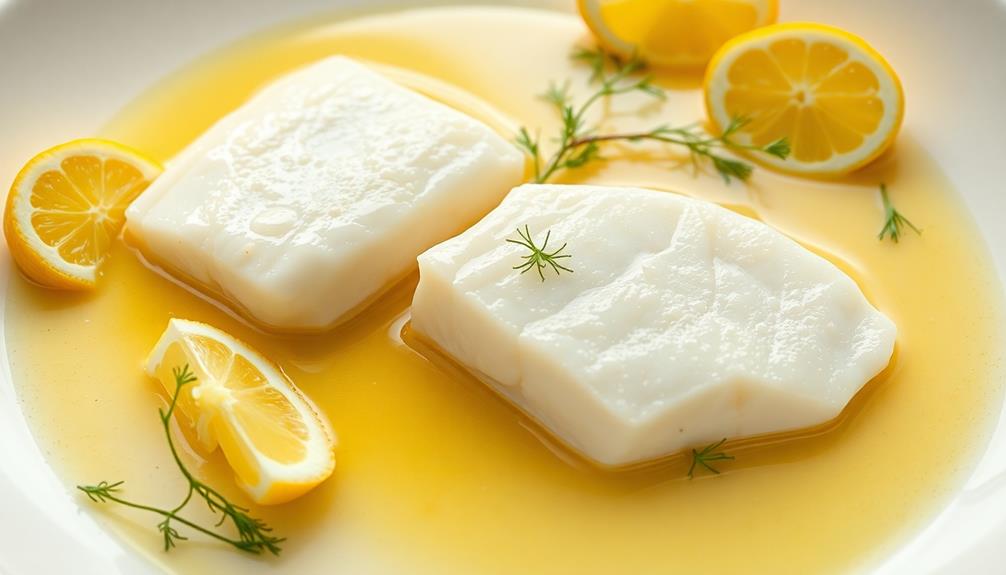
Elevate your scallop game with the secret to a perfect sear – butter basting! Start by thoroughly drying those fresh beauties to unlock their golden-brown potential. Next, let the butter sizzle in the skillet until it's rich and nutty, then gently lower in the scallops. The magic happens as you continuously baste them with the hot, flavorful butter, creating a crunchy exterior and melt-in-your-mouth interior. Resist the temptation to overcrowd the pan for optimal caramelization. Once they're perfectly seared, transfer those luscious scallops to your plate and prepare to impress. Intrigued? Let's dive deeper into the techniques that'll make you a scallop master.
Key Takeaways
- Butter-basting creates a rich, golden-brown crust on scallops while enhancing their natural sweetness and tender texture.
- Thoroughly drying the scallops with paper towels is crucial for achieving the perfect sear.
- Continuously basting the scallops with hot butter ensures even cooking and a delectable flavor profile.
- Precise temperature control and timing are essential for preventing overcooking and ensuring scallops remain tender and juicy.
- Serving butter-basted scallops immediately after cooking maximizes their enjoyment, with optional garnishes like fresh herbs or lemon juice.
History
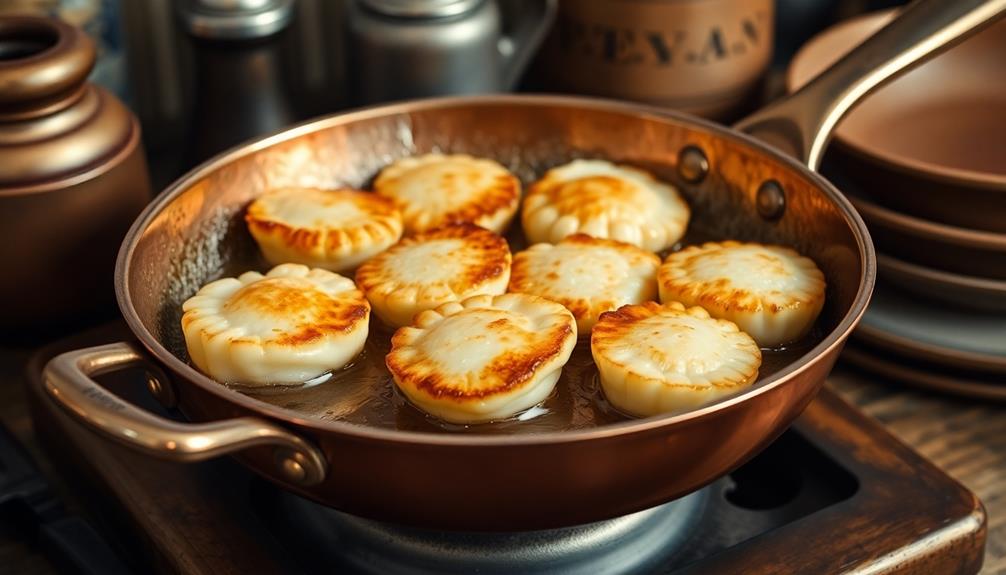
Scallops have been enjoyed for centuries, with references to their consumption dating back to ancient Greek and Roman civilizations. These delectable shellfish were prized for their sweet, buttery flavor and delicate texture.
Throughout the Middle Ages, scallops were a popular ingredient in European cuisine, often served as a symbol of wealth and status.
In the 18th and 19th centuries, scallops became more widely available as fishing and transportation methods improved. This allowed the dish to reach a broader audience, becoming a beloved staple in coastal communities around the world.
Today, scallops remain a cherished ingredient, known for their versatility and ability to transform simple ingredients into something truly extraordinary. Whether seared, baked, or served raw, the humble scallop continues to captivate the palates of food enthusiasts everywhere.
Recipe
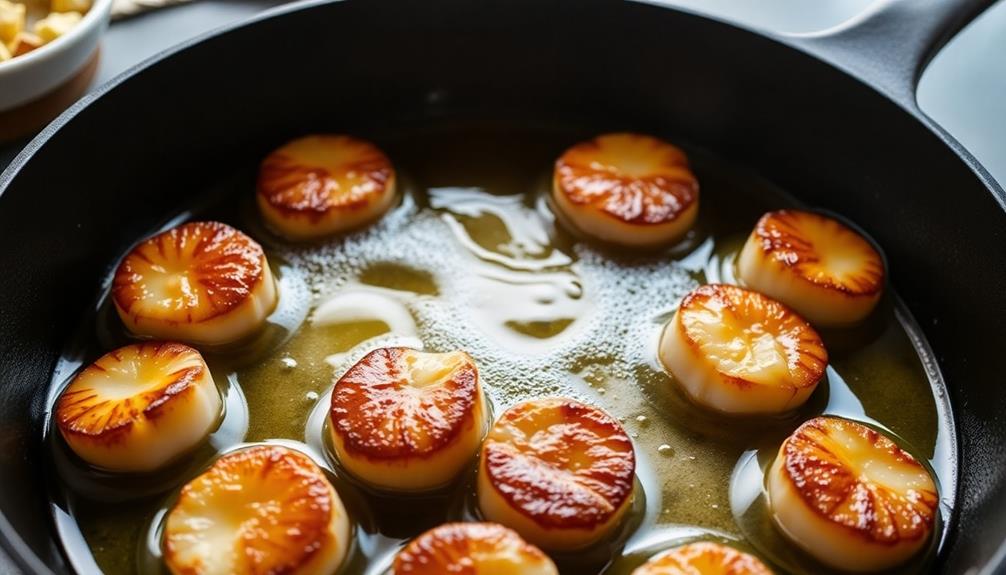
Butter-Basted Scallops are a luxurious and flavorful dish that can be easily prepared at home. The key to achieving a perfectly seared and tender scallop lies in the technique of basting the seafood with butter, which imparts a rich, velvety texture and a golden-brown crust.
Scallops are a delicate and versatile ingredient that pair beautifully with the nutty, browned butter. This recipe highlights the natural sweetness of the scallops, allowing them to take center stage while the butter enhances their delicate flavor.
- Fresh sea scallops
- Unsalted butter
- Olive oil
- Kosher salt
- Freshly ground black pepper
Begin by patting the scallops dry with paper towels and seasoning them generously with salt and pepper.
Heat a large, heavy-bottomed skillet over high heat and add a drizzle of olive oil. When the oil is shimmering, add the scallops in a single layer, making sure not to overcrowd the pan.
Sear the scallops for 2-3 minutes per side, or until a golden-brown crust forms. As the scallops cook, continuously baste them with the butter, using a spoon to spoon the hot butter over the tops of the scallops.
When the scallops are cooked through, about 4-6 minutes total, transfer them to a plate.
Serve the butter-basted scallops immediately, garnished with a sprinkle of freshly ground black pepper, if desired.
For best results, use fresh, high-quality scallops and take care not to overcook them, as they can become tough and rubbery.
Cooking Steps
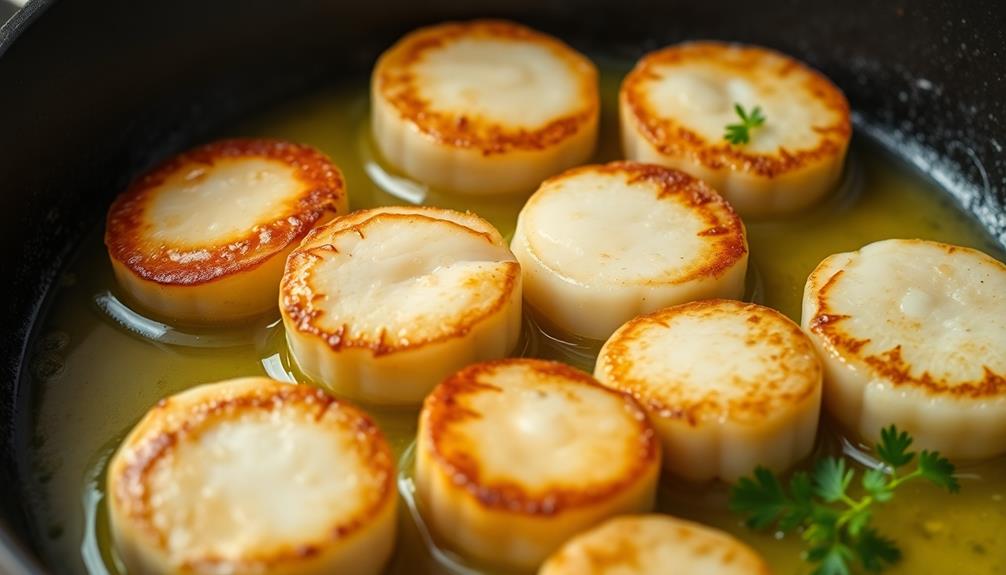
First, you'll want to pat your scallops dry with some paper towels to remove any excess moisture.
Next, heat up some butter in a skillet over medium-high heat.
Then, add those beautifully prepped scallops to the hot skillet and baste them with the reserved butter as they cook.
Step 1. Pat Scallops Dry With Paper Towels
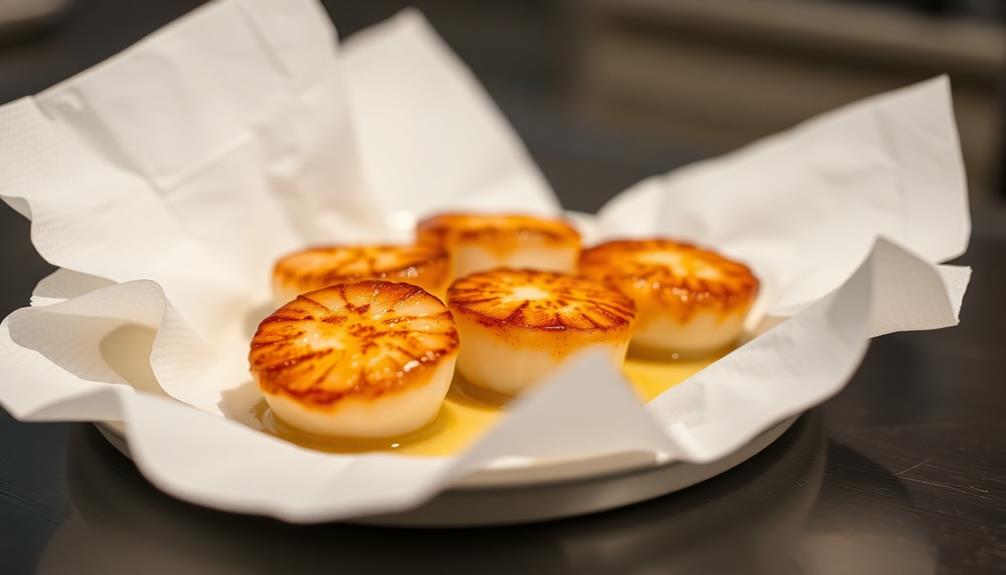
Start by thoroughly patting the scallops dry with paper towels. This crucial step is the key to achieving a perfect sear on your scallops.
Gently blot the scallops, pressing down firmly to absorb as much moisture as possible. You want the scallops to be completely dry on the surface, as any excess water will prevent them from browning beautifully.
Take your time with this process – it's worth the extra effort. Ensure each scallop is meticulously patted dry, leaving no damp spots. This will allow the scallops to develop that coveted caramelized crust when you add them to the hot pan.
With the scallops prepped and ready to go, you're one step closer to creating a restaurant-worthy dish in your own kitchen.
Get excited – the best part is about to happen!
Step 2. Heat Butter in Skillet
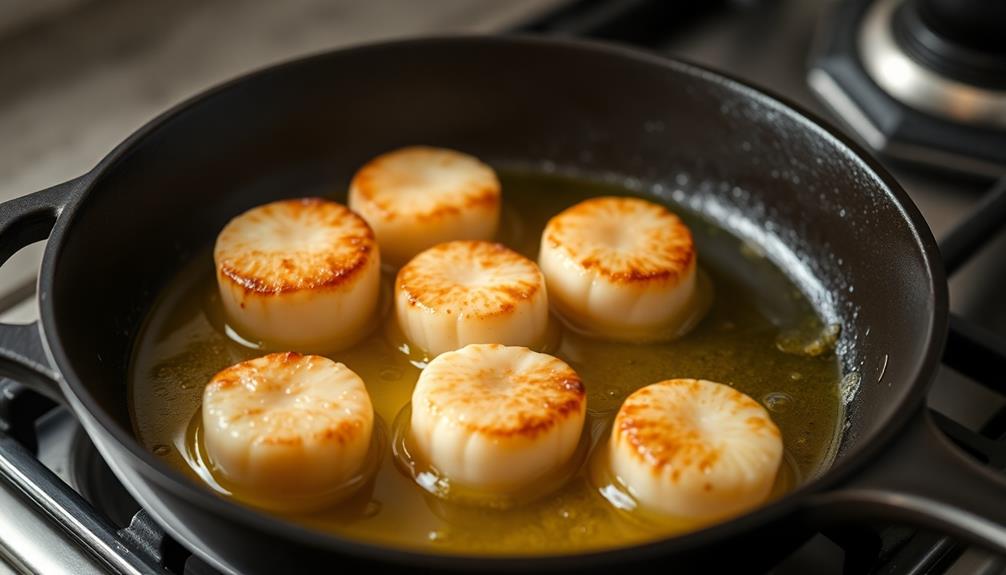
Next, heat a large skillet over medium-high heat. Once it's nice and hot, drop in a few tablespoons of unsalted butter.
Watch as it quickly melts and starts to sizzle – that's exactly what you want! The butter will begin to brown and develop a rich, nutty aroma.
Tilt the pan to coat the entire surface with the melted butter. This even coating will ensure your scallops get that beautiful golden-brown sear all around.
Be sure to keep a close eye on the butter, as it can go from perfectly browned to burnt in the blink of an eye.
Once the butter is just starting to turn golden, it's time to add your scallops. Arrange them in a single layer, making sure they've plenty of space between each one.
This will prevent steaming and allow them to sear to perfection. Get ready for the delightful sound of sizzling scallops!
Step 3. Add Scallops to Hot Skillet
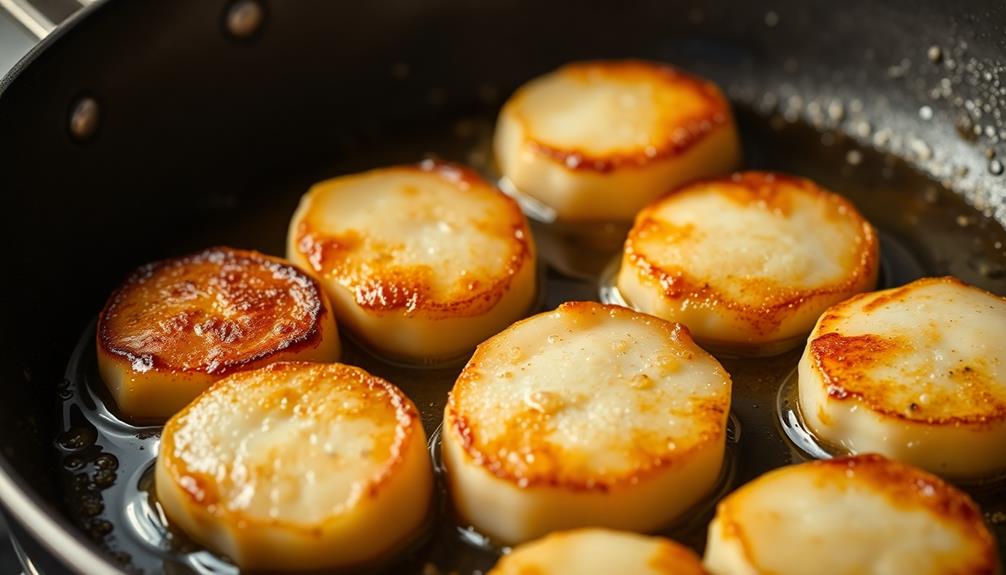
With the butter sizzling and ready, you can now add your scallops to the hot skillet. Carefully lower them into the pan, making sure they've plenty of room to sear and caramelize. You'll hear that satisfying sizzle as the scallops hit the hot surface.
Take care not to overcrowd the pan, as this can cause the scallops to steam rather than develop that gorgeous golden-brown crust.
As the scallops cook, use a pair of tongs to gently flip them over after about 2-3 minutes. You're looking for that signature caramelization – a rich, deep-brown color that indicates the perfect sear.
Baste the scallops continuously with the hot, fragrant butter, allowing it to coat and baste each one. This will help them develop that mouthwatering, buttery flavor and texture.
Cook for another 2-3 minutes on the second side, until the scallops are opaque throughout. Remove them from the heat and get ready to enjoy your perfectly seared, butter-basted scallops.
Step 4. Baste Scallops With Reserved Butter
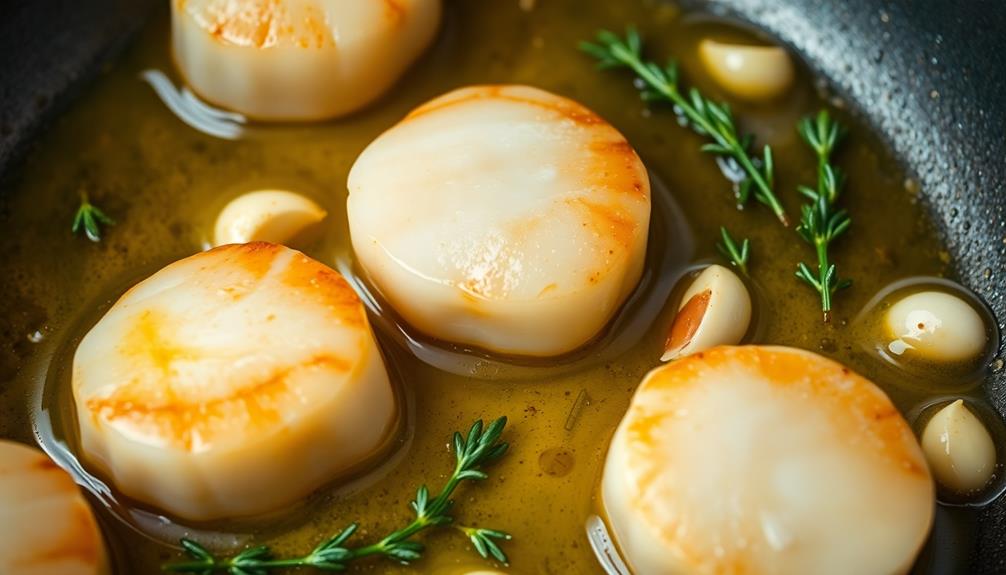
Once the scallops are seared, it's time to baste them with the reserved butter. This simple technique is the secret to achieving that gorgeous, golden-brown crust while keeping the insides tender and juicy.
Butter, being a source of vitamins A, D, E, and K, not only enhances the flavor but also adds nutritional value to your dish butter health benefits.
Grab the skillet and tilt it slightly, allowing the reserved butter to pool at the edge. Using a large spoon, begin basting the scallops, spooning the warm, fragrant butter over the tops and sides.
Watch as the butter sizzles and foams, creating a delectable glaze that coats the scallops. Continue basting for about 1-2 minutes, making sure to cover every inch of the scallops.
The butter will impart a rich, buttery flavor and help the outsides develop that coveted caramelized crust. Once the scallops are beautifully basted, remove the skillet from heat and transfer the scallops to a serving plate.
Get ready to enjoy tender, flavorful scallops that are sure to impress.
Step 5. Remove Scallops From Heat
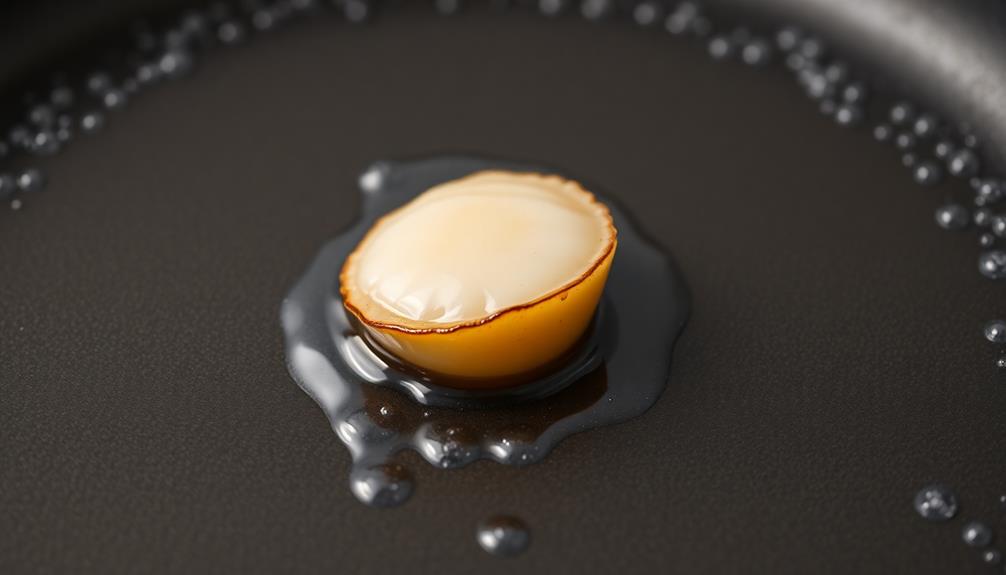
Once the scallops have been beautifully basted, it's time to remove them from the heat.
You'll want to act quickly, as those golden-brown beauties can go from perfectly seared to tough and rubbery in the blink of an eye. Using your trusty tongs, gently lift the scallops from the sizzling pan and transfer them to a plate or platter.
Be careful not to overcrowd them, as you want to allow any excess butter to drip off.
With the scallops safely off the heat, take a moment to admire their gorgeous caramelized exteriors.
The rich, buttery aroma wafting through the air is sure to make your mouth water in anticipation.
Now, it's time to serve these delectable scallops while they're hot and at their absolute best.
Whether you're enjoying them as an appetizer or as part of a larger meal, these butter-basted beauties are sure to impress.
Get ready to savor every last bite!
Final Thoughts
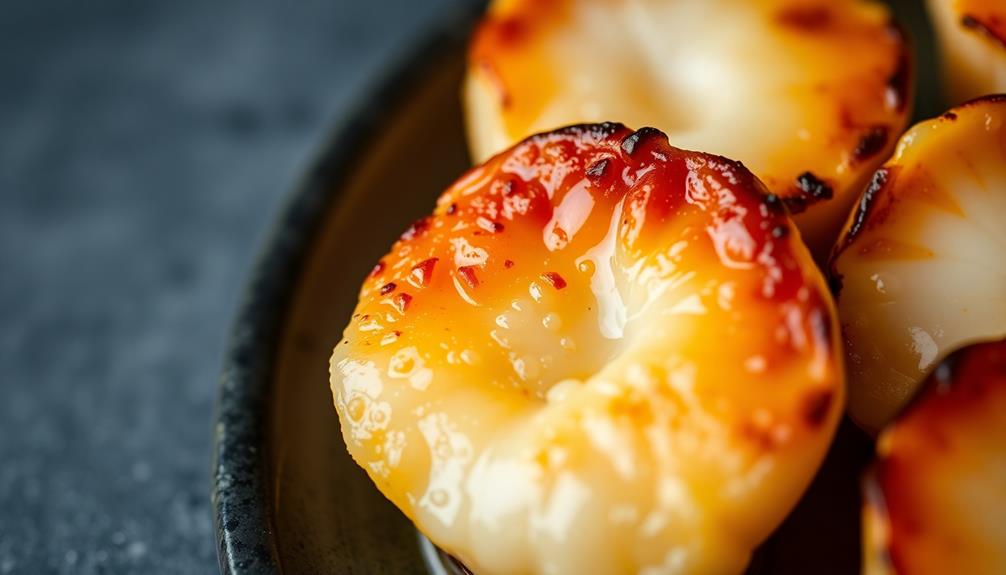
The butter-basted scallops make for a truly delightful and indulgent dish. You'll be amazed at how the simple technique of basting the scallops in butter transforms them into golden, perfectly seared morsels. The rich, velvety texture and sweet, buttery flavor will have you relishing every bite.
While the preparation may seem daunting at first, with a little practice, you'll be able to achieve restaurant-quality results at home. Impress your friends and family with this elegant yet easy-to-execute recipe. The key is to pay close attention to the scallops, basting them constantly, and removing them from the heat at just the right moment.
Savor the satisfying crunch of the seared exterior and the tender, succulent interior. These butter-basted scallops are sure to become a new favorite in your household, perfect for special occasions or everyday indulgence.
Frequently Asked Questions
How Can I Tell if Scallops Are Fresh?
You can tell if scallops are fresh by their appearance and smell. Look for scallops that are plump, moist, and have a sweet, mild aroma. Avoid scallops with an fishy or ammonia-like odor, as they're likely not fresh.
What's the Best Way to Store Scallops?
To store scallops, keep them in their original packaging or an airtight container in the coldest part of your refrigerator. Don't let them sit in any liquid and use them within 2-3 days for best quality.
Can I Use Frozen Scallops for This Recipe?
Sure, you can use frozen scallops for this recipe. Just make sure to thaw them completely before cooking, pat them dry, and sear them over high heat to get that perfect golden-brown crust.
How Long Do Seared Scallops Last in the Fridge?
Seared scallops typically last 3-4 days in the fridge. Be sure to store them in an airtight container and consume them within this timeframe for maximum freshness and food safety. Enjoy your delicious scallops!
Can I Use the Same Method for Other Types of Seafood?
Absolutely! The same searing method can be used for various types of seafood, such as shrimp, fish fillets, or even calamari. Just adjust the cooking time based on the thickness and size of the seafood you're working with.
