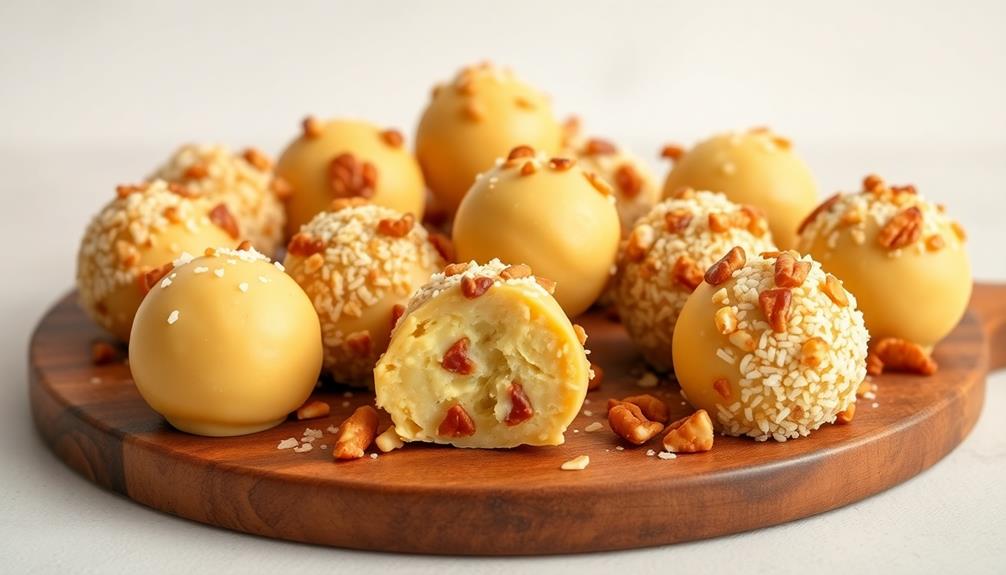

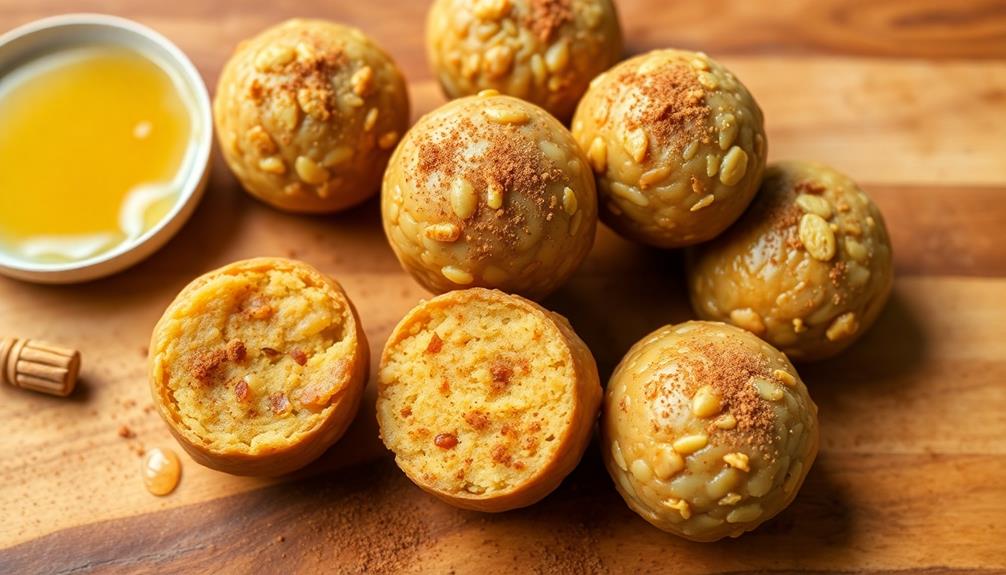
You'll love these rich, butter-based energy balls – they're a satisfying snack that'll power you up! Their flavorful combination of toasted coconut, honey, and crunchy nuts creates a truly delightful treat. Not only are they quick and easy to make, but these portable bites pack a nutritious punch, providing sustained energy to fuel your active lifestyle. Experiment with different add-ins to suit your tastes, and store them in the fridge for up to a week. These butter-based beauties are sure to become a new favorite – let's dive in and discover more about this versatile, guilt-free snack!
Key Takeaways
- Butter-based energy balls offer a nutrient-dense, portable snack that provides sustained energy and supports active lifestyles.
- The rich, buttery flavor and chewy texture enhance the overall enjoyment and satisfaction of this guilt-free treat.
- These energy balls are easy to prepare with simple, customizable ingredients and can be stored for up to a week.
- Versatile in usage, the balls can be served as a pre-workout boost, midday snack, or post-workout recovery option.
- Butter-based energy balls are a delightful and satisfying snack that can be easily incorporated into daily routines.
energy ball maker mold
As an affiliate, we earn on qualifying purchases.
As an affiliate, we earn on qualifying purchases.
History
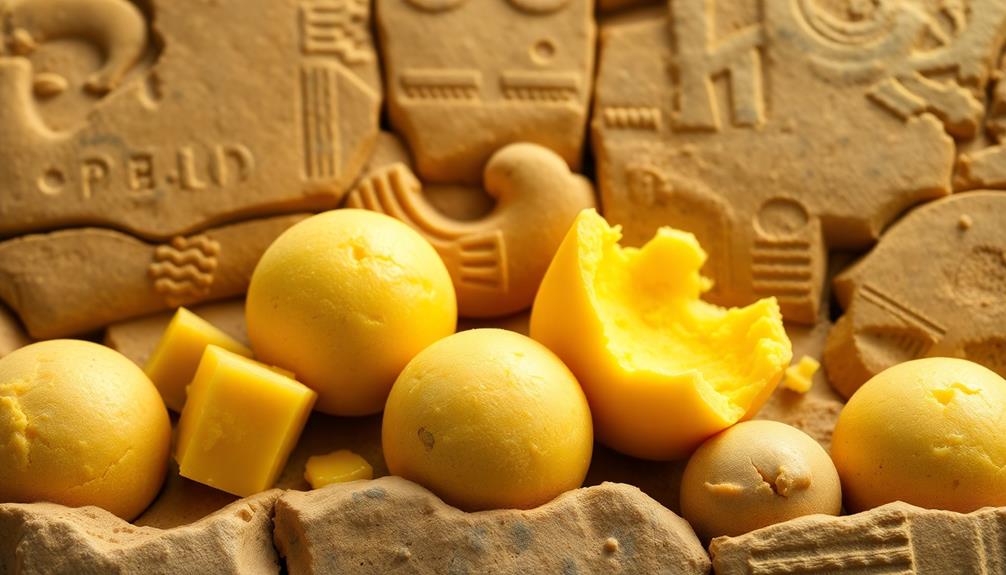
The humble butter-based energy ball can trace its origins back to ancient civilizations, where nomadic communities crafted similar nutrient-dense snacks to sustain them on long journeys.
These early versions were made with simple, whole-food ingredients like nuts, seeds, and dried fruits, providing a concentrated source of energy and essential nutrients.
Over time, the recipes evolved, and the energy ball became a beloved staple in many cultures, known for its ability to nourish and revitalize.
Today, the butter-based energy ball continues to be a popular choice for active individuals seeking a satisfying and portable snack.
Whether you're an athlete, a busy parent, or simply someone who appreciates a delicious and wholesome treat, these rich and satisfying bites offer a convenient way to fuel your day and power your pursuits.
nut butter energy balls ingredients
As an affiliate, we earn on qualifying purchases.
As an affiliate, we earn on qualifying purchases.
Recipe

Butter-based energy balls are a delightful and convenient snack that provide a boost of sustained energy. These bite-sized treats are perfect for those seeking a nutritious pick-me-up throughout the day, thanks to the rich flavor profile that butter contributes.
The combination of butter, nuts, and natural sweeteners creates a satisfying and flavorful experience that will leave you feeling fueled and satisfied. For optimal freshness, always consider proper storage methods to keep your ingredients at their best, as outlined in proper storage techniques.
These energy balls are easy to prepare and can be customized to suit your taste preferences. Whether you're looking for a quick breakfast, a midday snack, or a pre-workout boost, these butter-based bites are a versatile and healthy option.
Ingredients:
- 1 cup unsalted butter, softened
- 2 cups almond flour
- 1 cup rolled oats
- 1/2 cup honey
- 1/4 cup unsweetened shredded coconut
- 1/4 cup chopped pecans or walnuts
- 1 teaspoon vanilla extract
- 1/4 teaspoon sea salt
Instructions:
In a large mixing bowl, combine the softened butter, almond flour, rolled oats, honey, shredded coconut, chopped nuts, vanilla extract, and sea salt. Mix until all the ingredients are well incorporated and a cohesive dough forms.
Using a spoon or your hands, roll the mixture into 1-inch balls and place them on a parchment-lined baking sheet. Refrigerate the energy balls for at least 30 minutes to allow them to firm up before serving.
Tips:
For added texture and nutrition, feel free to experiment with different types of nuts, seeds, or dried fruits. You can also roll the energy balls in additional shredded coconut or chopped nuts for a decorative touch.
These butter-based energy balls can be stored in an airtight container in the refrigerator for up to 1 week, making them a convenient and nourishing snack option throughout the week.
reusable food storage containers for snacks
As an affiliate, we earn on qualifying purchases.
As an affiliate, we earn on qualifying purchases.
Cooking Steps
Melt the butter in a small saucepan until it's smooth and liquid.
Butter adds flavor and richness to your energy balls, making them a delightful treat.
In a mixing bowl, combine the dry ingredients – oats, nuts, and seeds.
Stir in the honey and vanilla until everything's well-mixed, then roll the mixture into bite-sized balls.
Pop them in the fridge for 30 minutes to firm up, then coat each one in a layer of toasted coconut.
Mmm, can you almost taste those buttery, nutty energy balls?
Step 1. Melt Butter, Combine Dry Ingredients
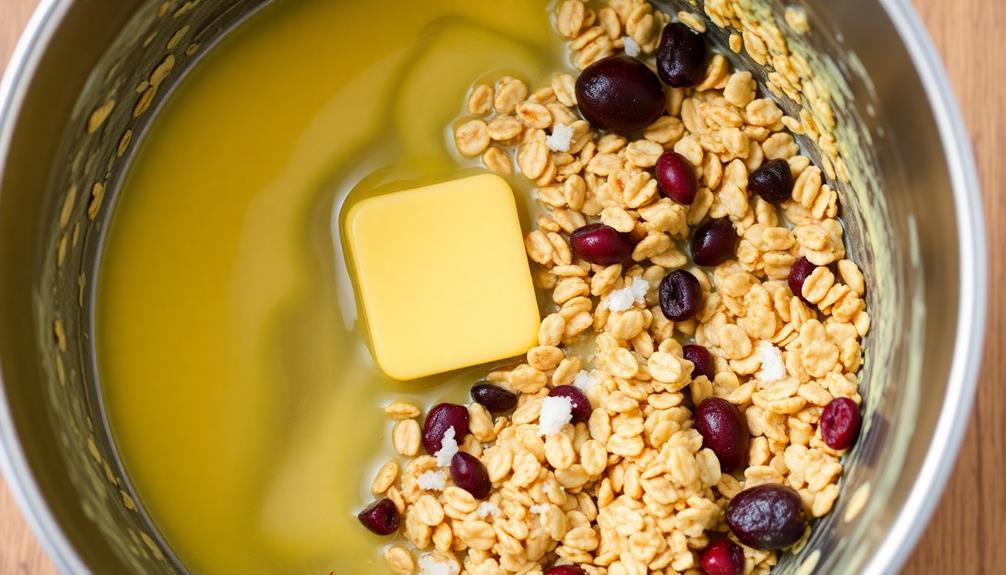
First, melt the butter in a small saucepan over low heat, stirring occasionally until it's completely liquefied. The golden liquid should shimmer as it gently bubbles.
Once the butter is fully melted, remove the pan from the heat and set it aside. Butter not only adds a rich, creamy flavor to your energy balls but also enhances the overall texture, making them satisfyingly chewy and delicious. In fact, it plays a crucial role in binding the ingredients together, similar to its culinary uses in various dishes.
In a separate large bowl, combine the oats, nuts, seeds, and any other dry ingredients called for in the recipe. Use a spoon to stir the mixture, making sure all the components are evenly distributed. The dry ingredients should have a variety of colors, textures, and shapes, creating an appetizing blend that's bursting with nutrition.
Now, you're ready to bring the wet and dry elements together. Carefully pour the melted butter into the bowl of dry ingredients and use a spatula to gently fold everything together until a cohesive dough forms. The butter will coat the dry ingredients, creating a rich, flavorful base for your energy balls.
Step 2. Mix in Honey and Vanilla
Next, stir in the honey and vanilla extract. These two ingredients add a wonderful sweetness and aromatic flavor to your butter-based energy balls.
The honey's golden hue and rich, complex taste perfectly complements the creamy butter, while the vanilla extract lends a warm, comforting note. As you incorporate these wet ingredients, the mixture will become smoother and more cohesive.
You'll notice the honey's thick, viscous texture blending seamlessly with the butter. The vanilla's fragrant scent will fill the air, making your mouth water in anticipation.
Gently fold everything together until the honey and vanilla are evenly distributed throughout the dough. This step brings all the flavors into harmony, creating a delightful balance that will make your energy balls utterly irresistible.
With the wet ingredients incorporated, you're one step closer to enjoying these decadent, nutrient-dense treats.
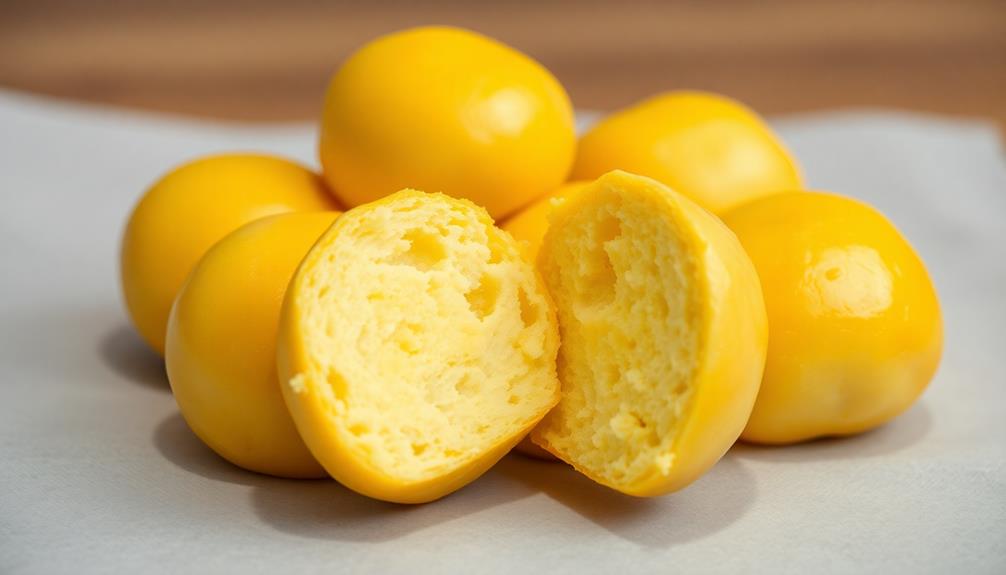
Step 3. Roll Into Balls
With the honey and vanilla now folded in, you can move on to the fun part – rolling the butter-based dough into perfectly shaped energy balls.
Grab a small handful of the mixture and roll it between your palms, forming a smooth, uniform sphere. As you work, the warmth of your hands will help mold the dough, allowing you to create consistent, bite-sized treats.
Once shaped, place the balls on a parchment-lined baking sheet, spacing them apart to prevent sticking. Repeat this process until you've used up all the dough, creating a delightful array of golden-hued energy boosters.
The satisfying texture of the butter-infused balls will delight your senses, while the added sweetness from the honey provides a subtle yet indulgent flavor.
With each nourishing morsel, you'll feel energized and ready to tackle your day. Get rolling and enjoy the delicious results of your handiwork!
Step 4. Refrigerate for 30 Minutes
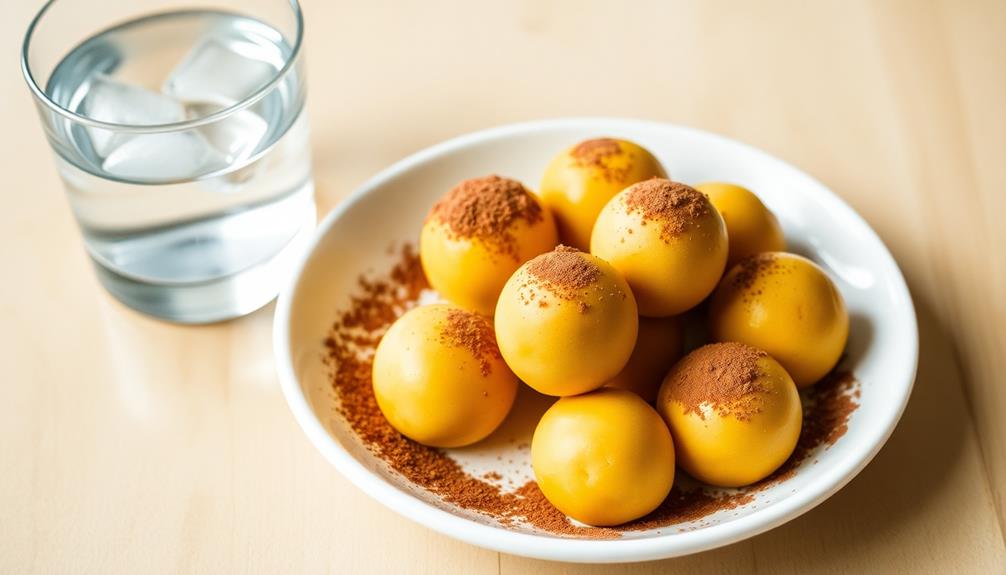
After shaping the butter-based energy balls, place the tray in the refrigerator for 30 minutes. This chilling step is crucial for helping the balls hold their shape.
As the tray sits, the butter will firm up, allowing the balls to maintain their neat, round appearance. You'll notice the texture transforming from soft and pliable to firm and cohesive.
The refrigeration process also enhances the flavors, allowing the rich butter, sweet honey, and nutty notes to meld together beautifully.
When the timer dings, remove the tray and take a look at your handiwork. The energy balls should now have a smooth, polished surface, ready to be enjoyed.
This brief rest in the fridge is an important finishing touch, ensuring your homemade treats look as appetizing as they taste.
Now that they're chilled and set, you can confidently transfer the balls to a serving plate or container, eager to share this delicious, wholesome snack.
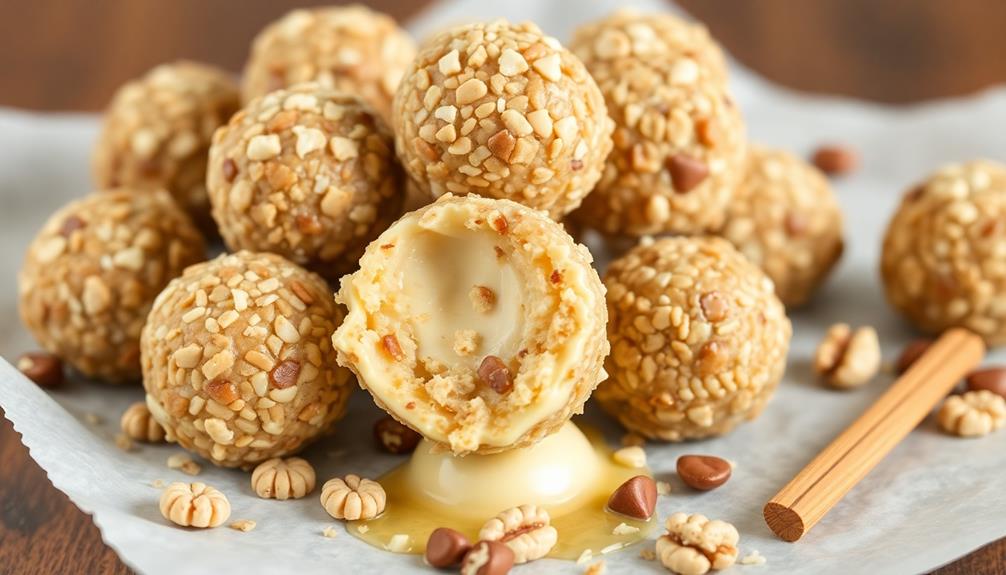
Step 5. Coat With Toasted Coconut
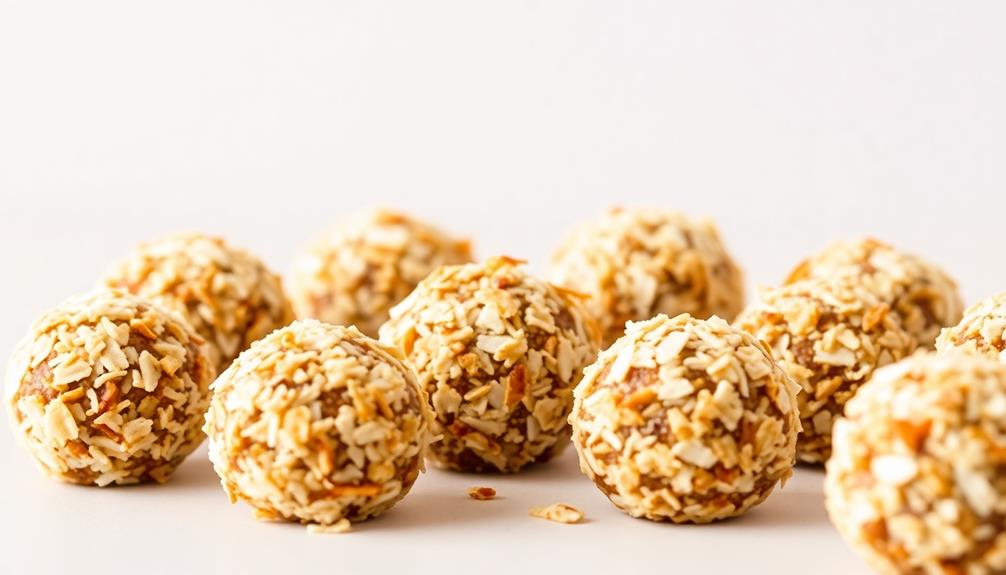
Once the butter-based energy balls have set in the refrigerator, it's time to give them a delightful coating. Gather a small bowl of toasted coconut flakes, ready to add a wonderful texture and flavor.
Carefully roll each chilled energy ball between your palms, gently pressing the coconut flakes onto the surface. As you coat the balls, the coconut will stick beautifully, creating a tasty, crunchy exterior. Imagine the aroma of toasted coconut wafting through the air as you work.
Continue coating each ball until they're entirely covered, rotating and pressing the coconut to ensure an even layer. The contrasting flavors and textures will delight your senses – the rich, creamy butter-based interior paired with the toasted, nutty coconut.
Once coated, arrange the coconut-covered energy balls on a clean plate or tray, ready to serve or store for later enjoyment. Get ready to savor the delightful combination of butter and coconut in every bite.
blender for making energy bites
As an affiliate, we earn on qualifying purchases.
As an affiliate, we earn on qualifying purchases.
Final Thoughts
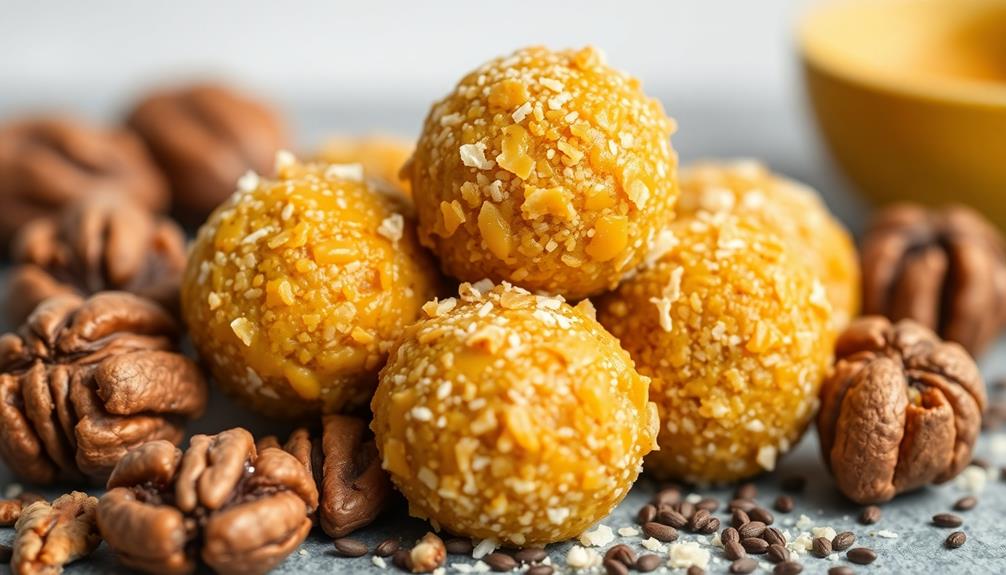
The butter-based energy balls prove to be a delightful and versatile treat. Whether you're looking for a quick pre-workout boost, a satisfying midday snack, or a guilt-free dessert, these nutrient-dense bites have you covered. Their rich, buttery flavor and chewy texture are sure to delight your taste buds, and the addition of toasted coconut adds a delightful crunch that takes them to the next level.
These energy balls aren't only delicious but also incredibly easy to make. With just a few simple ingredients and a few minutes of your time, you can whip up a batch to enjoy throughout the week.
Plus, they're the perfect make-ahead option, allowing you to have a healthy and satisfying snack on hand whenever the craving strikes.
Whether you're fueling an active lifestyle or simply looking for a tasty treat, the butter-based energy balls are sure to become a new favorite in your repertoire.
Frequently Asked Questions
How Long Do the Energy Balls Last in the Refrigerator?
The energy balls will last about a week in the refrigerator. Keep them stored in an airtight container to maintain their freshness. Enjoy them as a convenient, nourishing snack throughout the week.
Can the Recipe Be Adapted for Different Dietary Restrictions?
Absolutely! The recipe can be easily adapted to suit various dietary restrictions. You can swap out the butter for nut or seed butters, use gluten-free oats, and adjust sweeteners to accommodate vegan or low-sugar diets. Get creative and make it work for your needs.
What Are the Health Benefits of the Butter Used in the Recipe?
The butter used in the recipe provides health benefits like essential fatty acids, fat-soluble vitamins, and a rich, creamy texture that can help you feel more satisfied and energized throughout the day.
How Do the Butter-Based Energy Balls Compare to Other Energy Snacks?
Compared to other energy snacks, butter-based energy balls offer a richer, more satisfying experience that can power you up. While they may be higher in calories, the butter provides valuable nutrients that give you longer-lasting energy.
Can the Recipe Be Scaled up or Down to Serve Different Portions?
Absolutely! The recipe can be easily scaled up or down to serve different portions. Just adjust the ingredient amounts proportionally, and you'll have the perfect amount of delicious energy balls to satisfy your needs.