Brown butter-infused rice Krispies treats offer a rich, grown-up twist on this childhood classic. The nutty aroma and caramelized flavors from the browned butter elevate the beloved chewy texture, while optional mix-ins like chocolate or nuts add delightful contrasts. Prepare these treats for gatherings, pair them with coffee or tea, or cut into fun shapes for kids' parties – the possibilities are endless. With simple steps that capture sophisticated nuances, you'll create a satisfying, nostalgic treat that's sure to please all ages. Want to dive deeper into the history and tips for perfecting this delectable confection?
Key Takeaways
- Brown butter adds a rich, nutty flavor profile that elevates the classic Rice Krispy treats.
- The simple preparation steps make the treats suitable for various occasions, from casual snacks to elegant desserts.
- Careful caramelization of the butter enhances the overall taste experience and provides a grown-up twist.
- Slight crunch from toasted nuts adds delightful contrast to the gooey, chewy texture.
- The treats can be customized with healthier mix-ins like dried fruit to balance the high sugar content.
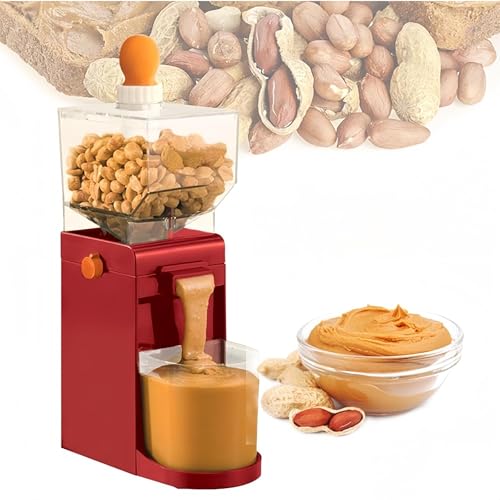
DBXMJWCMDT Electric Nut Grinder Peanut Butter Maker Machine, 500ml Large-Capacity Almond/Cashew/Sesame Grinding Mill with Non-Slip Base, Efficient Home & Commercial Nut Butter Processor
【Homemade Peanut Butter Maker】 This 500ml electric grinder allows you to create fresh, natural peanut butter and nut...
As an affiliate, we earn on qualifying purchases.
History
The origins of the Rice Krispy Treat can be traced back to the 1930s, when Kellogg's first introduced its iconic cereal. As the beloved breakfast staple gained popularity, resourceful home cooks began experimenting with ways to transform the crunchy rice puffs into tasty treats.
One such innovation was the Rice Krispy Treat, a gooey, marshmallow-bound confection that quickly became a hit with both kids and adults.
Over the decades, this nostalgic dessert has remained a beloved classic, inspiring countless variations and creative twists. From the classic recipe to more indulgent renditions like the one you're about to discover, the Rice Krispy Treat has stood the test of time, enduring as a cherished part of many childhoods and family traditions.
Its simple, yet delightful combination of flavors and textures has made it a timeless favorite, capturing the hearts and taste buds of generations.

ZERNEIL Peanut Butter Maker Machine Nut Butter Machine 110V 1100W Electric Grain Grinder Peanut Butter Maker - 33lb/h Sesame Sauce Grinder Home/Commercial for Groundnut, Almond, Cashew Nut and Sesame
🧉【Grinding Assistant】: The 1100W pure copper motor, 2850r/min, and the white jade just grinding wheel used can grind...
As an affiliate, we earn on qualifying purchases.
Recipe
Brown Butter Rice Krispy Treats
There's just something special about a classic rice crispy treat, and this version takes it up a notch with the addition of nutty, rich brown butter. The brown butter adds a depth of flavor that perfectly complements the sweet, gooey marshmallow and crunchy rice cereal.
These treats are incredibly easy to make and come together in just a few simple steps. They're perfect for satisfying a sweet tooth, packing in lunch boxes, or bringing to potlucks and parties. Plus, the brown butter takes them from ordinary to extraordinary with minimal extra effort.
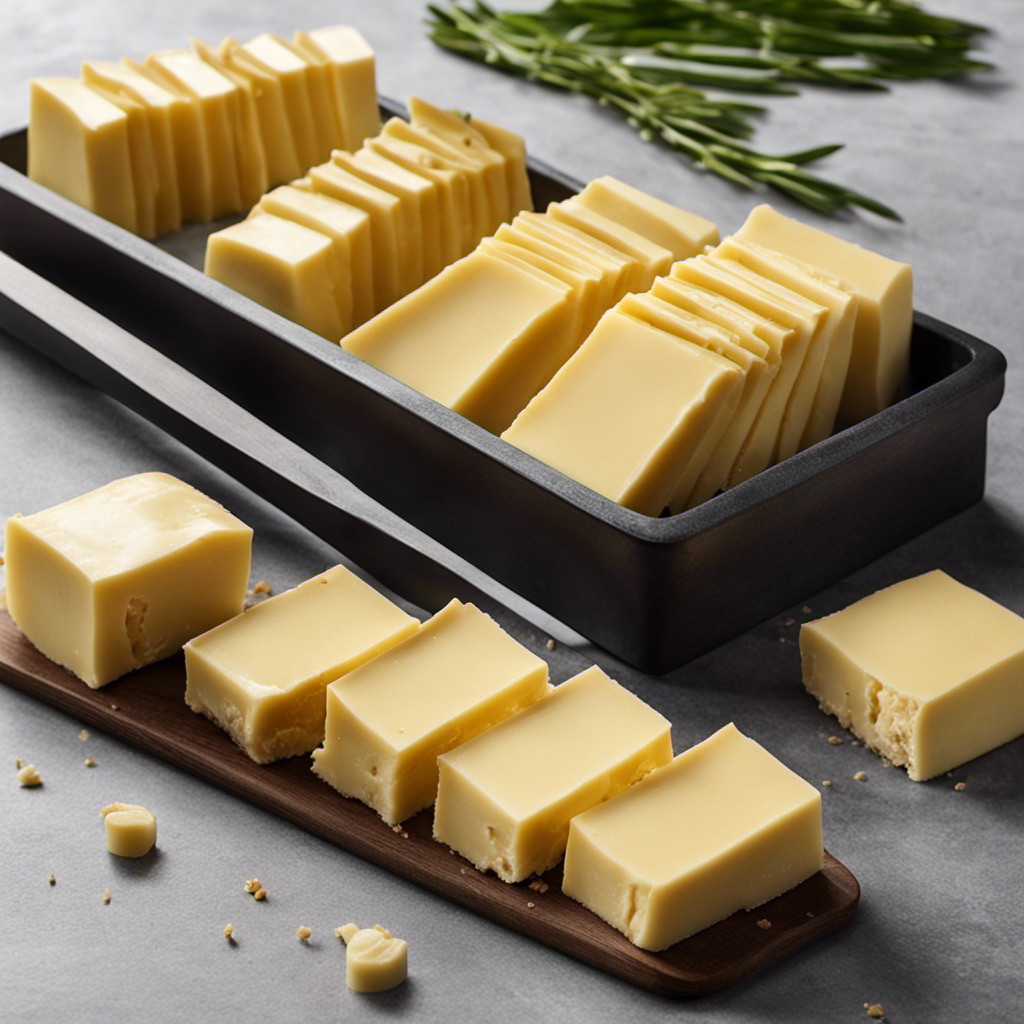
- 6 tablespoons unsalted butter
- 4 cups miniature marshmallows
- 6 cups rice cereal
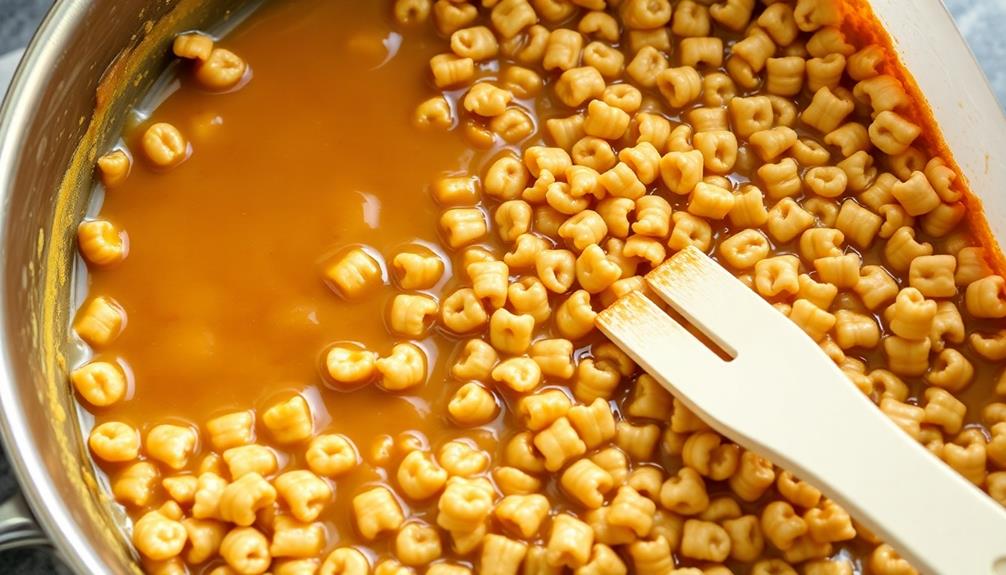
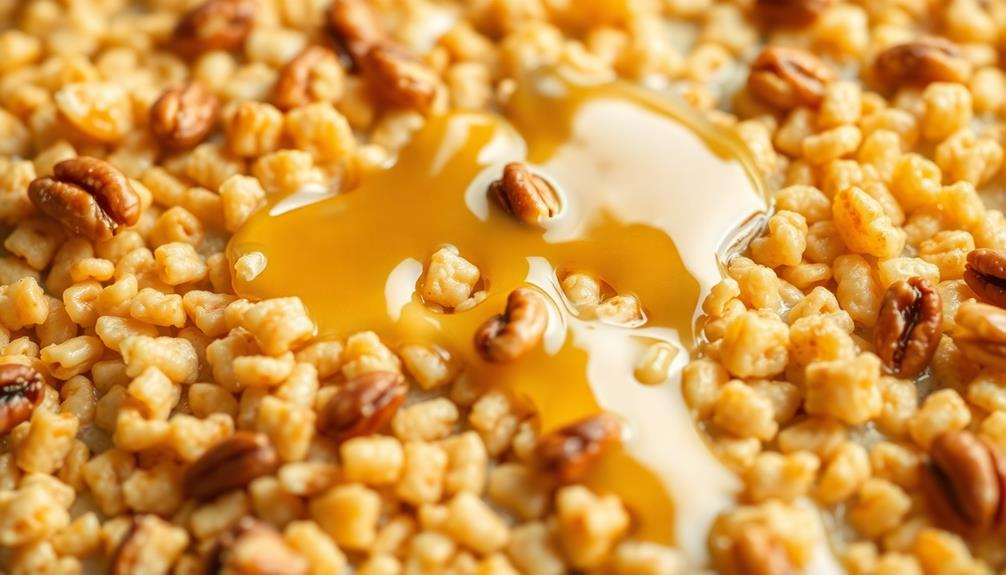
In a large saucepan, melt the butter over medium heat, stirring constantly, until it turns golden brown and has a nutty aroma, about 5-7 minutes. Remove from heat and stir in the marshmallows until completely melted and smooth.
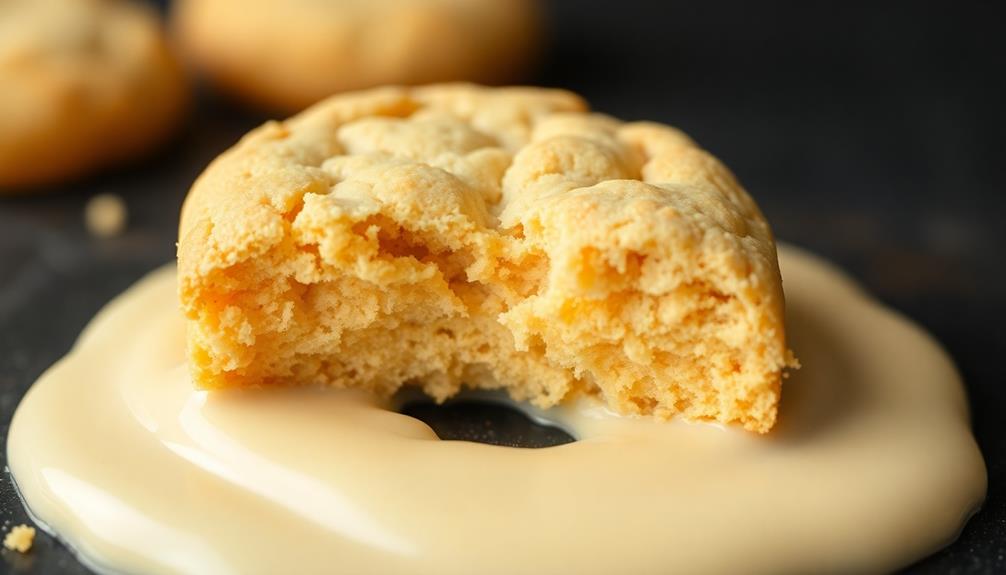
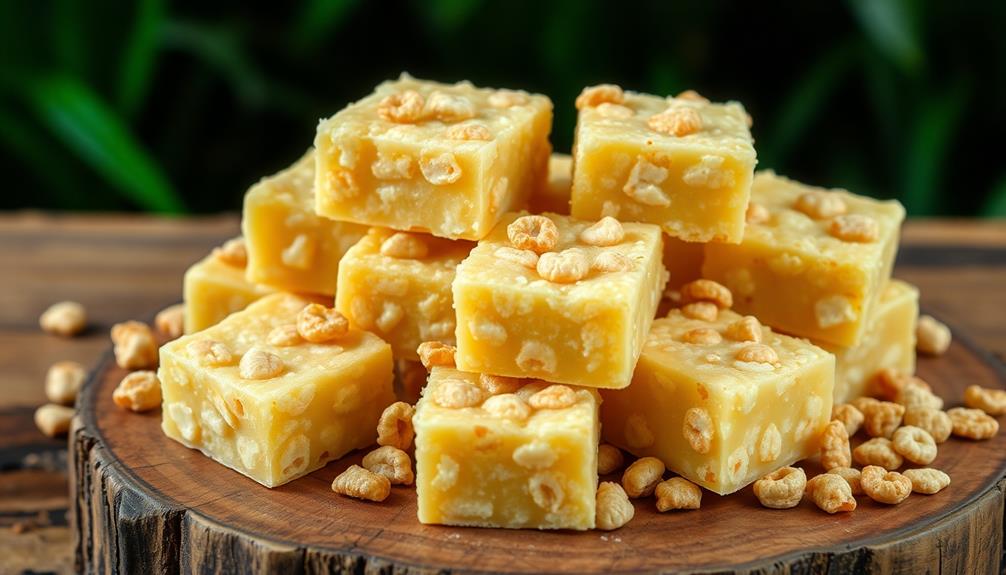
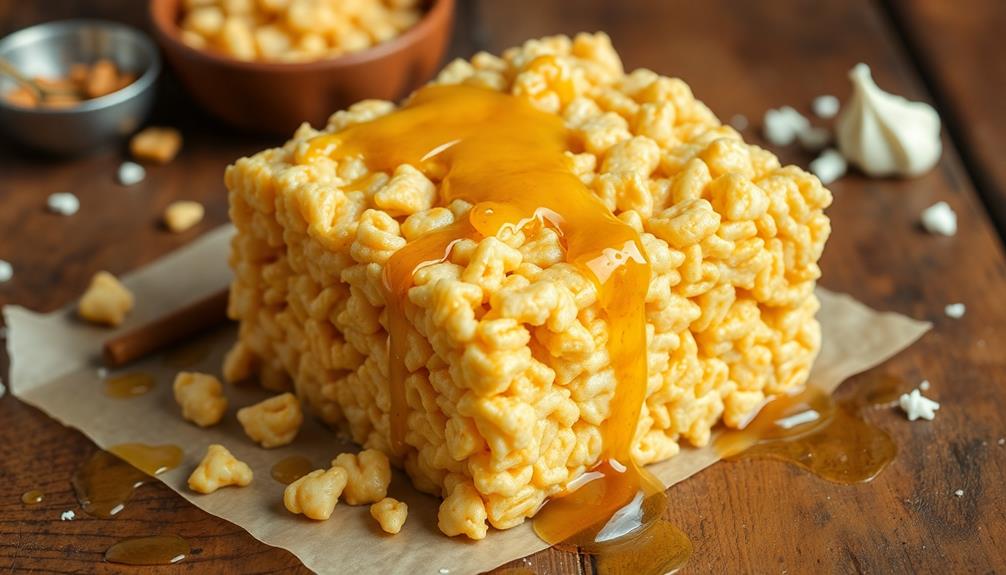
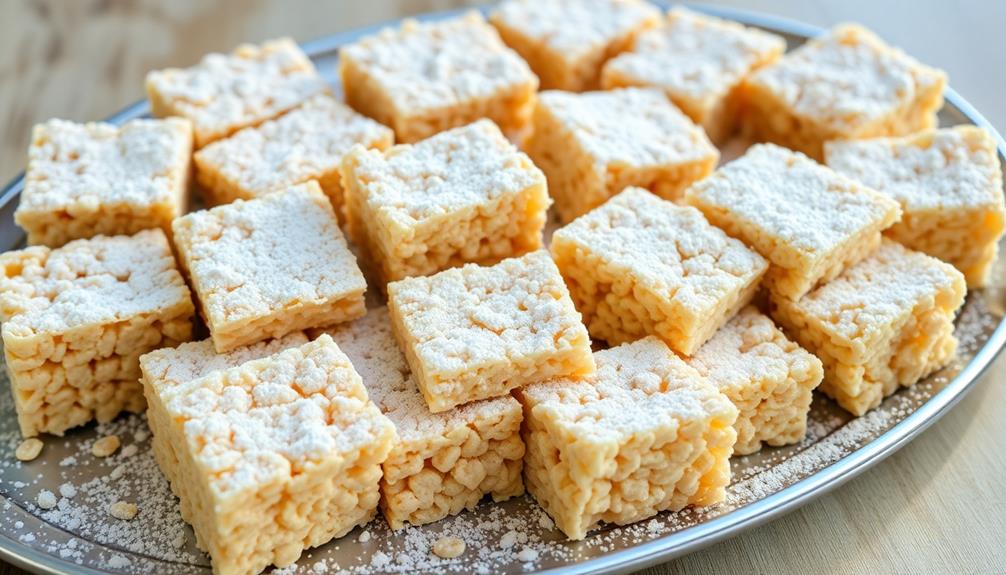
Fold in the rice cereal until well coated. Press the mixture into a greased 8×8 inch baking pan. Allow to cool completely before cutting into squares.
Be sure to keep a close eye on the butter as it browns to prevent it from burning. The brown butter adds incredible flavor, but it can go from perfectly toasted to bitter in a matter of seconds.
These treats are best enjoyed fresh, but they can be stored in an airtight container for up to 5 days.
Electric Peanut Butter Maker Machine, Nut Butter Grinder for Almond Cashew Sesame, Large-Capacity Grain Grinder, Home & Commercial Nut Processor with Non-Slip Base
【Fresh Homemade Nut Butter】Ideal for peanuts, almonds, cashews, hazelnuts, seeds, grains—create smooth or chunky spreads for home kitchens...
As an affiliate, we earn on qualifying purchases.
Cooking Steps
Melt the butter in a saucepan over medium heat until it turns a nutty brown color.
Once the butter is browned, stir in the brown sugar and let it dissolve.
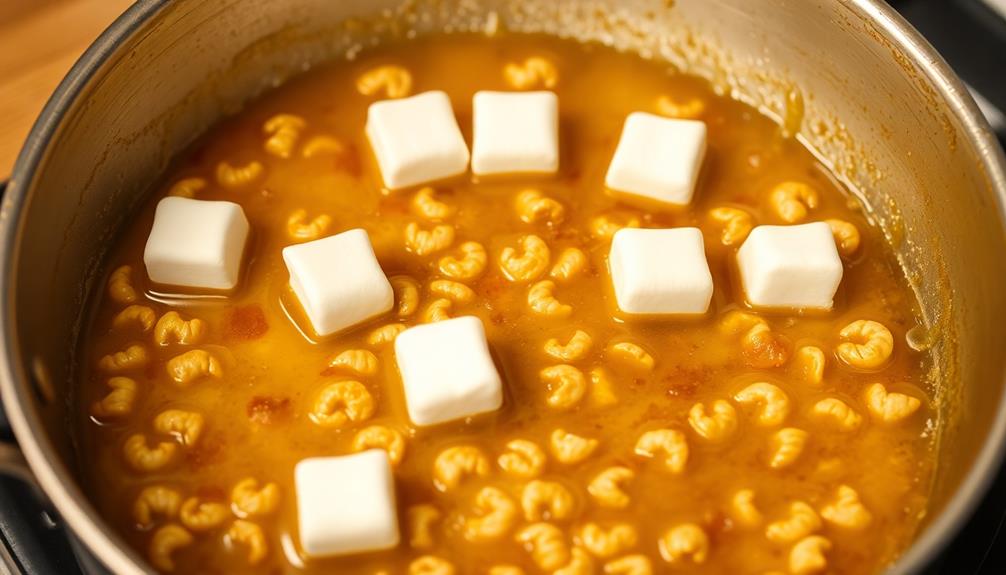
Next, add the marshmallows and keep stirring constantly until they're fully melted and the mixture is smooth.
Step 1. Melt Butter Over Medium Heat
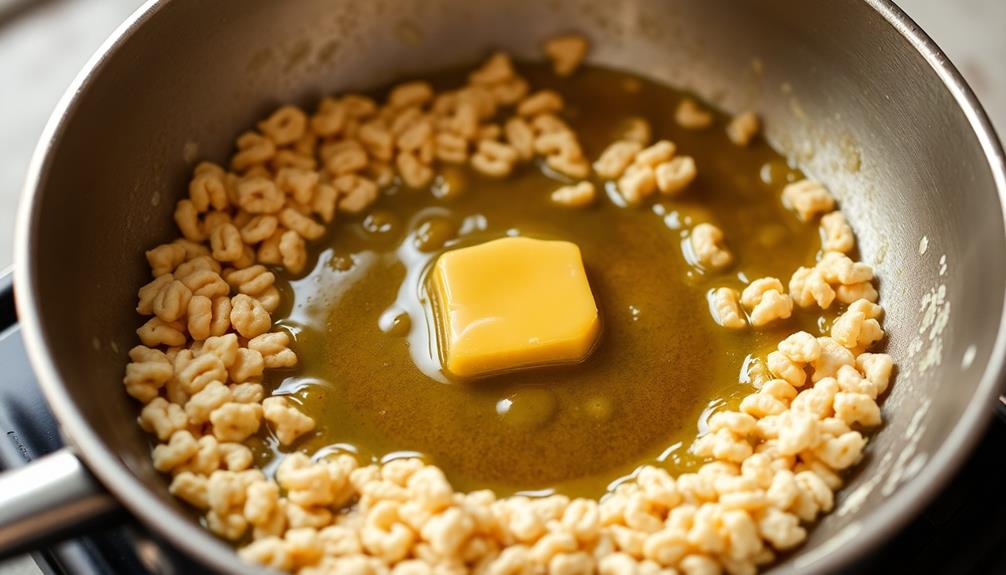
Melting the butter over medium heat is the first crucial step in this delectable recipe.
You'll want to keep a close eye as the butter transforms from a pale yellow to a rich, nutty brown. Butter adds flavor and moisture to baked goods, making it an essential ingredient in this treat. The aroma will fill your kitchen, making your mouth water in anticipation.
Gently swirl the pan as the butter sizzles, allowing it to evenly distribute the heat. Watch carefully to ensure the butter doesn't burn – the perfect shade is a deep amber color.
Once the butter has reached this stage, remove the pan from the heat and let the butter cool slightly. The browned bits at the bottom of the pan add an incredible depth of flavor, elevating these Rice Krispies Treats to new heights.
With this simple step, you're well on your way to creating a grown-up twist on a childhood classic. Get ready to impress your family and friends with these irresistible butter health considerations.
Step 2. Add Brown Sugar
Next, you'll add the brown sugar. Sprinkle it evenly over the sizzling butter, letting it melt and caramelize.
As the sugar dissolves, it'll create a rich, toasty aroma that fills the kitchen, reminiscent of the indulgent flavors found in a Sugar-Free Vanilla Ice Cream Recipe. Stir the mixture gently, ensuring the sugar fully incorporates.
You'll notice the color of the butter deepen to a warm, golden hue. Keep a close eye, as the sugar can go from perfectly caramelized to burnt in a matter of seconds.
Once the sugar has melted and the butter takes on a nutty, fragrant quality, you're ready for the next step. The combination of the browned butter and the caramelized brown sugar will add an incredible depth of flavor to your Rice Krispies treats.
Get ready for a grown-up twist on a classic childhood favorite!
Step 3. Add Marshmallows and Stir Continuously
With the browned butter and caramelized brown sugar ready, you'll want to add the marshmallows. Pour them into the pan and let them melt, stirring continuously with a wooden spoon.
As the marshmallows soften, they'll become gooey and sticky, coating the browned butter beautifully. Keep stirring to ensure the mixture blends evenly, creating a smooth, creamy texture.
You'll start to see the marshmallows puff up and expand, taking on a lovely golden hue. The sweet aroma will fill the air, making your mouth water in anticipation.
Once the marshmallows are fully melted and the mixture is well combined, remove the pan from the heat. Work quickly now, as the mixture will begin to set.
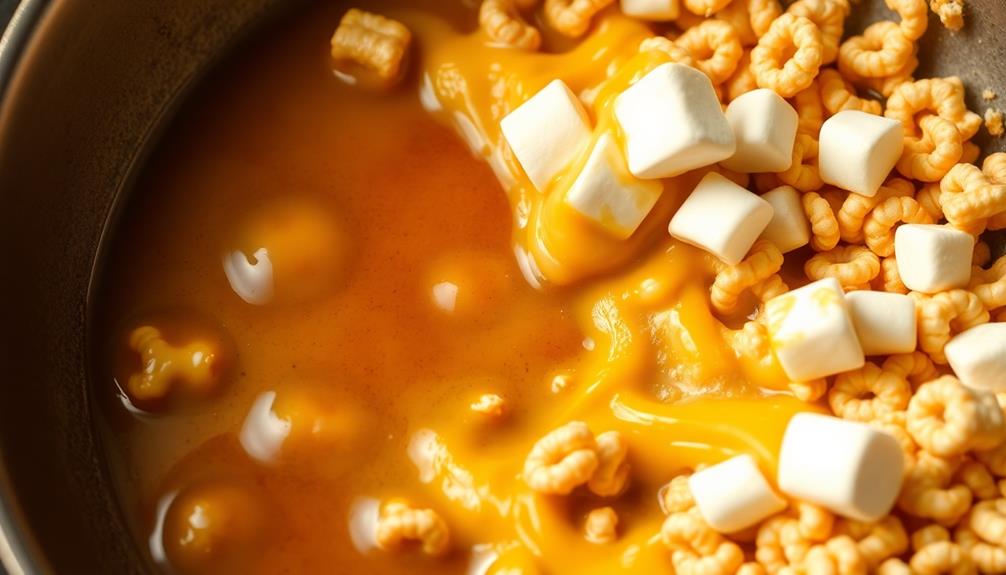
Fold in the crispy rice cereal, gently but thoroughly, until every piece is coated in the rich, buttery marshmallow goodness. The final result should be a perfectly gooey, crunchy, and irresistible treat.
Step 4. Add Rice Krispies Cereal
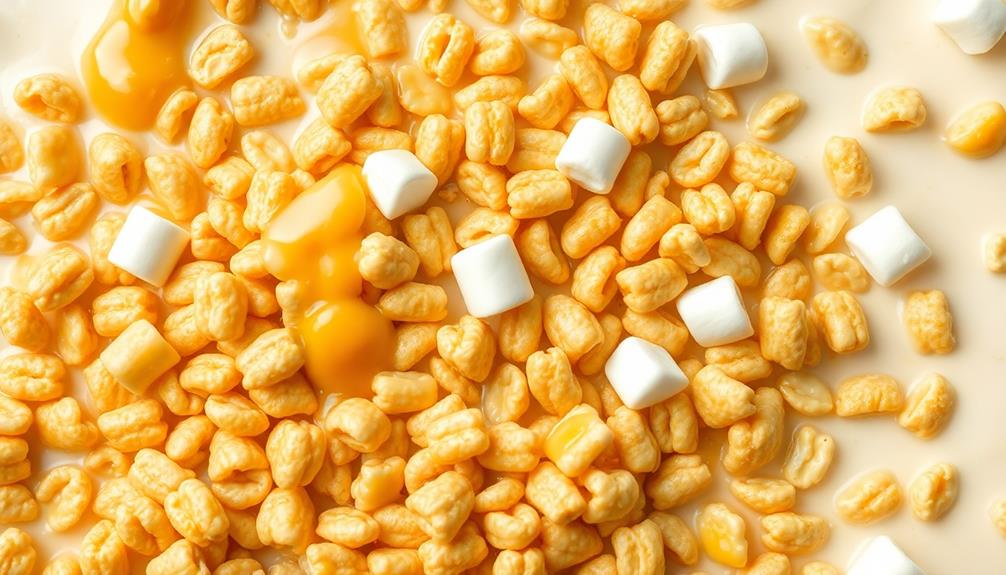
Once the marshmallows are fully melted and the mixture is well combined, quickly fold in the crispy rice cereal. The aroma of the toasted, golden-brown butter will fill the air as you gently incorporate the crunchy, puffed rice into the sweet, gooey mixture.
Take care not to overmix, as you want to maintain the distinct texture of the cereal. Slowly and steadily, fold the rice krispies in, making sure every morsel is coated in the rich, decadent butter-marshmallow blend. You'll notice the mixture start to thicken as the cereal absorbs the moisture, creating a dense, fudgy consistency.
Continue folding until the rice krispies are evenly dispersed throughout, then transfer the mixture to your prepared pan. Use a greased spatula to spread and smooth the top, ensuring an even layer.
Now, the fun part – let your inner child shine as you press down on the warm, gooey treats, creating that satisfying snap-crackle-pop with each bite.
Step 5. Press Into Prepared Pan
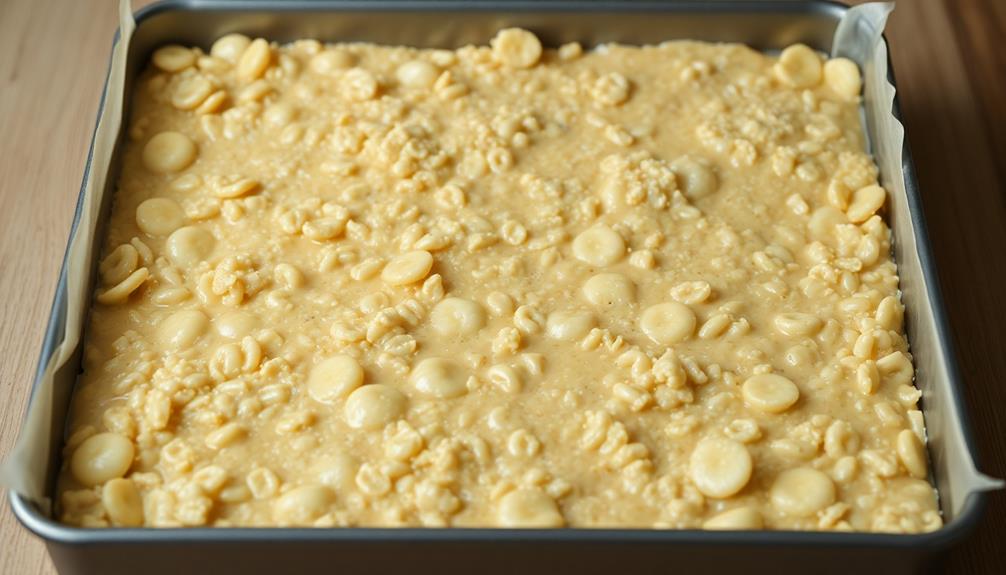
After transferring the mixture to the prepared pan, use a greased spatula to spread and smooth the top, ensuring an even layer. This will help the treats bake evenly and create a uniform, professional-looking finish.
Gently press down on the mixture, taking care not to compact it too firmly, as you want to maintain the light, airy texture.
Once the top is leveled, use your fingers to lightly pinch and shape the edges, creating clean, straight sides. This helps the treats hold their shape as they cool.
Be mindful not to press too hard, as you don't want to flatten the center.
Startbuymore Nut Butter Maker Machine For Peanats, Almonds, Cashews - Portable Electric Grinder With Smooth Consistency, Compact Kitchen Tool (Red)(US Rules)
[EFFICIENT NUT GRINDING] Transform your favorite nuts into a smooth consistency effortlessly, making delicious spreads like peanut butter.
As an affiliate, we earn on qualifying purchases.
Final Thoughts
Ultimately, these brown butter-infused Rice Krispy treats are a delightful homemade treat that can be whipped up in no time. The rich, nutty aroma of the brown butter perfectly complements the classic chewy texture of the Rice Krispies. They're a grown-up twist on a childhood favorite that's sure to please.
While the recipe may seem simple, the subtle nuances in preparation truly elevate these treats. The careful caramelization of the butter adds depth of flavor, while the slight crunch from the toasted nuts is a delightful contrast.
And of course, the satisfying press into the prepared pan ensures each bite is perfectly dense and gooey.
Whether served as an after-school snack or a sophisticated dessert, these brown butter Rice Krispy treats are a crowd-pleasing delight. The recipe is easy enough for novice bakers, yet impressive enough to share with family and friends.
Frequently Asked Questions
Can I Use Other Types of Cereal Besides Rice Krispies?
Absolutely! You can substitute any crunchy cereal you like for the rice krispies. Try using corn flakes, Cheerios, or even a mix of cereals to create a unique and delicious twist on the classic treat.
Is It Possible to Make These Treats in Advance?
Yes, you can make these treats in advance. They'll stay fresh for up to a week when stored in an airtight container at room temperature. Just be sure to let them cool completely before storing.
Can I Add Other Mix-Ins Like Chocolate Chips or Nuts?
Absolutely! You can easily customize these treats by adding mix-ins like chocolate chips, nuts, or even dried fruit. Just fold them in after the marshmallow mixture has cooled slightly. Get creative and make them your own!
How Do I Store These Brown Butter Rice Krispy Treats?
To store your brown butter rice krispies treats, keep them in an airtight container at room temperature for up to 5 days. You can also freeze them for up to 3 months, thawing before serving.
Is This Recipe Suitable for Those With Dietary Restrictions?
While the recipe may not be suitable for those with specific dietary restrictions, you can easily adapt it by substituting ingredients to accommodate your needs. Consider using gluten-free cereal or dairy-free butter alternatives to make it more inclusive.