To achieve canning perfection for long-lasting flavor, start with Cortland, Liberty, or Honeycrisp apples. Use a high-speed blender for a silky puree and caramelize on the stovetop. Simmer until fork-tender for extra smoothness. Spread on warm toast, swirl into yogurt, or pair with cheeseboards. McIntosh apples are perfect for tartness. Add sugar for thickening and lemon juice for safe canning. Utilize an Instant Pot for pressure cooking and hot water bath canning. Canning apple butter extends its shelf life significantly, preserving flavor and quality. Store in a cool, dark place to maintain the caramelized taste.
Key Takeaways
- Use high-sugar apples for natural preservation and flavor.
- Incorporate lemon juice to enhance acidity for safe canning.
- Follow proper canning techniques to ensure airtight seals.
- Store in a cool, dark place to maintain flavor integrity.
- Canning extends apple butter's shelf life for long-lasting enjoyment.

Solo Stove Pi Prime Pizza Oven Outdoor - Gas,Propane - Portable Pizza Oven with Cordierite Stone Cooking Surface - Demi-Dome Design - Wide-Mouthed Opening - Stainless Steel
FAST PREHEAT - With its efficient demi-dome design, the Solo Stove Pi Prime Pizza Oven preheats in just...
As an affiliate, we earn on qualifying purchases.
Apple Varieties for Apple Butter
Frequently, selecting the correct apple variety is essential when making apple butter to ensure a balanced and flavorful outcome.
When it comes to apple butter recipes, the type of apples used plays a pivotal role in determining the overall flavor profile of the spread.
Cortland apples are a popular choice due to their well-balanced sweet-tart flavor and ability to hold shape when cooked, ensuring a rich and well-rounded taste in your apple butter.
Liberty apples, with their firm texture, crispness, and slightly spicy flavor, add a unique element to the mix, enhancing the overall depth of flavor.
Sweet 16 apples, known for their honeyed sweetness and complex flavors, bring a delightful sweetness to apple butter recipes.
Pink Lady apples, offering a tangy and sweet flavor profile, are favored for their vibrant taste that adds a punch to the butter.
Honeycrisp apples, with their perfect balance of sweetness and tartness, along with a juicy, crisp texture, are excellent choices for creating a delicious apple butter that bursts with flavor.

Ooni Koda 2 Propane Gas Pizza Oven – 14" Gas Powered Outdoor Oven with 28 mBar Regulator and Gas Hose, Gas powered Portable Pizza Oven - Slate Blue
Consistently epic pizza with G2 Gas Technology - Patent-pending tapered flame gas burner system delivers 200% better heat...
As an affiliate, we earn on qualifying purchases.
Smooth Apple Butter Secrets

To achieve an extra smooth texture in your apple butter, consider simmering the apples until fork-tender before blending them.
Here are some secrets to creating the smoothest apple butter:
- Blending Technique: Use a high-speed blender to guarantee a silky smooth puree for the apple butter.
- Cooking Process: The key to caramelized apple butter on the stovetop lies in the cooking process and blending technique.
- Consistency is Key: Blend the cooked apples until entirely smooth for a luscious and velvety apple butter.
- Enhanced Texture: Silky smooth apple butter elevates the texture and flavor, making it perfect for spreading or cooking.

Ninja Artisan Electric Outdoor Pizza Oven with Stone | 12-inch Pizza in 3-minutes | 700F Max Temp | 5-in-1 Functionality – Pizza, Bake, Broil, Proof & Warm | Makes Full Meals | Gray | MO201
5-IN-1 FUNCTIONALITY: The ultimate outdoor sidekick for all your backyard entertainment; pizza, bake, broil, warm & proof.
As an affiliate, we earn on qualifying purchases.
Enjoying Apple Butter Deliciously

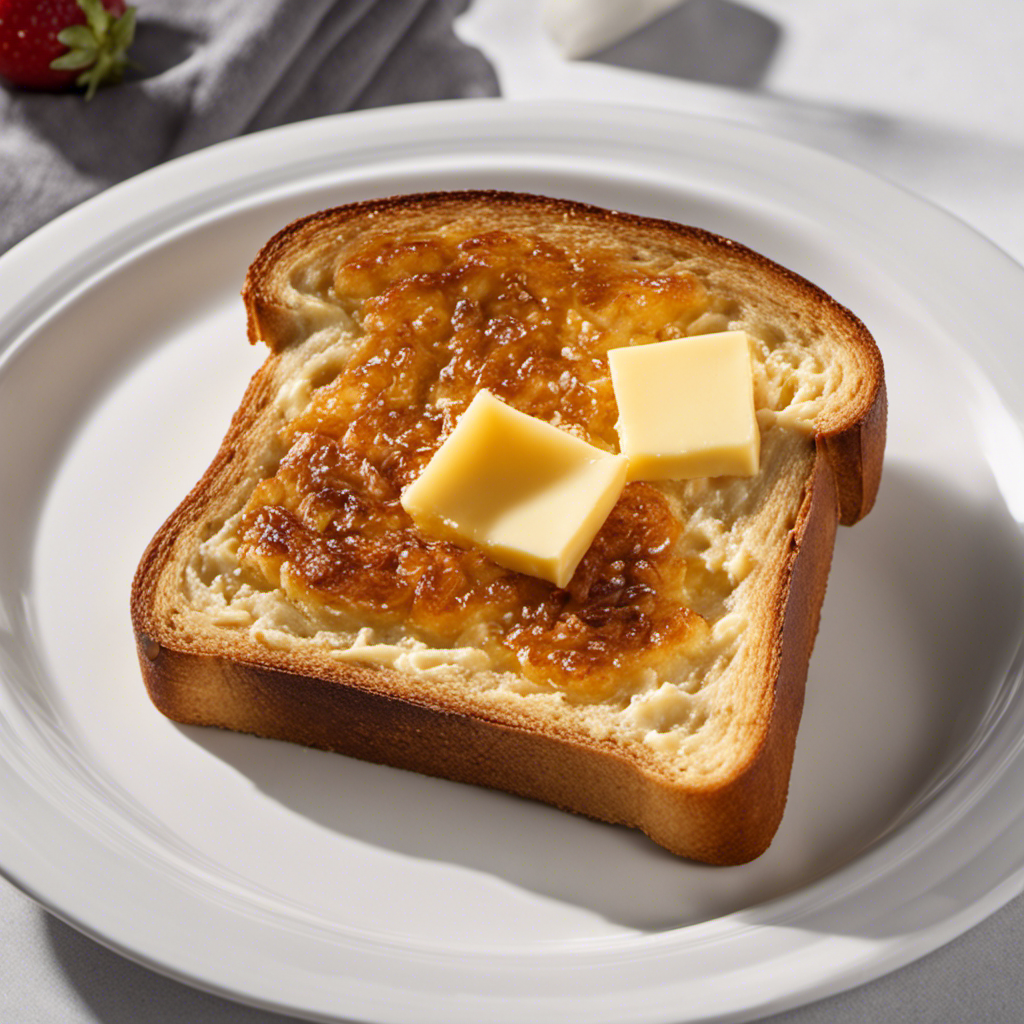
Achieving a velvety smooth texture in your apple butter opens up a world of delicious possibilities for enjoying this versatile condiment. From classic pairings like spreading it on warm toast to more inventive uses like incorporating it into savory dishes, apple butter is a pantry staple that can elevate any meal. Here are some creative ways to savor the rich flavors of apple butter:
| Enjoying Apple Butter | Delicious Ideas |
|---|---|
| Spread on warm toast | Create a comforting breakfast staple |
| Swirl into yogurt | Add a hint of sweetness to your yogurt bowl |
| Drizzle over pancakes | Upgrade your morning pancakes with a fruity twist |
| Pair with cheeseboards | Elevate your cheese platter with a sweet contrast |
| Glaze for meats | Use as a flavorful glaze for pork or chicken dishes |
Whether you've canned a batch for long-term enjoyment or made a fresh jar for immediate use, these recipes showcase the versatility of apple butter in both sweet and savory dishes.

HALO Versa 16 Pizza Oven | 16” Rotating Stone, Patented Dual Burner System, 5-Minute Pizzas, Easy Clean | Propane Powered | HZ-1004-ANA
PIZZA PERFECTION >> The 16-inch motorized cordierite cooking stone rotates 360 degrees, ensuring every pizza has a golden,...
As an affiliate, we earn on qualifying purchases.
Apple Butter Ingredients and Methods

For making delicious apple butter, you'll need a few key ingredients and specific methods to achieve that perfect velvety texture.
When preparing your apple butter, consider the following:
- McIntosh Apples: Opt for McIntosh apples for their tart flavor and smooth consistency, which are ideal for creating a rich and flavorful apple butter.
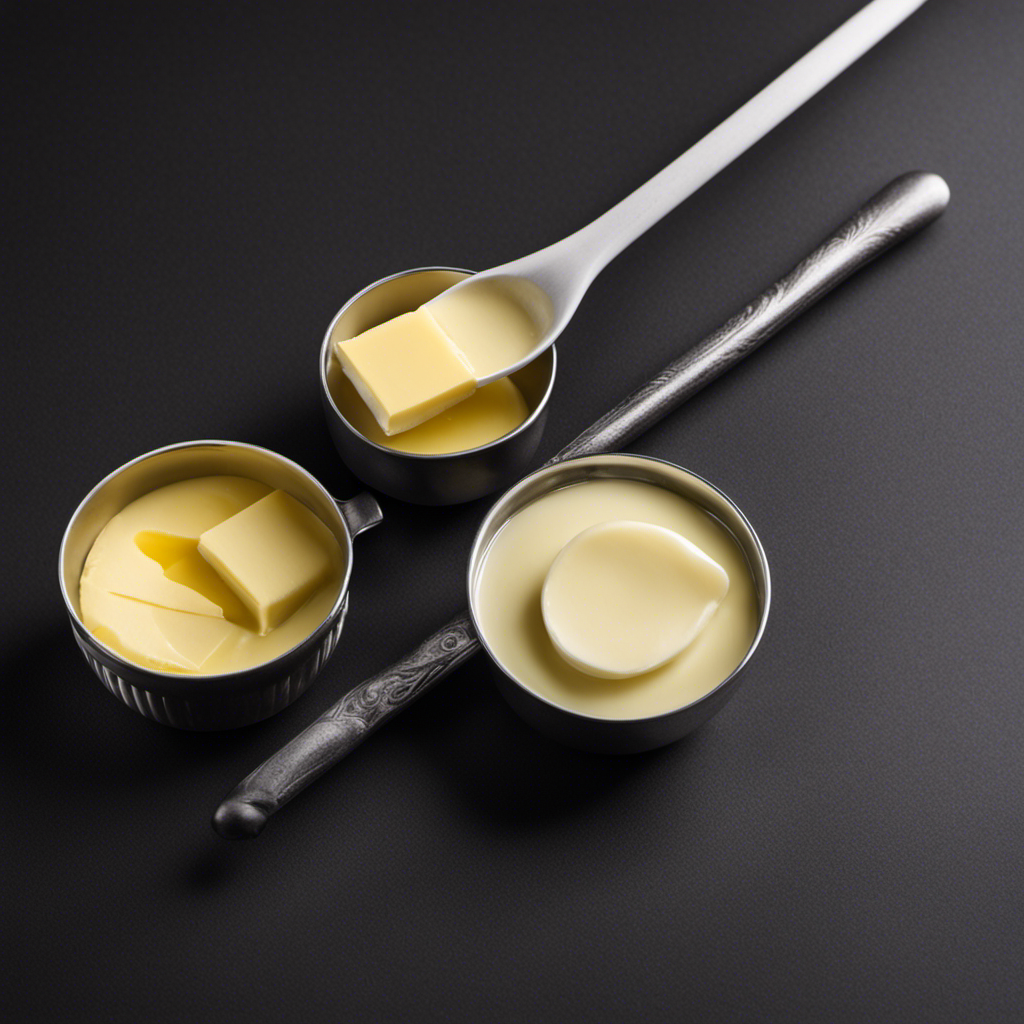
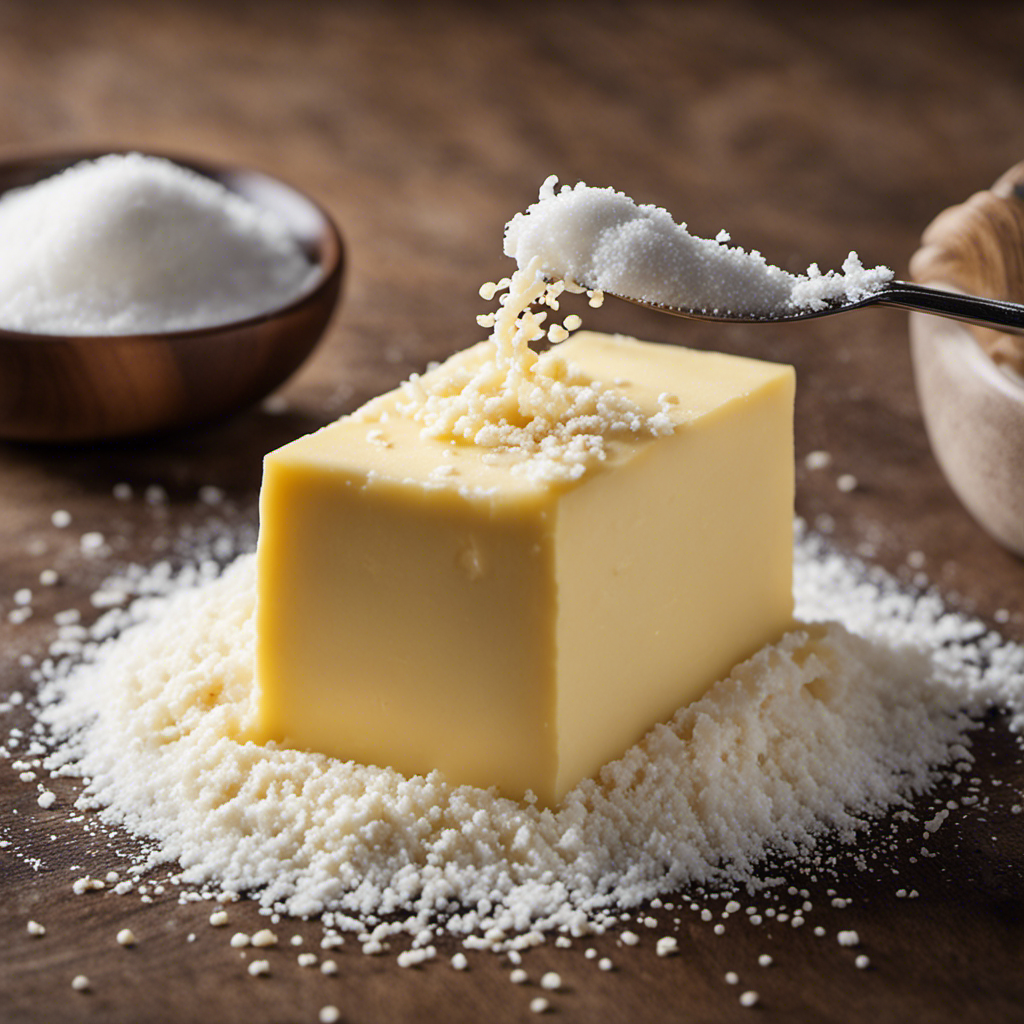
- Sugar: Sugar plays an essential role in apple butter by interacting with the apple pectin to aid in thickening the mixture during the cooking process, resulting in a smooth and spreadable texture.
- Pressure Cooking: Utilize an Instant Pot for pressure cooking your apple butter to enhance its flavor and color, achieving a delicious and vibrant end product.
- Canning Process: The final step involves canning your apple butter by pouring the hot mixture into sterilized jars and processing them in a hot water bath. Adding lemon juice helps create the necessary acidic environment for safe canning, ensuring your apple butter stays fresh for longer periods.
Apple Butter Recipe Preparation

Prepare the apple butter recipe by coring and chopping the apples without peeling them to maintain their nutrients and flavor.
Once the apples are ready, sprinkle a mix of spices, sugars, and flavor enhancers over the apple pieces for a well-balanced taste.
Transfer the prepared apples into a slow cooker and cook on low heat for 10 hours.
After this initial cooking period, puree the apple mixture until it reaches a smooth consistency.
Continue cooking for an additional 2 hours to achieve the desired thickness of the apple butter.
This slow cooking process allows the flavors to meld together perfectly.
By the end, you'll have 3 pints of delicious apple butter, ideal for sharing with others or storing for later use.
Following these steps guarantees that your apple butter turns out flavorful and well-textured, ready to be enjoyed on toast, pancakes, or as a tasty ingredient in various recipes.
Benefits of Apple Butter Recipe

Enhance your culinary creations with the versatile and flavorful apple butter recipe. Here are the benefits of incorporating this delicious spread into your kitchen repertoire:
- Versatile Usage: Apple butter can be utilized in various ways, from spreading it on toast or biscuits to using it as a glaze for meats or vegetables. Its sweet and tangy profile adds depth to both sweet and savory dishes.
- Long-Lasting Flavor: Through the canning process or proper refrigeration, apple butter retains its rich, caramelized taste infused with warm spices like cinnamon and cloves. This allows you to savor the delightful flavor for an extended period without compromising its quality.
- Convenient Preparation: The slow cooker method not only intensifies the flavors but also requires minimal effort on your part. You can easily make a large batch suitable for sharing or preserving through canning.
- Enhanced Texture and Taste: Unlike applesauce, apple butter boasts a thicker consistency and a more concentrated apple essence. This concentrated flavor makes it a standout condiment in your culinary creations.
Usage and Storage of Apple Butter

You can elevate your breakfast or dessert by using apple butter as a delicious topping on oatmeal, pancakes, yogurt, or ice cream.
Remember that apple butter is thicker and sweeter than applesauce, offering a rich flavor experience.
To keep your apple butter fresh, store it in the refrigerator in an airtight container, or opt for canned apple butter for longer shelf life.
Serving Suggestions
To fully enjoy apple butter, consider its various serving suggestions and proper storage methods. Here are some tips to make the most of your apple butter:
- Spread on Toast: Enjoy the rich flavor of apple butter by spreading it on warm toast for a delicious breakfast or snack.
- Mix into Oatmeal: Add a dollop of apple butter to your morning oatmeal for a sweet and flavorful twist.
- Top Ice Cream: Elevate your dessert game by drizzling apple butter over vanilla ice cream for a decadent treat.
- Use in Baking: Incorporate apple butter into your baking recipes for an added depth of flavor in cakes, muffins, or cookies.
These serving suggestions showcase the versatility of apple butter and how it can enhance a variety of dishes.
Whether you store it in the fridge for immediate use or can it for long-lasting freshness, apple butter is a delightful addition to your pantry.
Storage Tips
Proper storage of apple butter is essential to maintain its rich flavor and quality over time. If you've made a batch of delicious apple butter, ensuring it stays fresh is key.
For short-term storage, keep your homemade apple butter in the refrigerator. It will stay good for up to 2 weeks, allowing you to enjoy it on various dishes like pancakes, yogurt, or as a glaze for pork.
To extend the shelf life of your apple butter even further, consider safe canning practices. Canning your apple butter in properly sealed jars can increase its longevity to a year or more. Store the canned apple butter in a cool, dark place to maintain its flavor profile.
This way, you can enjoy your apple butter throughout the year, making it a convenient pantry staple or a thoughtful homemade gift for friends and family. By following these storage tips, you can savor the rich, caramelized taste of your apple butter for an extended period.
Frequently Asked Questions
How Long Will Homemade Canned Apple Butter Last?
Homemade canned apple butter will last up to 1 year in a cool, dark spot. Once opened, keep it in the fridge – good for 2 to 3 weeks. Check for spoilage signs like mold, odors, or discoloration.
Why Is My Apple Butter Not Dark Brown?
Is your apple butter not dark brown? Cooking time, apple variety, sugar content, pectin, and spice additions influence color. Caramelization from longer cooking darkens it. Avoid scorching for best results. Adjust variables for desired hue.
How Do You Thicken Apple Butter for Canning?
To thicken apple butter for canning, simmer it longer to evaporate excess liquid and concentrate flavors. Adjust sugar levels during cooking to control thickness and sweetness. Refrigerate apple butter before canning for a perfect texture.
How Long Does Homemade Fruit Butters Last?
Homemade fruit butters can last up to 2 weeks in the fridge. Properly canned versions stay good for about a year. Unopened store-bought ones can be okay for 1-2 years past the date. Remember to check for spoilage signs!
Conclusion
So there you have it, folks. With this recipe, you'll be making apple butter like a pro in no time. Just follow the steps and enjoy the sweet, rich flavor of homemade goodness.
Your taste buds will thank you for it! So go ahead, whip up a batch of this classic treat and savor every bite.
You'll be transported back to the good old days with each spoonful. Happy canning!