
To avoid greasy cookies, it’s crucial to handle your butter correctly. Start with slightly softened butter that’s creamy, not melted. Let it sit at room temperature for about 30 minutes, or cut it into smaller pieces to soften faster. Always remember to chill your dough for at least 30 minutes before baking. This helps maintain structure and texture. Follow these tips, and you’ll see how they impact your cookies. You’ll discover even more expert advice ahead!
Key Takeaways
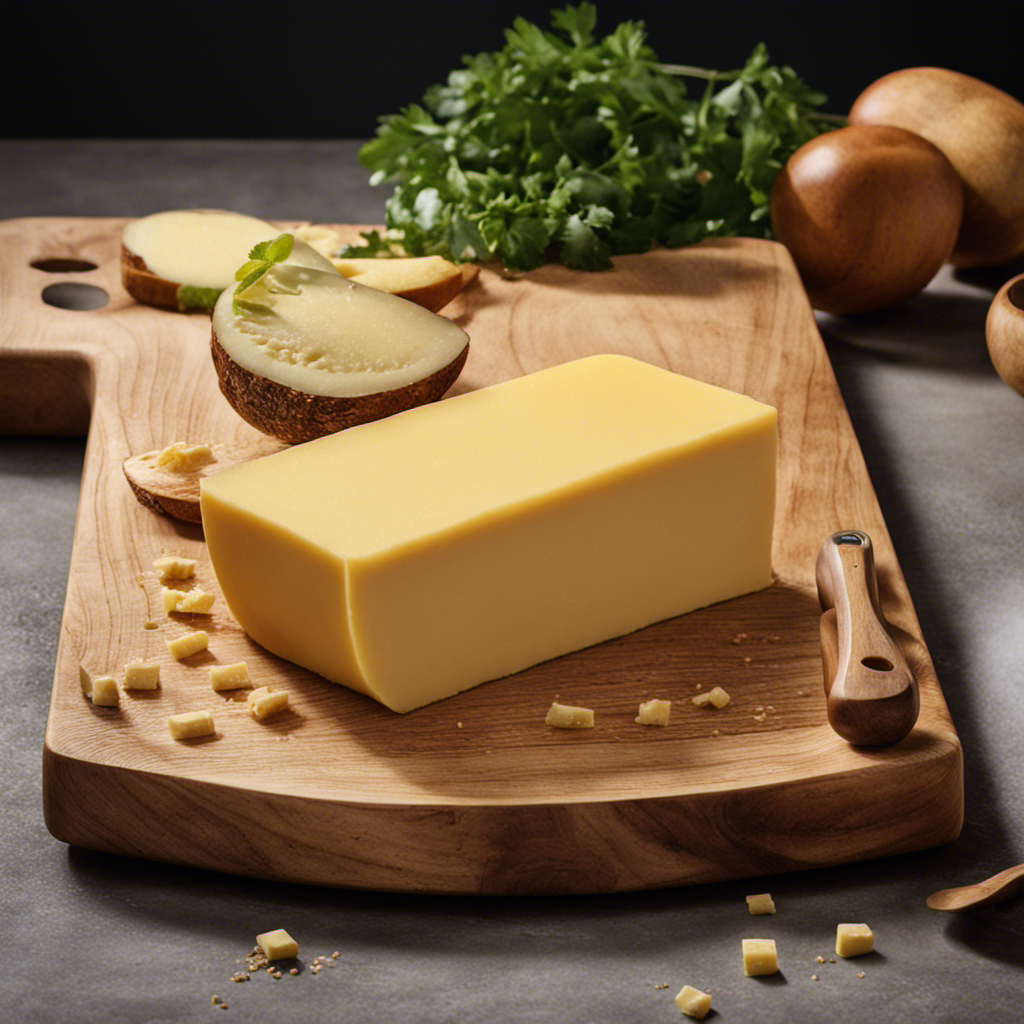
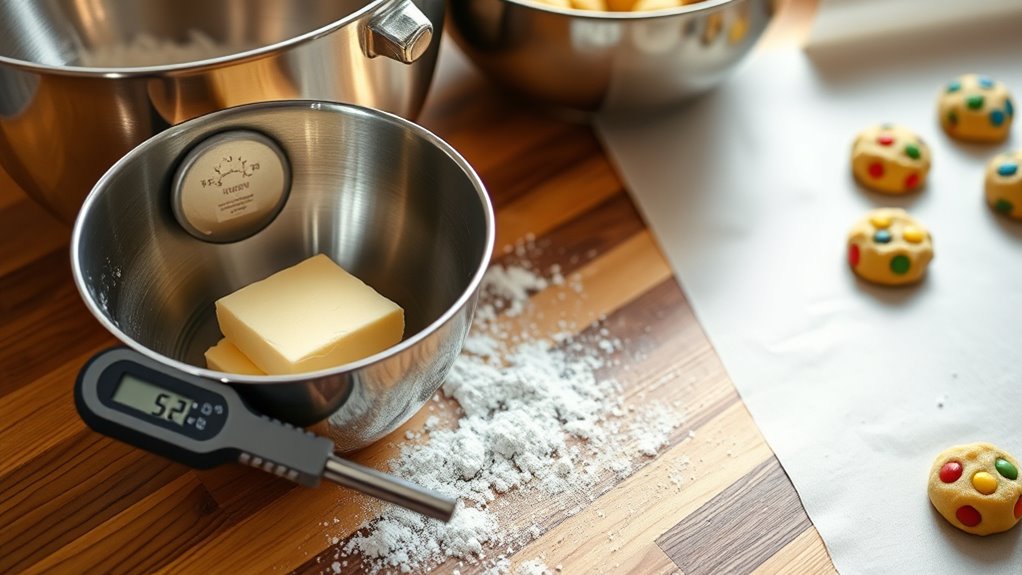
- Use slightly softened butter, not melted, for a creamy texture that integrates well into the dough.
- Allow butter to sit at room temperature for about 30 minutes prior to use.
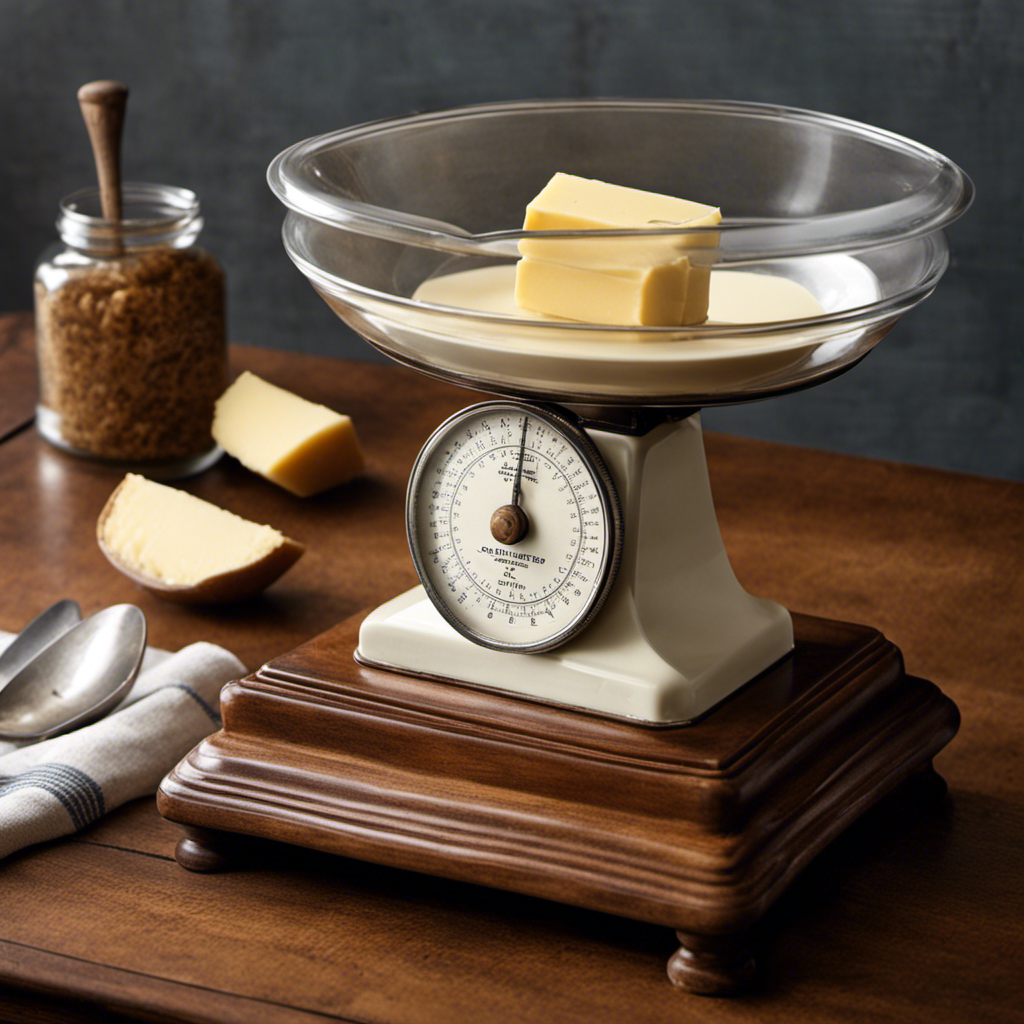
- Cut butter into smaller pieces to accelerate the softening process if you’re short on time.
- Chill the dough for at least 30 minutes to solidify fats and reduce cookie spreading.
- Skipping the chilling step may result in flat, greasy cookies; always prioritize resting the dough.

When you bake cookies, achieving that perfect texture can be tricky, especially if you want to avoid a greasy finish. One key factor in this quest is how you handle your butter. You might think that melting it completely is the way to go, but that can lead to a greasy cookie dough that spreads too much in the oven. Instead, aim for a balance. If you let your butter soften just enough to be creamy, you’ll have a much better chance of developing that ideal cookie texture.
To get your butter to the right temperature, you can take it out of the fridge and let it sit at room temperature for about 30 minutes. This allows it to soften without fully melting. You want that creamy consistency, where it’s pliable but still holds its shape. If you’re short on time, you can cut the butter into smaller pieces or use a microwave, but be careful. You only want to warm it slightly, not turn it into a puddle. A few seconds should do the trick—just keep an eye on it to avoid butter melting.
Let your butter soften at room temperature for creamy consistency; avoid melting for the best cookie texture.
Once you’ve got your butter at the right consistency, don’t forget about the chilling step. Proper chilling is vital for preventing greasy cookies. After mixing your dough, wrap it in plastic wrap and pop it in the fridge for at least 30 minutes. This helps the fats solidify again, which will result in less spreading during baking. Chilling the dough also allows the flavors to meld together, enhancing the overall taste of your cookies.
You might think that skipping the chilling step will save you time, but trust me; it’s worth the wait. If you bake your cookies immediately after mixing, you’ll likely end up with flat, greasy discs instead of the lovely, chewy treats you envisioned. By allowing your dough to rest, you give the flour time to absorb the moisture and the gluten to relax, resulting in a more structured cookie.
Frequently Asked Questions
Can I Use Margarine Instead of Butter for Cookies?
Yes, you can use margarine instead of butter for cookies. Just keep in mind that margarine flavor might differ slightly from butter, which can affect the overall taste. To achieve a similar butter consistency, choose a high-quality margarine that’s made for baking. Experimenting with different brands can help you find one that mimics butter well, ensuring your cookies turn out delicious even without the traditional ingredient. Enjoy your baking!
What Type of Flour Is Best for Cookie Recipes?
For fabulous cookies, you’ll want to choose all-purpose flour. Its moderate protein content strikes a superb balance, allowing for just the right amount of gluten development. If you’re after chewy cookies, bread flour can boost that protein, enhancing chewiness. On the flip side, cake flour softens the texture, making for delicate treats. So, depending on your desired outcome, select the flour that fits your fancy to achieve cookie perfection!
How Do I Store Cookies to Keep Them Fresh?
To keep your cookies fresh, store them in airtight storage containers. This prevents moisture and air from affecting their texture and taste. You can separate different types of cookies with parchment paper to avoid flavor mixing. If you’ve baked a large batch, consider freezing some for later. Just wrap them tightly in plastic wrap before placing them in a freezer-safe container. This way, you’ll always have fresh cookies ready to enjoy!
Can I Freeze Cookie Dough for Later Use?
Absolutely, you can freeze cookie dough for later use! Freezing freshly formed cookie dough’s a fantastic way to preserve its flavor and freshness. Just scoop the dough into balls, place them on a baking sheet, and freeze until firm. Then, transfer them to an airtight container for ideal cookie dough storage. When you’re ready to bake, pop them straight from the freezer into the oven. It’s a simple strategy for scrumptious, spontaneous snacks!
What Baking Soda Substitutes Can I Use in Cookies?
You can use baking powder as a baking soda substitute in cookies, using three times the amount. If you’re out of baking soda, consider adding oil substitutes like coconut oil or vegetable oil to keep your cookies moist. For egg alternatives, try using applesauce or mashed bananas; about 1/4 cup equals one egg. These substitutes can help you achieve delicious cookies without compromising texture or taste. Enjoy your baking!
Conclusion
By mastering butter temperature, you can create cookies that are golden-brown jewels, crisp on the edges and soft in the center. Imagine biting into a warm cookie, releasing a whisper of chocolate, with a perfect balance of sweetness and texture. Keep your butter at the right temperature—soft but not melted—and watch your cookies transform into delightful treats that beckon you back for more. With these tips, you’ll savor every bite without the greasy aftermath.