If you want to elevate your baking game, an all-butter pie crust is the secret weapon. This classic technique has been passed down for generations, gracing the tables of royalty and home kitchens alike. With just a handful of simple ingredients – flour, salt, cold butter, and ice water – you can create a crust that's flaky, rich, and bursting with flavor. The key is proper chilling, careful rolling, and a touch of technique. Master this crust, and you'll be whipping up pies that have your family and guests raving. And if you truly want to dive into the art of pie baking…
Key Takeaways
- Use high-quality, cold European-style butter for optimal flavor and texture in the pie crust.
- Chill the dough thoroughly before rolling to ensure the butter remains firm and creates flaky layers.
- Roll the dough to an even 1/8-inch thickness to achieve the desired flakiness and prevent shrinkage.
- Blind bake the crust before adding the filling to create a crisp, golden-brown base.
- Experiment with flavor variations by incorporating herbs, spices, or zest into the crust for an enhanced taste profile.

Peanut Butter Maker, Nut Butter Machine, 2025 New Electric Nut Butter Maker Machine, Electric Sesame Sauce Nut Grinder with Non-Slip Base Entry, Easy Install Easy to Use,Grinder
Our peanut nut grinder lets you easily grind a variety of nuts and seeds to make smooth.
As an affiliate, we earn on qualifying purchases.
History
For centuries, bakers have crafted all-butter pie crusts, reveling in the unparalleled flavor and flaky texture they provide. This beloved baking tradition dates back to ancient civilizations, where pastry chefs discovered the magic of blending butter, flour, and water to create a delectable base for sweet and savory fillings.
As culinary techniques evolved, the all-butter pie crust solidified its place as a timeless classic. Renowned for its rich, buttery taste and delicate, tender crumb, this pastry has graced the tables of royalty, home kitchens, and renowned bakeries alike. Each generation of bakers has passed down the secrets of crafting the perfect all-butter crust, ensuring its enduring popularity and securing its status as a beloved baking tradition.
Today, the all-butter pie crust remains a cherished centerpiece of the baking world, inspiring home cooks and professional chefs to create the flakiest, most indulgent pies imaginable. Its enduring appeal is a testament to the timeless allure of simple, high-quality ingredients and time-honored baking techniques.

DBXMJWCMDT Electric Nut Grinder Peanut Butter Maker Machine, 500ml Large-Capacity Almond/Cashew/Sesame Grinding Mill with Non-Slip Base, Efficient Home & Commercial Nut Butter Processor
【Homemade Peanut Butter Maker】 This 500ml electric grinder allows you to create fresh, natural peanut butter and nut...
As an affiliate, we earn on qualifying purchases.
Recipe
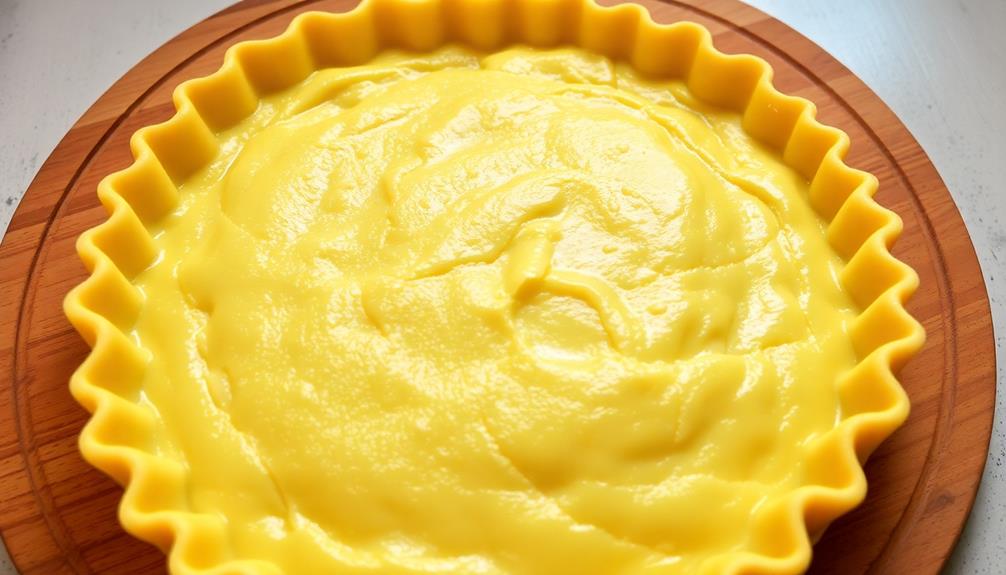
Making an all-butter pie crust is a classic technique that yields a flaky, rich, and delicious foundation for your favorite sweet or savory fillings. The use of only butter, rather than a combination of butter and shortening, results in a crust that's packed with flavor and has a tender, melt-in-your-mouth texture.
When working with an all-butter crust, it's important to keep the ingredients chilled and to handle the dough as little as possible to prevent the butter from melting. This ensures that the butter remains in distinct pieces, creating the desired flakiness when baked.
- 2 1/2 cups (315g) all-purpose flour
- 1 teaspoon salt
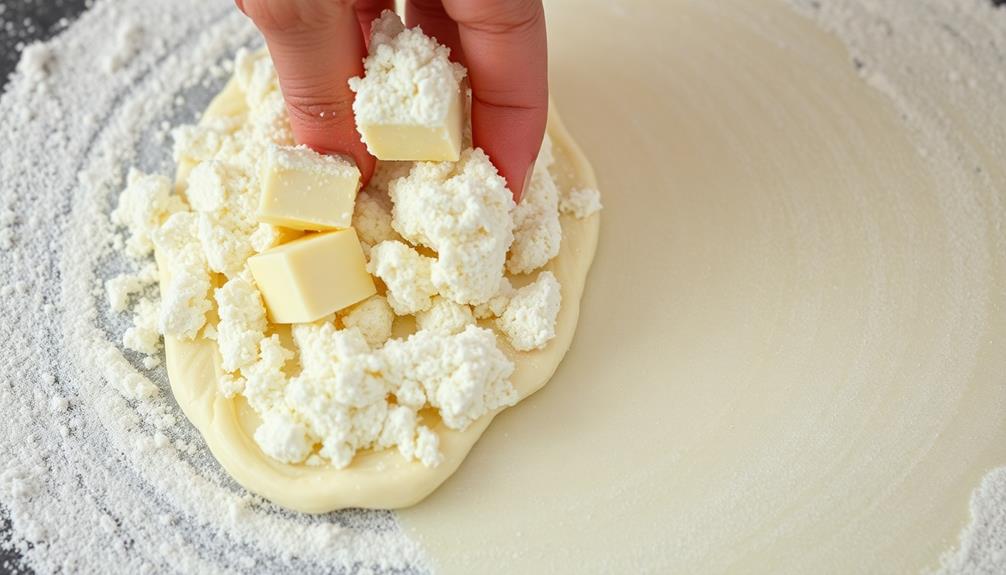
- 1 cup (230g) unsalted butter, cold and cut into cubes
- 1/4 cup (60ml) ice water
In a large bowl, combine the flour and salt. Add the cold butter cubes and use a pastry cutter or your fingertips to work the butter into the flour until the mixture resembles coarse crumbs, with some pea-sized pieces of butter remaining.
Gradually add the ice water, a tablespoon at a time, and gently mix until the dough just begins to come together. Don't overmix. Shape the dough into a disc, wrap in plastic wrap, and refrigerate for at least 1 hour (or up to 3 days).
When ready to use, roll out the chilled dough on a lightly floured surface and use as desired in your favorite pie recipe. The all-butter crust can be par-baked or used as directed in the pie recipe.
Remember to keep the dough and equipment chilled throughout the process for the best results.

ZERNEIL Peanut Butter Maker Machine Nut Butter Machine 110V 1100W Electric Grain Grinder Peanut Butter Maker - 33lb/h Sesame Sauce Grinder Home/Commercial for Groundnut, Almond, Cashew Nut and Sesame
🧉【Grinding Assistant】: The 1100W pure copper motor, 2850r/min, and the white jade just grinding wheel used can grind...
As an affiliate, we earn on qualifying purchases.
Cooking Steps
First, be sure to chill your dough thoroughly before rolling it out – this'll help prevent it from shrinking during baking.
Next, roll the dough thin and evenly, so your crust bakes up nice and crisp.
Step 1. Chill Dough Thoroughly Before Rolling
After mixing the dough, it's crucial to chill it thoroughly before rolling. This chilling process is key for achieving that delightfully flaky texture you crave in a perfect pie crust.
Tightly wrap the dough in plastic wrap and pop it in the fridge for at least 30 minutes – an hour is even better. This allows the butter to firm up, making the dough easier to handle and roll out without tearing.
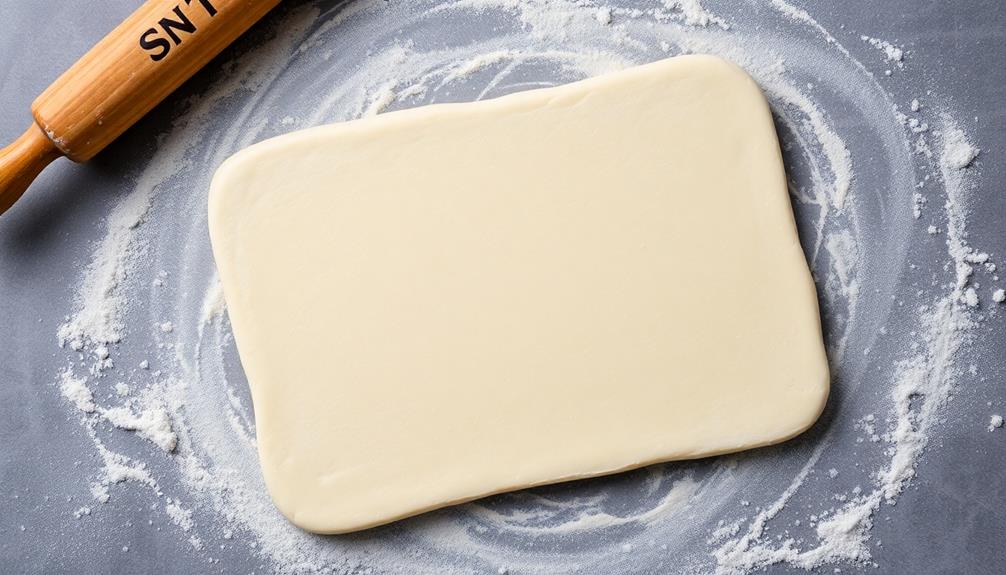
When you're ready to roll, lightly flour your work surface and rolling pin. Unwrap the chilled dough and place it on the floured surface.
Starting from the center, gently roll the dough outward, turning and flipping it occasionally to prevent sticking. Roll until the dough is about 1/8 inch thick and large enough to fit your pie plate.
Carefully transfer the rolled dough to your plate, gently pressing it into the edges. Trim any excess and crimp the edges as desired.
Now you're all set to fill and bake your delicious homemade pie!
Step 2. Roll Dough Thin Evenly
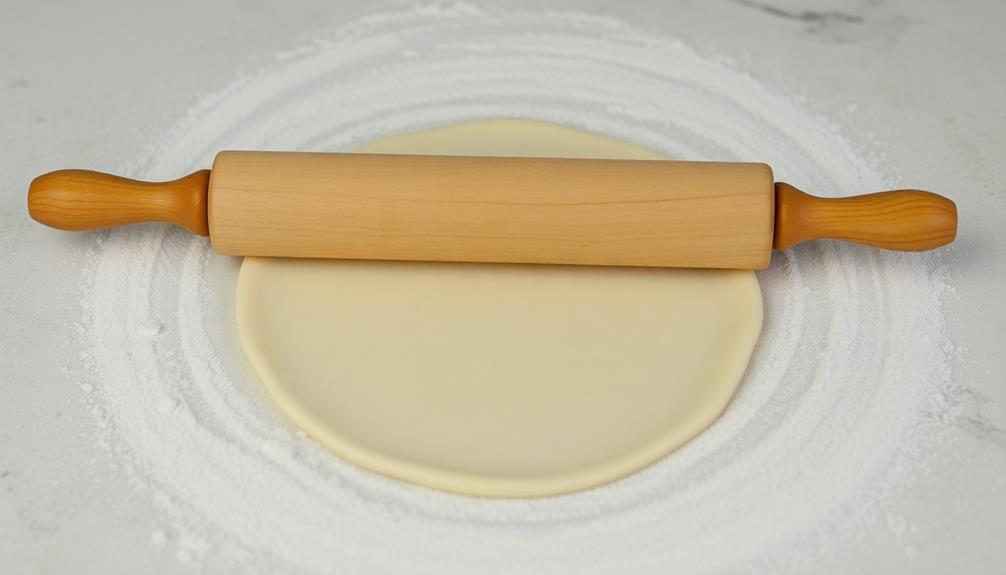
With the dough chilled and ready, it's time to roll it out evenly. Grab your rolling pin and lightly flour your work surface.
Gently place the dough disc in the center and start rolling. Apply even pressure, moving the pin from the center outwards in all directions. Roll the dough into a large circle, about 12 inches wide and 1/8 inch thick.
Be patient and take your time – the key is to roll it out evenly, without any thin or thick spots. As you roll, periodically check the underside to ensure it's not sticking. If needed, lightly flour the surface.
Aim for a thin, pliable round that will easily fit into your pie plate. Once rolled, carefully transfer the dough to your plate, centering it and gently pressing it into the corners.
Trim any excess dough from the edges, leaving about 1 inch of overhang. Now you're ready to crimp the crust and bake your perfect pie!
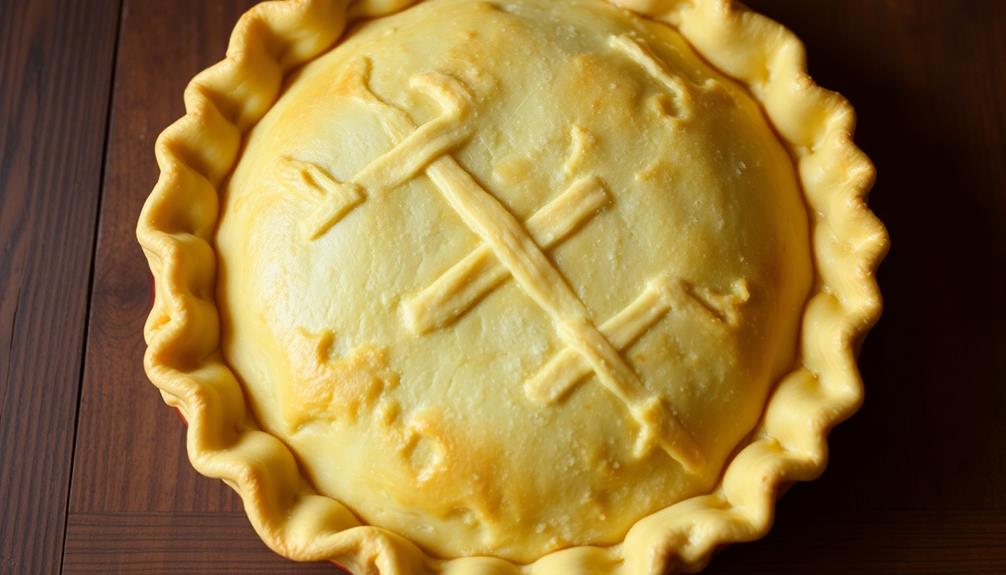
Step 3. Crimp and Seal Dough Edges
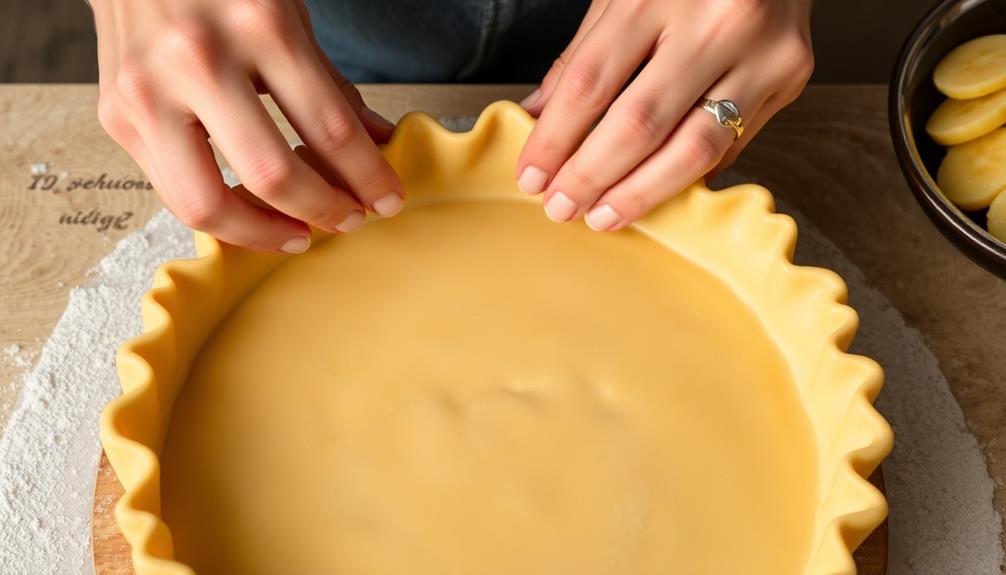
Next, crimp the edges of the dough to create a decorative and sturdy crust. Gently fold the overhanging dough under itself, creating a thick, even edge around the pie plate.
Use your thumb and forefinger to pinch and press the dough, forming a fluted or scalloped pattern. Work your way around the entire circumference, creating uniform, beautiful crimps. This step not only seals in the filling but also adds visual appeal to your pie.
Once the edges are crimped, use a fork to gently press the tines into the dough all the way around the pie. This creates a decorative pattern and further seals the crust. Be careful not to press too hard, as you don't want to puncture the dough.
Step 4. Chill Formed Crust Before Baking
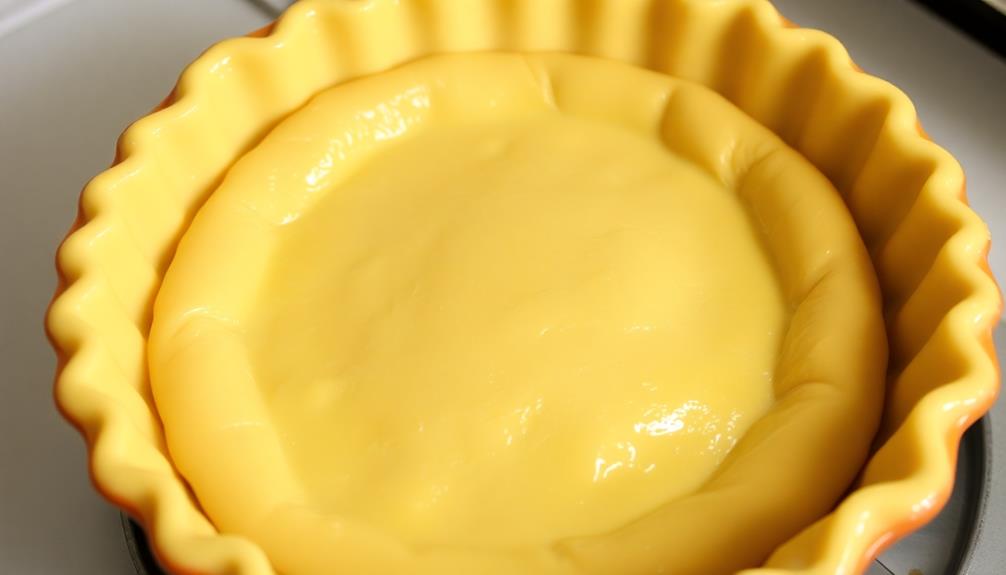
Once you've crimped the edges, it's important to chill the formed crust before baking. This step is crucial for achieving the signature flakiness and richness of an all-butter pie crust. By chilling the dough, you're giving the butter time to firm up, which helps the crust maintain its shape during baking and prevents it from shrinking or becoming tough.
After carefully transferring your crimped crust to the pie plate, pop it in the fridge for at least 30 minutes, or up to 2 hours. This cooling period allows the gluten in the flour to relax, and the butter to solidify.
When you're ready to bake, the chilled crust will hold its shape beautifully, resulting in clean, defined edges and a light, tender texture throughout.
Don't skip this essential step – the time you invest in chilling your crust will pay off in every delicious, flaky bite. Your pie will be the talk of the town!
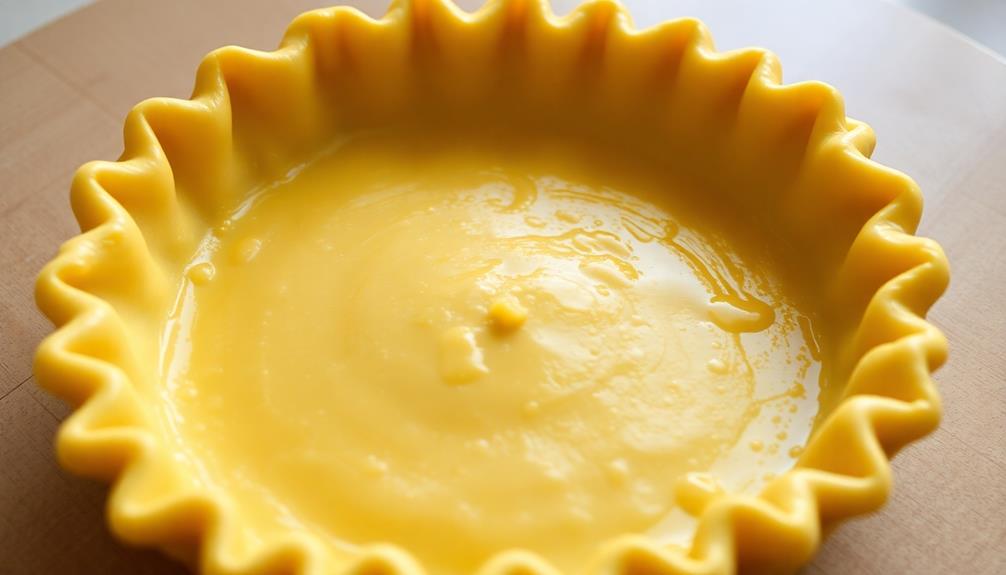
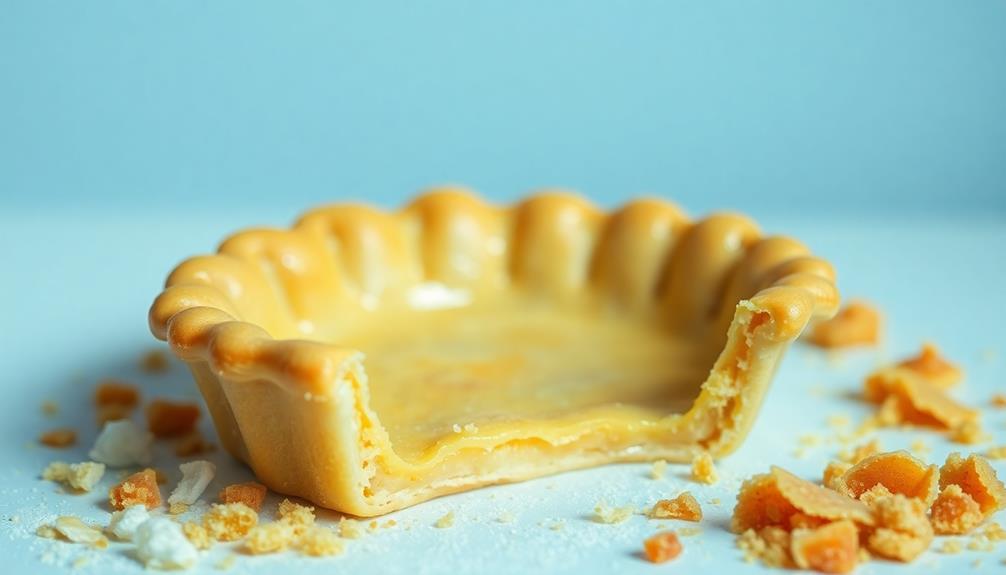
Step 5. Blind Bake Crust Before Filling
Why blind bake the crust before filling? Blind baking is a crucial step that ensures your pie crust is perfectly crisp and flaky, even when filled with a moist or wet ingredient. By pre-baking the crust, you create a sturdy base that can withstand the weight and moisture of the filling without getting soggy.
First, roll out your prepared dough and carefully fit it into your pie plate. Trim any excess dough from the edges, then use a fork to prick holes all over the bottom and sides of the crust. This allows steam to escape during baking, preventing the crust from puffing up.
Next, line the crust with parchment paper or foil and fill it with pie weights, dry beans, or rice to hold the crust in place. Bake the crust at 400°F for 15-20 minutes, until it's lightly golden. Remove the weights and liner, then bake for 5-10 minutes more to fully set the crust.
Now your perfectly pre-baked shell is ready to be filled and baked to flaky, buttery perfection!

Electric Peanut Butter Maker Machine, Nut Butter Grinder for Almond Cashew Sesame, Large-Capacity Grain Grinder, Home & Commercial Nut Processor with Non-Slip Base
【Fresh Homemade Nut Butter】Ideal for peanuts, almonds, cashews, hazelnuts, seeds, grains—create smooth or chunky spreads for home kitchens...
As an affiliate, we earn on qualifying purchases.
Final Thoughts
The all-butter pie crust recipe you've now mastered is a culinary cornerstone, offering unparalleled flavor and texture.
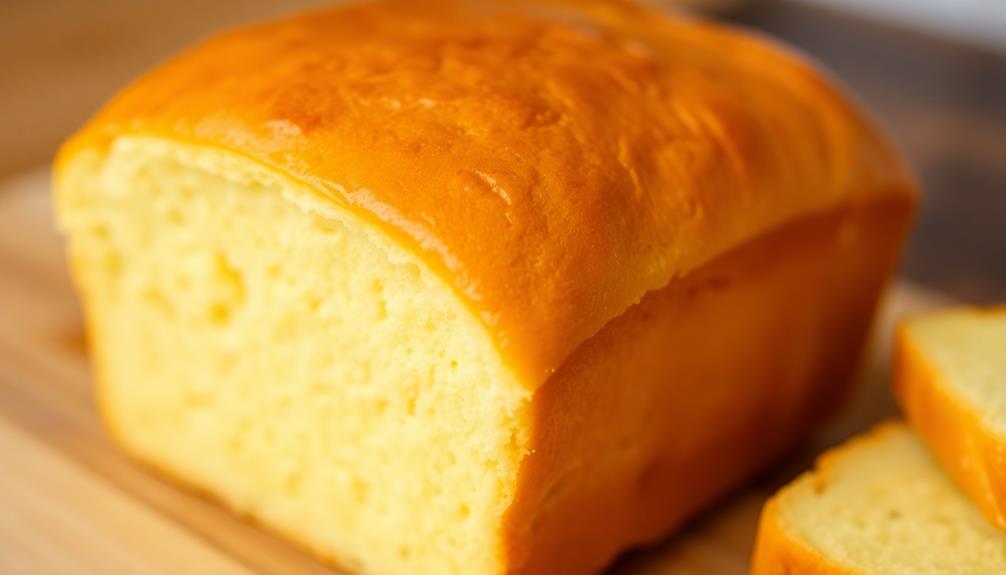
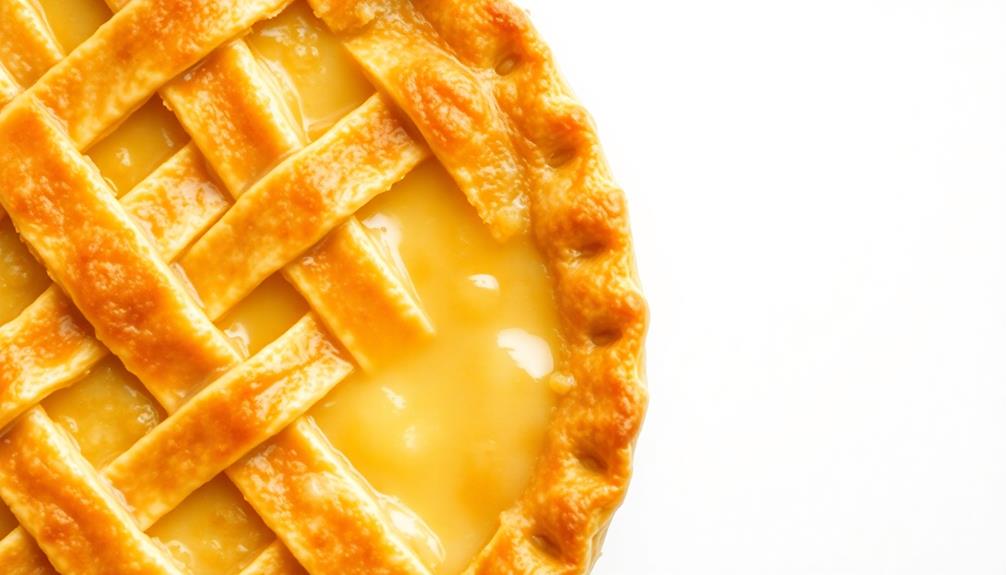
Imagine the irresistible aroma of buttery goodness wafting through your kitchen as you pull a freshly baked pie from the oven. The golden-brown crust, flaky and rich, will become the star of your dessert, elevating even the simplest fillings to new heights of deliciousness.
Using European butter can enhance the flavor profile of your crust, thanks to its higher fat content and creamy texture.
With this versatile recipe in your arsenal, you can confidently tackle any pie, from classic apple to decadent chocolate cream.
The all-butter crust's ability to hold its shape and crisp up beautifully makes it perfect for both sweet and savory pies.
Experiment with different fillings and toppings to truly showcase your baking prowess and delight your friends and family.
Frequently Asked Questions
Can I Use Margarine Instead of Butter?
You can use margarine instead of butter, but the result won't be as flavorful or flaky. Butter adds rich flavor and a tender, flaky texture that margarine can't replicate. Consider using all-butter for the best pie crust.
How Do I Prevent a Soggy Bottom Crust?
To prevent a soggy bottom crust, blind bake the crust before adding the filling. Prick the bottom with a fork, line with parchment paper, and fill with pie weights or dried beans. Bake until lightly golden.
Can I Make the Dough in Advance?
You can certainly make the dough in advance. Just wrap it tightly in plastic wrap and refrigerate it for up to 3 days. This will allow the gluten to relax, making the dough easier to roll out when you're ready to use it.
Is It Possible to Make a Gluten-Free Version?
Yes, you can make a gluten-free version of the pie crust. Simply swap out the all-purpose flour for a gluten-free flour blend and follow the same steps. It'll result in a flaky, tender crust that's perfect for your dietary needs.
What's the Best Way to Roll Out the Dough?
To roll out the dough, start by lightly flouring your work surface. Gently roll the dough from the center outward, using even strokes. Be gentle to prevent the dough from sticking or becoming tough.